
Fabric Pumpkin How-To
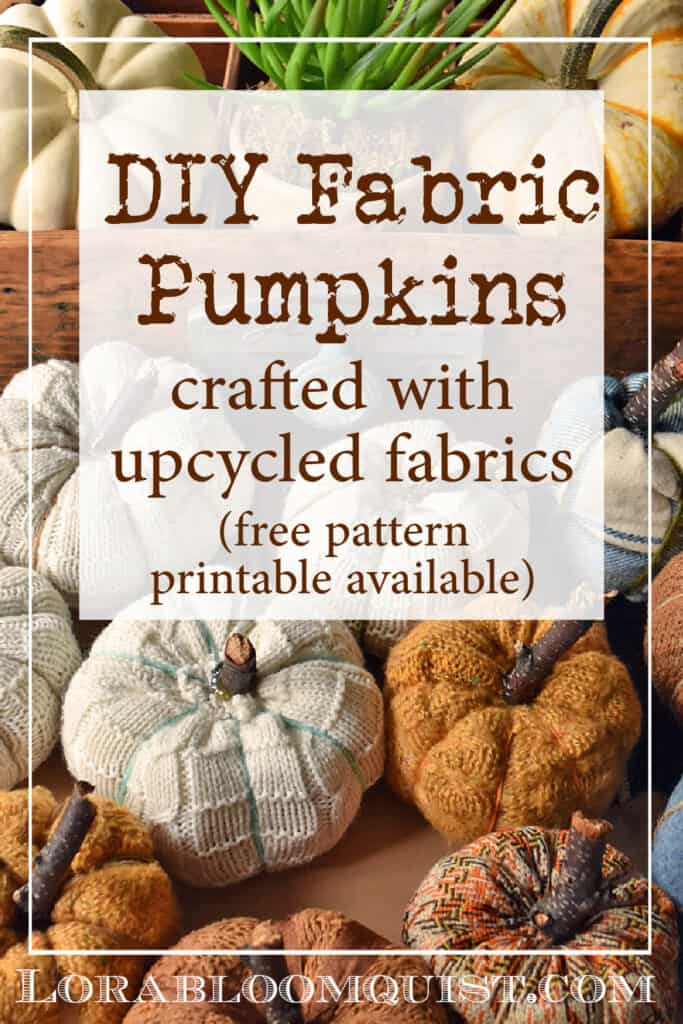
Learn how to make fun DIY fabric pumpkins with Upcycled sweaters and vintage fabrics. great handmade Fall decor accent. Free pattern printable available also.
Fall decor is all about pumpkins, in every color, size, and shape! Making your own DIY version of this seasonal home decor staple can be a great way to multiply your autumn accessorizing. With a few thrift store sweaters or some old fabric scraps, you can have your own fabric pumpkin patch growing at your house! Once you get the simple how-to down, you’ll want a whole variety for your fall deccor! Enjoy this Fabric Pumpkin How-To!
It all started with the give-away pile of sweaters Happy Girl had left in her room when she headed college-way. Gold, brown, cream, and to top it off an ugly orange terrycloth robe. Hmmm…those look like pumpkin colors.
I know that fabric pumpkins are anything but new in the Pinterest world, but truth be told, I’ve never taken a stab at making any, and felt like this was the year to play around with them. So I perused Pinterest and made a whole board committed to pumpkin-making. You can check it out here: “Pumpkin and Fall Inspiration”. And while you’re there, please follow me!
If you’re like me and need a paper version to look at, I created a downloadable, printable PDF you can grab at the end. It’s available in my FREE Insider’s Resource library.
Fabric Pumpkin How To
For your convenience, this post may contain affiliate links. If you make a purchase, I may receive a commission. There is no further cost to you. My full privacy policy is here.
Materials Needed
Old sweaters, flannel shirts or fabric scraps
Dried beans/chickpeas/weight
Upcycled Fabric Pumpkin Tutorial
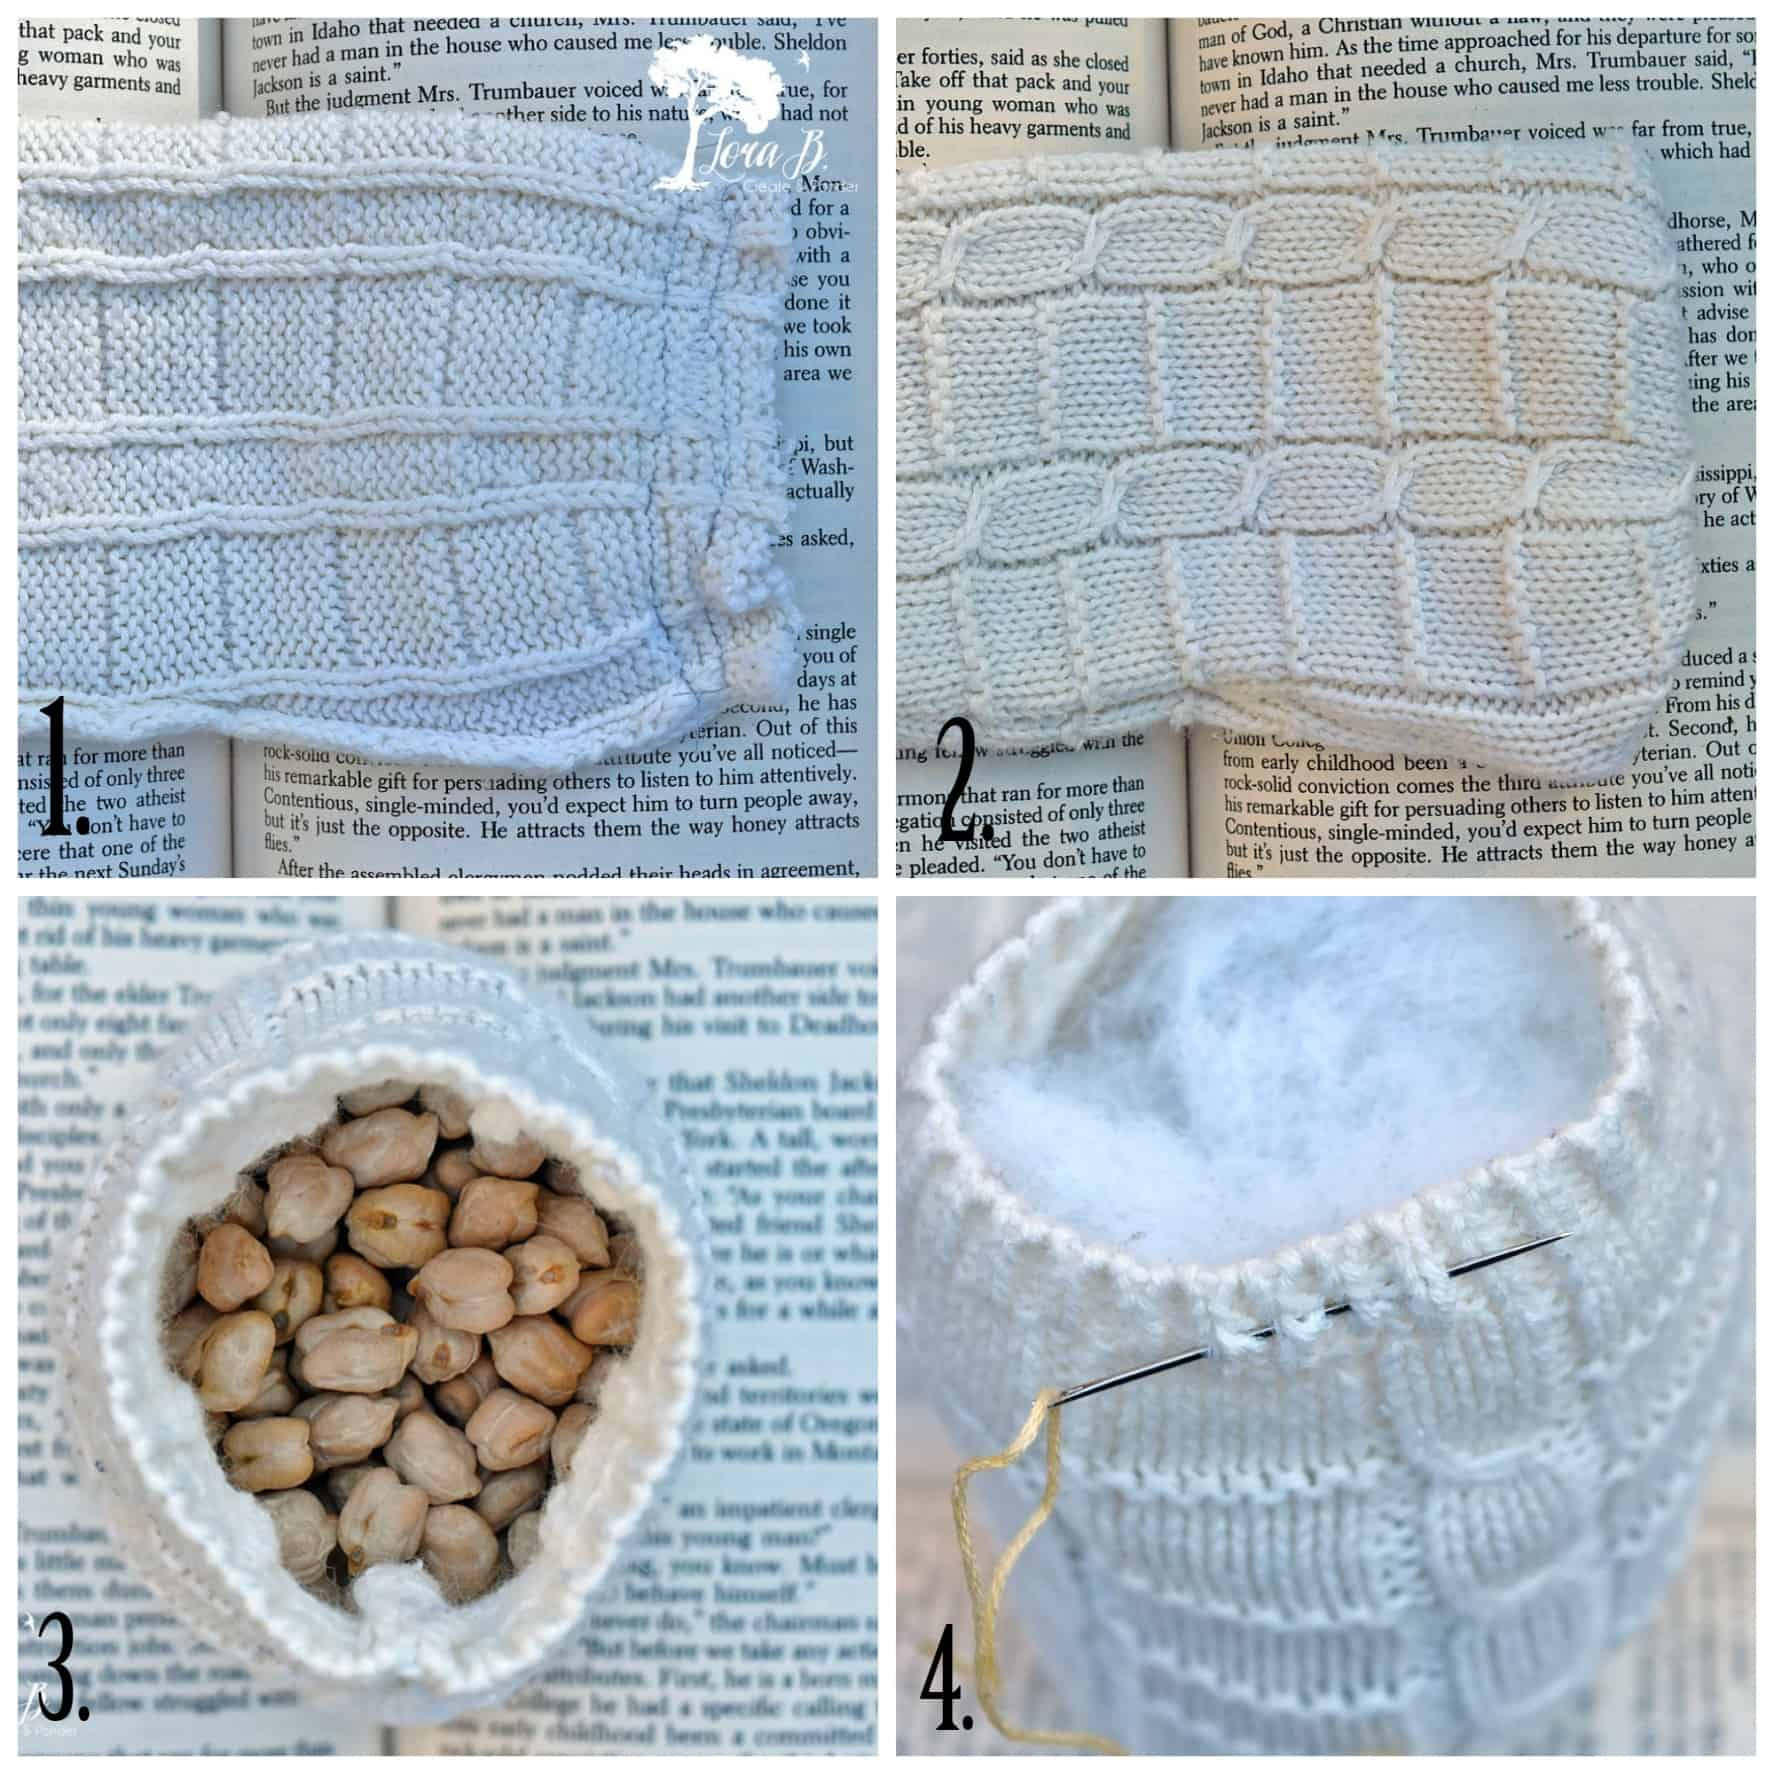
- I cut off 6 1/2 inches of the sweater sleeve. I turned the right sides in and did two basting stitches on the sewing machine close together at one of the ends. I pulled the threads a little tighter just to pucker the seam a little, so it wasn’t quite so square-ish at the bottom.
- Turn right sides out.
- I stood the little sweater sleeve up and placed some pillow stuffing in the bottom 1/3. I then placed about 1/2 cup of dried garbanzo beans in. ( you could also use kitty litter or any other type of heavy filler). I added more stuffing over the top to almost fill the sleeve.
- With some embroidery floss I did a simple running stitch around the top edge, pulling the two ends tight and knotting when I was done.
- I was left with a little pouf, ready for it’s ribs.
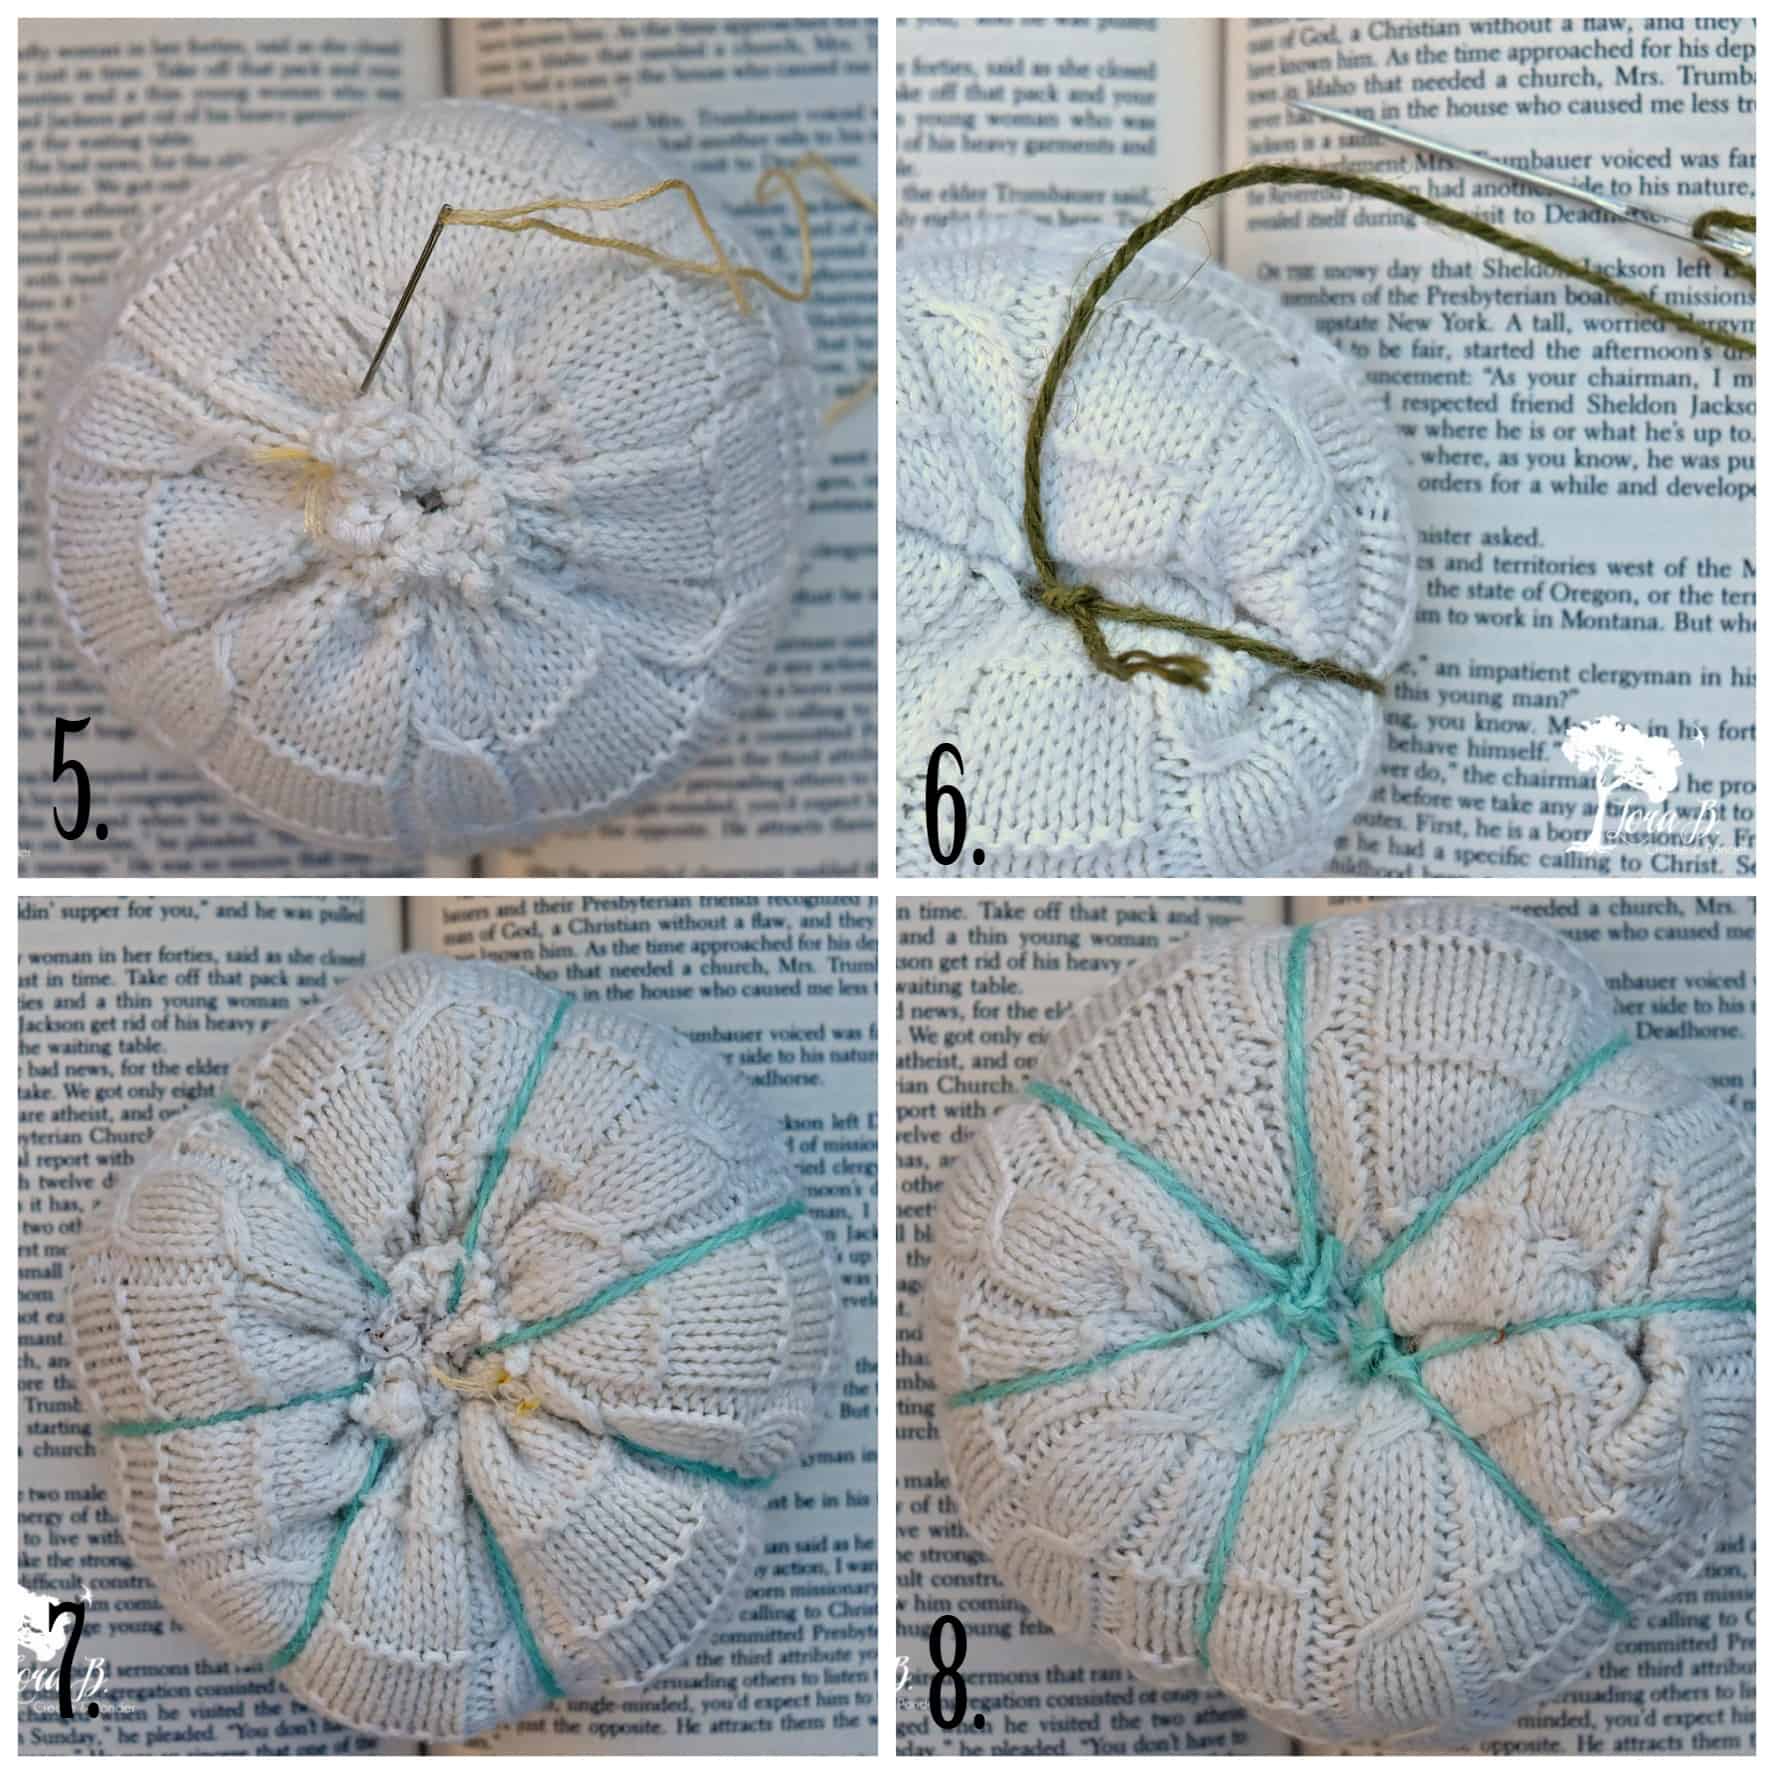
- With a large eye upholstery-type needle I used a long length of jute twine to poke all the way through the pumpkin from the top gathered spot to the sewed bottom. I left a tail of twine out so I could knot the first rib.
- I continued around the pumpkin, poking all the way through till I created all the ribs I wanted. If you tighten gently, the chubby shape of the pumpkin will begin forming before your eyes.
- I finished off by knotting off my twine. You can choose which end you like better for the top, and then hot glue a piece of stick for a handle. You could also glue a little spanish moss by the handle for added texture.

I tried different things for the ribs, embroidery floss, vintage seam binding, and ended up liking this thinner craft twine the best.
Insider tips:
The tighter weave sweater and the softer fabrics worked best. The looser weaves showed the stuffing too much. When I had used up all the sleeves of the sweaters, I started sewing a little sleeve of fabric instead, which worked just as well. The height of your sleeve is usually shrunk by about half once you start creating the ribs.
Get my full tutorial to print (for free) in my resource library
If you enjoyed this post, are a creative soul and love to see potential and create the unique, you should become an Insider! I’ve packed my FREE Resource Library with tons of tutorials, styling tips and seasonal printables for you to enjoy. You’ll also stay creatively inspired with my weekly email! Sign up HERE, so I can send the ideas right to you!
More Fall DIY Project Ideas
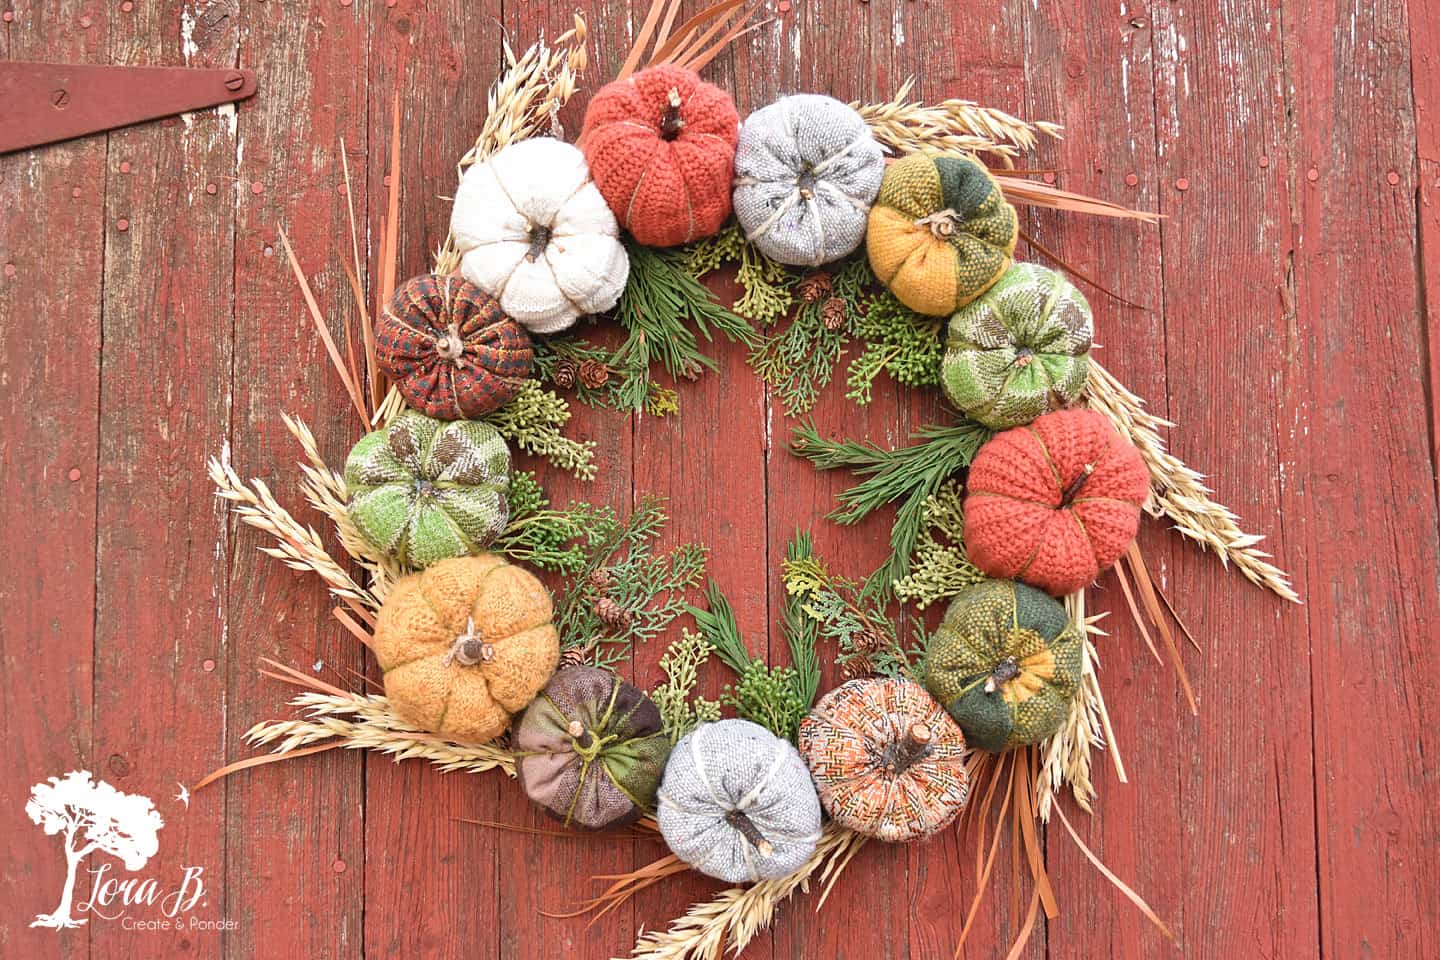
Once you get the hang of making these fun pumpkins, you may want to join them together and make a beautiful “Fabric Pumpkin Harvest Wreath”.
Other favorite DIY Fall favorites:
“Leafy DIY Fabric Scrap Wreath for Fall”
“Sunflower Button Pillow How To”
“Upcycled Vintage Quilt Witch Hat DIY”
“Repurposed Tart Mold Pumpkins How To”
If you’re like me, once you get started making these cute fabric pumpkins, you’ll want some in every size and color variety! They’re perfect to give as gifts, to sell, or to decorate your own home. I hope this Fabric Pumpkin How-To got you in the mood to fill your home with autumn beauty!
Follow Me: LTK | Amazon | Pinterest | Instagram | Facebook
Pin and save

Sharing at these lovely parties:
Two years ago I got a little carried away and bought a LOT of $1 clothes at Goodwill. Mostly oranges, but fall colors with an occasional print and one orange/navy flannel shirt. I am STILL making pumpkins from them. I have worked on them in the car while a passenger sewing bottoms shut and gathering the tops. I put them in my booth, add them to theme baskets, and use them as raffle items and gifts.
oh my they are so cute! I love the sweater pumpkins! I’ll be featuring you this week as part of Thursday Favorite Things! Angelina @ Petite Haus
Awesome, Angelina; thanks!
They are perfect:-))) And the wreath, simply beautiful:-)))
Thanks, Anita! They’re pretty fun;)
Thanks for sharing this. I’m going to try them. Except maybe I will use clean cat litter instead of the beans. I’ve had mice rip open material of something that was handmade and filled with rice.
Good idea, Lynne! Hate those pesky critters. I’ve had issues with them getting into my decor before; especially when selling at a not-pest-free location! Have fun with them! Did you see the whole wreath of them, too? Here’s the link: https://lorabloomquist.comfabric-pumpkin-harvest-wreath/ Which reminds me…I need to put that link on that post; thanks!
These are adorable, Lora! Thanks for sharing how to make them.
Thanks, Carol! Your welcome.
So fun! Thanks for sharing at Vintage Charm!
Thanks, Cecilia!
So cute!! Love it.
Thanks, Julie!