
Vintage Modern Bathroom Remodel Reveal
Get tons of decor ideas from this vintage modern bathroom renovation. Repurposed classic and rustic design elements perfectly combine in this space-challenged old house bathroom makeover.
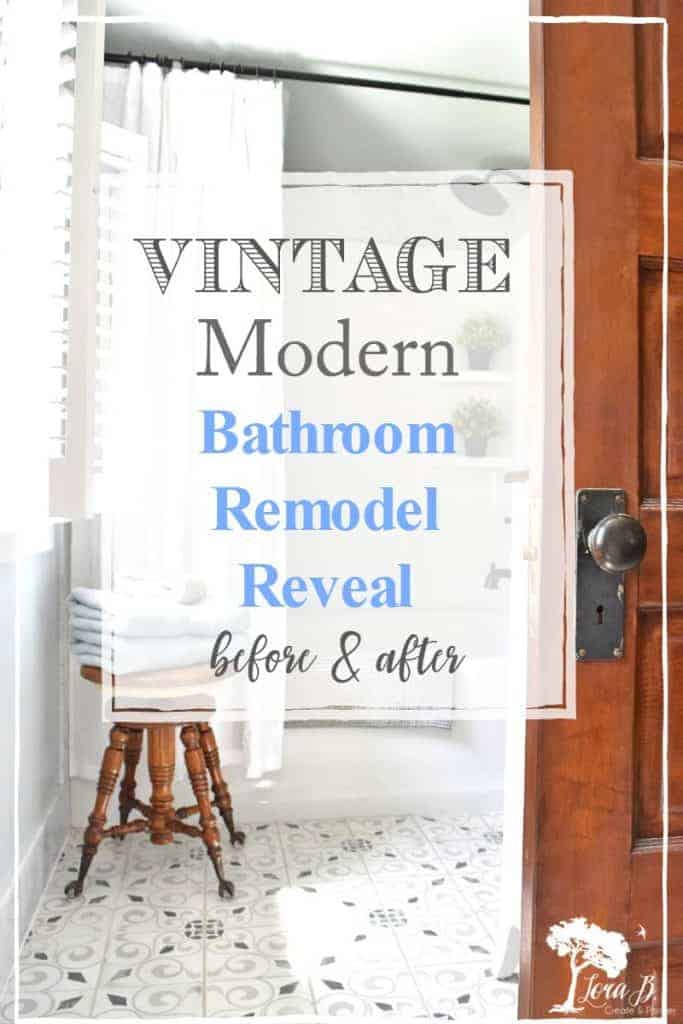
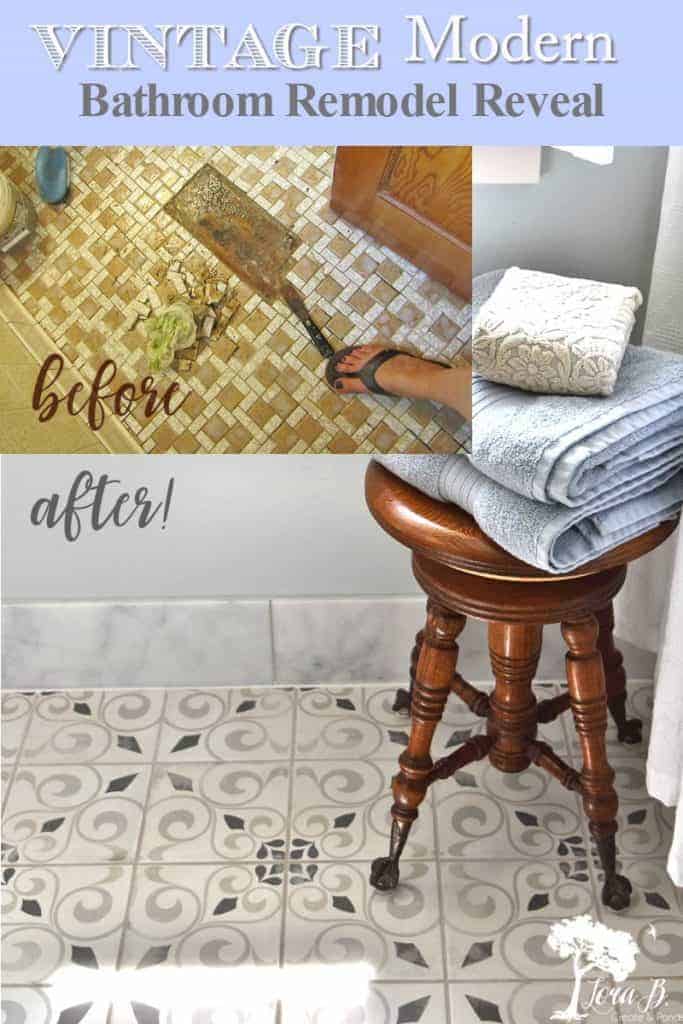
As with many DIY home projects, this big reveal has been a long time coming! This workhorse 2nd floor bathroom in our 100+ year old Fake Farmhouse had served our family of 5 for 18 years. It was never pretty…actually, it was pretty ugly! But it was indoor plumbing, and patiently awaited it’s Cinderella makeover for many years! Today I’m sharing our finally finished Vintage Modern Bathroom Remodel Reveal!
Vintage Modern Bathroom Remodel Reveal
For your convenience, this post contains affiliate links. If you make a purchase, I may receive a commission. There is no additional cost to you. My full privacy policy is here.
To see the behind-the-walls process and hear about some of the challenges we faced in this renovation, see “Bathroom Remodel Update”. Mr. Fix-it and I (and the big kiddos) did all the work, except for the tiling. His quote is “never again“! We’ve almost completely renovated this whole 100+ year old house, and we’re burnt out! We’ll savor this bathroom makeover for awhile!
Getting the Renovation Foundational Elements Right First
This room had a horribly sloping floor. Probably due to the fact they put the bathtub in a corner that was not supported by a wall downstairs (and this house wouldn’t have had indoor plumbing to start). We decided to swap the tub with the vanity and leave the toilet where it was, but change it’s direction. Getting everything right behind the walls and underneath the floor took quite a bit of time.
We also added 2 new double-hung Marvin Windows. We replaced the former cheap bathroom window and added a window in the hallway where the previous owners had put a wall air conditioner unit (a.k.a. a plywood patch). New windows are such a treat! And having a window in a bathroom is definitely a perk of old houses!
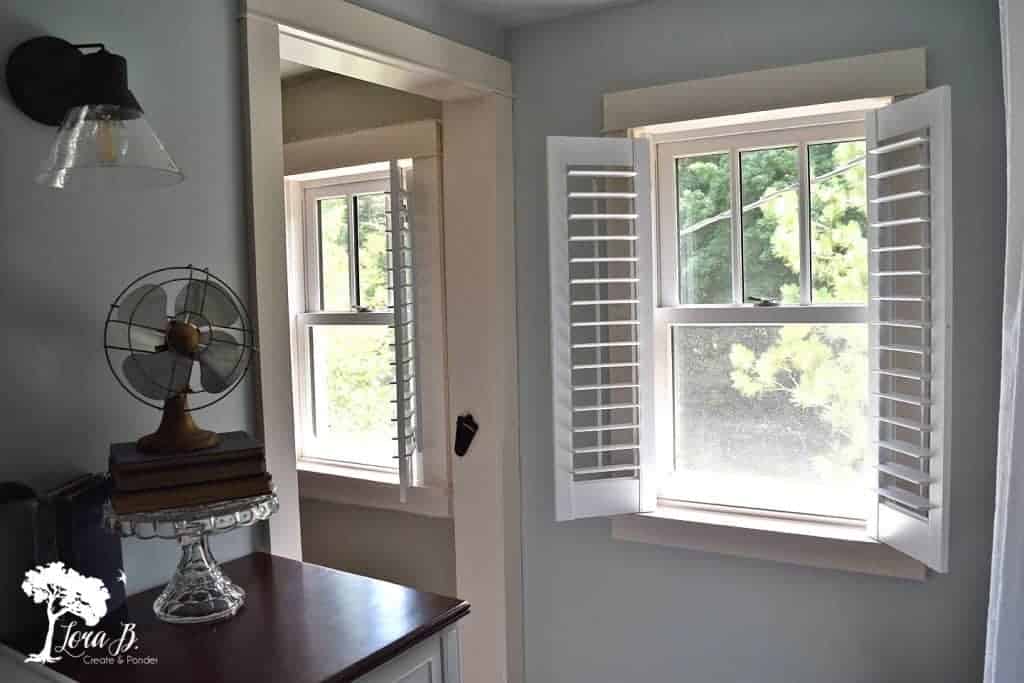

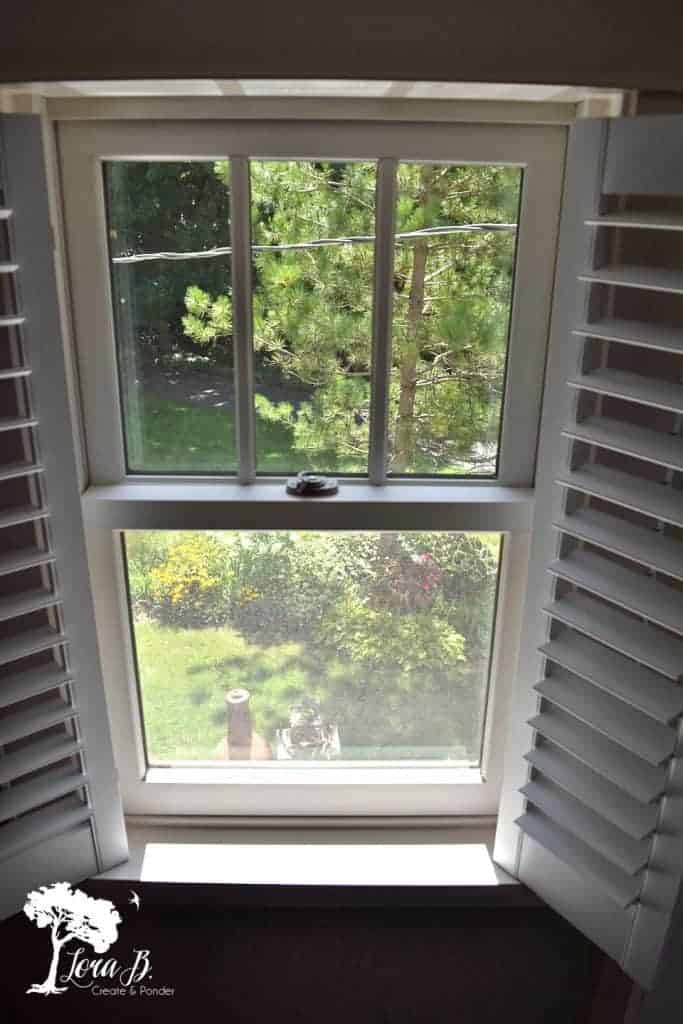
The view of our pretty side garden in full bloom and the south-facing sunshine is wonderful! Both windows are dressed simply with classic white shutters. They are the perfect combination of letting in light, while still giving privacy. (you can find them HERE).
Conserve Small Bathroom Floor Space with a Sliding Door
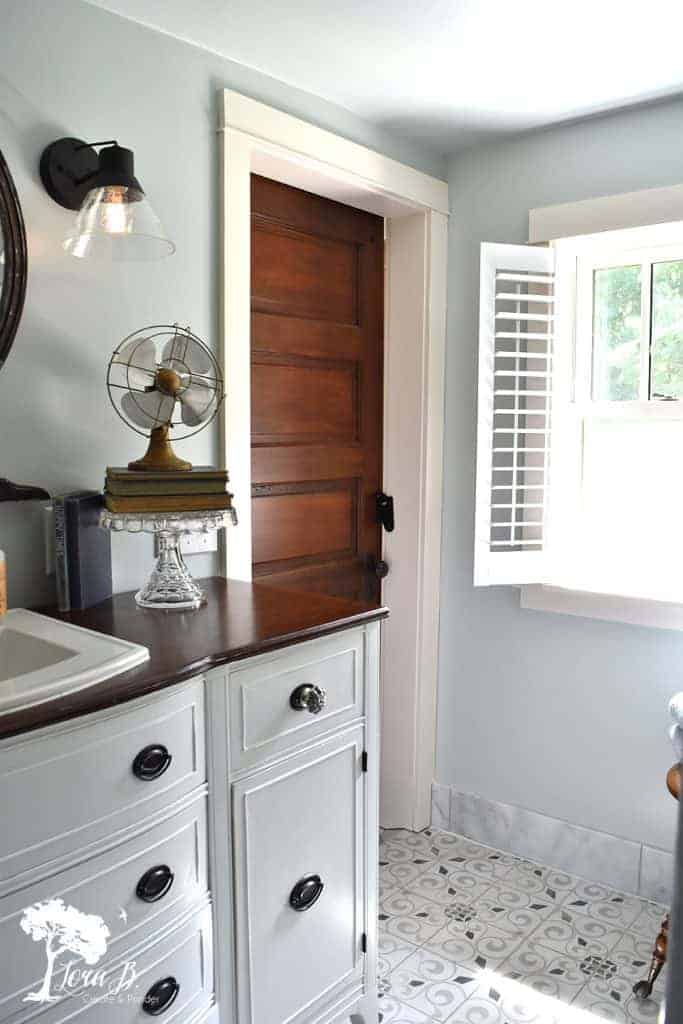
We went back and forth on whether to move the door for this bathroom renovation. The door’s at the top of our steep stairway, which always makes me a little nervous. We decided to keep it where it was, but install a sliding door mechanism with a vintage paneled door to conserve precious square feet.
You can see the whole vintage sliding door refresh and installation process in “Barn Door/Sliding Door Installation with a Vintage Door and Low Ceilings”. I am so glad we added this feature; it frees up so much space to not have a door swing in this bathroom. And the old door keeps the charm of our old house, but with modern function!
Balancing Vintage Style and Modern Convenience
I had really wanted to install an antique claw foot tub that I’ve been saving for this bathroom for 17 years. But sometimes you have to make compromises to get vintage style with modern convenience. Mr. Fix-it was doing all the back-breaking work, I needed to be flexible.
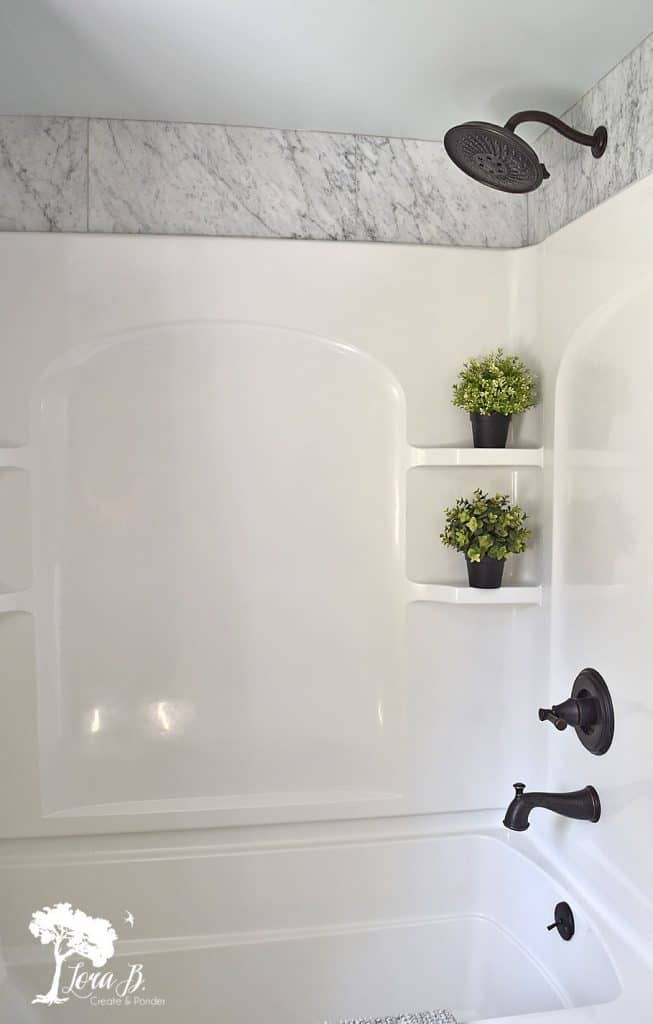
Rather than a claw foot tub, we opted for a molded shower/tub surround and tiled around it. It’s probably much more functional for a modern family, and I’m happy with how it turned out.
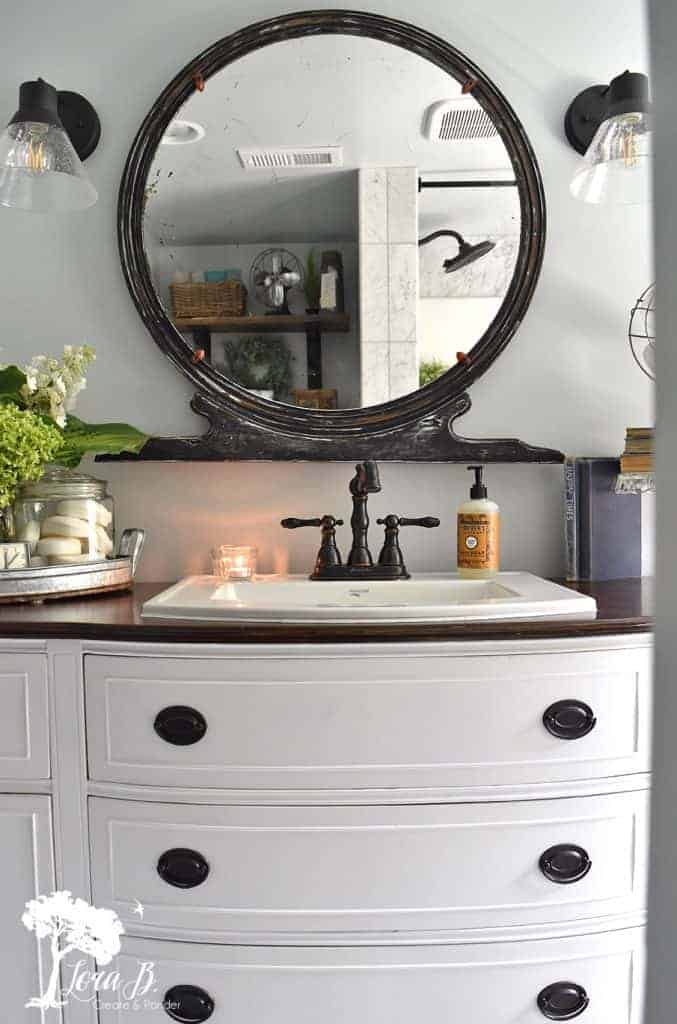
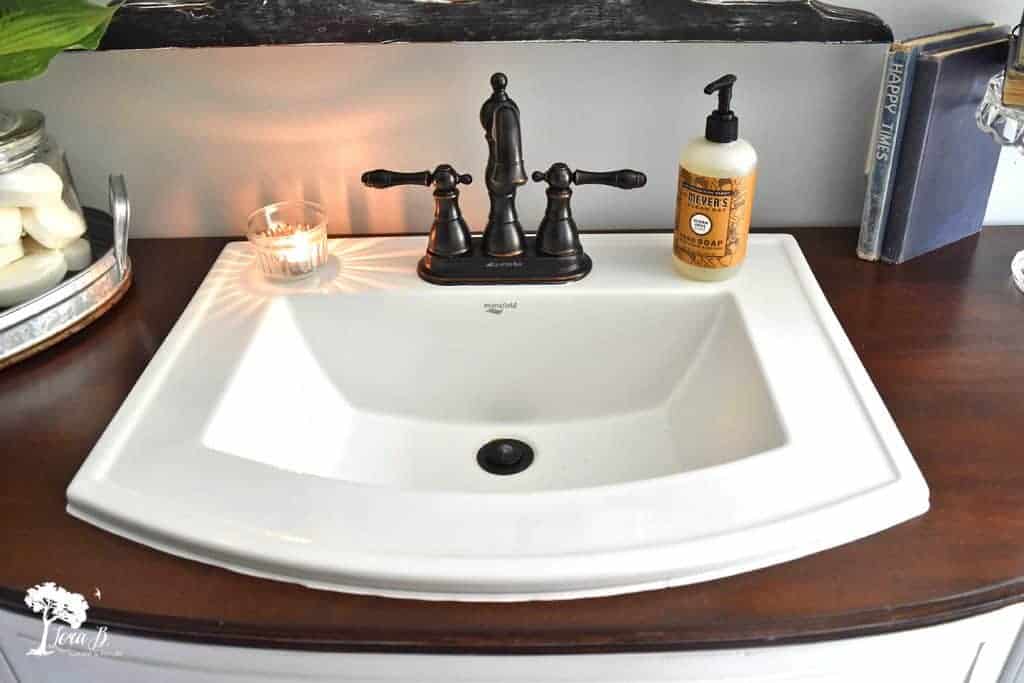
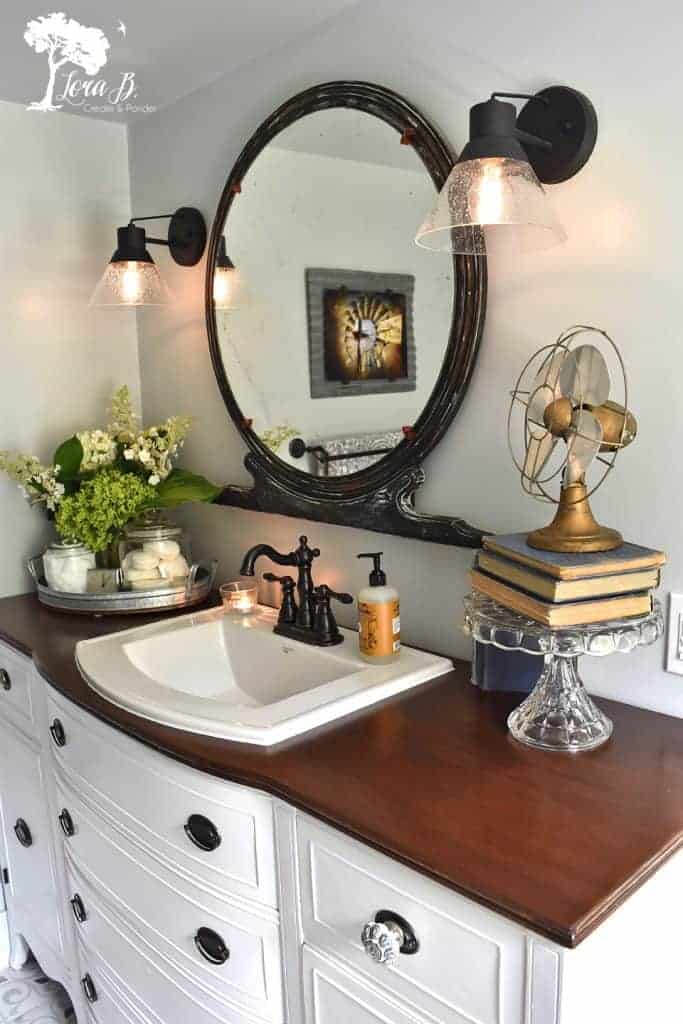
For the bathroom vanity, I totally refreshed a curved-front vintage buffet. We installed a curved front drop-in sink that followed the lines of the piece perfectly. (I’ll share all the details of this makeover in another post) The shower surround also echos the arched theme.
Accessorizing: The Fun Part!
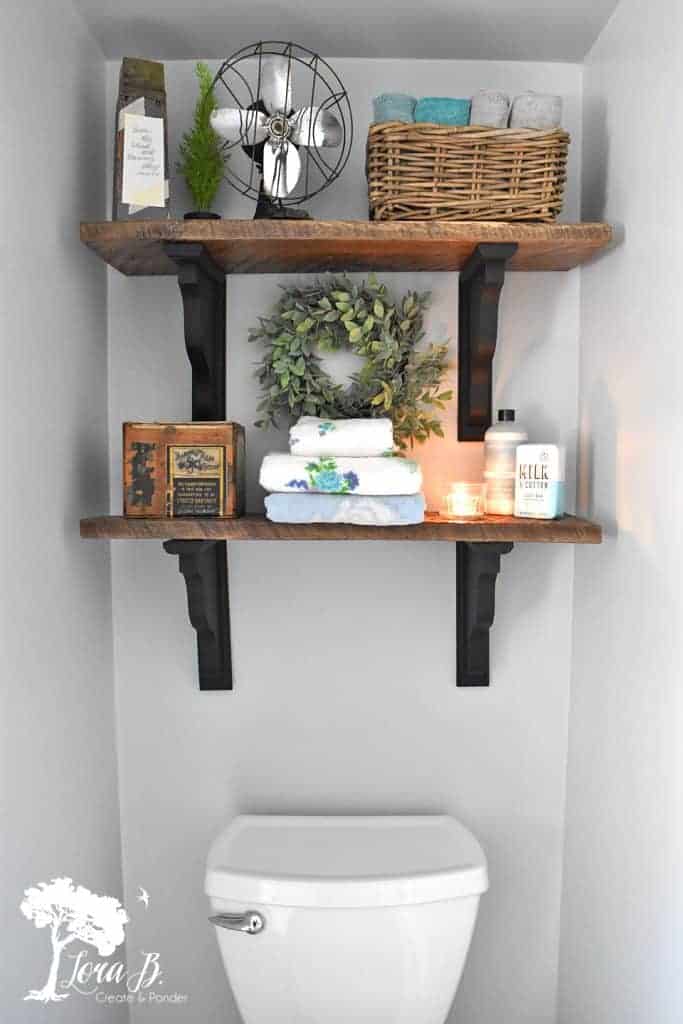
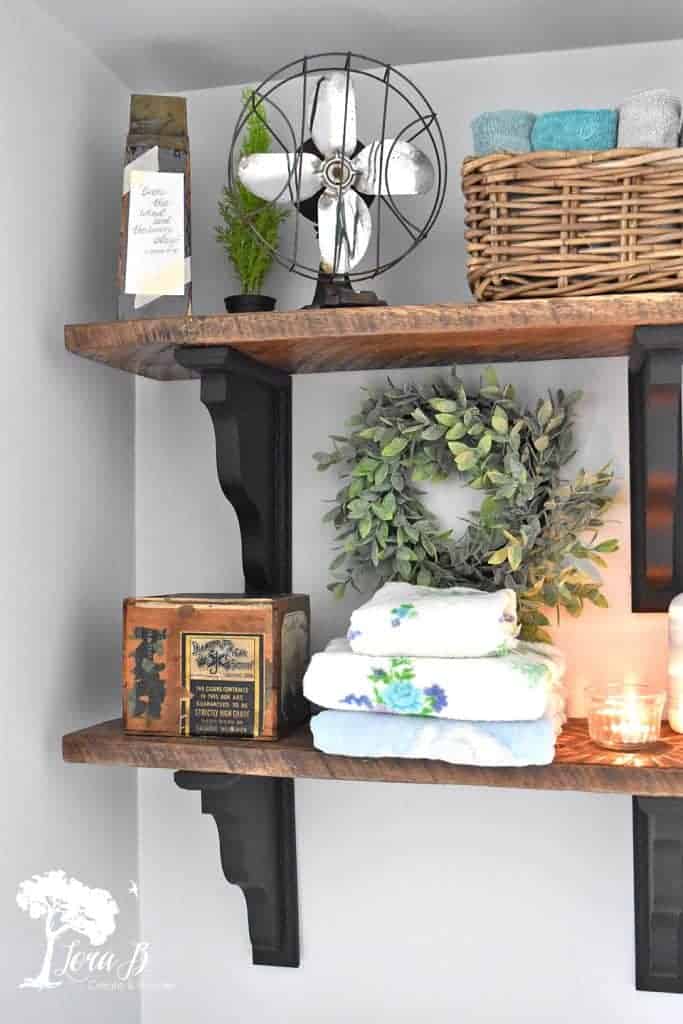
It was so fun to finally get to the decorating part after all the hard work! To add some rustic style to the vintage classic room, we hung barnwood shelves on simple black-painted shelf brackets above the toilet. Playing off the wind theme from the awesome windmill print {get more info & a special discount in my post, “How to Easily Make a Decorating Theme Using Photo Prints”}, I used a couple of vintage fans and items with subtle colors and textures.
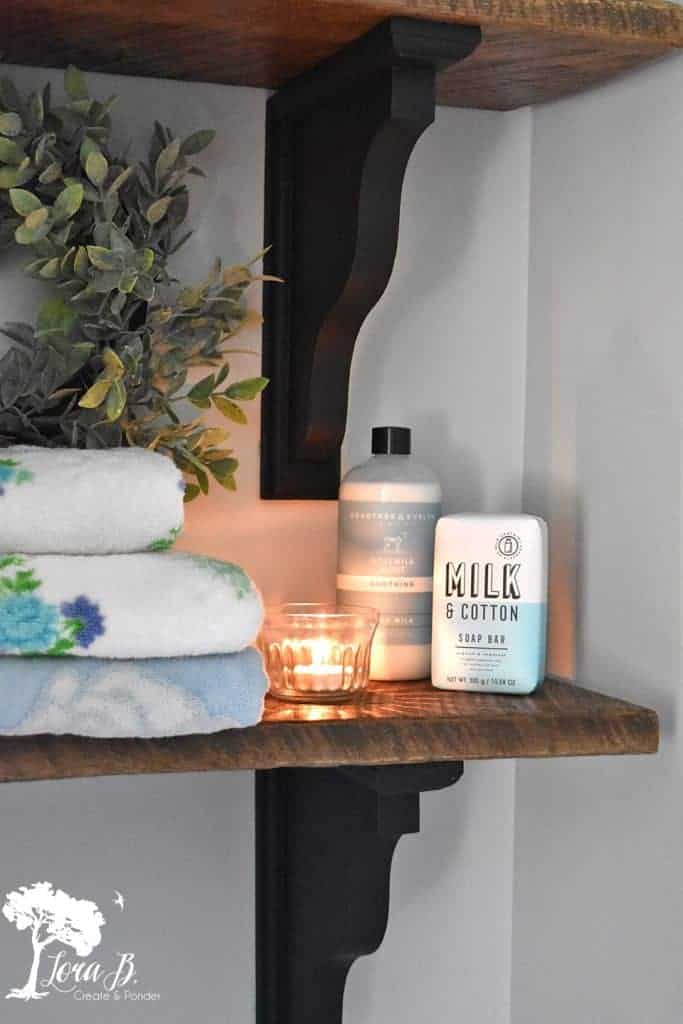
Fresh Foliage and Bathroom Basics Add the Finishing Touch
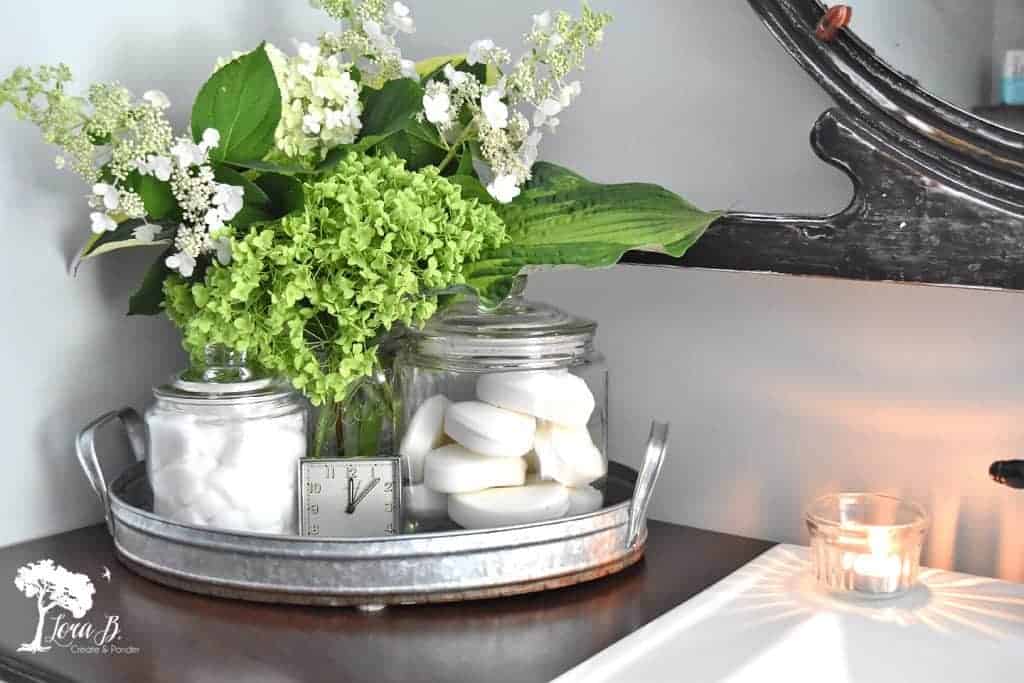
Bathroom accessories don’t need to be complicated. Simple white bars of soap and cottonballs are elevated to art status when placed in a pretty glass container. A couple snips of hydrangeas and hostas from the yard give the dose of natural green that every room needs. Corralling it all on a new galvanized oval tray keeps it all looking clean.
A pretty glass cake stand and some old blue books add to the textural feast on the repurposed buffet vanity.

Sources: Shop the Look (referral links)
Sink (similar look)
Galvanized Oval Tray (similar)
Windmill Print (use code Lora B for a 10% discount)
Tile (similar)
Shower Faucet (similar)
Wall Paint: Valspar Signature, Northern Sky, Satin finish
Most everything else in the room is vintage! And that old piano stool? I’ve just always wanted to put one of them in my pretty bathroom with a stack of cushy towels on it; just like a magazine picture:)
For the full process of turning the buffet into the vanity, see “How to Repurpose a Vintage Buffet into a DIY Bathroom Vanity”.
Don’t you just love a good before and after makeover? I hope you enjoyed seeing the complete renovation as much as I enjoyed finally sharing it! It was a lot of work, but well worth it! Let me know if you have any other questions about our Vintage Modern Bathroom Remodel Reveal!
If you enjoyed your visit, be sure to Become an Insider so I can send the ideas right to you! You can Sign Up HERE.
Follow Me: LTK | Amazon | Pinterest | Instagram | Facebook
Pin and share!

Sharing at these lovely parties:
Everything looks so beautiful. I like barnwood shelves above the toilet very much. Glad I stumbled upon your blog: such beautiful transformations. Thank you for sharing.
Yes, those shelves are fun to accessorize!
Lora, this is truly an amazing project. Love every little detail and it looks perfect to me. I’m happy to feature your post this week on the Tuesday Turn About Link Party. Hope you will come back and link again!
Thank you, Michelle! I definitely will pop back!
Lora, this bathroom makeover is top notch! It’s amazing how you made it look updated yet balanced with vintage touches. I always find the coolest accessories on your blog, like that mirror over the vanity and the little fans. Pinned!
Thanks, Crissy! It’s so fun to have space in the bathroom to enjoy a bit of fun accessorizing!
Such a beautiful makeover Lora! The floor is truly stunning.
Thanks, Laura! I haven’t had much tile in my house before, and I am really enjoying the pattern!
You did a great job! We have one of those 100-year-old houses too where nothing is square or level, so I feel your pain. But the update is perfect. Pretty and functional!
Thanks, Lisa! Yes, these old houses…it’s a love/hate relationship, indeed!
Lora, I love how your bathroom turned out!!! Really pretty and the dresser turned into a vanity is beautiful… <3 Very chic, and I can't believe how inexpensive the tub insert/surround is!! I showed my husband as I like the curved arch and the little shelves for soap and shampoos.
Enjoy your bathroom's new look,
Barb 🙂
Thanks, Barbara! Yes, I was impressed how much nicer those tub/shower inserts have become, and much more inexpensive than tiling!
Super lovely, Lora! Love that stool… so pretty! and the side lamps… and the vanity… all so pretty! Pinned! Would love to have you link up at Tuesday Turn About!
Thank you, Julie! Will definitely do!
Oops, I forgot to mention… we love it so much, we are featuring it on Farmhouse Friday! Woo hoo!
Thanks for the feature, Cindy:)
Y’all did a fantastic job with such an old bathroom! When the Mister tiled our other house, he said he was done as well. I’m glad I didn’t have to do it! Love everything you’ve done in there but that dresser for a sink vanity has to be my fave! Oh wait, it could be the door or maybe the tile! Enjoy! Pinned
Thanks, Cindy! Definitely worth all the hard work!
What a beautiful room! I think it was worth waiting for–it would have been wasted on kids (LOL)! Stupid question–what kind of finish did you use on the buffet top to make it water resistamt? I have 2 china cupboards, a buffet, a second buffet at the foot of the kingsized bed for more storage, a bureau, dresser and nightstand all in that cherry/mahogany color!
I used 4 or 5 coats of Minwax Polycrylic, Satin finish, Kathy. I will be doing a post on the whole process soon!
This looks amazing Lora! I’m so excited for you. I love all the finishes you chose and your floors are totally fabulous. I’ve always wanted a vanity that looks like a piece of heirloom furniture too. Yours is definitely on my bucket list now. It’s all really beautiful. Well done! Hugs, CoCo
Thanks, CoCo! I’ve always wanted a bathroom big enough for a piece of vintage furniture, and one with a sink and storage is even better!
What a gorgeous bathroom makeover, Lora! Thanks for sharing at Vintage Charm–pinned!
Thanks, Cecilia!
Maybe it took a while but it certainly is pretty, i think bathrooms are a hard room to redo they can be costly. I have one i need to redo and i will when i decide what i really want to do in there. I love the vanity and your little things made all the difference to the beauty of the room.
Yes, Marlene, bathrooms are a big remodel job! Probably why this one took us 17 years to start! But all the hard work is definitely worth it!
Wow! Good things Do come to those who wait!😊
Looks super!
Exactly, Shelly!
It turned out absolutely BEAUTIFUL!!!
Thanks, Karin! I guess patience pays off;)
Oh my goodness, it all looks so beautiful Lora!!
Tania
Thanks, Tania! So happy for it to finally be done!!