
Repurposed Wheel Pumpkin DIY
Every year around this time I get the urge to create some unique pumpkins. I’ve made pumpkins with fabric, with tart molds and with baking pans {“Fabric Pumpkin How-to”, “Tart Mold Pumpkins How-To“, “Repurposed Bundt Pan Apple, or Pumpkin?”}. This year these old stroller wheels were calling my name. Here’s a super easy Repurposed Wheel Pumpkin DIY.
This project is part of our Thrifty Chick’s monthly challenge. We’re all creating with wheels today. I can’t wait to see what my talented, creative friends came up with! I’ll have links to their projects at the end.

Repurposed Wheel Pumpkin DIY
For your convenience, this post contains affiliate links. If you make a purchase, I may receive a commission. There is no additional cost to you. My full privacy policy is here.
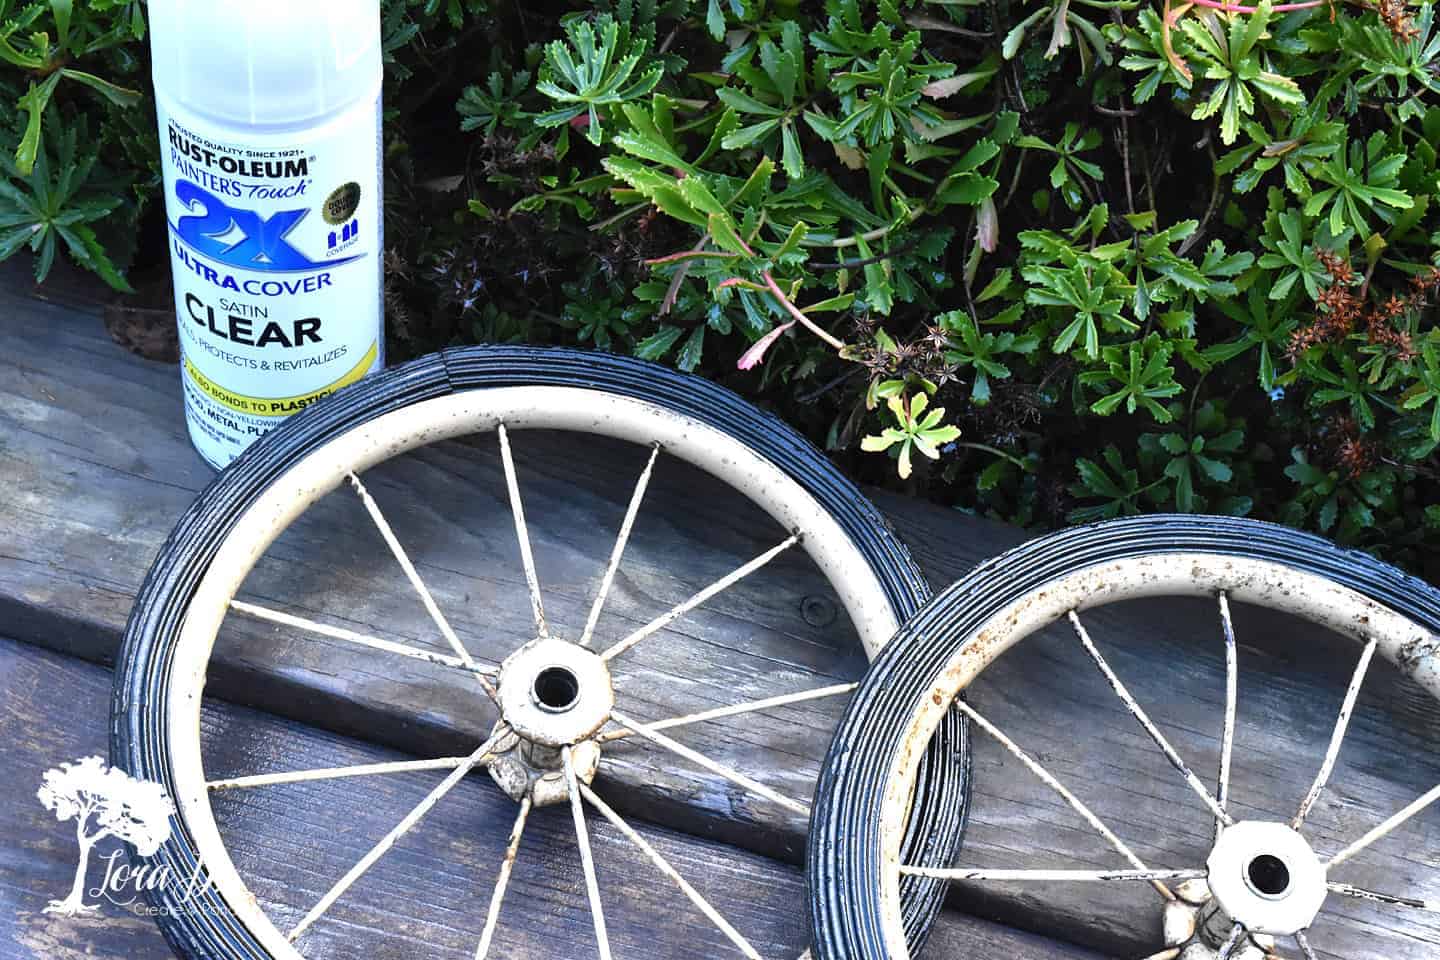
First, Clean and Seal Your Wheel
These old wheels came from a vintage baby carriage. Similarly typed spoke wheels can be found on old strollers and shopping carts. Sometimes they’ve already been repurposed onto a go-cart. Baby carriages and old strollers were never a good seller for me, so I didn’t feel bad parting them out. The parts are usually more interesting (and more profitable) than the whole.
To clean the years off, I scrubbed them with an S.O.S. pad and let them dry in the sun. Then I gave them a spray of clear spray paint, which is basically like a poly. (You can get it HERE) It gives the metal just the right amount of subtle sheen to let you know it’s clean.
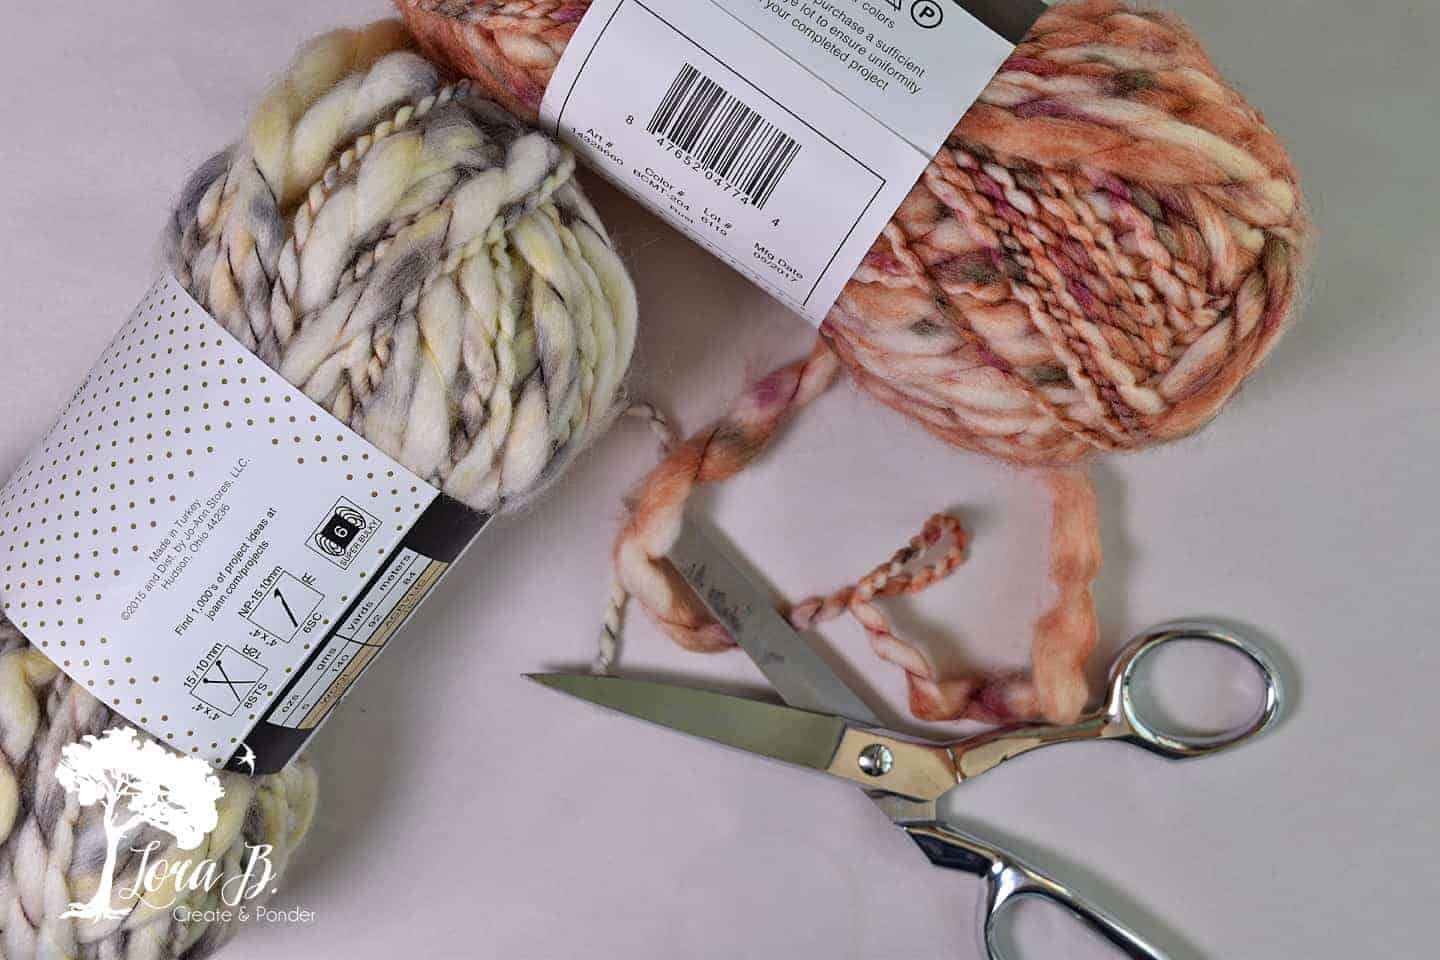
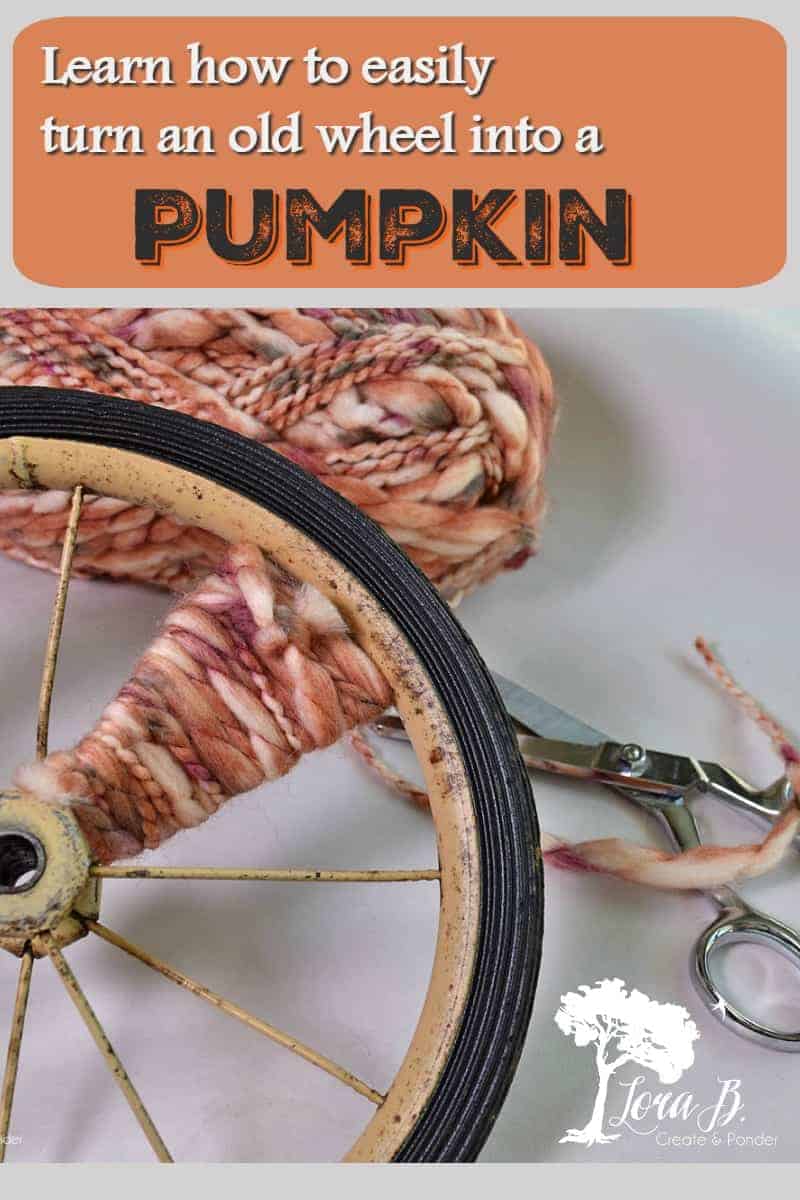
Next, Wrap the Wheel Spokes With Yarn
With a yarn of your choice, wrap sections of the wheel spokes with yarn. I chose a mottled, subtle orange yarn with a fuzzy texture. {This one is similar, but not exactly the same} I don’t knit or crochet, but I love the cozy texture of yarn, so I love coming up with a project to use it; there are so many pretty varieties available!
I began by knotting around a spoke to anchor it. I cut off a 2 foot yank, to make it easier to wrap through the spokes. I wanted the wrapping pattern to be on different planes, so I thought out which spokes I would wrap.
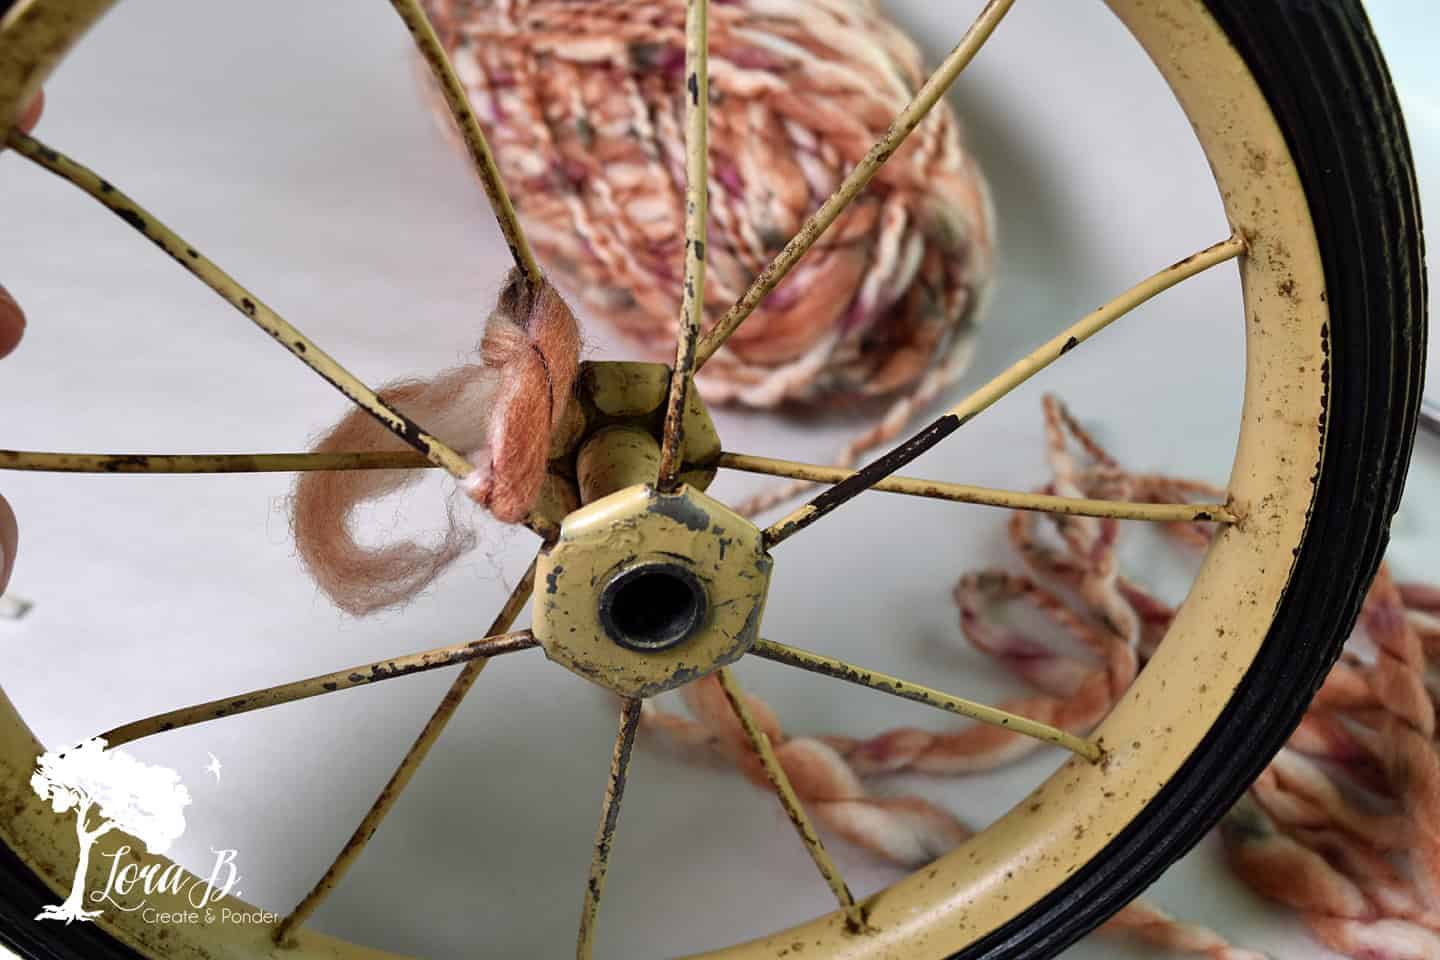
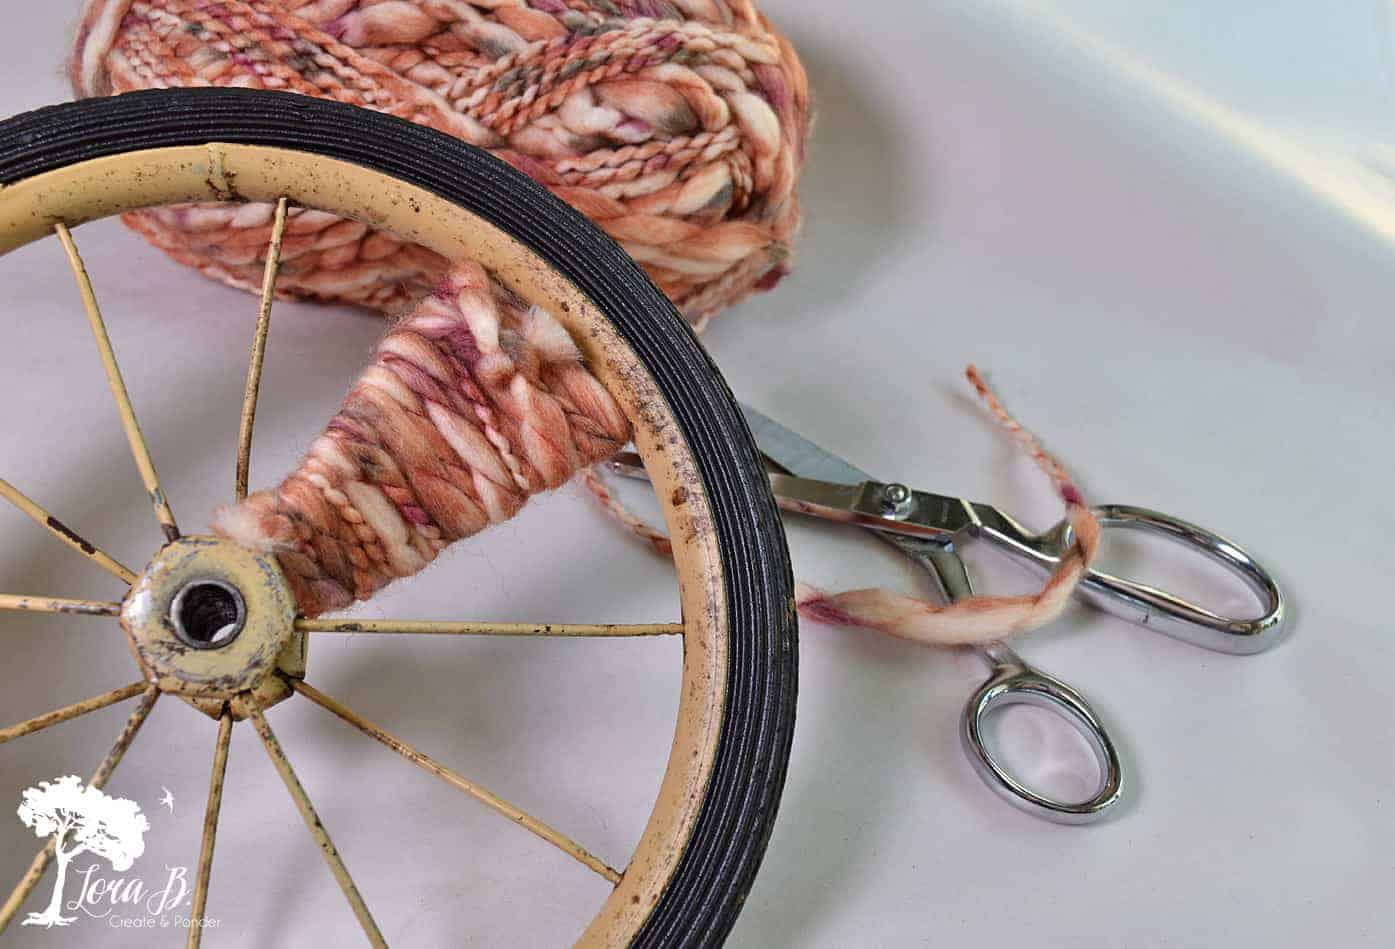
I wrapped a front spoke to a back one first. Then I wrapped two front spokes. I continued and ended up having a 3 and 2 pattern. It’s always good to have an odd number for a pleasing look.
As your yarn runs out, simply cut a new yank, knotting at the beginning and the end. Here’s what the Repurposed Wheel Pumpkin looks like from the back after all the wrapping. I cut off the tails of the knotted ends.

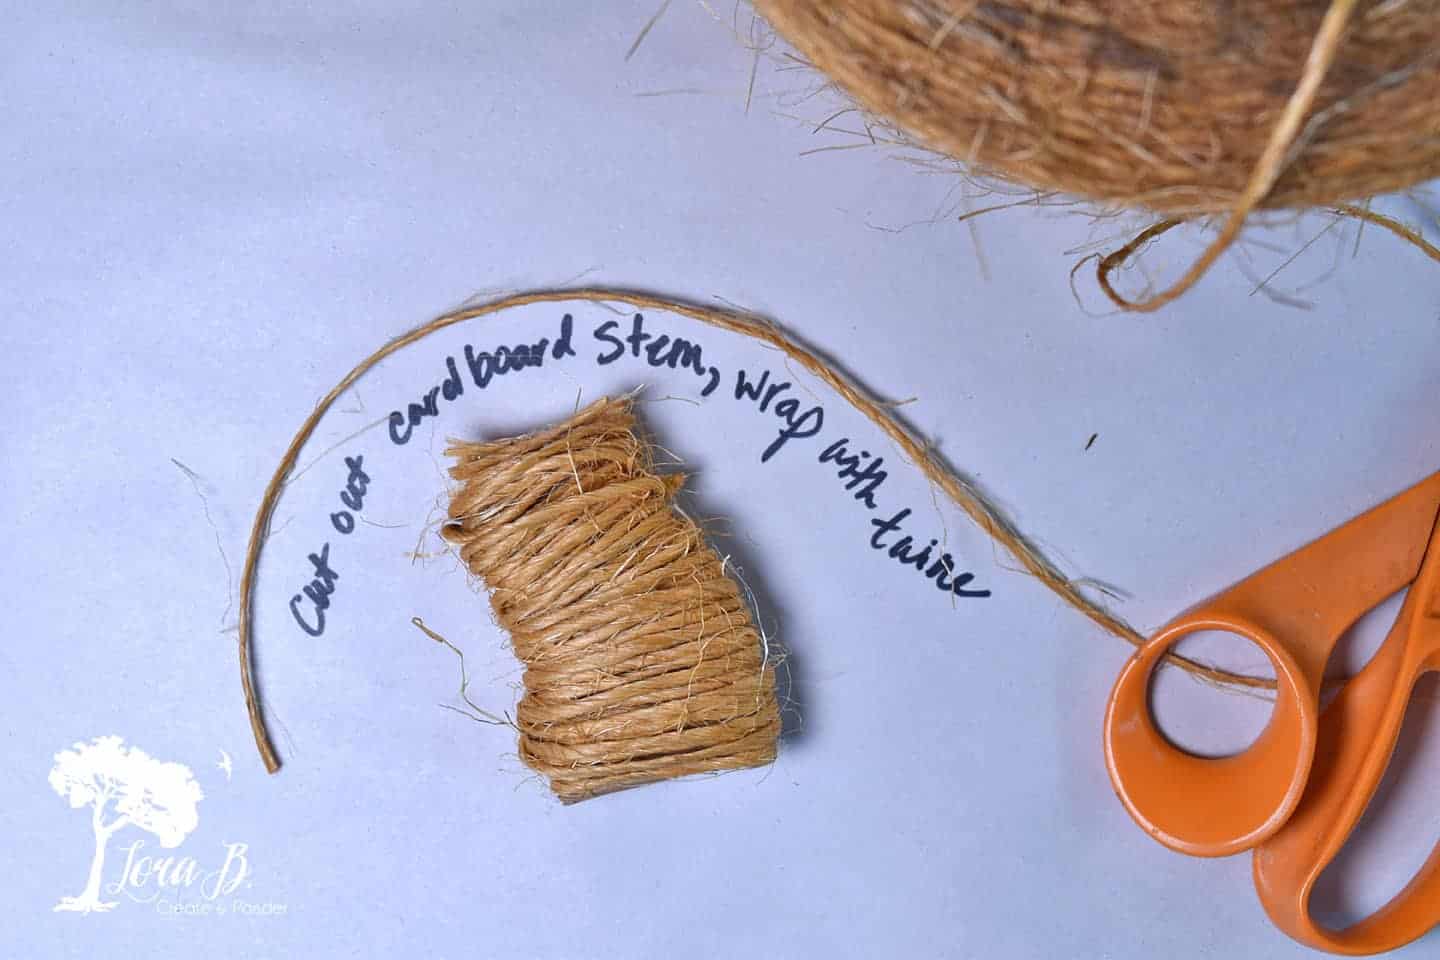
Make a Stem for the Repurposed Wheel Pumpkin
Lay your wheel pumpkin on a piece of cardboard and draw out a stem freehand. Cut it out and wrap it with simple garden twine. Using a hot melt glue gun, adhere the ends so it won’t unravel. Glue a couple cut sections to the top to finish it off.
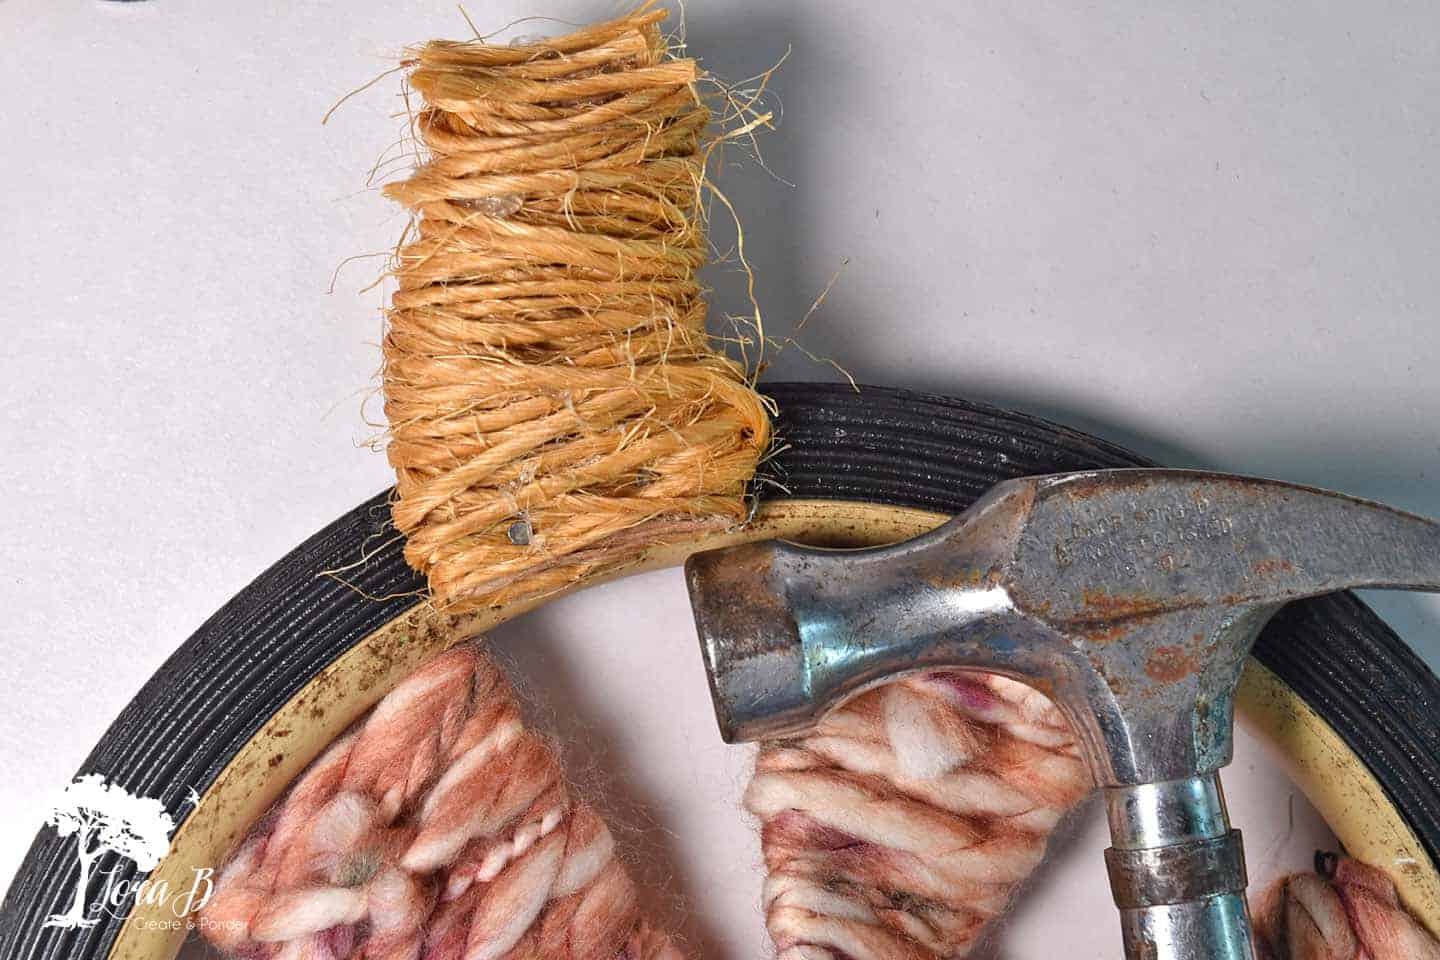
To attach the stem to the Repurposed Wheel Pumpkin, simply nail it into the hard wheel with small nails.
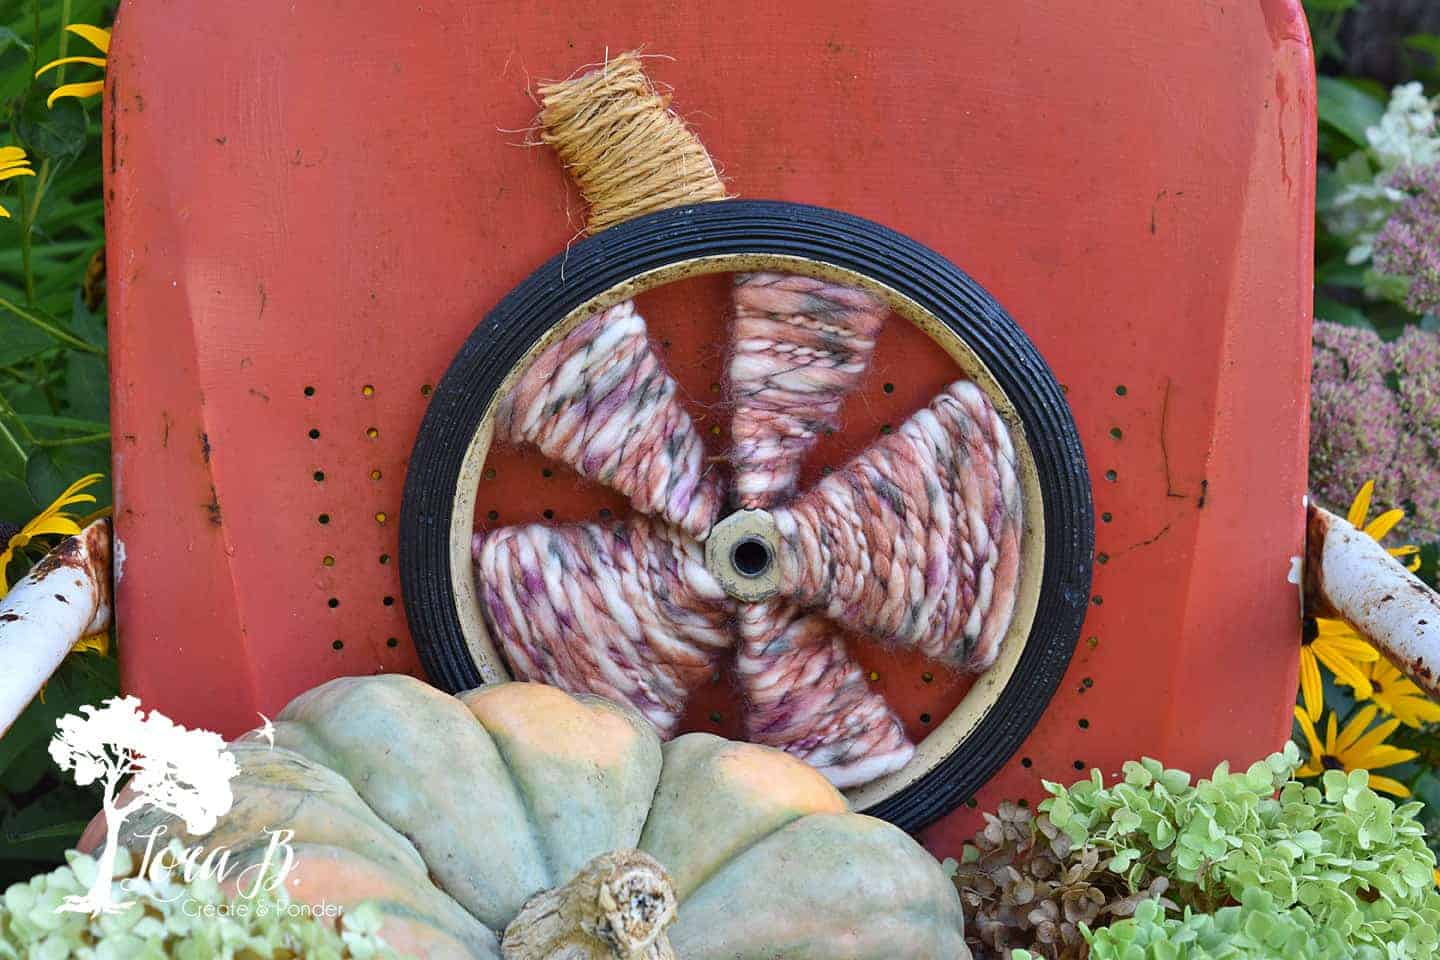
All done!
Maybe you’d call this a stylized version of a pumpkin. It’s just kinda funky and fun if you ask me. And a super easy DIY that even a kid could do. I started with just this one, but think these would definitely be better en masse, in all different heirloom pumpkin colors. They could be displayed with a cute pumpkin patch sign! (I’ll get working on that;)
What do you think?
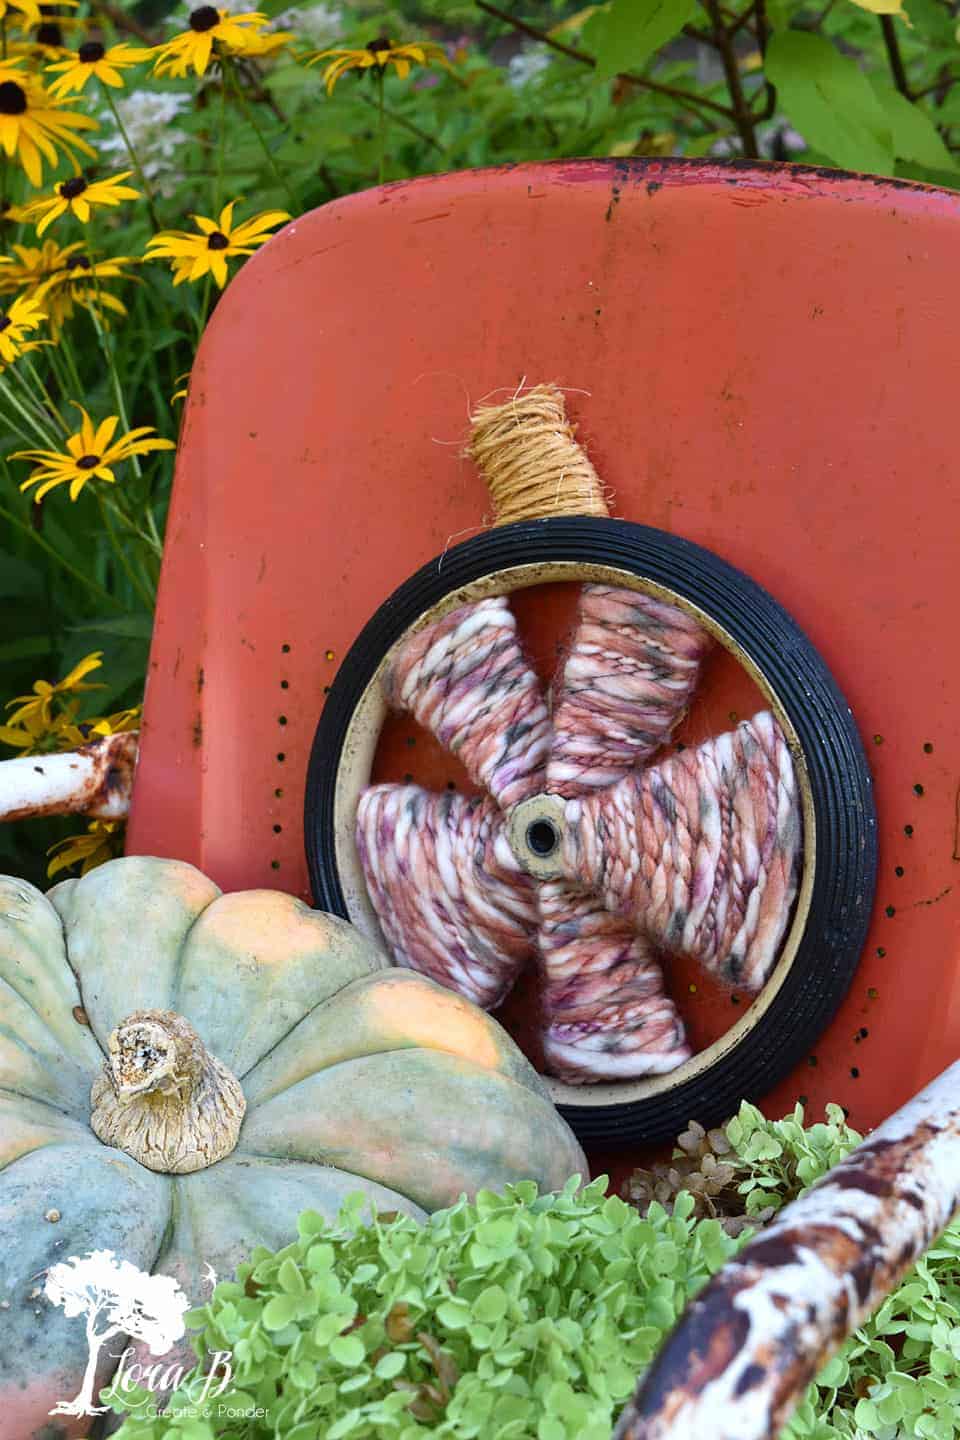
It’s pretty cute tied to one of my newest pair of coral-red vintage lawn chairs! It matches the Autumn Joy Sedum that’s just starting to turn colors. Oh, the early fall garden colors are so beautiful! I just picked up my first pumpkins, kale and mums; better grab a pumpkin spice latte to go with;)
I can’t wait to see what the rest of the Thrifty Chick’s team came up with for their wheels. Hope you enjoyed this super easy Repurposed Wheel Pumpkin DIY! Think I need to make a few more!
Pin and Save

Thrifty Chicks Wheels Challenge
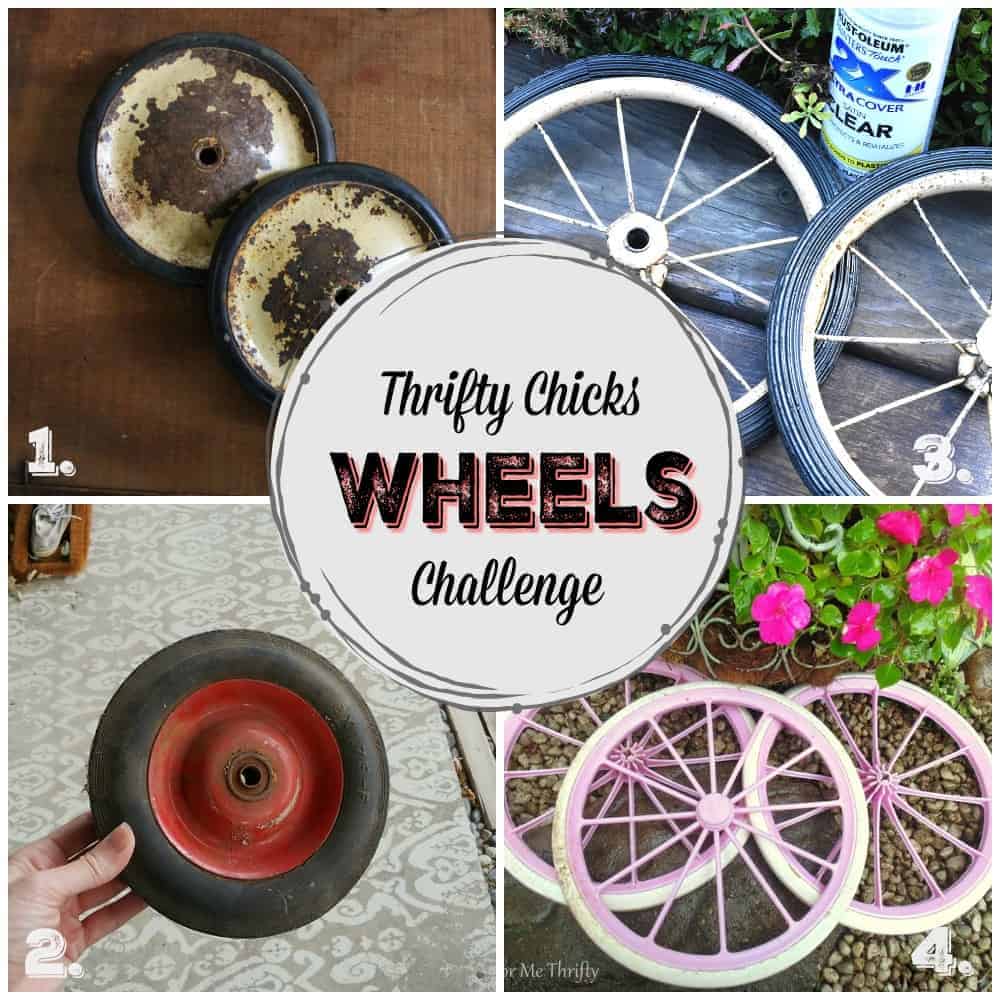
- Itsy Bits and Pieces, “A DIY French-Style Market Basket”
- Little Vintage Cottage, “Junk Wheel Wreath”
- Me;)
- Color Me Thrifty, “Repurposed Wheel Flowers”
Sharing at:
Love your cute and clever pumpkin, Lora! Thanks for sharing at Vintage Charm!
I love the way your mind thinks, Lora, very clever repurpose!
Thanks, Marie! I just love those old, spoked wheels!
You are so creative! Love this project!
Thanks, Paula! Super easy, peasy; just a little time winding;)
That is so cute! I never would have thought to do that with an old wheel!
Thanks, Tania! Acutually, you might have…our brains are on the same wave-length sometimes;)
What a great idea Lora! I didn’t see it coming, but love where you went with your pumpkin, and can totally see a grouping of these guys. I also really appreciate your comment about parting out vintage carriages and strollers. It’s so easy to get latched onto the vintage aspect and lose sight of the potential – thank you for that!!
Totally, Sheila! We can’t all be total purists if we want to make money. Sometimes the parts are much more useful creatively than the whole. The museums can keep the wholes;)
Such a fun project, Lora! Makes me look at wheels in a whole new way!
Wonderful, Linda! I’m sure you’ve got some laying around somewhere…
Love your funky pumpkin Lora! It’s a cool repurpose of an old wheel.
Thanks, Tuula!