
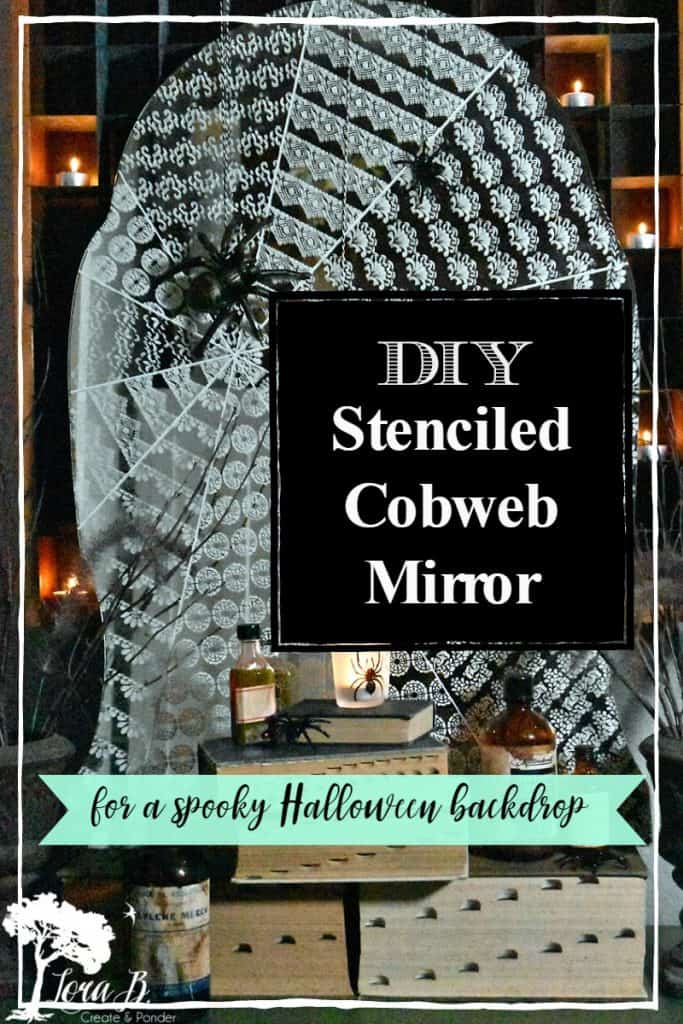
Stenciled Cobweb Mirror DIY
DIY a Stenciled Cobweb Mirror for the perfect Halloween decor backdrop.

X marks the spot. With a line, line, line, and a dotty, dot, dot, dot. Spiders, crawling, up. your. back…
Do you remember saying this little rhyme as a child and drawing on your friends back with your finger? Can you finish the rest? Maybe this childhood chant inspired me into a spider theme today! I’m not really scared of spiders (small, non-poisonous ones, that is), but I certainly don’t want a mama spider having all her babies in my house! But that’s just the scene I created with this Stenciled Cobweb Mirror DIY!
Today is our Thrifty Chicks challenge day, when a group of DIY bloggers all create around a theme. This month we’re focusing on mirrors! Can’t wait to see what my friends came up with. I’ll have all their post links at the end.

Stenciled Cobweb Mirror DIY
For your convenience, this post contains affiliate links. If you make a purchase, I may receive a commission. There is no additional cost to you. My full privacy policy is here.
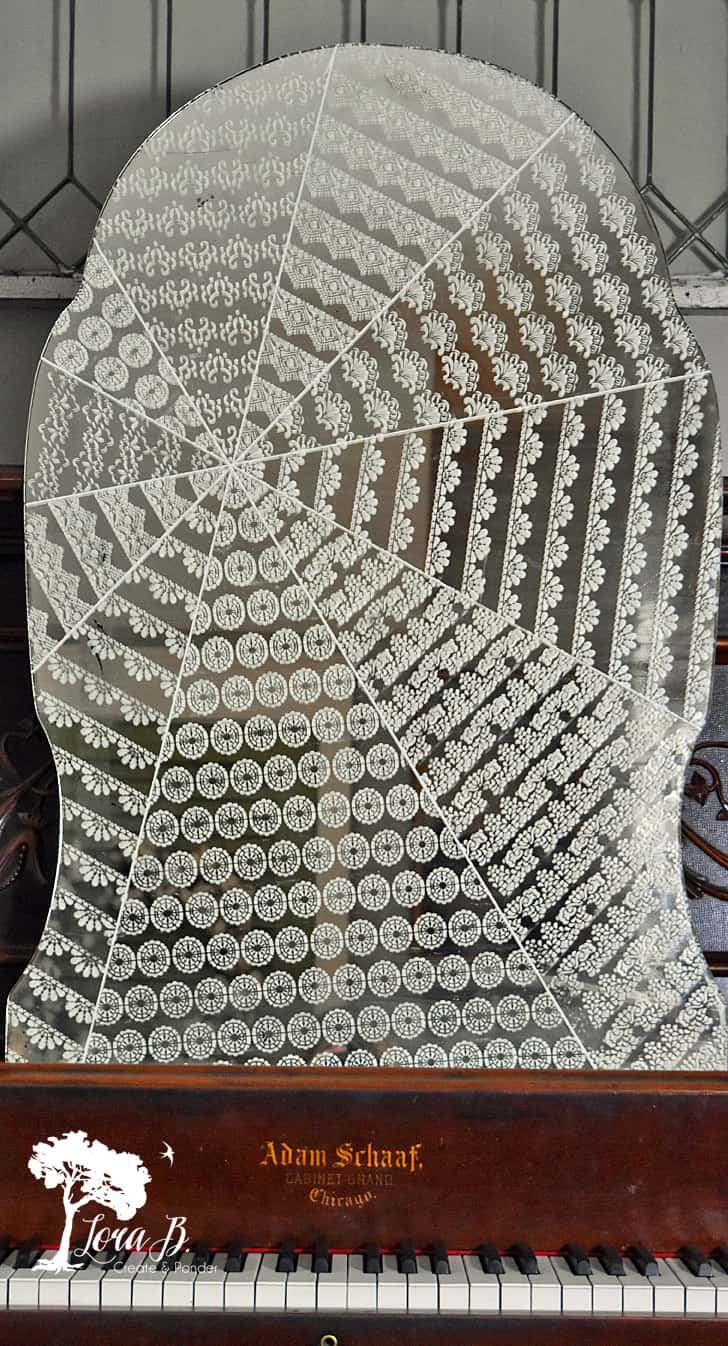
As you can see in the top pic, I had an old mirror left over when I turned it’s frame into a chalkboard (which you can see in “Fall Decorated Porch and Patio”}. It’s curvy shape needed to be used for something, but what?
Use Lace Stencils for a Cobweb Mirror
I picked up a stencil recently at a church sale that was made up of lacey strips. {You can get it HERE} Hmmm…spider webs are kind of lacey…and it’s almost Halloween. I don’t really do much with Halloween decor, but I have been enjoying my “Decorating with Crows and Enamelware” vignette in our entry. Might as well add some spiders to my decor!
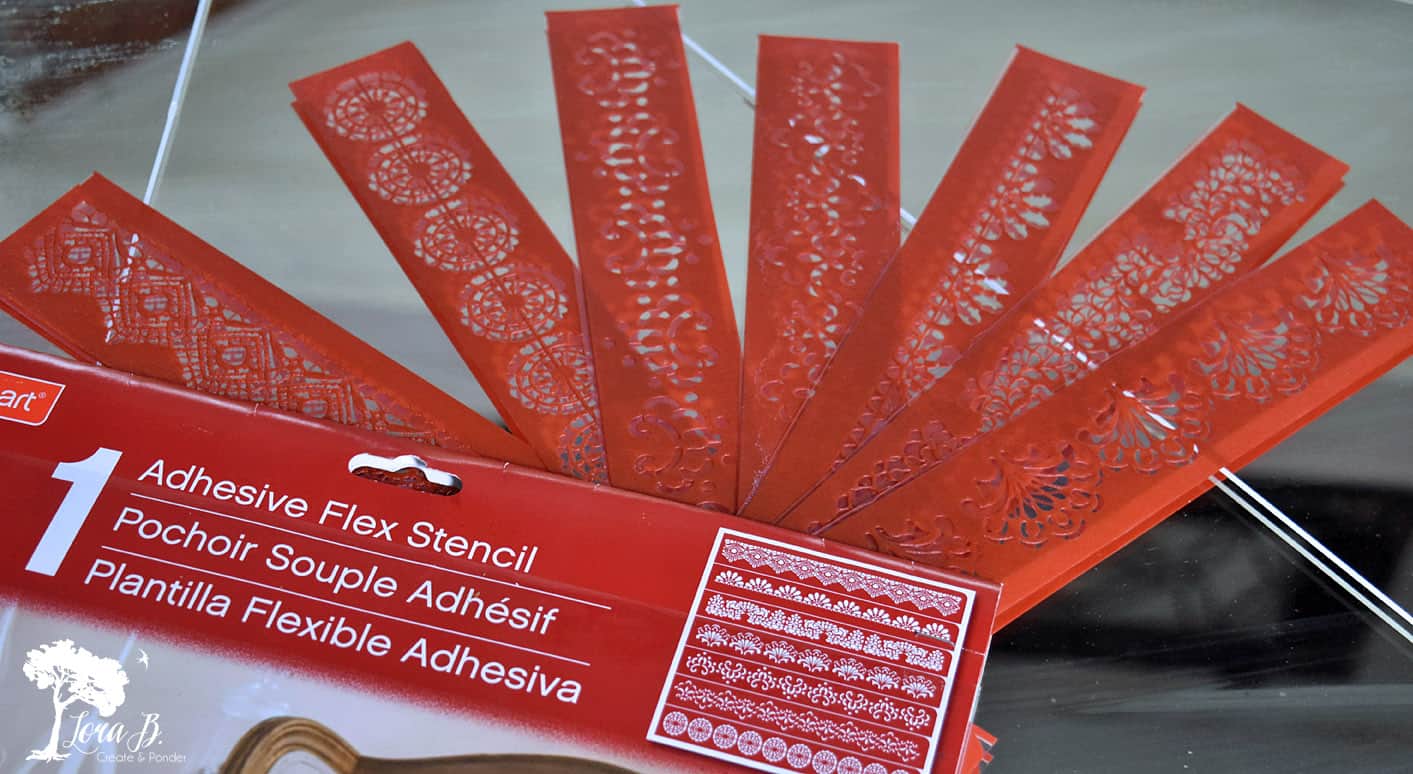
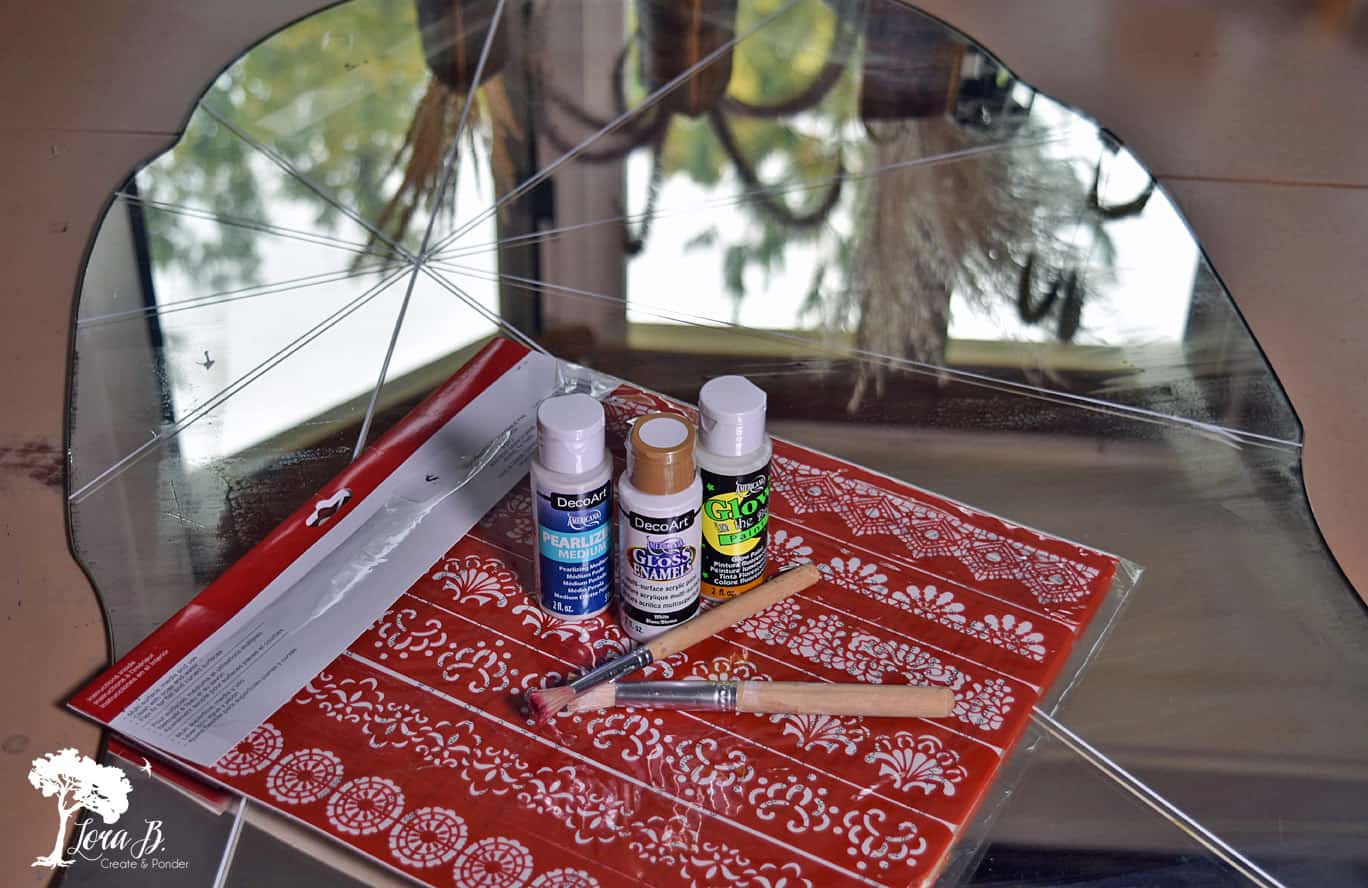
I picked up some supplies to go with the church sale stencils and the old mirror. Some glittered Halloween spiders, a white, oil-based paint pen, and craft paint. I got a white gloss enamel, a pearlizing medium, and a glow in the dark paint. I had an idea of how this was going to turn out; hopefully it would work!
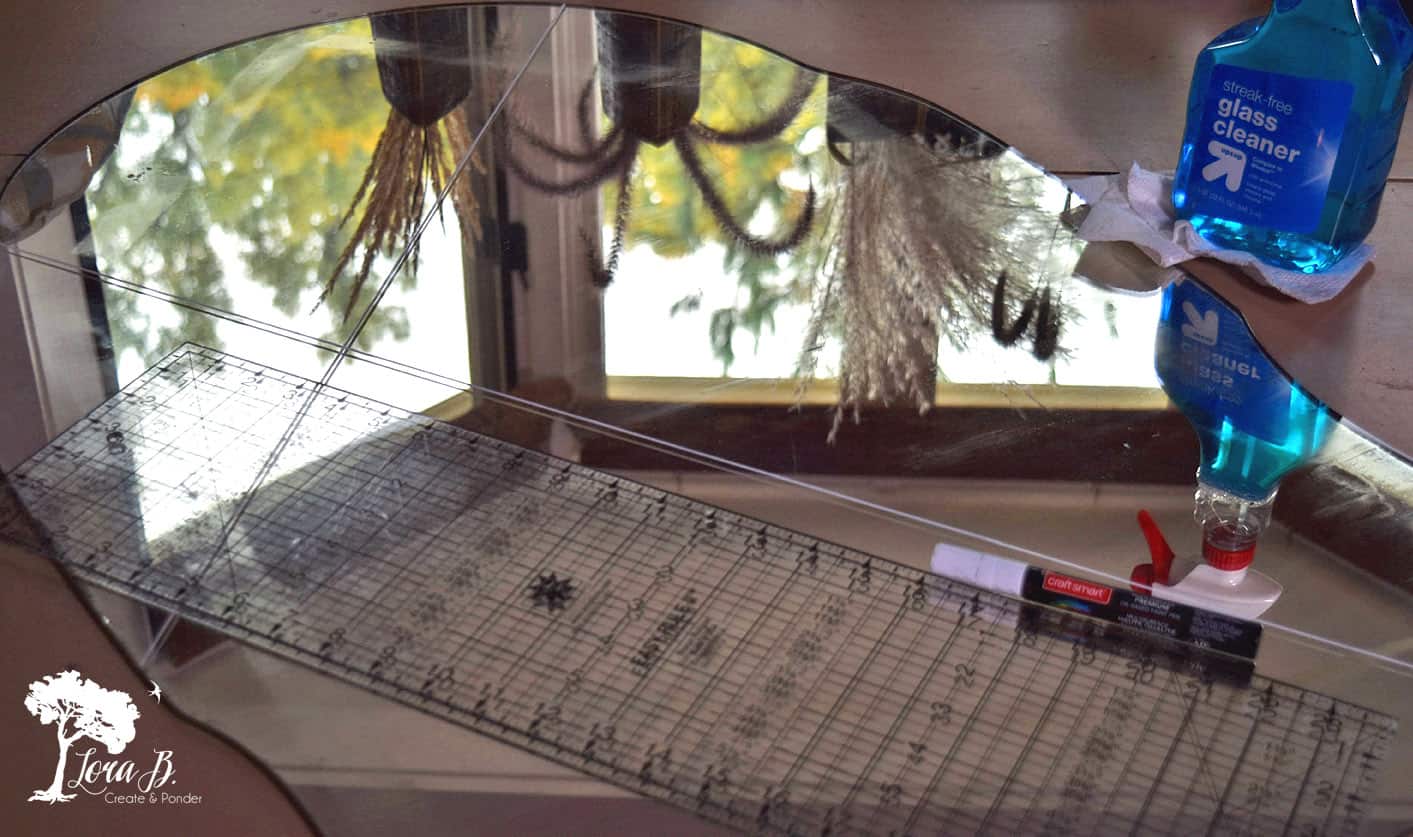
Begin the Cobweb Mirror by Drawing Intersecting Lines
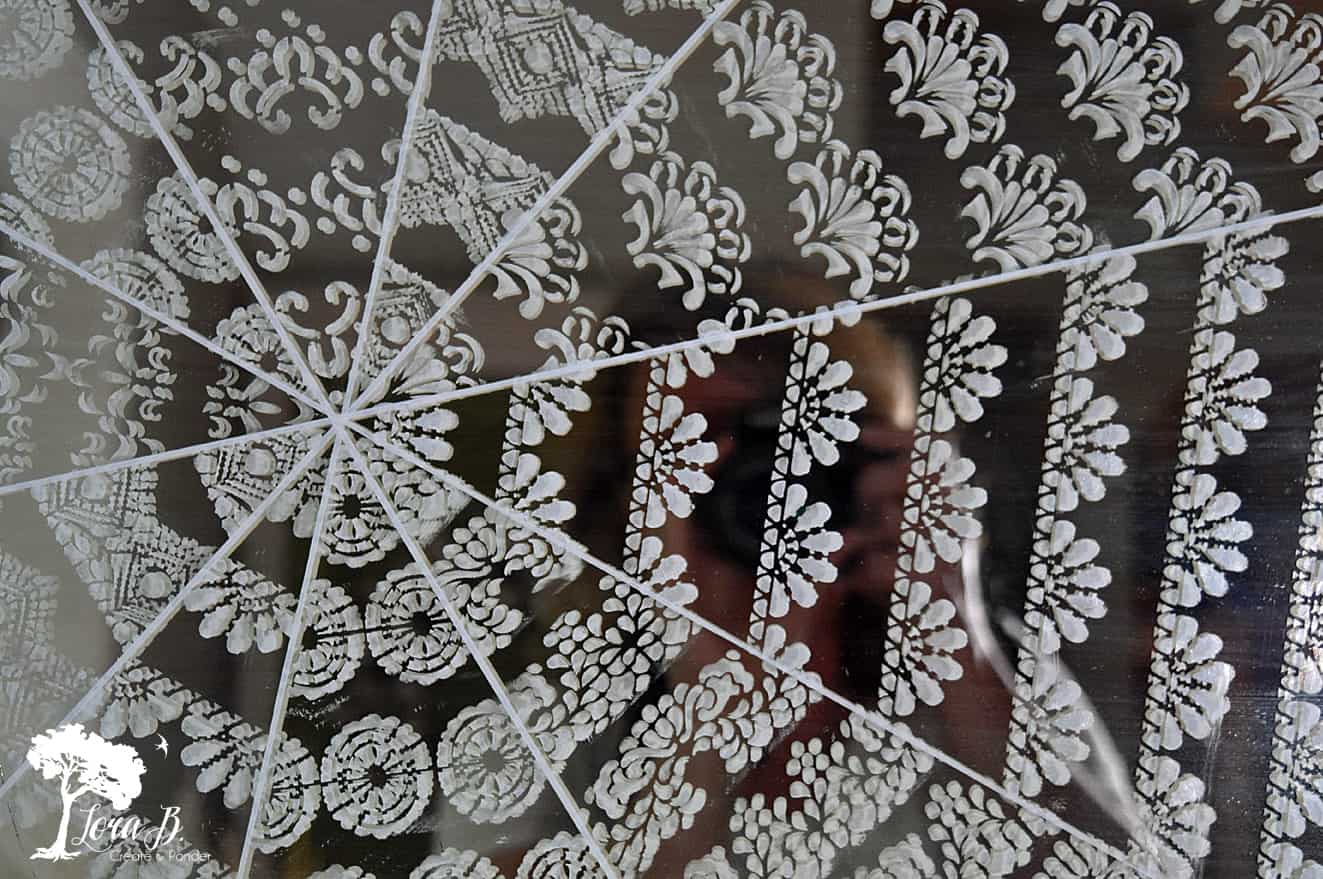
I began by drawing intersecting lines with the paint pen. I wanted the center of my spiderweb to be off center. Between drawing each line I wiped the ruler with some window cleaner on a paper towel. Also make sure you lift the ruler carefully, so as to not smudge your fresh, white line. Give each line a few minutes of dry time before starting the next.
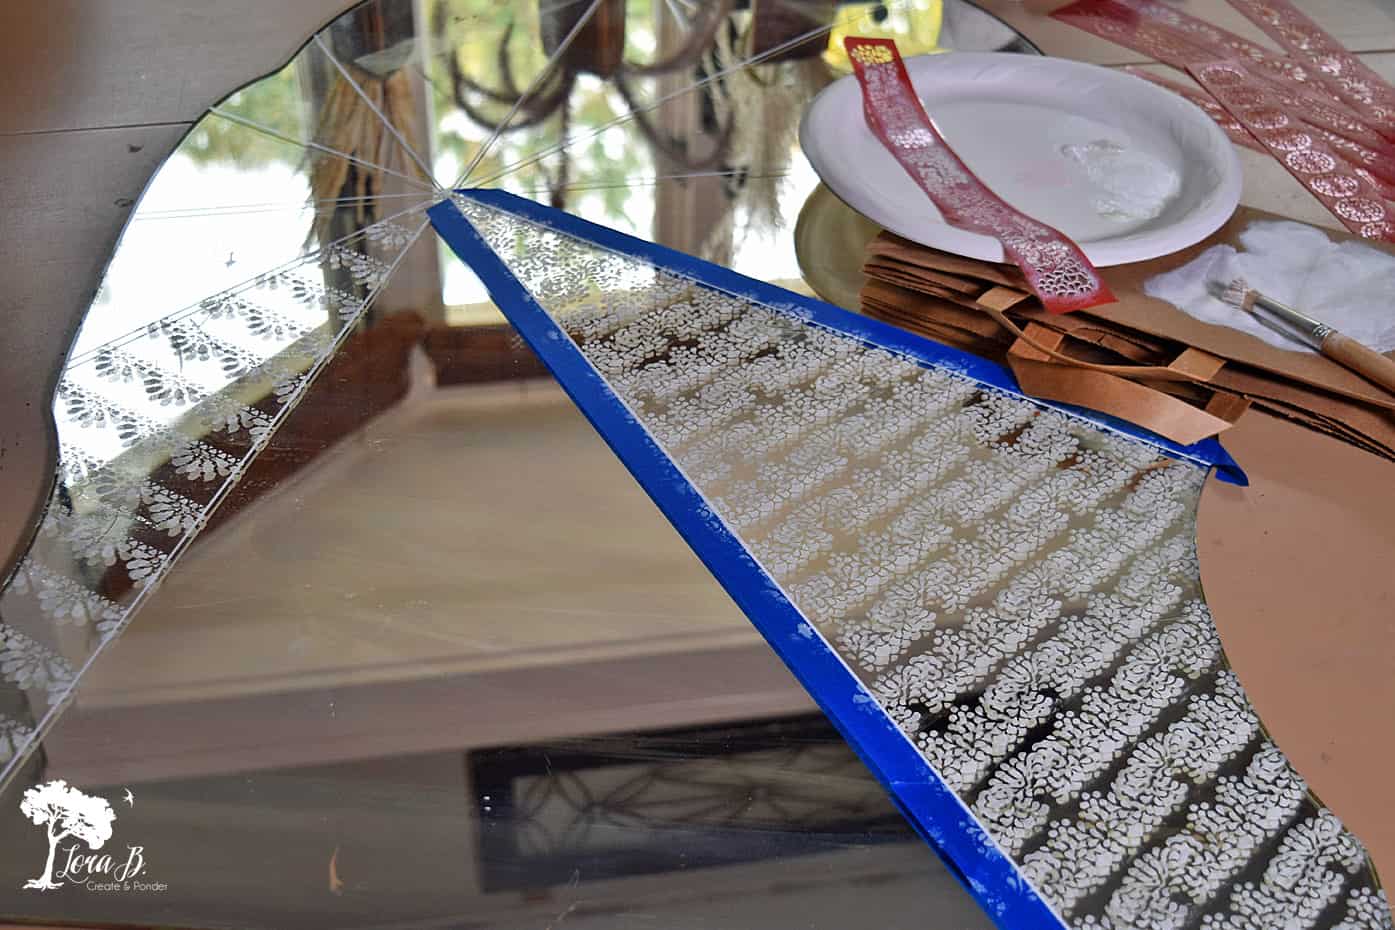
Stencil Each Section with a Different Lace Pattern
Once you get your web intersection done, you can begin stenciling the lace strips between the sections. I used painter’s tape to block off either side of the section I was working on. I also painted every other section to give some dry time.
Starting to look like I imagined it in my head;)
Yes, this step takes a while. Put on some good music and enjoy being creative!
Placement tip: With each line, window the stencil, so you’re not placing the design right under what you did. Take a close look at the design on the left, above. See how every other line design matches?
These flexible stencils actually came with adhesive right on the stencil, which was great for keeping them in place. And the adhesive is still on them, even after I washed them.
After a couple hours of painting, I was pretty happy with the results:
Use Your Stenciled Cobweb Mirror in a Spooky Halloween Display
Now to create some creepy fun!
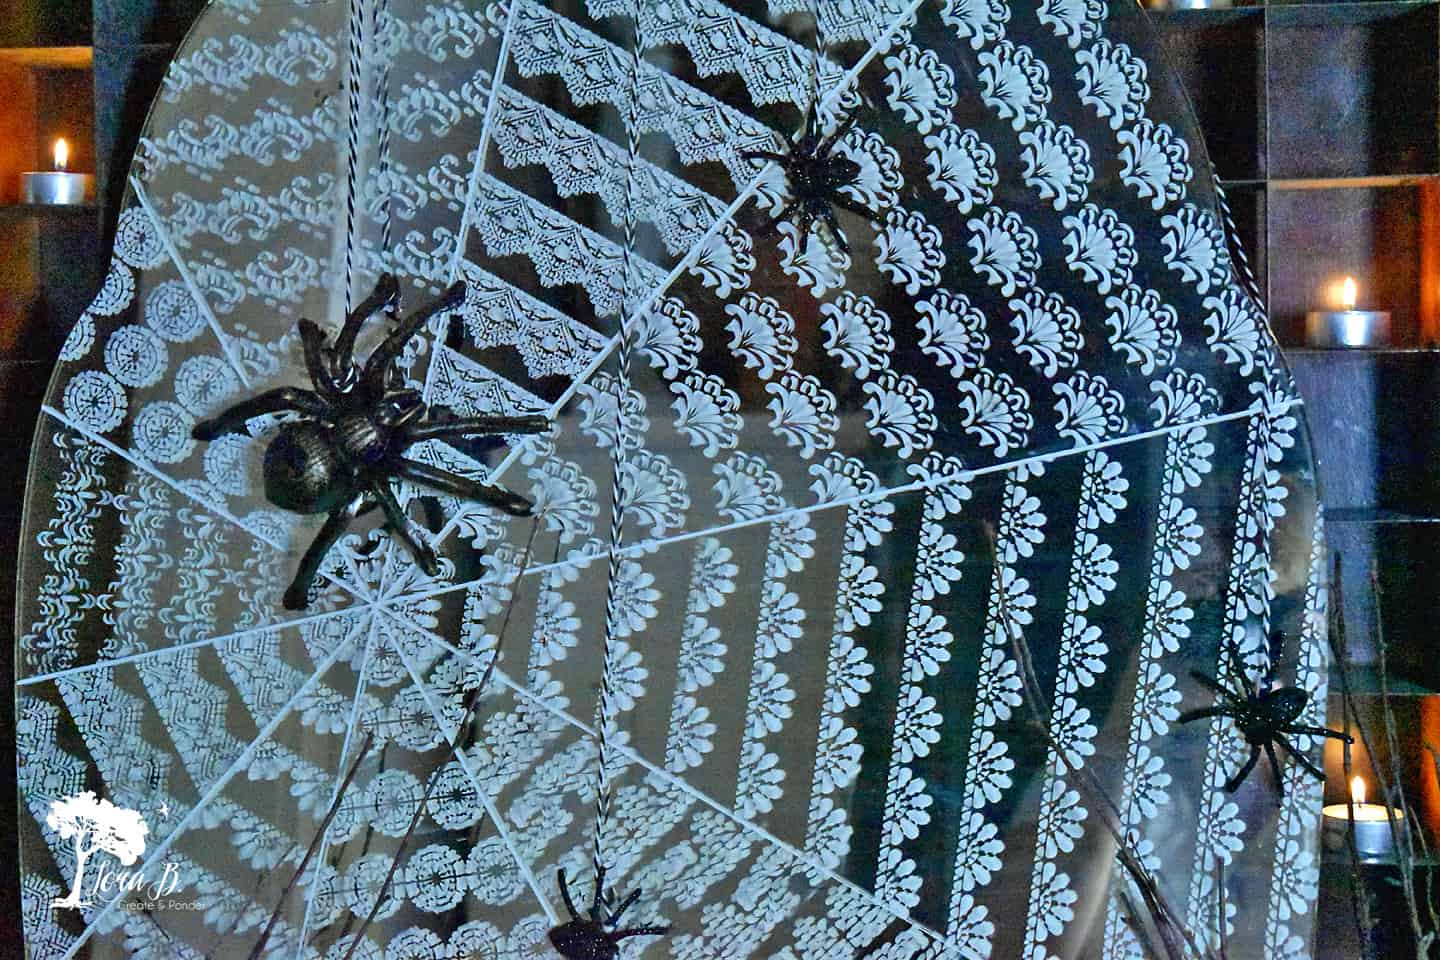
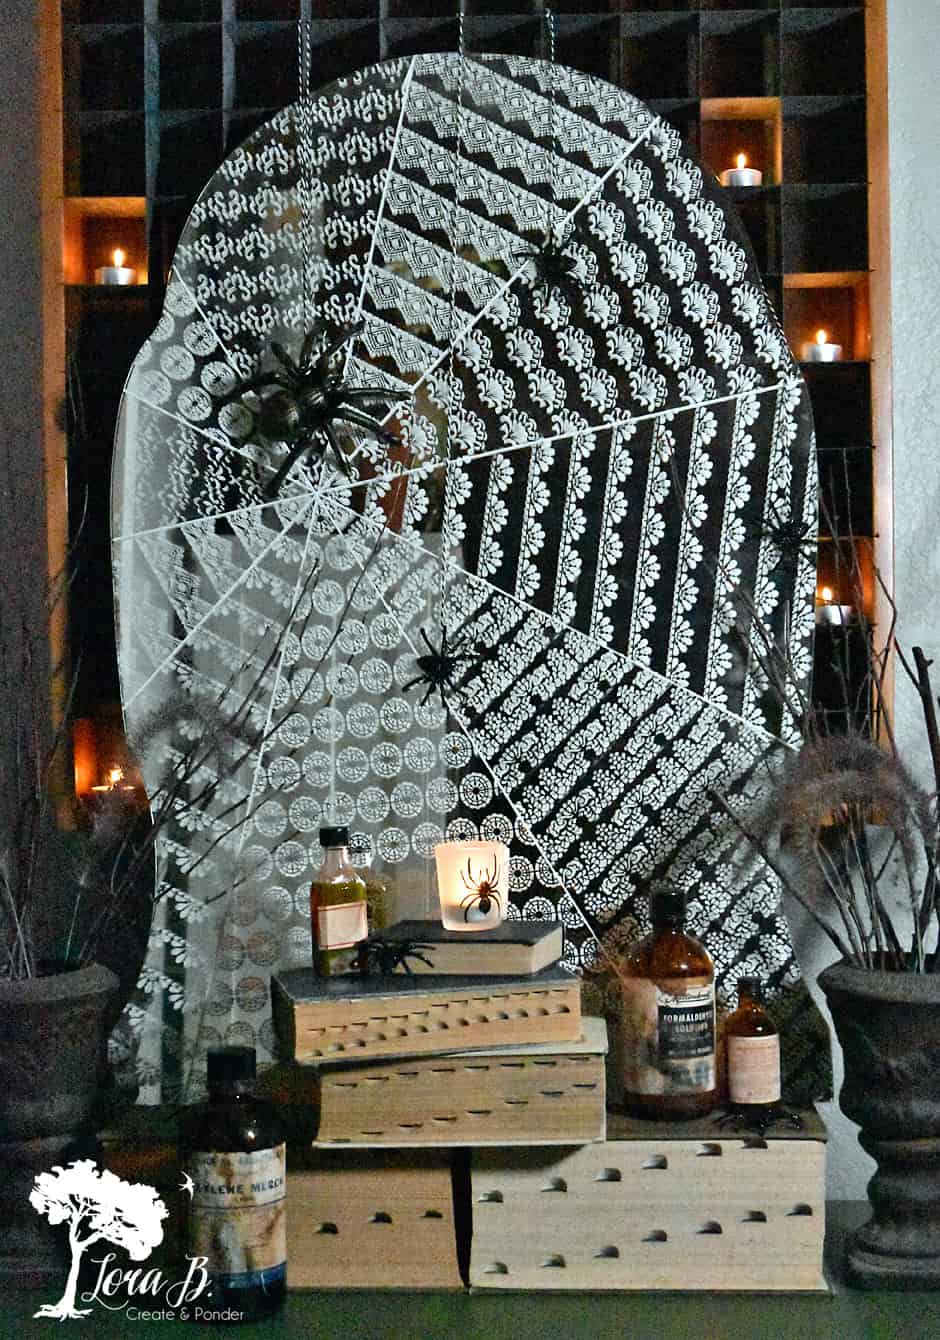
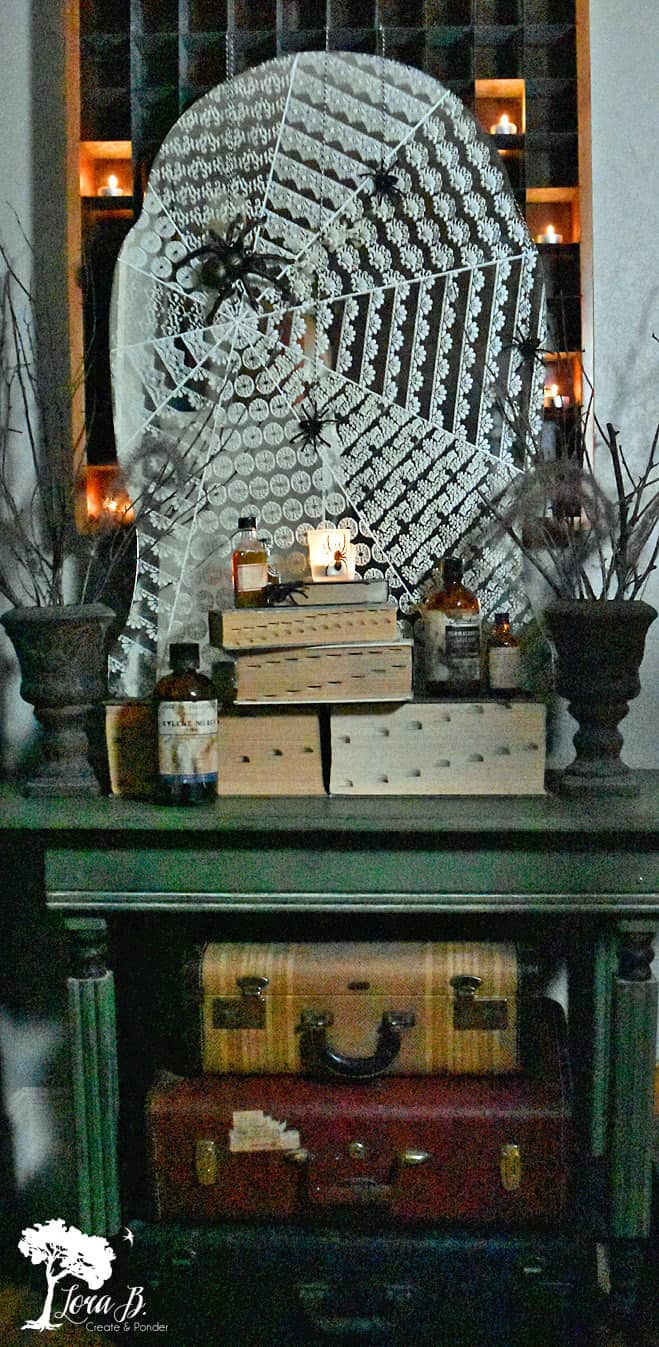
I grabbed the spiders-a big momma and some glittery babies-and some black and white twine and headed to my favorite postal cubby at the bottom of my stairs.
I also grabbed some of my favorite, oversized tabbed books {“Decorating With Vintage Books: On the Hunt for Tabs”} and some old chemical bottles I found in a curbside pile (chlorofoam, anyone?).
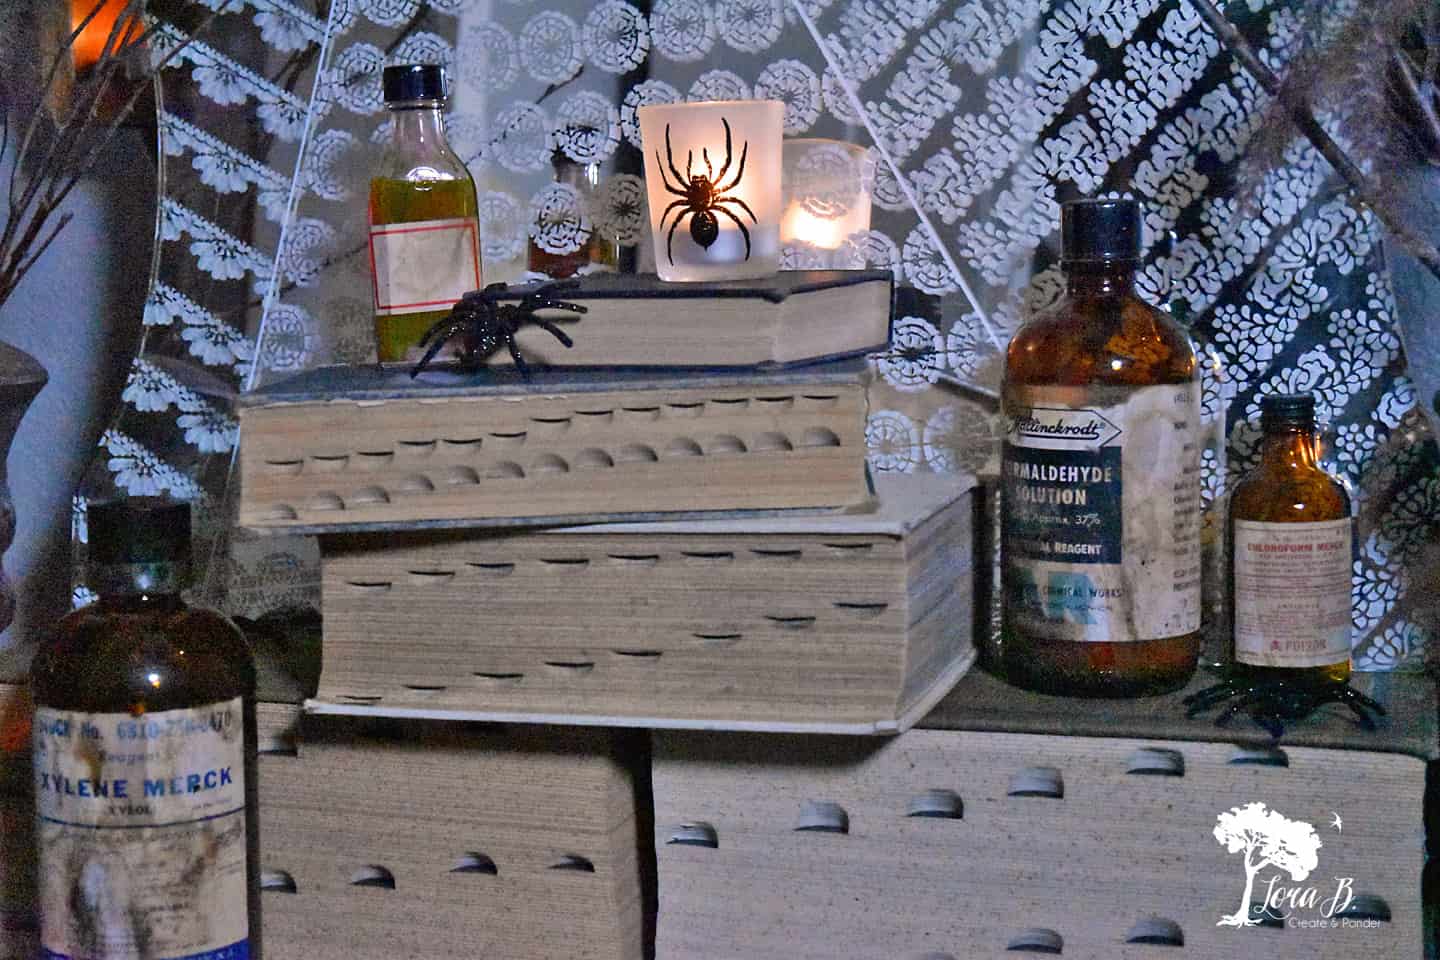
The creepy scene with the lacey, spiderweb backdrop came together even nicer than in my mind!
Guess this end of my house is all ready for Halloween!
Here’s the end to that little rhyme…
“blood rushing down. Crack an egg over your head; cool breeze, tight squeeze…now you’ve got the shivereez!”
Hope I triggered some fond childhood memories for some of you!

Shop to Create the Look:
Plastic ruler
Painter’s tape
White gloss enamel craft paint
stencil brush
If you’ve got an old mirror, don’t throw it! Get crafty and create a Stenciled Cobweb Mirror DIY for your Halloween-decorated home! It will look amazing with votive candles flickering in the reflection!
Before you check out all my Thrifty Chicks friend’s challenge projects, make sure you Pin and Share!

Thrifty Chicks Mirror Challenge
Sharing at these lovely parties:
Best of the Weekend
That mirror is GORGEOUS! The most imaginative spider web I ever did was caulking a spider web onto my French doors–no comparison at all. I don’t decorate for H. as much since kids left home, but I have been busing making pumpkins for my booth from upcycled thrifted clothes. As Al slept in this a.m., it was a good, quiet job this mornng! Started a Christmas wreathe for our bazaar–gotta go where the spirit moves me (and supplies come to surface!) !
Yes, I loved how this mirror turned out, Kathy. Unfortunately, my son broke it recently:( I’m going to have to do another one, because I loved using it as a backdrop!
This is so fun, Lora! Thanks for sharing at Vintage Charm!
Thanks, Cecilia!
Fantastical display??♀️??♀️??♀️
Amazing perspective and balance??
Thanks, Lee!
Lora you blow me away with your creativity! I probably said the exact same thing when I commented on your porch tour post haha!
Wow this is so unqiue! Great project!
Thanks, Amber! You probably have a couple extra mirrors hanging around, you could add one of these to your Halloween decor;)
What a fabulous and creative idea for a mirror! I love the Halloween vignette you created around the mirror too. I would never have looked at those stencils an thought of a spider web. Pinned 🙂
I originally was thinking Christmas, but I didn’t think people would be quite ready for that…so it turned Halloween! Thanks, Marie!
Wonderful project Lora! How can something be both beautiful and creepy at the same time? lol. Love it!
I know, right? Creepily beautiful?? Think Webster should add that one…
Magnificent! Such a creative idea and wonderfully executed, Lora. Nice project 🙂
It was kinda fun to stencil again, honestly! Used to do more of it…in the 80’s;) Like teddy bears and hearts…remember those??
This came out spooktacular! Sorry I couldn’t resist. It really does look great.
Perfect description, Debra! Thanks!
Love the lace idea…best part is seeing the reflection of what’s in the back ground of each mirror challenge picture. I ALWAYS check out what’s in the back ground.
Me, too, Linda! I was totally looking at that when I was taking the pics!It’s so hard to blog mirrors!
You’ve done it again Lora! This is just beautiful!
Tania
Aw, thanks, Tania! It was plenty time-consuming…but fun:)