
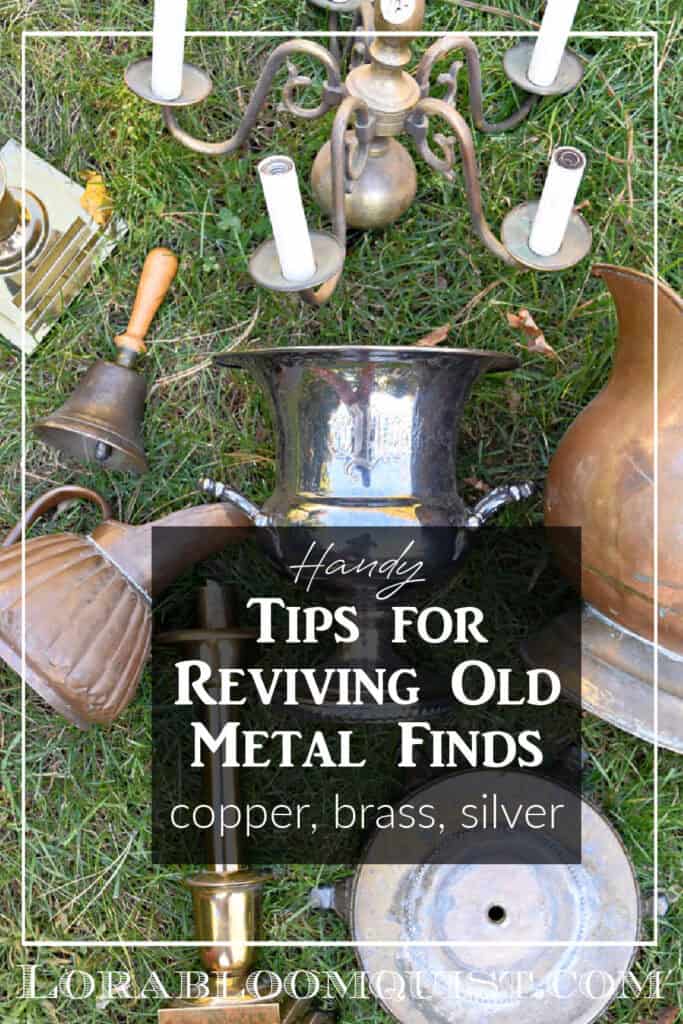
Thrifted Finds: How to Revive Old Metal Pieces
Vintage metal finds convey a beautiful, time worn character in your home decor. These handy tips for cleaning and polishing copper, brass, and silver will embrace the patina and earned character of these beautiful pieces.
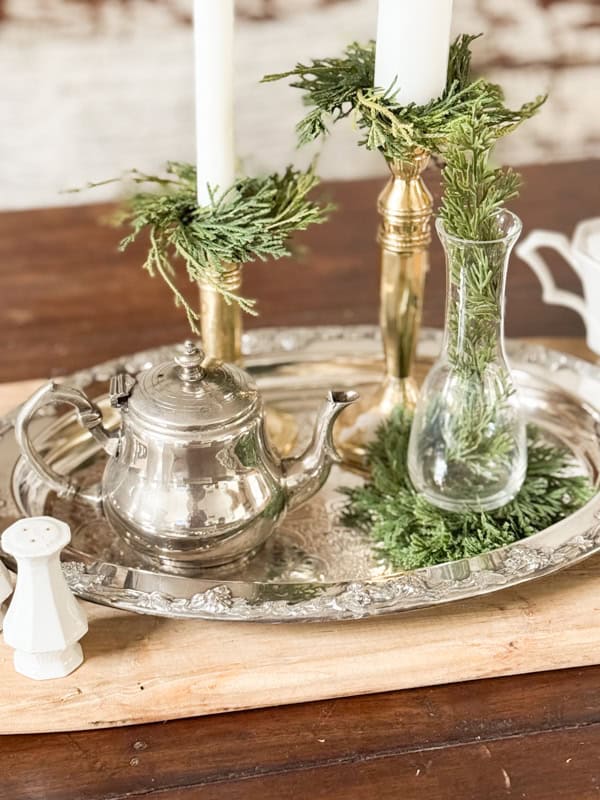
When you’re out thrifting, do you scoop up vintage metal finds? I especially love decorating with patinaed metal in the fall to winter months. Somehow the subtle luster styled here and there adds a coziness, combined with other textures. Today I’m sharing how you can make them look their best in Thrifted Finds: How to Revive Old Metal Pieces.
Thrifted Finds: How to Revive Old Metal Pieces
For your convenience, this post contains affiliate links. If you make a purchase, I may receive a commission. There is no additional cost to you. “As an Amazon Influencer, I earn from qualifying purchases.” My full privacy policy is here.
Be sure to check out all the Thrifting with the Gals posts at the end. These ladies are so creative and inspiring!
Embrace Time Worn Beauty
I have to admit, I’m no expert when it comes to polishing old metal. In fact, I’ve avoided polishing, because I don’t want things to be new and shiny. I love the subtle, time worn character; that’s why I buy vintage.
But a recent find convinced me to give my old metal pieces a boost. Maybe a little more luster and a little less tarnish could be good in my fall and winter styling? Vintage metal pieces in home decor are definitely trendy right now; great time to give them a boost!
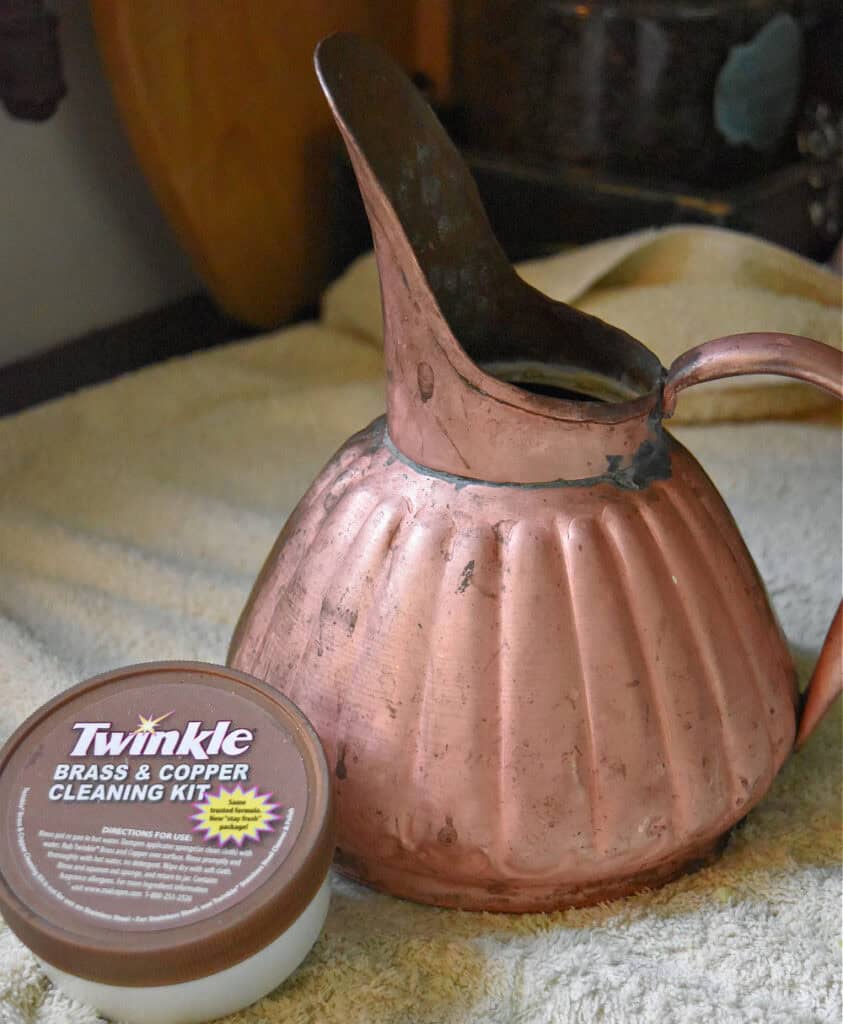
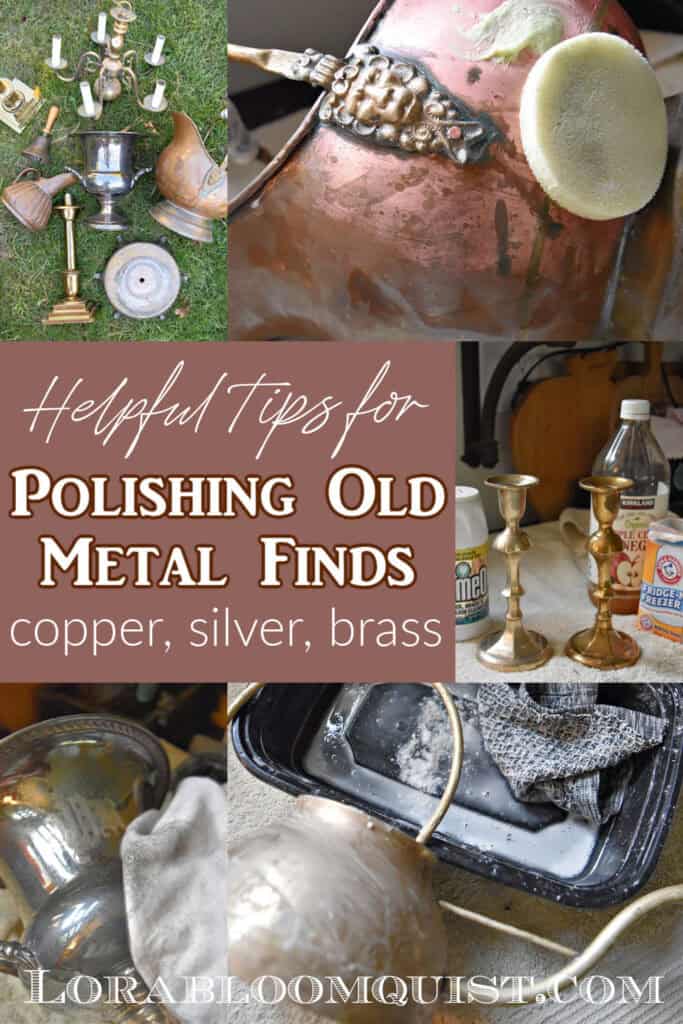
So I did a little Pinterest research and pulled out all the ingredients and cleaning products I had laying around. I spread an old towel on the kitchen counter and got to work on my pile of copper, brass and silver. I still have more to go, but hopefully this process will help inspire you to revive your metal pieces, too!

A box of latex gloves is great to have on hand for a cleaning project like this. It was much easier to put a layer of pasted polishing products on candlesticks, etc. I pulled out simple household items to combine: soda, salt, lemon juice, apple cider vinegar, but ended up using the cleaning products more.
Polishing Silver Vintage Finds
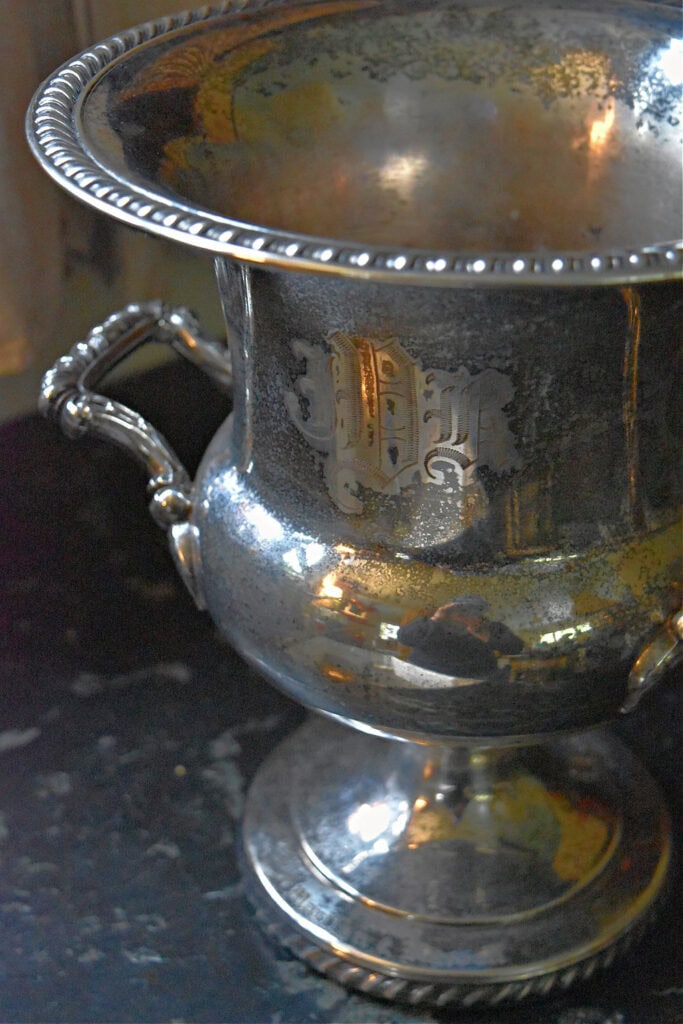
In return for borrowing trunk-fulls of themed party decor (several times;), a good friend gifted me an amazing silver plated champagne ice bucket with a custom engraving and monogram. I remember how excited I was for her when she scored it at a garage sale. I told her if she ever got tired of it, it could come my way. Yep…it did!
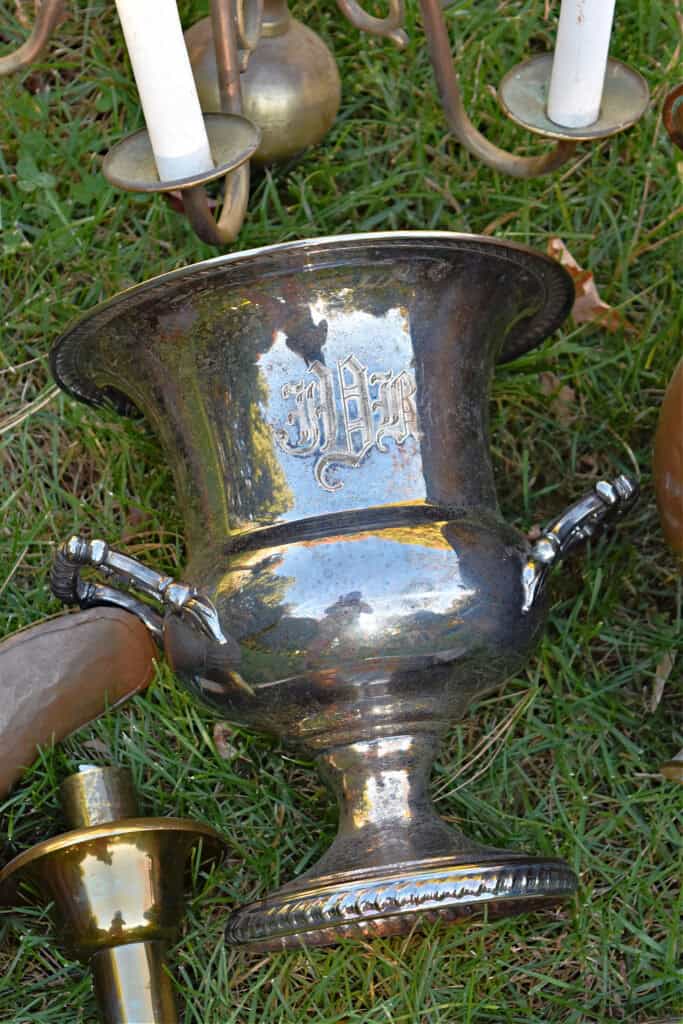
I don’t normally polish my collection of silver, because I love the tarnish. (you can see a Christmas hutch display with it HERE) But I wanted the engravings on this piece to show more, not get lost in the patina.
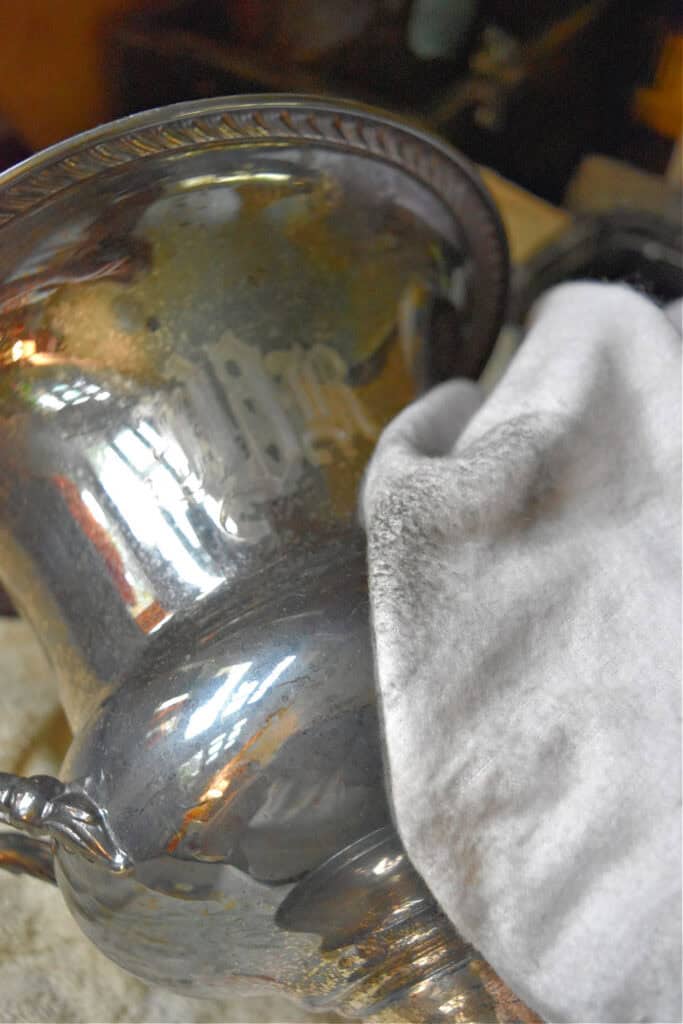
First, I tried rubbing over the monogram with a polishing cloth, like THIS. This is a great item to have on hand for quick silver polishing touch ups on flatware and jewelry. It definitely took a little of the tarnish off, but I felt like it needed a little more, without going all shiny.
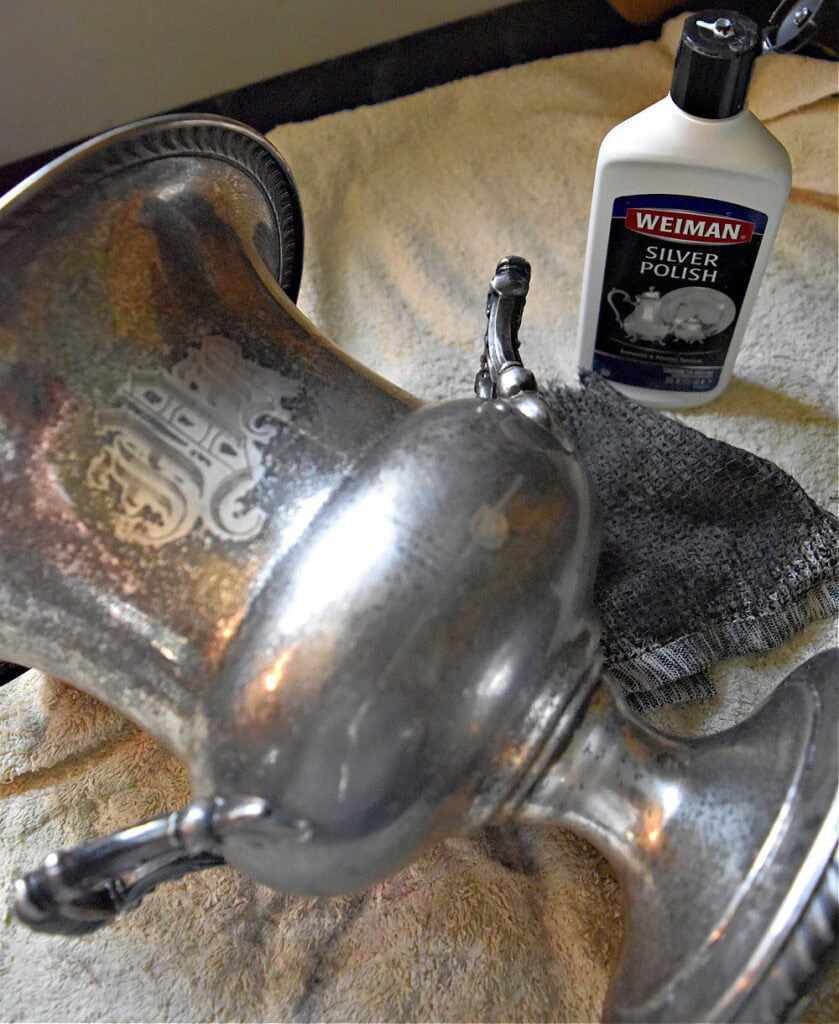
Next I wiped on a traditional silver cleaning product with an old rag. I went over the whole piece one time, just to see the etching better. You could keep on going if you wanted to remove more tarnish. You could also use a toothbrush for detailed pieces. The amount of shiny-ness is totally personal preference. I like the tarnish.
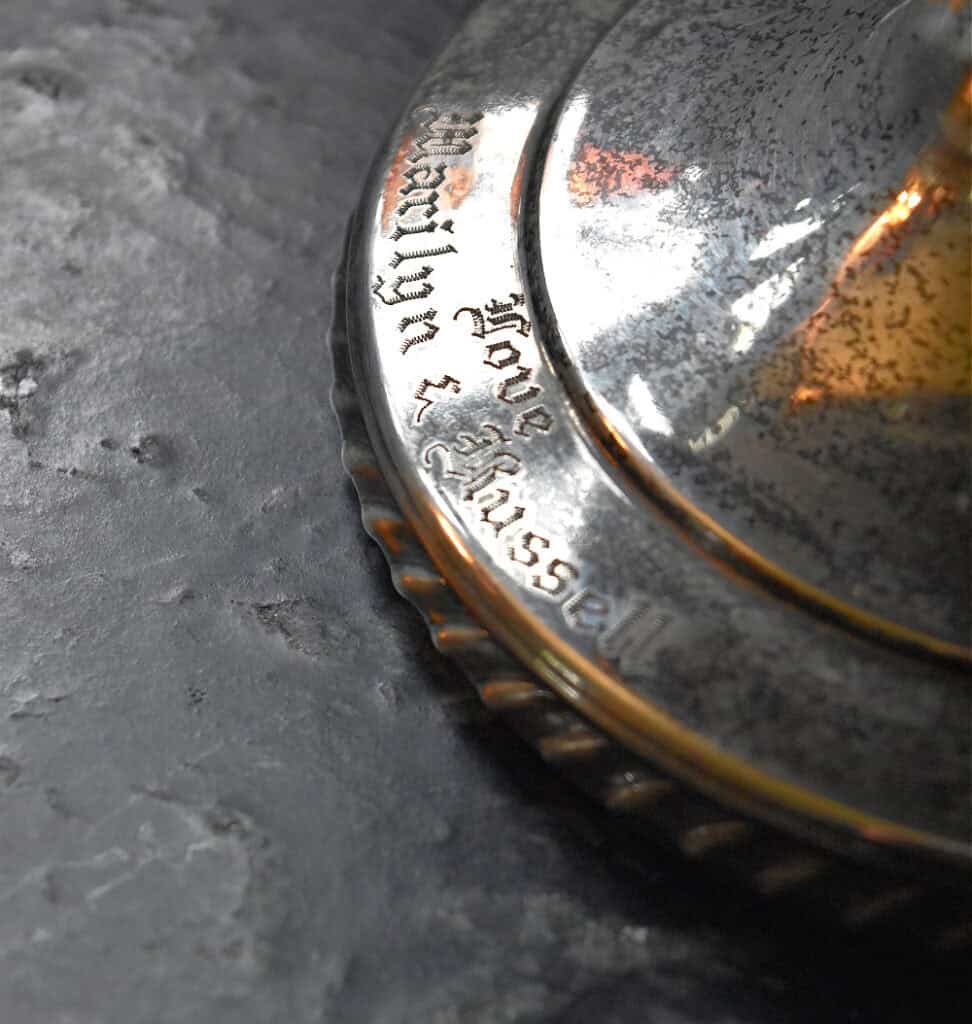
Happily, I found another engraving at the bottom I hadn’t seen before. A monogram on the front, a date on the back, and a love message at the bottom.
It turned out so pretty, I had to whip up a fall floral arrangement and pop it on the mantel!

Polishing Brass Thrifted Finds
I haven’t really liked anything gold for many years, but it’s starting to grow on me. Isn’t it funny how your tastes change along with the trends? The last couple of years, I started picking up brass candlesticks at estate sales and church sales. They’re just so classic. I decided to give them a little polish refresh, too.
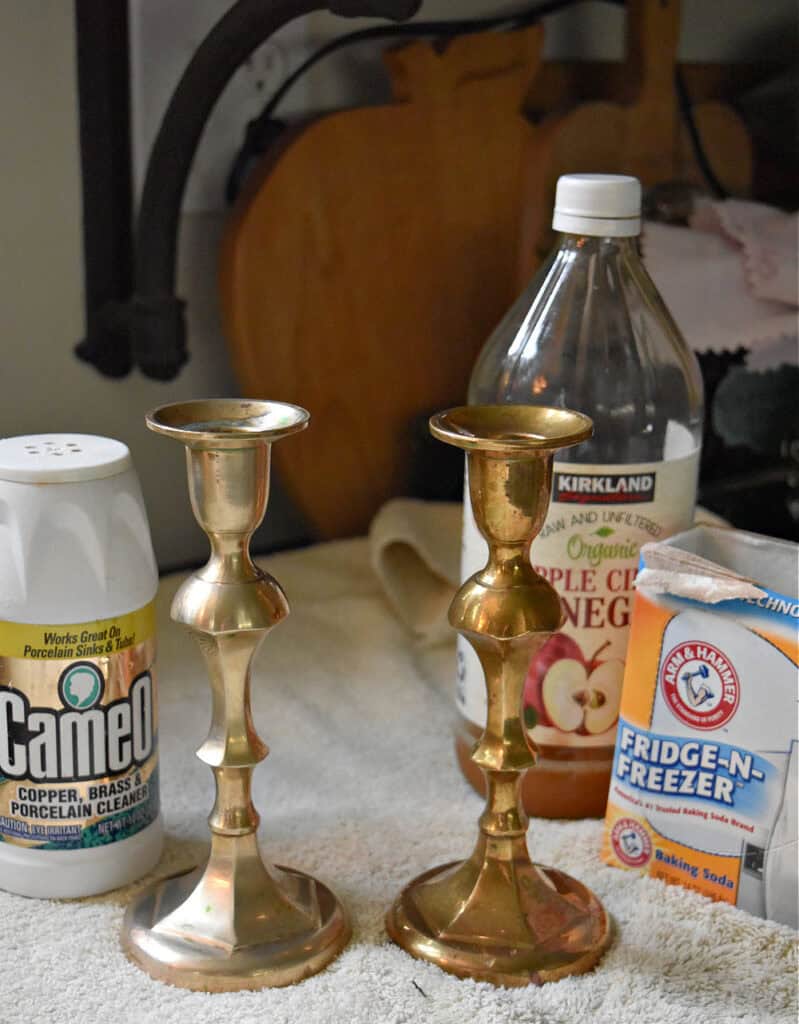
For the one on the right, I made a paste of apple cider vinegar and baking soda. It definitely shined it up, but it stayed darker. I used THIS on the one on the left, wiping it all over. It’s a gentle cleanser and has a grit to it. I first held the candlestick under warm water, so it was wet. It brightened the brass and brought out the luster. Which do you prefer? Everyone has their own taste.
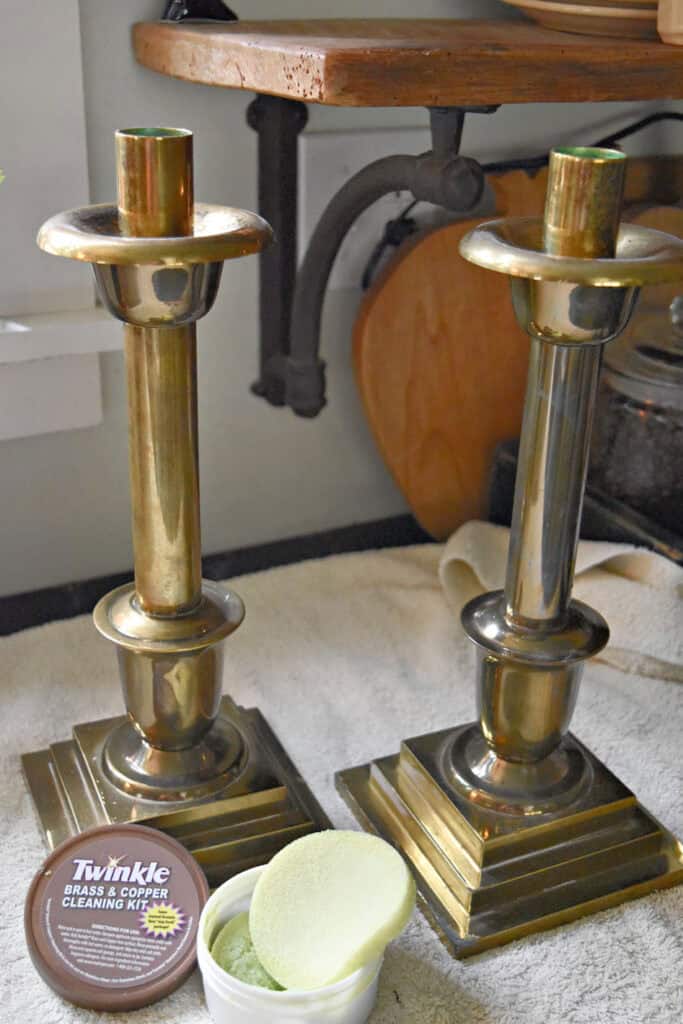
I picked up these giant brass candlesticks at a church sale. They’re heavy! They are fun to use for the holidays, because they make a statement. To polish them, I wiped on THIS creamy cleaner, using the sponge applicator. After rubbing a little and using a toothbrush in the grooves, I rinsed with hot water and dried with a cloth. You can see the one on the left is brighter compared to the right.
I also used the same product to clean a heavy vintage floor lamp base. I like how it just gave it a subtle glow up, while keeping the old patina.
Polishing Copper…or Brass?
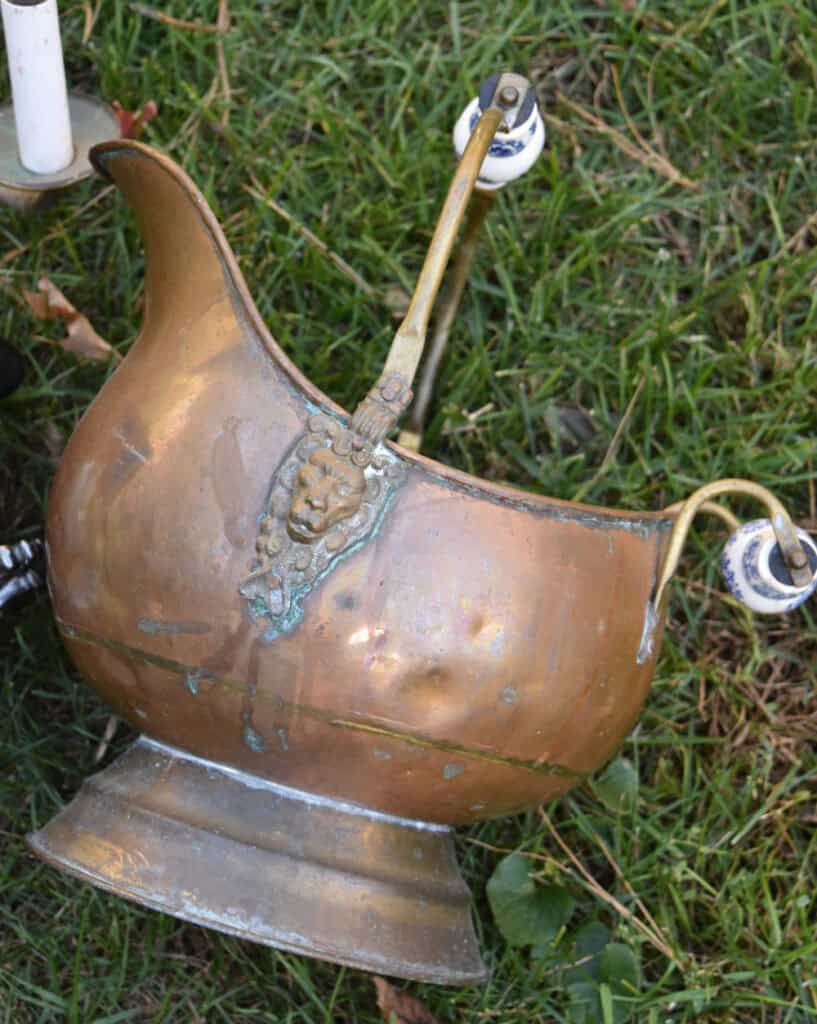
Sometimes when copper and brass tarnish, I can’t tell the difference. I haven’t been a copper lover, but the trends are starting to sway me a little. A trio of metal watering cans I bought at an estate sale were a mystery to me. I thought they were all brass. And an old coal scuttle I assumed was brass also. Boy was I surprised when I started polishing and cleaning them and that pinky copper showed up!
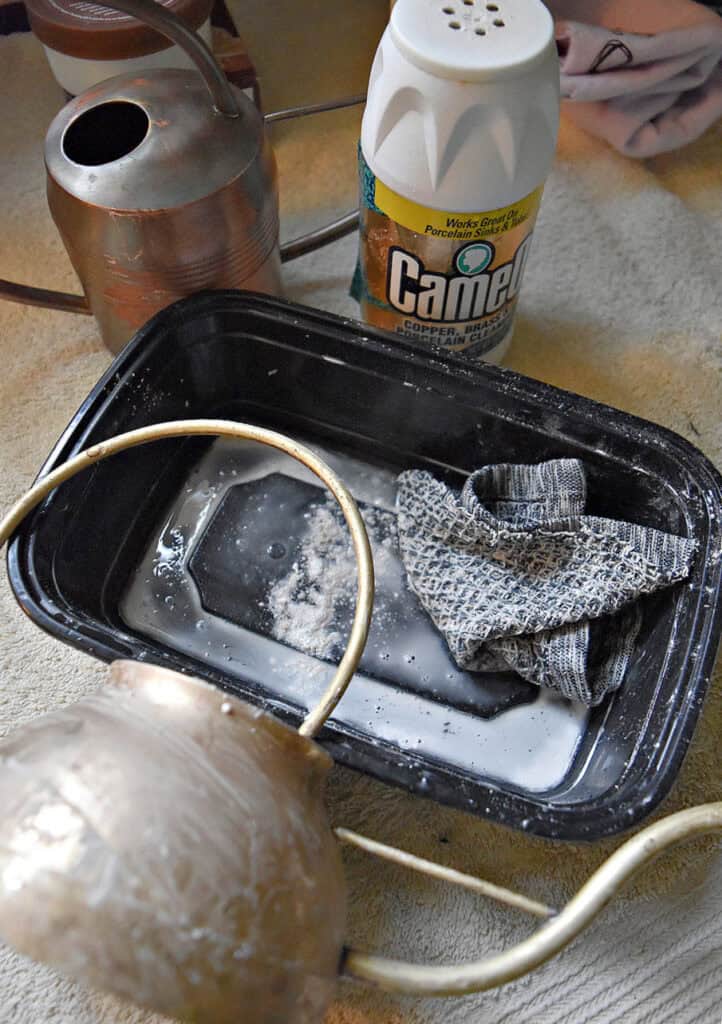
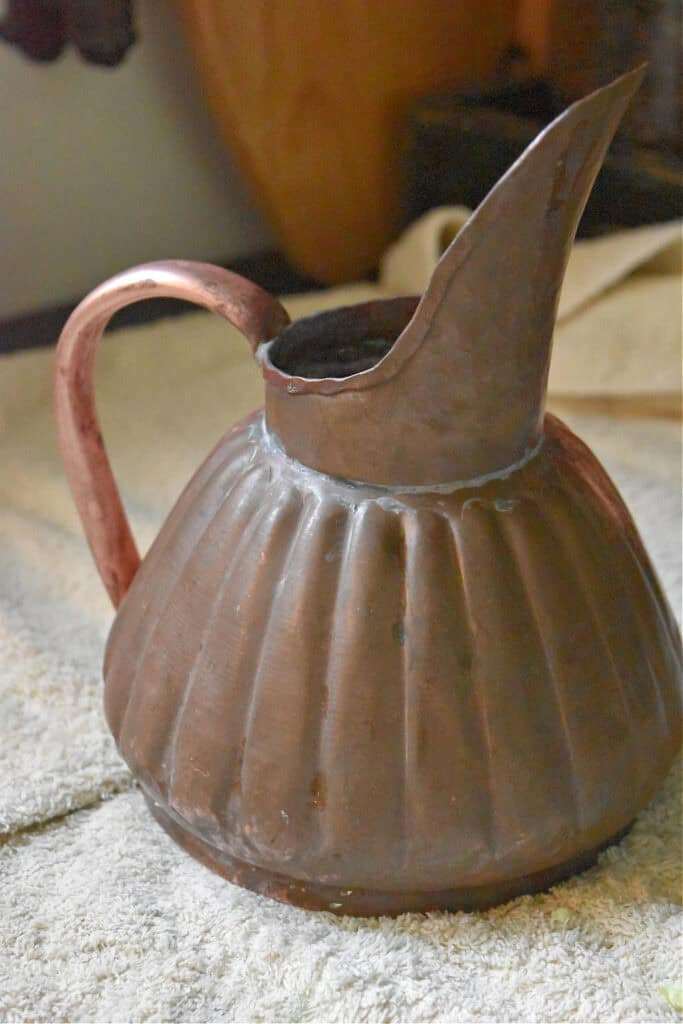
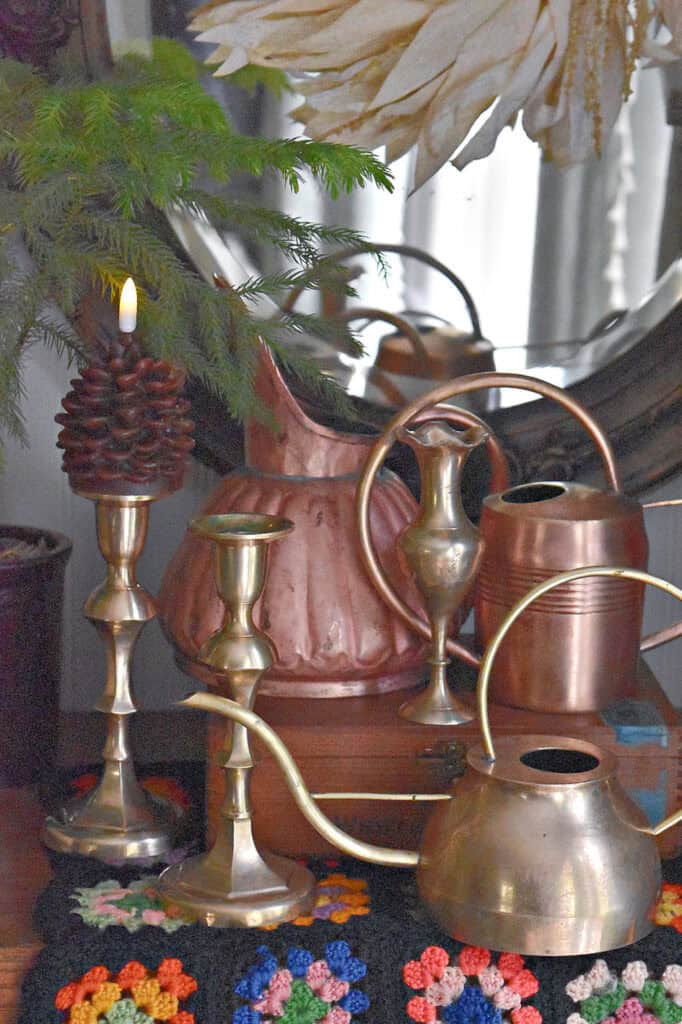
Look at the beautifully different colors of these three watering cans. They all looked the same dull gold before. So fun to reveal what’s under the tarnish.
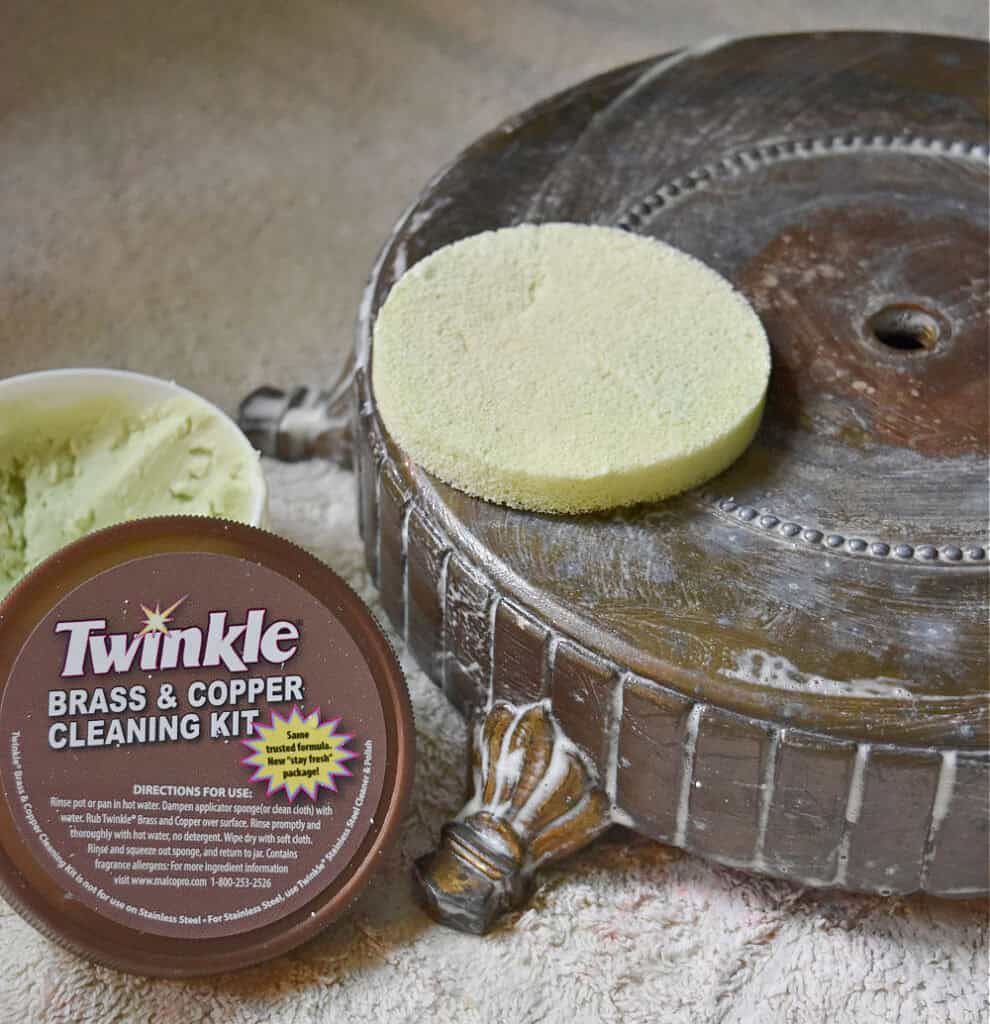
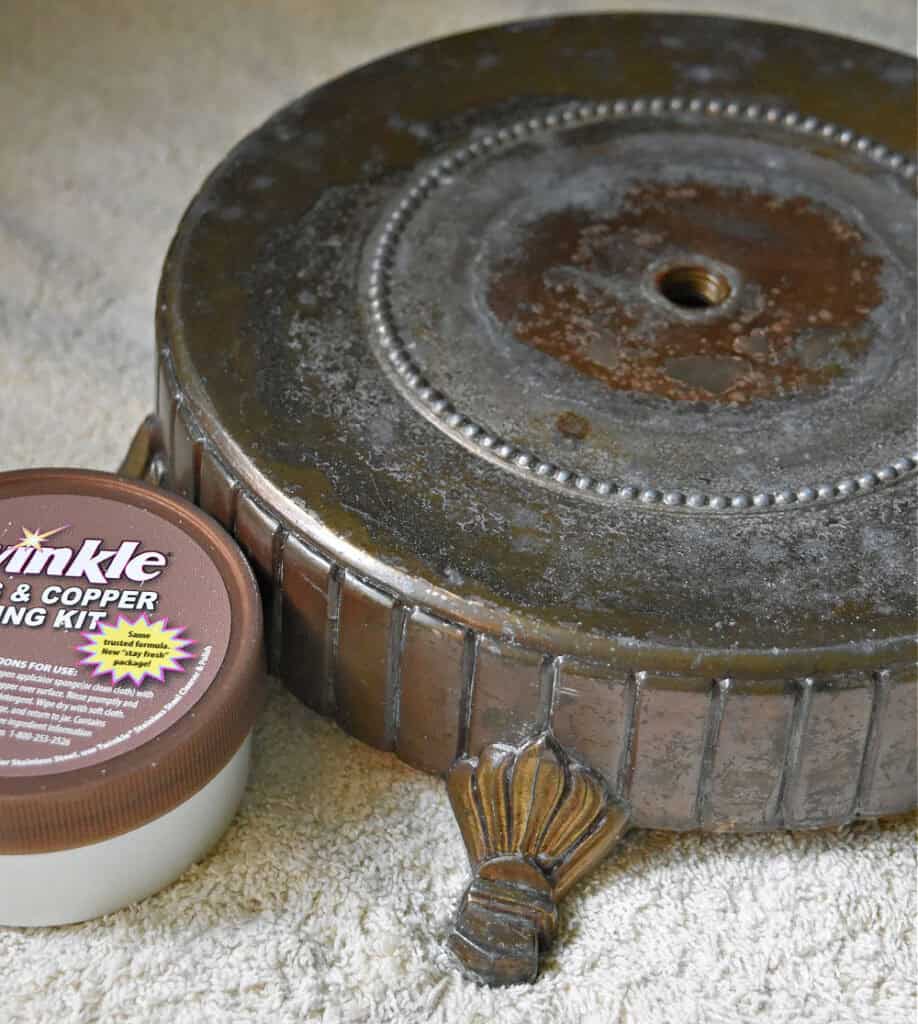
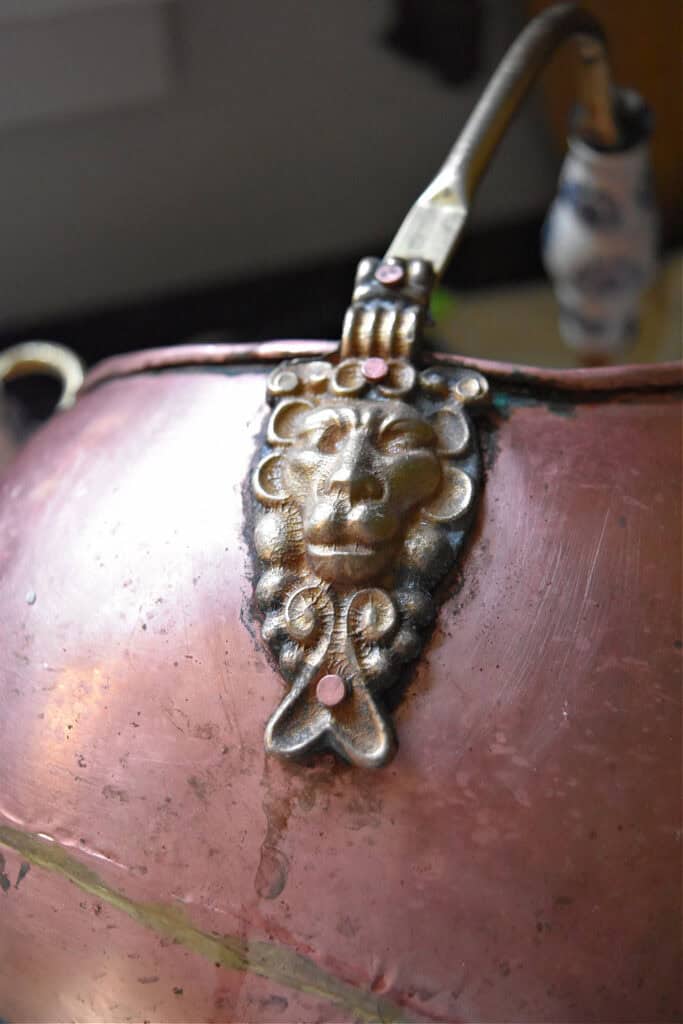
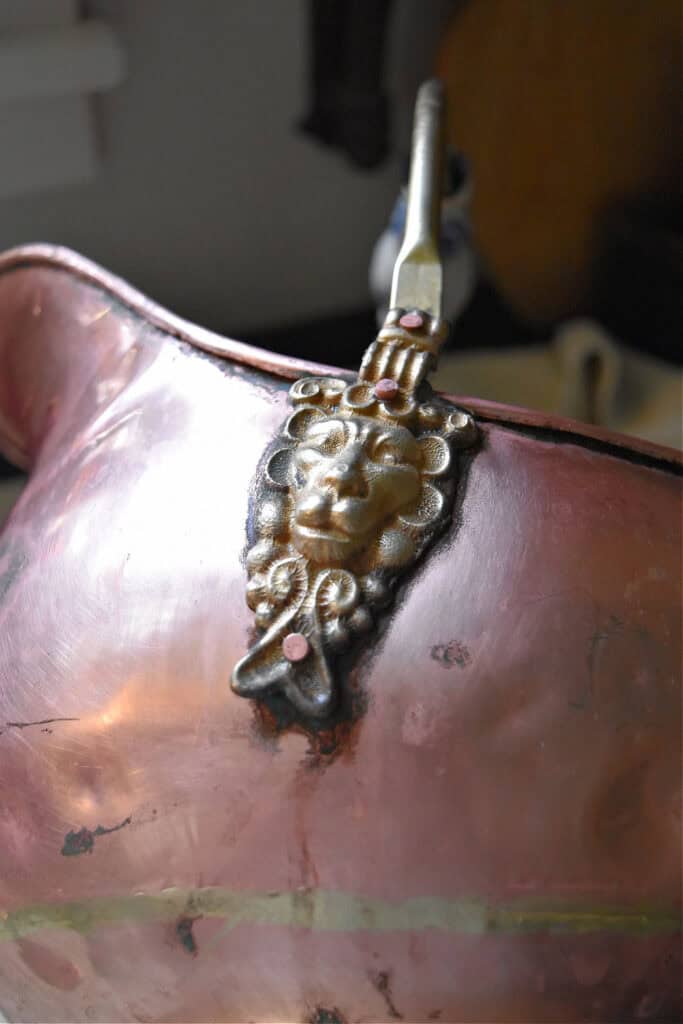
Two of my kids have remarked how cool this old coal scuttle is. Think they like the lion head on the handle. Boy, was I surprised when I started cleaning and polishing it, and it was a mix of copper and brass! Guess I need a class on identifying old metals.
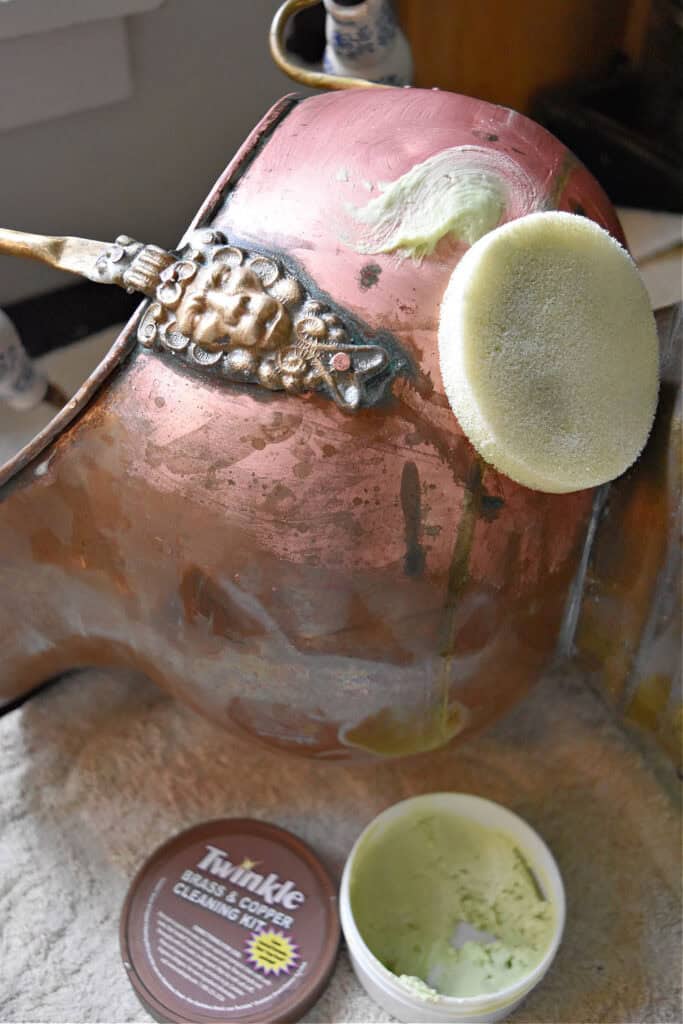
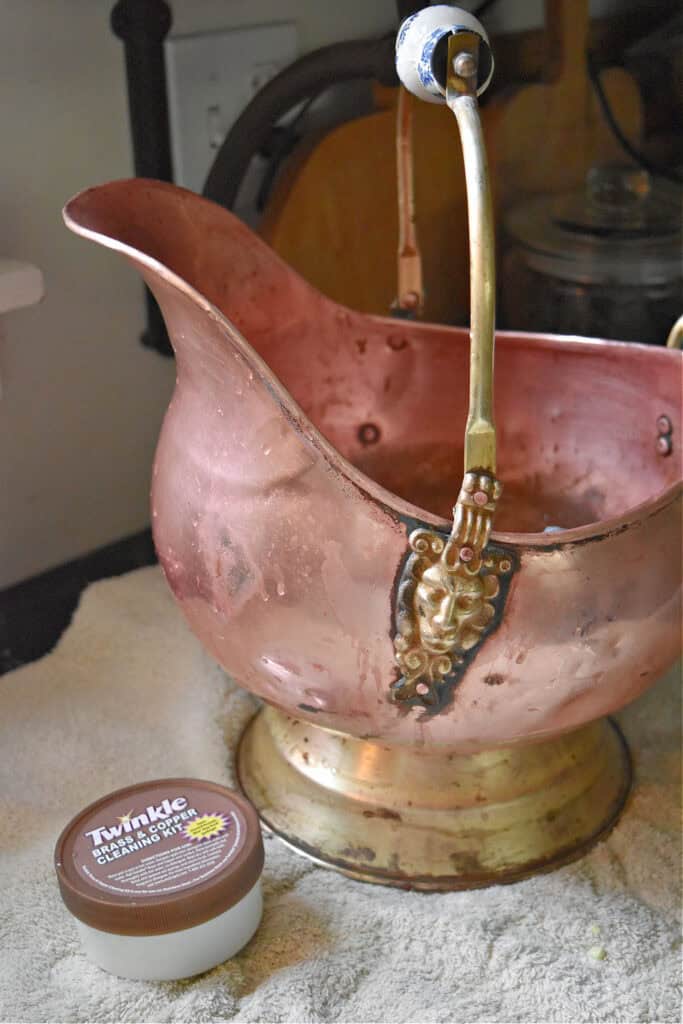
A cream-type cleaner is a good place to start, because it will be gentle. If you want to preserve more of the vintage patina and character, just stick with it. But if you want a cleaner, brighter look, use a cleanser-type cleaner. You can see the difference here: the Twinkle on the left, the Cameo cleanser on the right:
The type of sponge you use can also have a different effect. A scrubbier sponge vs a soft, squishy one. And the amount of muscle you put into it.
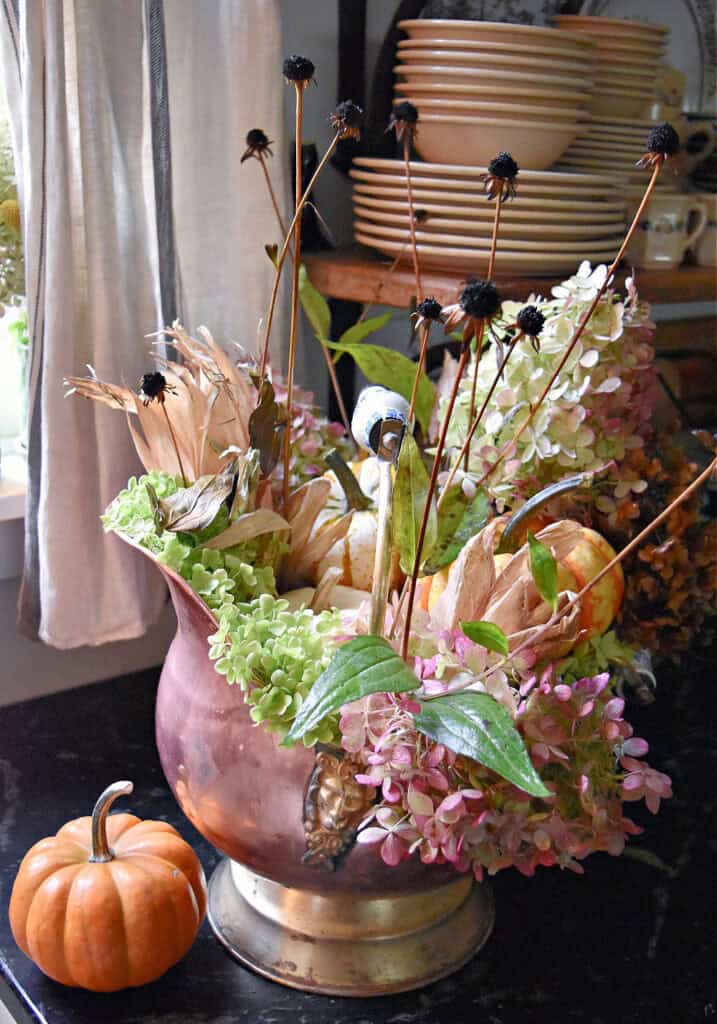
The coal scuttle was so pretty, I had to make a fall arrangement for it, too! I love cleaning old pieces and then decorating with them:)
In Conclusion
Every vintage piece is unique, and your personal preferences will determine what degree of patina and tarnish you love on something. Spread out an old towel on your counter, grab a pair of gloves and your old metal pieces. Put on some relaxing music or a podcast and give your old pieces a little revival. You can start gently and keep going if you desire more. Then have fun styling them into your harvest and holiday decor!
Find my Vintage Reviver’s Favorite Products HERE.
(whenever I hear about a new favorite product, I add it; definitely follow me there)
Thanks for reading Thrifted Finds: How to Revive Old Metal Pieces. If you enjoyed your visit, be sure to Become an Insider so I can send the ideas right to you! You can Sign Up HERE.
Follow Me: LTK | Amazon | Pinterest | Instagram | Facebook
Enjoy the rest of the inspiration from my Thrifting With The Gals friends, and be sure to Pin and Save below!
Rachel, The Ponds Farmhouse, “The Ultimate Guide to Thrifted Brass and Silver for Shining Holiday Decor”
Ann, Dabbling and Decorating, “Thrifted Gift Ideas: 10 Simple Vintage Finds That Make the Best Presents”

Robyn, Robyn’s French Nest, “How to Decorate with Family Heirlooms in Your Personal Style”
pin and save

Sharing at these lovely parties:
Lora
It’s amazing what can be hidden under all that tarnish. Your coal shuttle is a great find.
I was amazed how it looked all shined up!
You do have some great pieces and they do look nice all shiny with flowers. I will try some of these products on my thrifted pieces, thanks.
I’ve still got a pile left to shine before the holiday decorating starts!
So cool, Lora!! I’ve never polished any of my copper because I just adore all of the patina on them but your silver pieces cleaned up so well! Pretty decor pieces for the season, for sure!
Same, Rachel! But I’m actually loving the brighter look.
Great idea for a post Lora! Super helpful😃
Thanks, Ann!