
Easy Faux Flower Mosaic Art
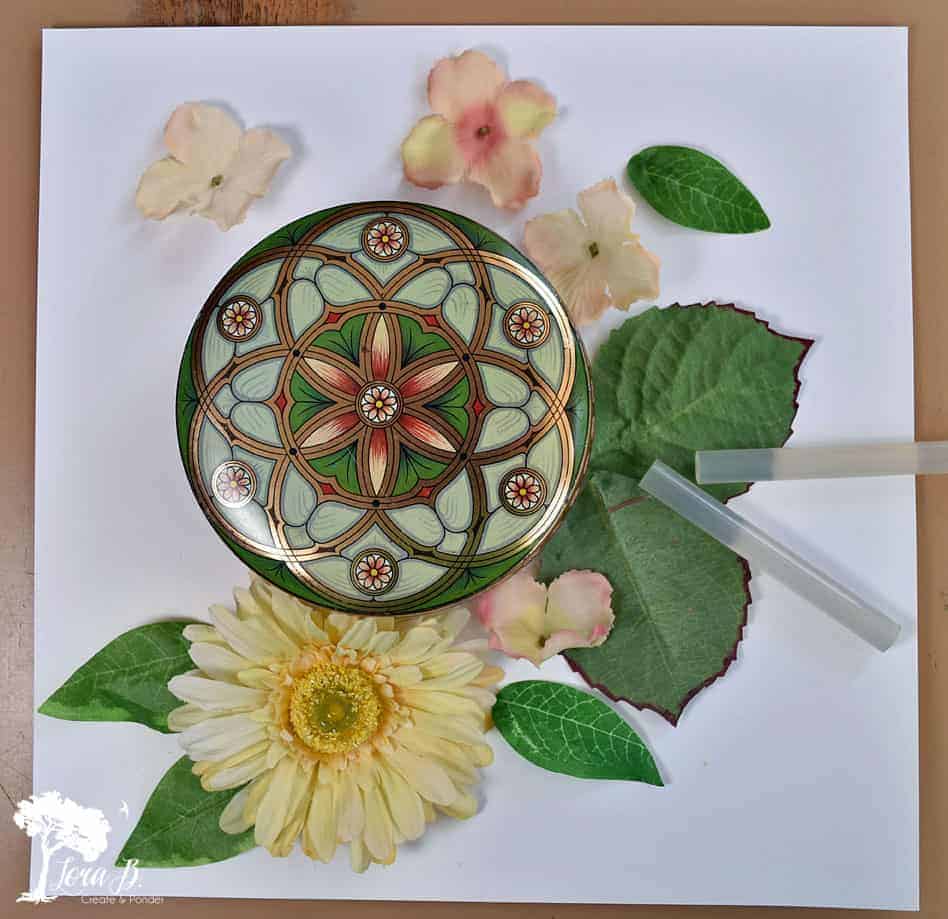
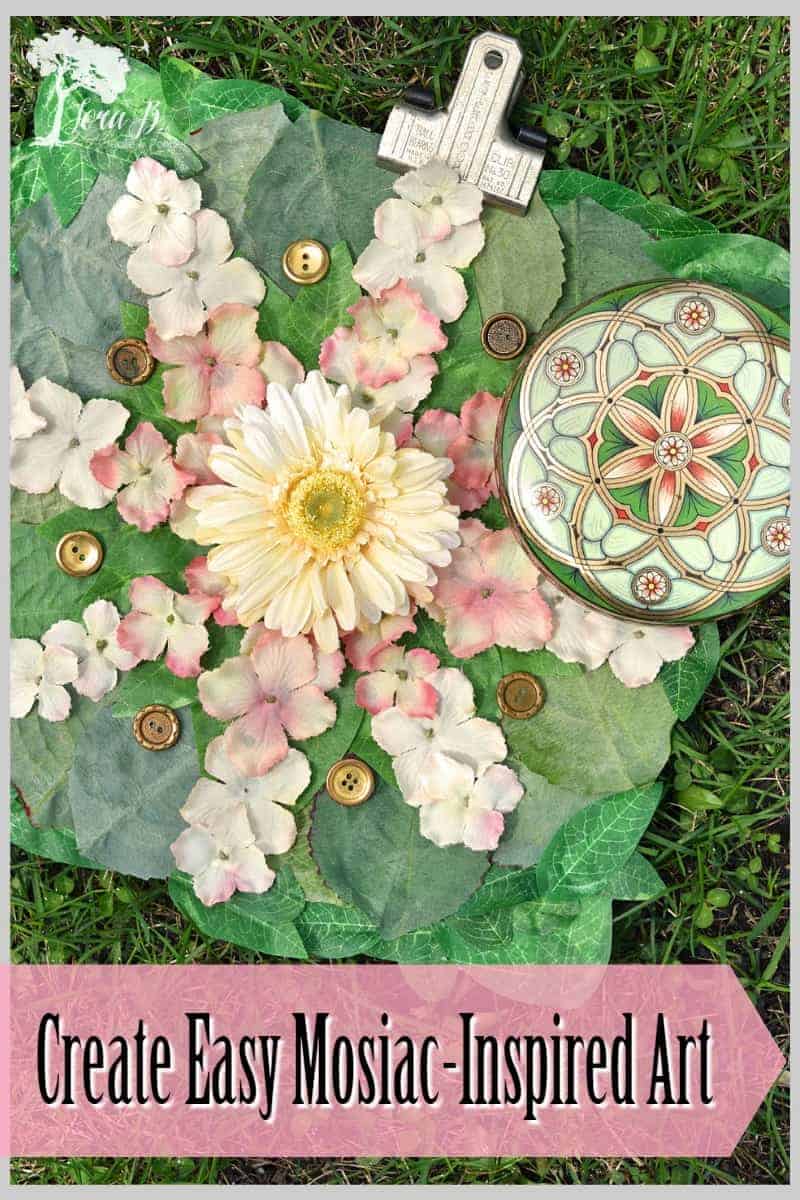
Mosaic art has been around a long time. It’s usually created from small pieces of stone, glass or pottery. The small pieces coordinate to create the larger composition. Usually the art is quite colorful in overall appearance. I recently picked up this pretty vintage tin to add to my vintage floral tin collection {see “Vintage Floral Tins and a Butterfly Printable”}. It’s mosaic-styled pattern inspired me to create this Easy Faux Flower Mosaic Art.
Well, actually, our monthly Thrifty Chicks Challenge was what got me thinking about mosaics. And as we all were trying to come up with something for this “Mosaic” challenge, we were scratching our heads and wondering, “Who’s idea was this, anyway?”
This challenge was definitely…a challenge for me! I’m not really a glass/stone/tile little pieces type of creative, so creating a project I could get excited about was tricky. I decided to tap into the concept of mosaic with a different medium I knew I had plenty of…extra flower petals and leaves!
My stash of kinda-tired flowers is always waiting for me to canabolize (don’t know if that’s really a word, but hopefully you get the meaning;) Truth is, I’ve gotten to be a flower/foliage snob over the years and only like the really real-looking types. The fake, put-it-at-the-cemetery-plot type just doesn’t work for me. But…they can always be taken apart! And one very important thing you learn as a junk lover…
The parts are often more interesting and valuable than the whole!
Which usually means…we have a lot of parts laying around to use;) Let me show you how I used extra flowers and foliage to create easy, pretty art that anyone can make!
Easy Faux Flower Mosaic Art
To Begin, Analyze Your Design Pattern
First I analyzed the floral tin I wanted to replicate. The hydrangea flower heads I had just used in my May Day Basket were the perfect soft salmon colors I needed. I also needed a face flower for the middle and quite a few leaves for all the green in the design. I raided my bins so I had plenty of material to use.
Next, Peel Plastic Off Backs of Faux Foliage
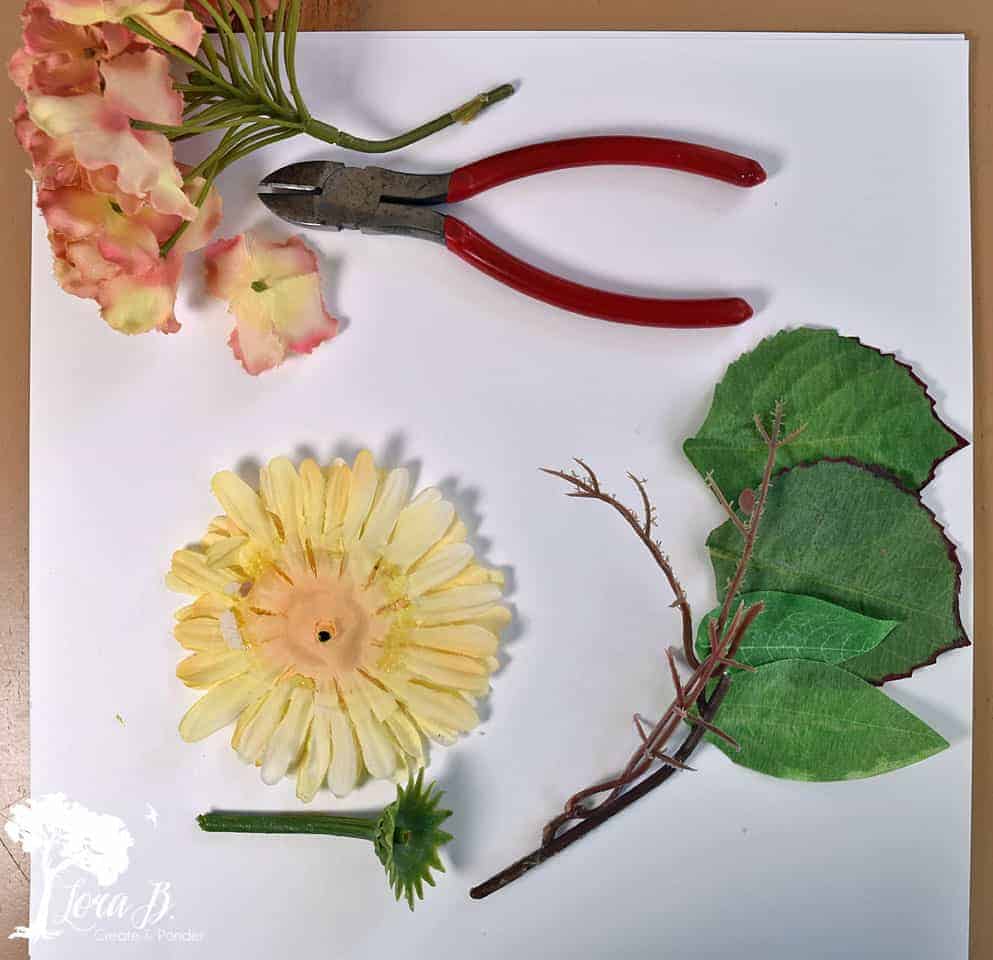
In order to get the faux foliage flat enough to adhere to paper, I peeled the veining off the back of the leaves. I also snipped the hydrangea blooms closely and took off the stem of the daisy. I hot glued the daisy layers together so they wouldn’t come apart also.
Decide on a Canvas for your Mosaic
You can create this type of easy art on anything-cardboard, an old piece of wood, tagboard, foamcore. I decided to use a 12″x 12″ cardstock piece of white paper. It could be placed in a frame, or just clipped anywhere for a more casual style.
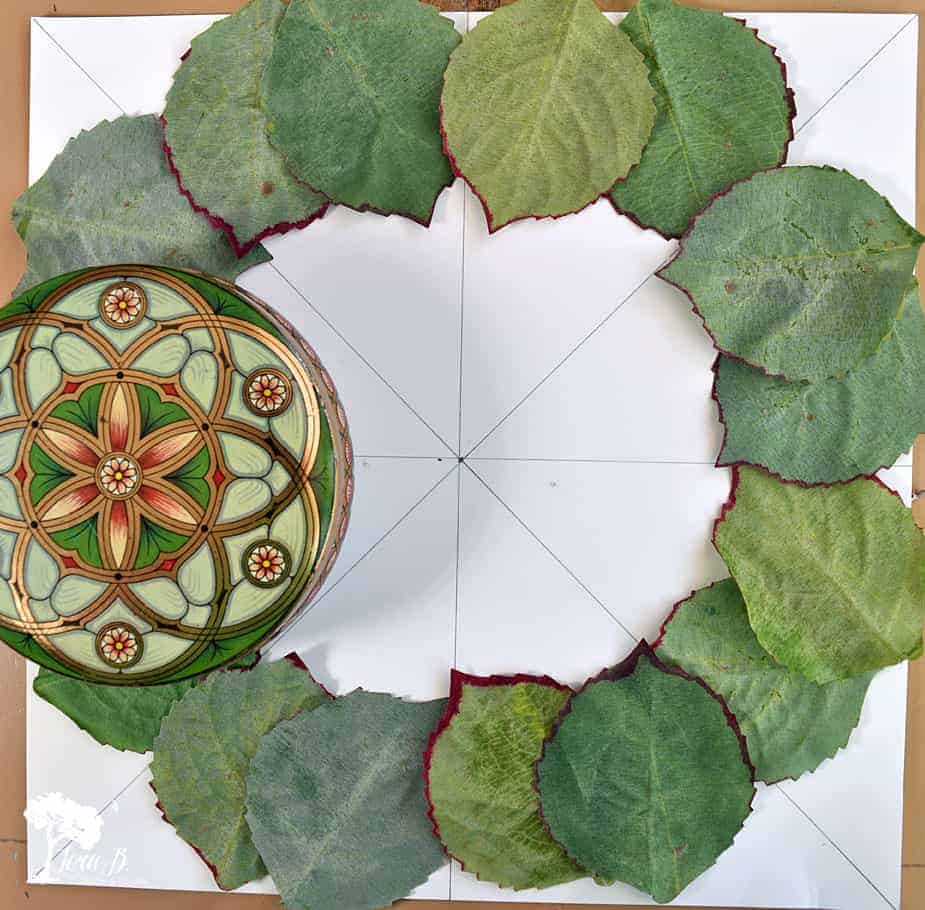
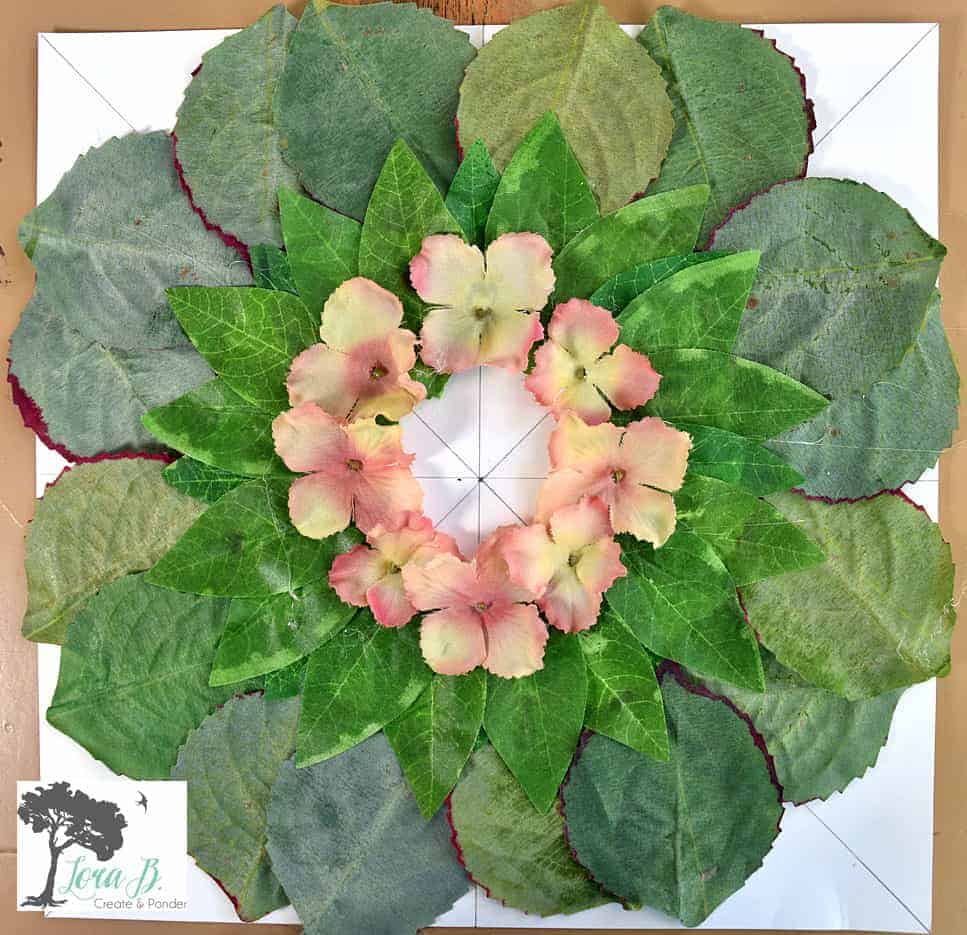
I decided rather than trying to eyeball my design, I’d give myself a little pattern to follow. Geometry was not my best class in school, but I was able to add some lines on my paper to give myself a guide.

Feel free to use the front side of your foliage or the back, whatever color variation looks better for your project. I decided to use the back sides of the hydrangea leaves to get a lighter green.
Hot Glue the Foliage on, Starting from the Back.
You may want to lay out your design first so you know the direction you’re heading. Then begin hot gluing the farthest back layer on first. Keep your inspiration piece close to refer to.
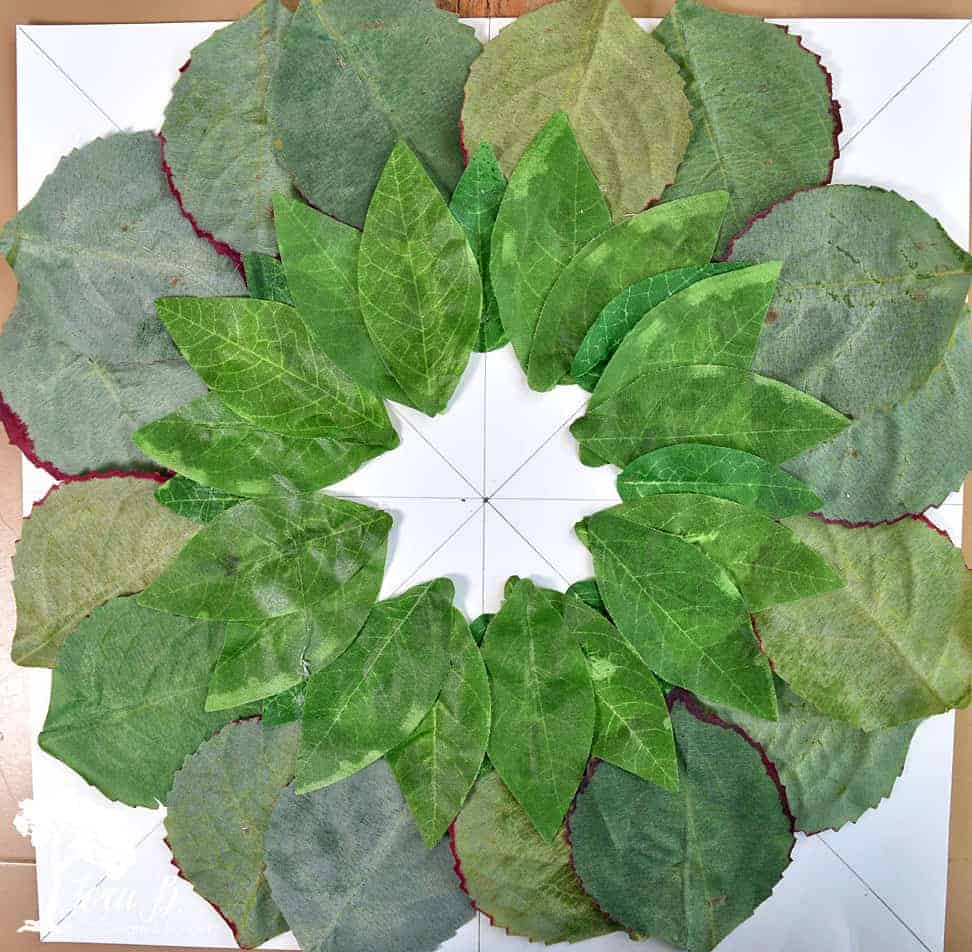
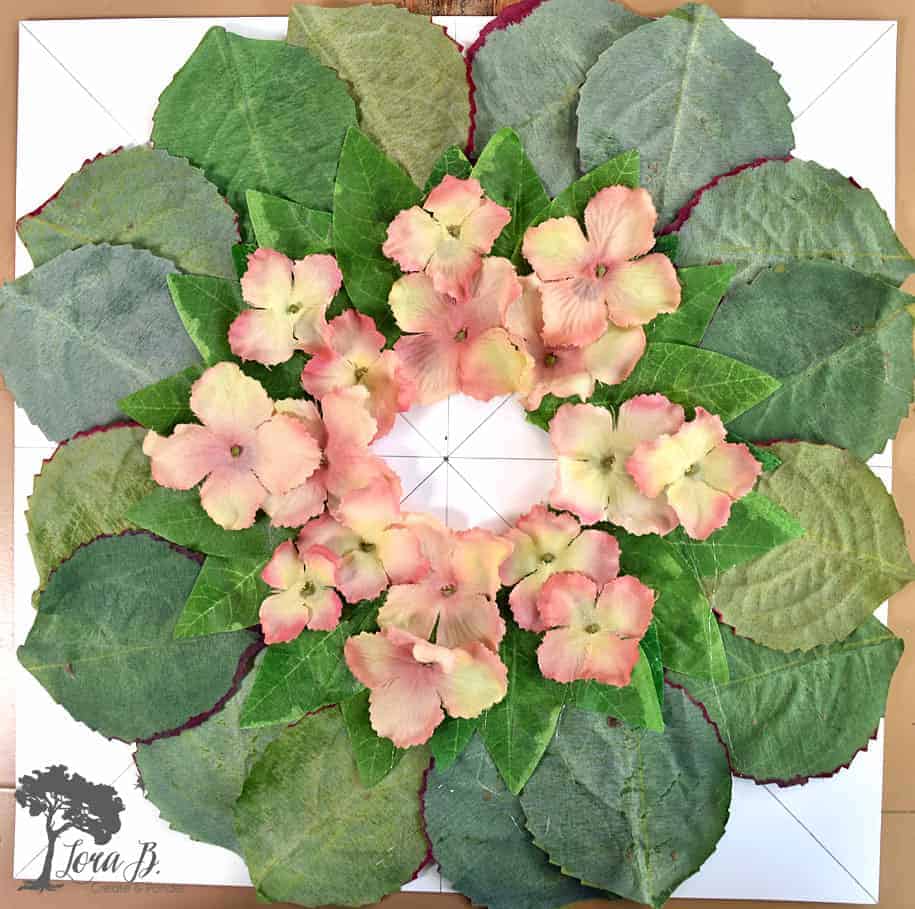
Keep Adding the Different Layers of Foliage
So far it’s looking a lot like my “Leafy Placemats”, which was a fun, easy project, too! Which honestly you could use these for…placemats or art!
Now for the pretty salmon colored flower pattern and the yellow daisy in the middle. I placed the little deeper-colored hydrangea petals in the middle and then the lighter at the ends. The hydrangea flowers got turned every other way to make a more distinguishable line.
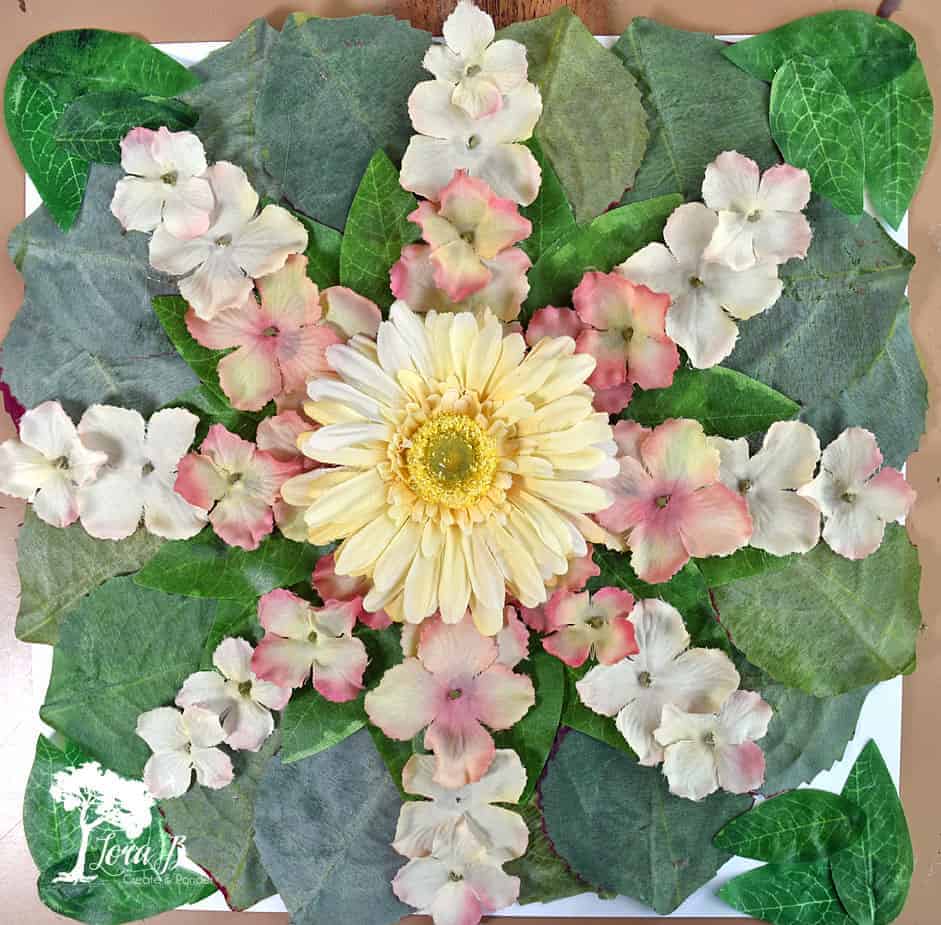
Now it looks like the pretty floral tin!
Since I had pencil lines at the corners of the white paper, I decided to fill up that space with extra leaves to cover any white. I even cut a few leaves in half and tucked them under others. If the pencil marks weren’t there, I might have left the crisp white around the edge. Do whatever you think looks the best, because you’re the artist!
Finish it Off With a Little Gold
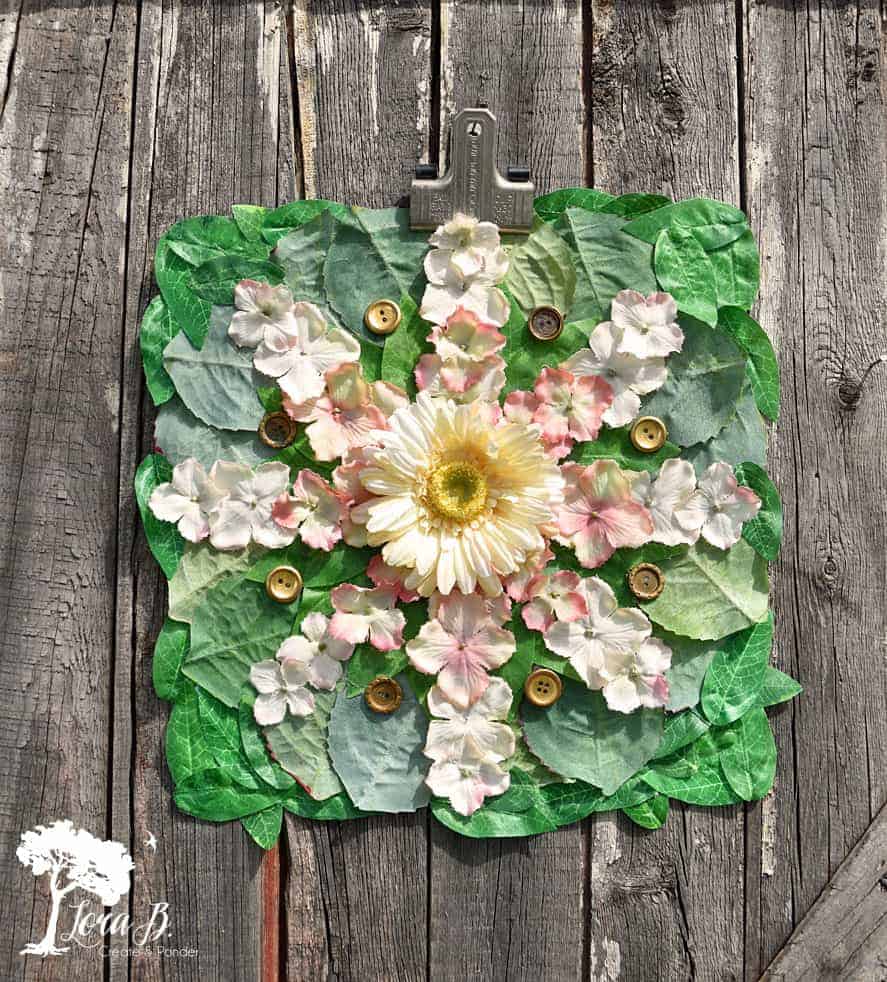
Once I got the whole surface covered with foliage, it was pretty, but still was missing something. It needed a little gold, like the floral tin. I raided my stash of vintage brass buttons for the little bit of glimmer needed.
Don’t forget to melt away those glue strings with the hair dryer at the end!
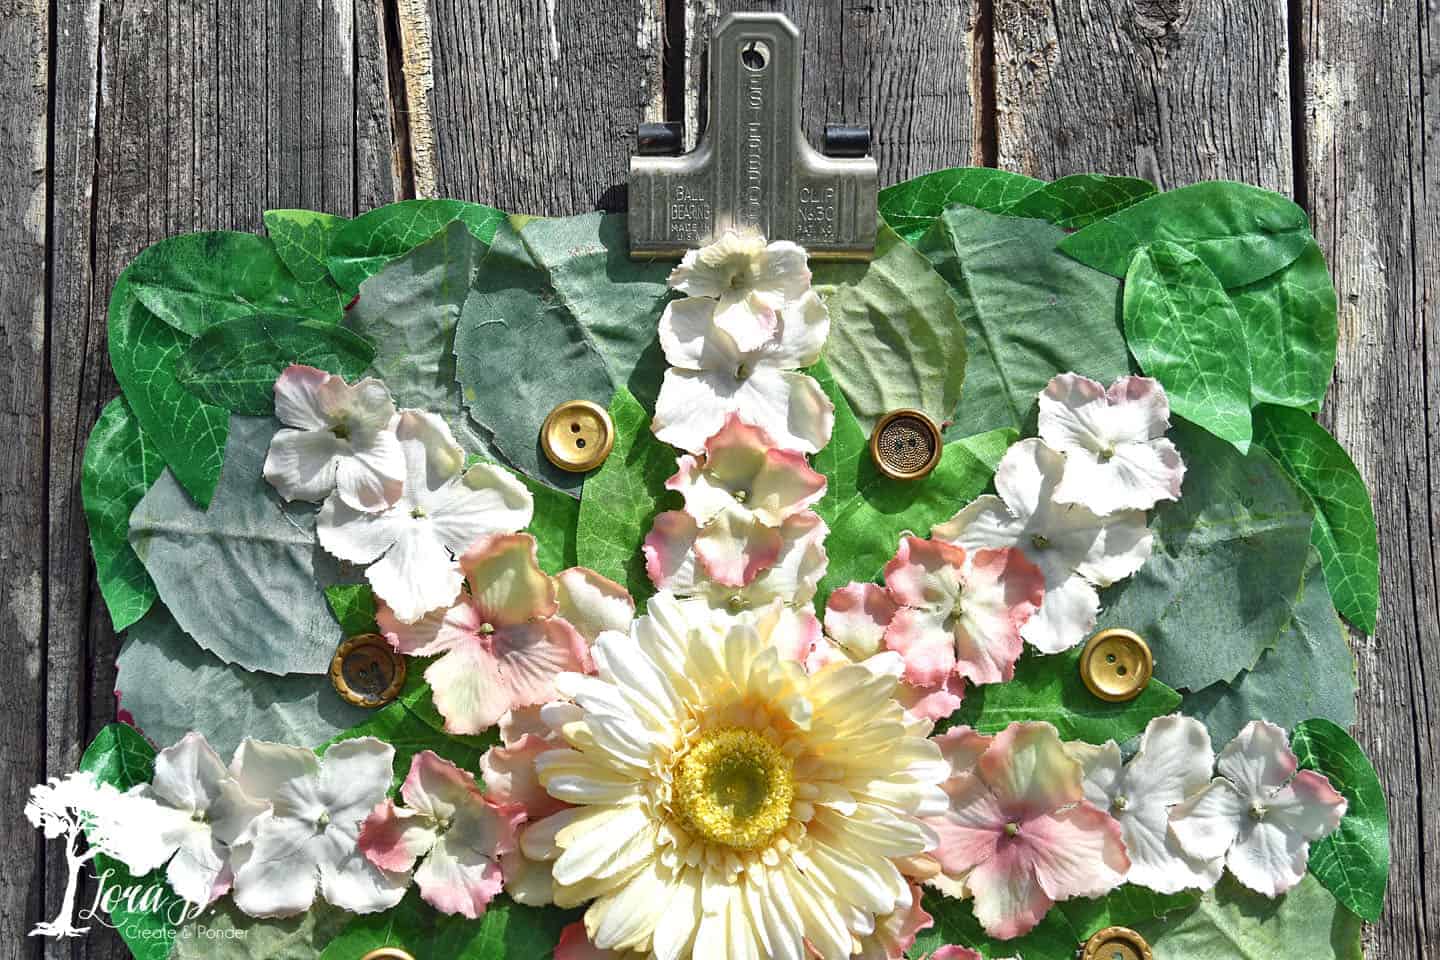
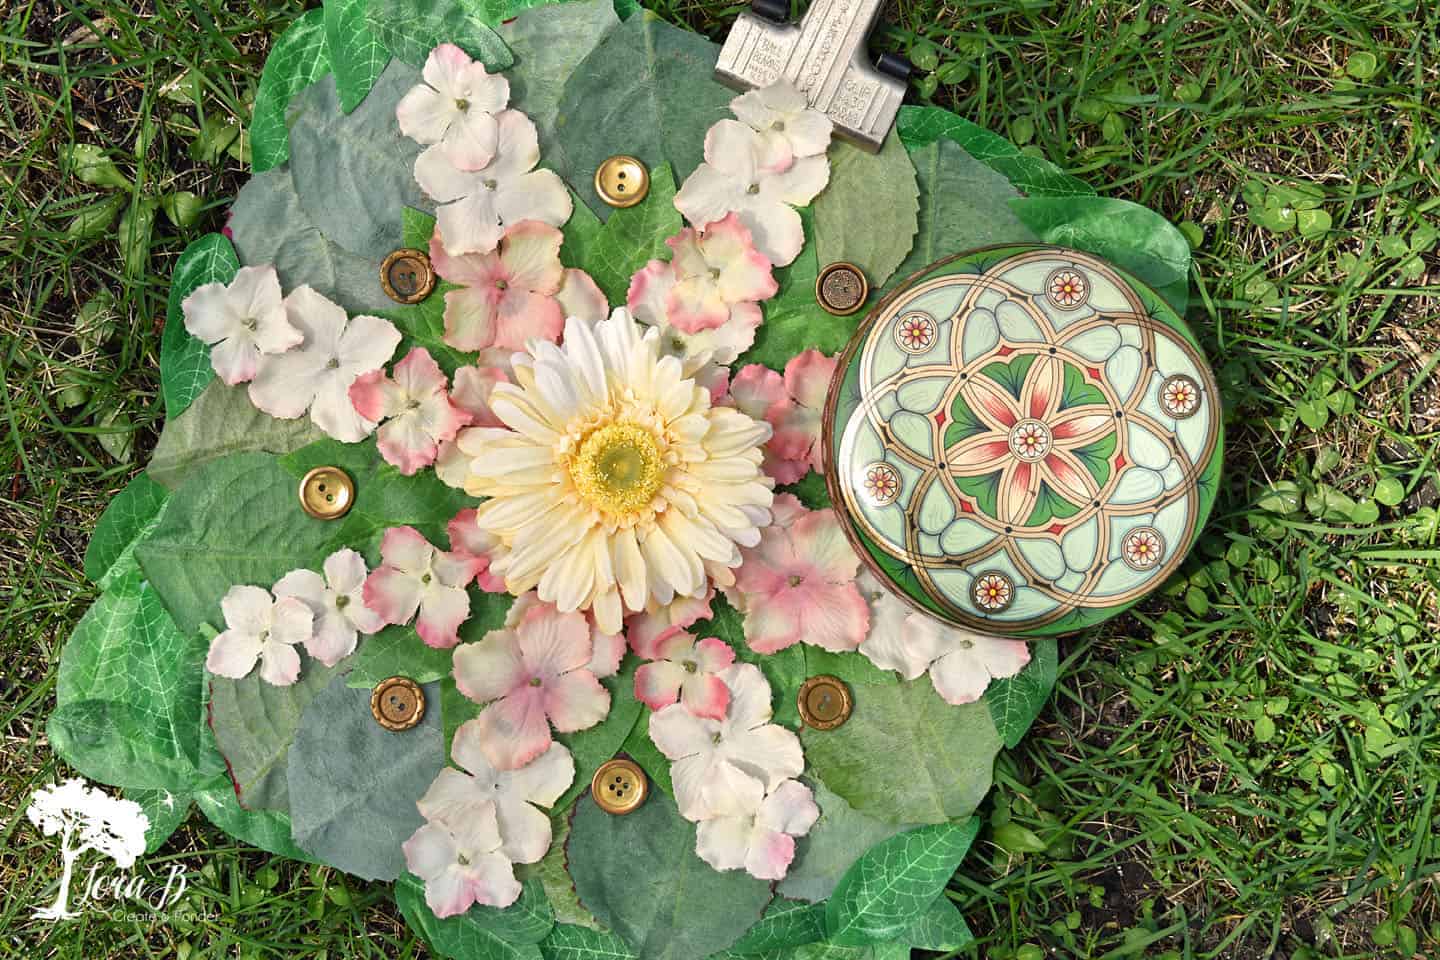
So pretty! See how well this Easy Faux Flower Mosaic Art imitates the vintage, floral tin? It can simply be clipped up anywhere for pretty, textural art. Or it could be a great gift, along with the vintage tin! But this pretty art is staying in my house to celebrate the flowers popping in May!
What do you think of this different version of mosaic art? Anyone can create this whimsical, kind-of-boho type of art, simply with some throw-away flowers, a piece of paper and a glue gun. Easy peasy! Find an old tin, a plate or something else with a pretty design and replicate the look with faux foliage and flowers. This would be a great activity for kids and adults to do together as a craft, too.
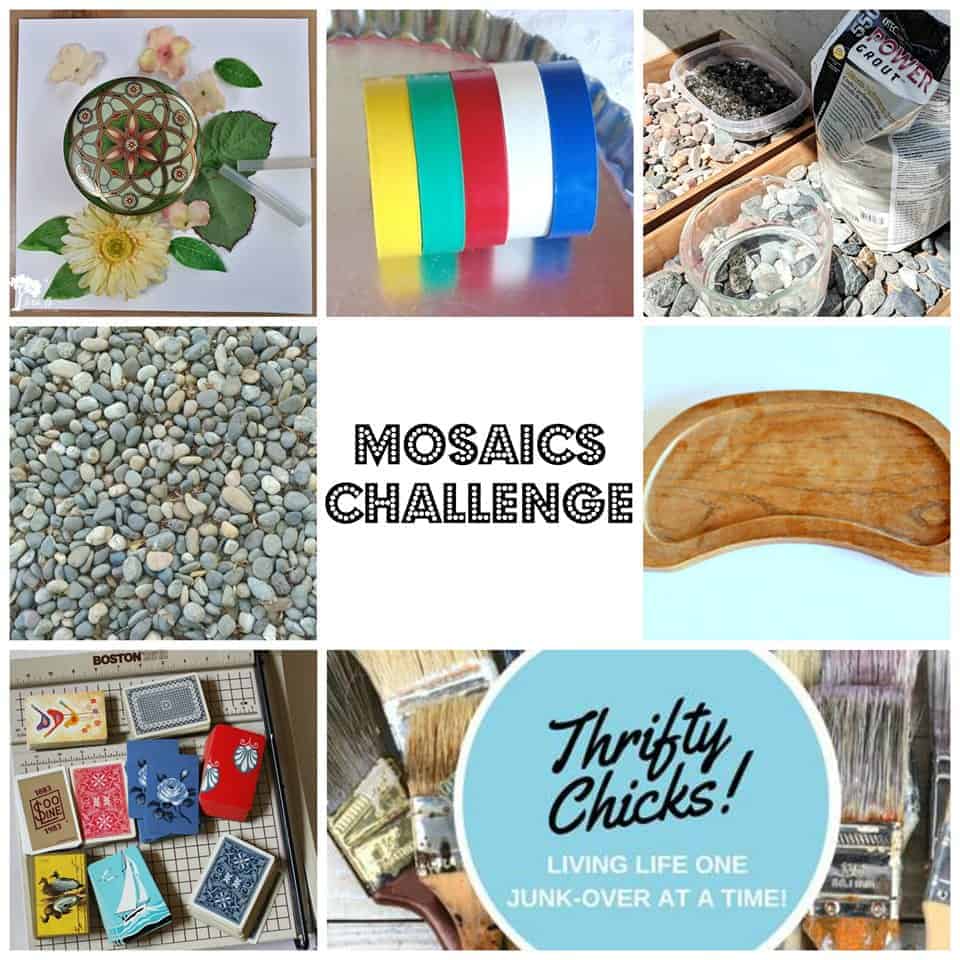
This Easy Faux Flower Mosaic Art is just the beginning of our Thrifty Chicks Challenge! Let’s take a look at what my creative friends came up with!


Thrifty Chicks Mosaic Challenge
- Me:)
- Color Me Thrifty, “Quick and Easy Faux Mosaic Art”
- Audrey Would, “Beach Rock Mosaic Border for the Garden”
- Little Vintage Cottage, “DIY Rock Mosaic Stepping Stone”
- Shoppe No 5, “Today I Am Making A Mosaic”
- Itsy Bits and Pieces, “A Fun Mosaic Project”
Sharing at:
So unique and smart, Lora! It really replicates the tin! Thanks so much for sharing at HG! We LOVE having you there!
Thanks, Julie! Fun being a part of a whole new group!
How pretty! I love most anything floral! Thanks for sharing at Vintage Charm!
You and me both, Cecilia!
Wow! The plate you used for inspiration is beautiful and your creation is amazing! I like the 3D effect of the petals.
It was a fun, easy project, Audra. Next time I may do it on a canvas for more presence. Thx!
I like how you stepped out of the mosaic box on this one, Lora! Such a great idea and so pretty too 🙂
You know me…I’m always the out-of-the-box rebel;)Thx!
You are so creative, the mosaic is beautiful. I can be creative every once in awhile but i think when i retired my brain did too,lol! So glad for you.
You’re too funny, Marlene! I don’t think my creative ideas will every retire, but my hands and body may!
That’s so pretty Lora! I never would have thought to make a mosaic using faux flower parts. Very Creative!
Thanks, Tuula. I should make about 50 more to use up all my extra florals!
That turned out beautifully!!! I want to replicate yours.
Go right ahead, Vikki! Have fun!
This is such a great idea Lora, and your mosaic turned out beautifully! I couldn’t guess where the faux foliage was going to take us, but what a mosaic win!! I love the use of the clip for hanging this piece – it’s the perfect finishing touch!!
It’s such an easy project and a great way to repurpose all those extra flowers!
How pretty and creative, Lora! I love how it turned out and using the flower pieces is such a great idea!
Thanks, Linda!
I love it Lora! It seems that many of us junkers were outside pur comfort zone with this challenge, I guess that’s why its called a challenge right?!
Tania
Yes, it’s good to push us into creative adventure, Tania!
I am liking this craft project. It is totally spectacular.
Thankyou, Debra!