
DIY Repurposed Mirror Frame with Vintage Tin
Repurpose an old mirror frame with vintage ceiling tin for DIY architectural home decor.

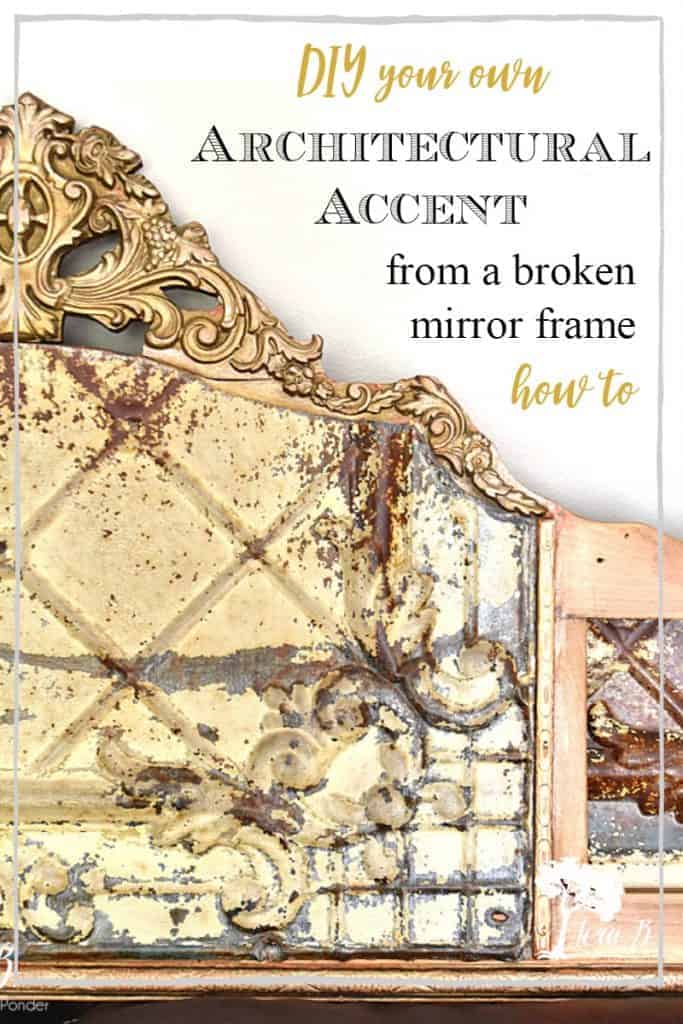
Old pretty, shapely mirror frames are just begging to be repurposed. Their mirrors have gotten broken through the years of use and being moved. But they still hold the beautiful character of time gone by. Today I’m going to show you how you can easily turn one of these beauties into an awesome Architectural accent piece. You can decorate with it alone, or build a whole vignette around it. Here’s the how-to for a DIY Repurposed Mirror Frame with Vintage Tin.
DIY Repurposed Mirror Frame with Vintage Tin
For your convenience, this post contains affiliate links. If you make a purchase, I may receive a commission. There is no additional cost to you. My full privacy policy is here.
There’s nothing I like better than turning 2 old has-been items into something beautiful. I had recently picked up this vintage divided mirror frame. Of course one of the mirrors was broken, so I started brainstorming what I could put in the 3 openings instead. Chalkboard, beadboard, and decorative sheet metal came to mind, but then I remembered 2 squares of vintage ceiling tin I’d picked up from Facebook Marketplace.

The metallic gold on the ceiling tin coordinated nicely with the gold detailed frame. Here’s how Mr. Fix-it and I upcycled the two into an awesome architectural home decor accent.
Start by Refreshing the Vintage Ceiling Tin
I’m sure the old paint on vintage ceiling tin is probably lead based, so I begin with giving it a good scrub with a soapy scrub pad in the driveway. (I like S.O.S pads or Brillo Pads) Then I hose it off and let it dry in the sun. Any chippy paint will come off.
Once dry, I give the ceiling tin a light coat of water based polyurethane. If I have the spray version (get it HERE),it’s the easiest with the bumpy texture. Otherwise, I always have a quart or gallon of the liquid version on hand (get it HERE). When I brush it on, I make sure to not leave any drips. The poly brings out all the beautiful colors and textures and seals the surface from any lead.
Clean and Prep your Old Mirror Frame
The best way to start cleaning these old mirror frames with all the details is with a vacuum or compressed air. It will get the dust out of all of the crevices. Then you can scrub it up with a soft nylon brush and some mild soapy water.
Make a Template for your Vintage Ceiling Tin
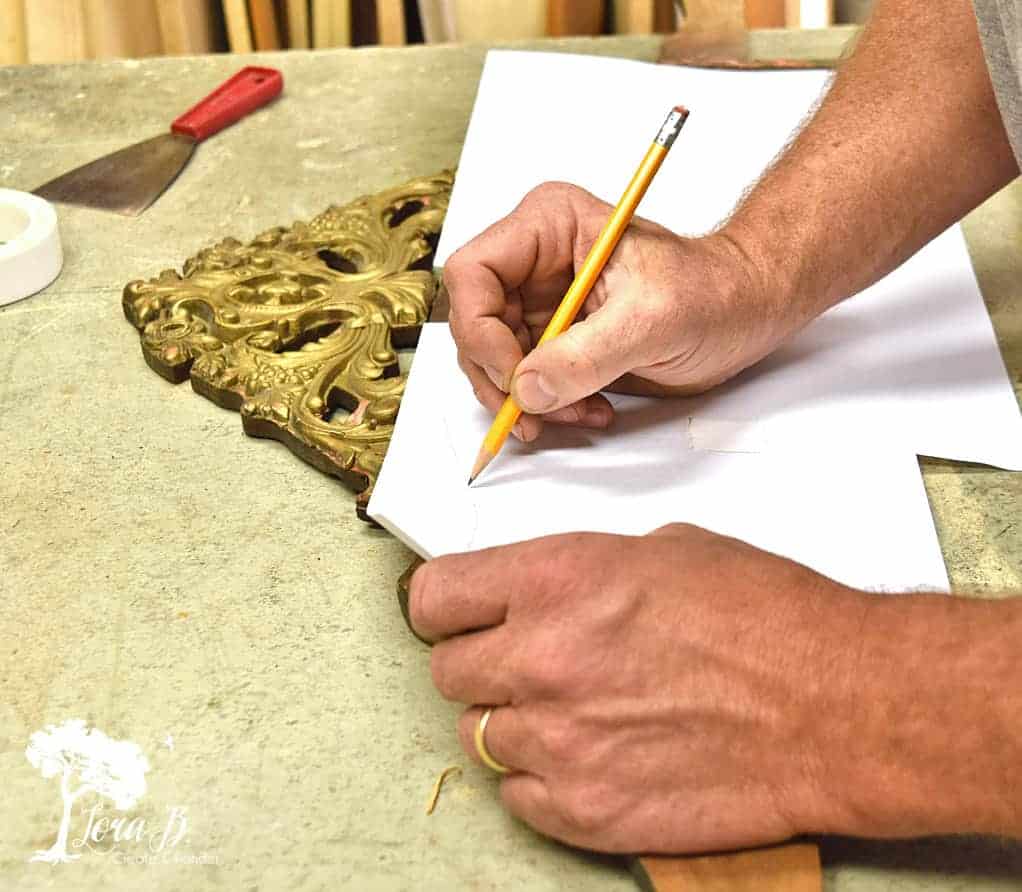
To make the most of the mirror frame’s design, I wanted the tin to follow the curves at the top of the piece. The easiest way was to make a template we could follow when we cut the tin.
We simply used copy paper pieces taped together and laid it on the frame. Using a pencil, we just made a line right under the decorative piece at the top.
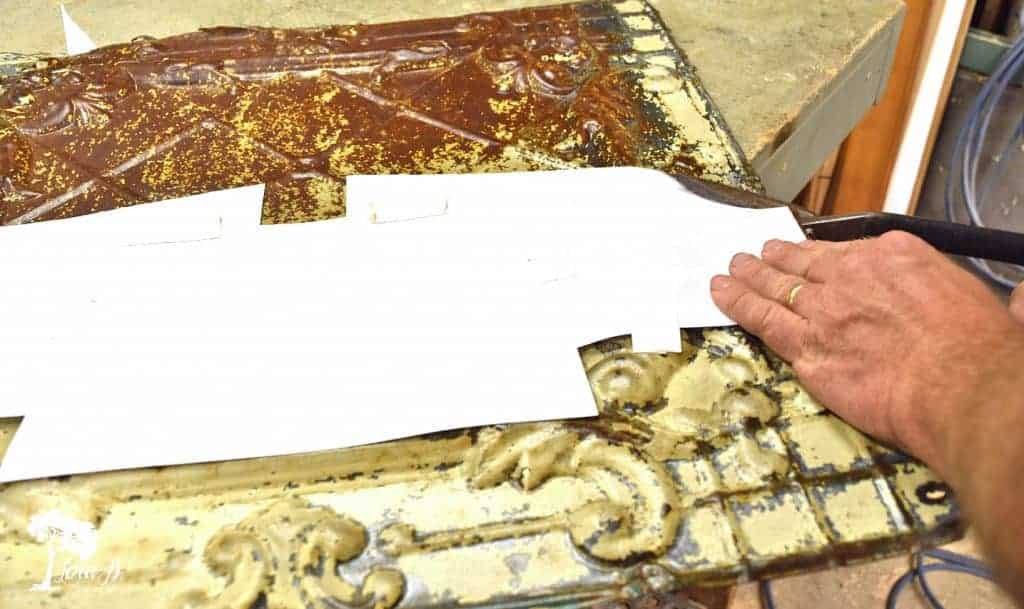
Then we cut the tin along the pattern with a tin snips. Cutting through the bumpy detailed metal isn’t the easiest. Be careful; the rough edges are sharp! Wear gloves if you can. (and keep your tetanus shot up to date if you like rusty junk;)
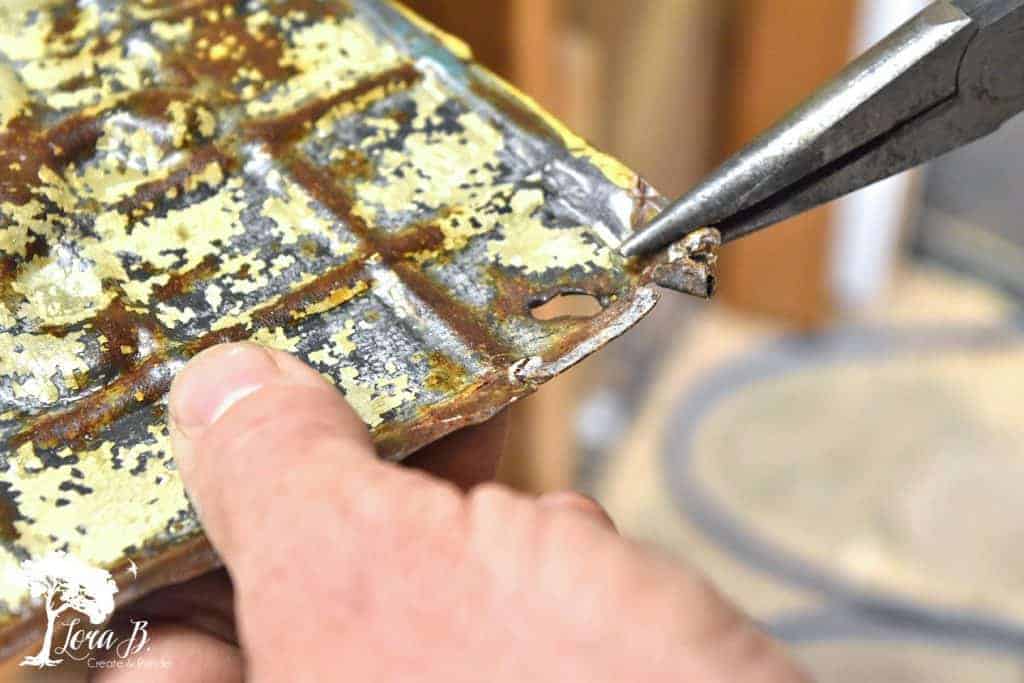
Flatten Edges Around Decorative Tin
Often this old tin has fairly bent edges. Bend them straight with a pliers so they’ll lay flat when you mount to the frame.
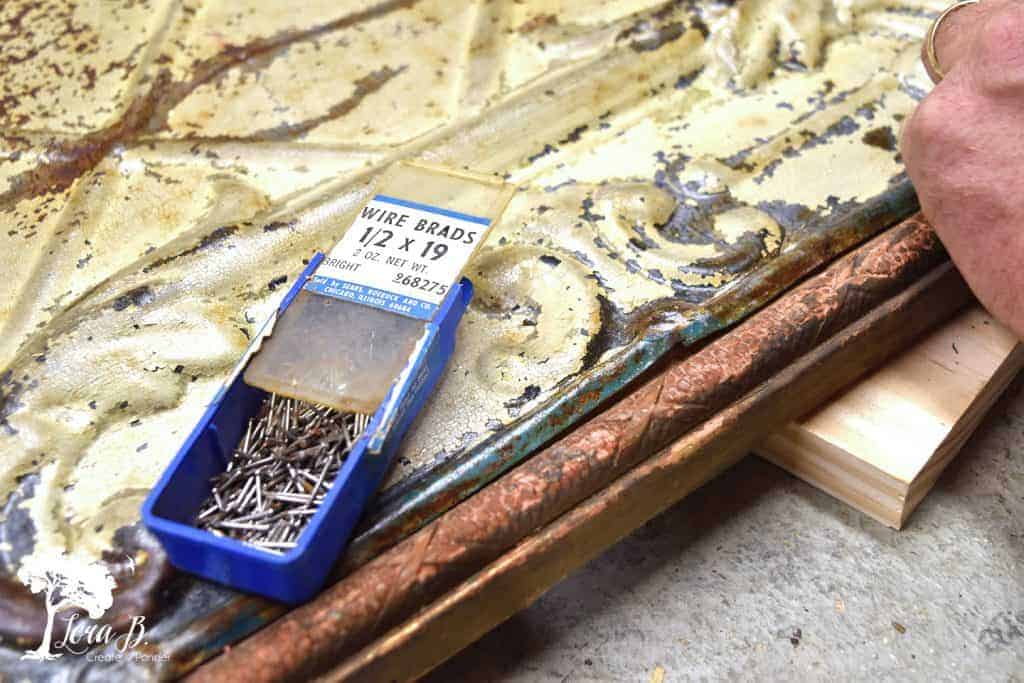
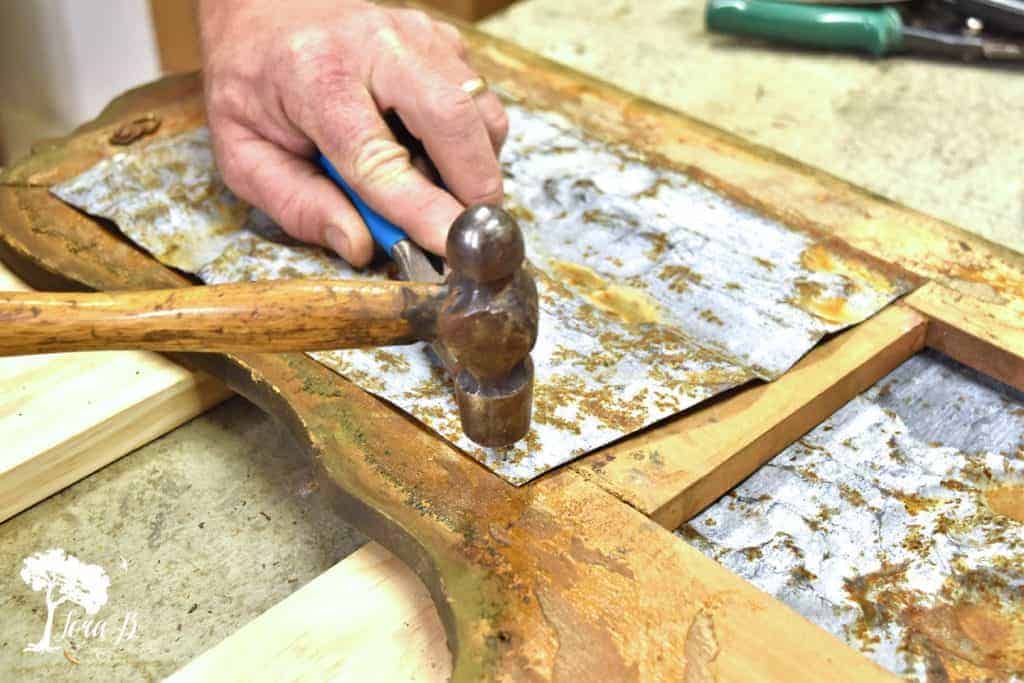
Attach the Tin to the Old Mirror Frame
Bend the tin so it lays flat on the frame and start nailing around the edges. This tin is fairly soft and easy to nail through if you use small nails. We used 1/2″x 19 wire brads ( I love having a collection like THIS handy).
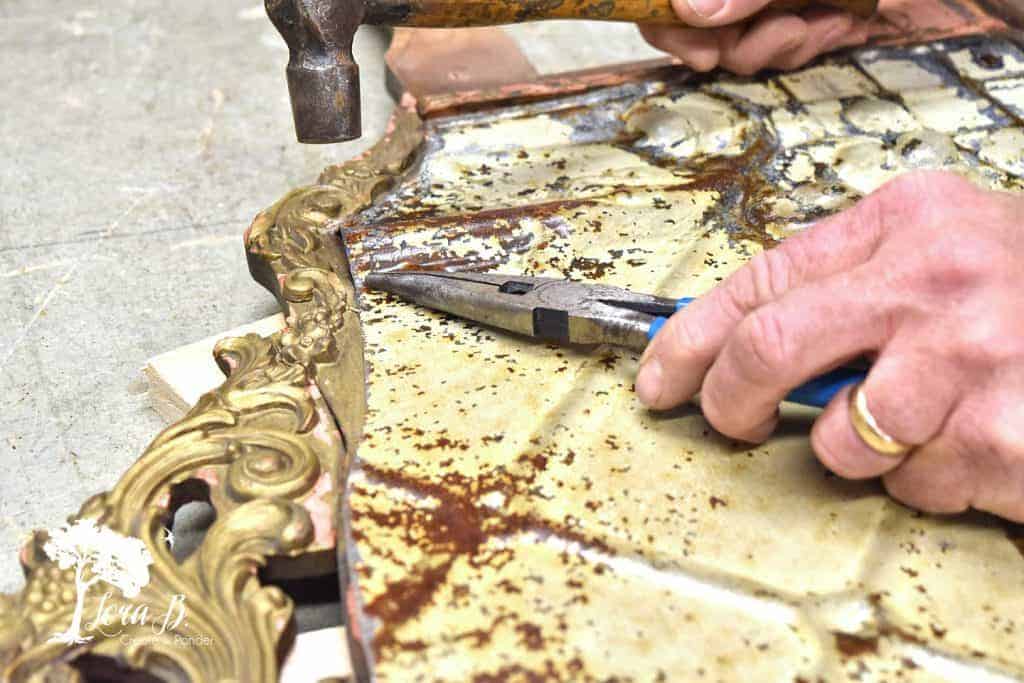
Handyman(or woman) tip: If the nail is too small for your fingers to hold, keep it in place to hammer with a needle nose pliers.
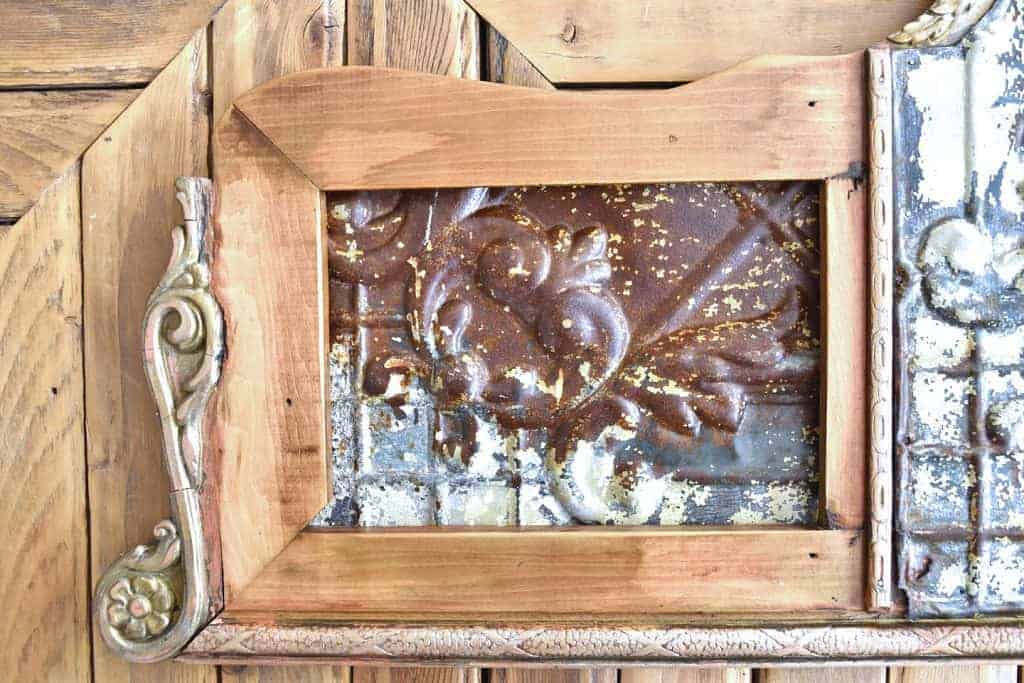
For the openings on either side, we attached the tin to the back side of the frame for a different look. Simply cut a piece a little bit larger than the opening, making sure you like the look of the pattern on the front side. I wanted the patterns to mirror each other on the sides.
Nail around the edges to attach.
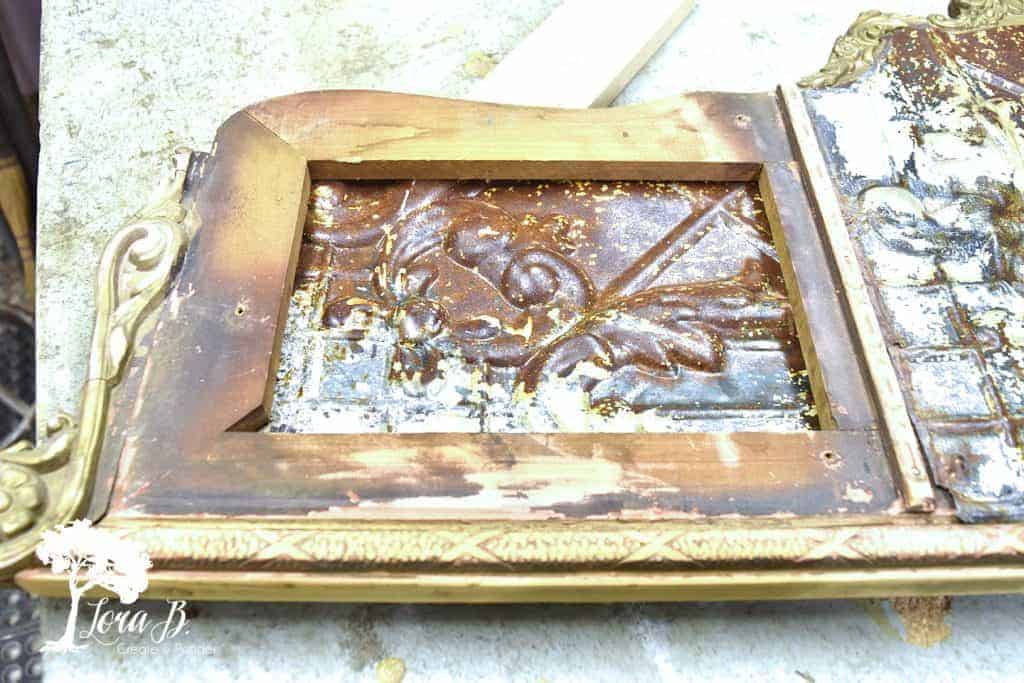
Finish Off Frame
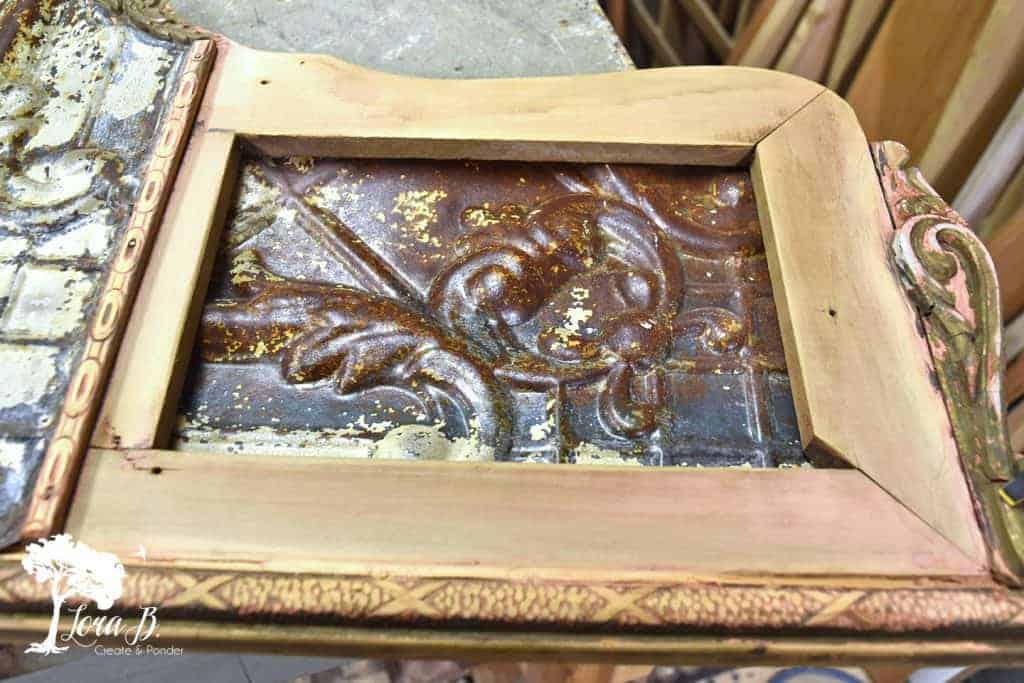
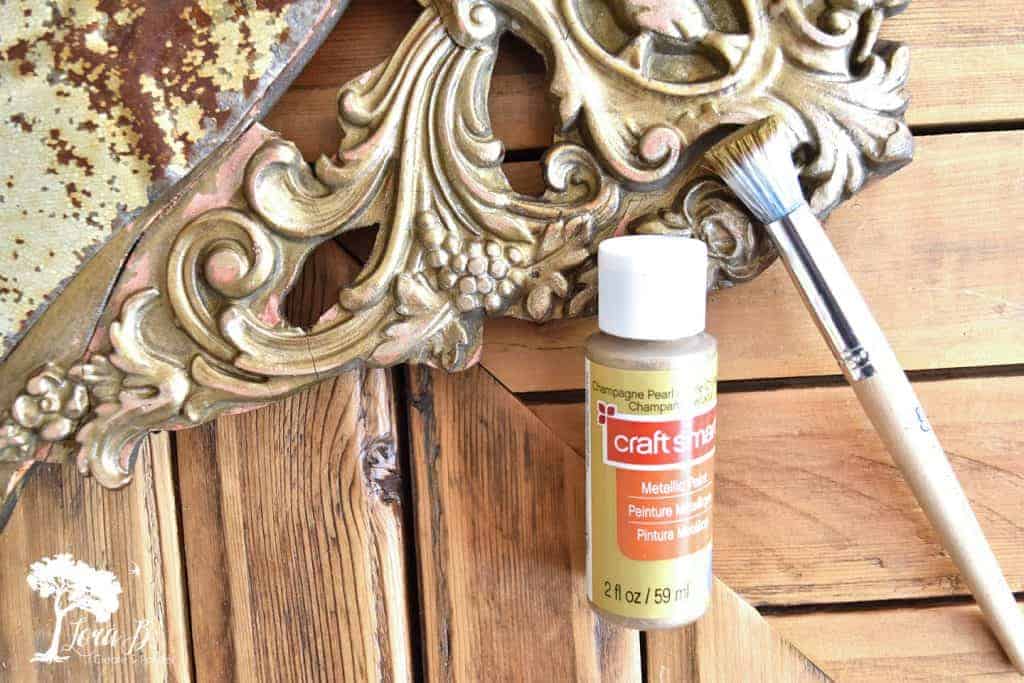
Sand the frame smooth with 120 grit sandpaper (in a palm sander) to get any rough edges off and remove any unwanted finish. I wanted the detailed parts to still be gold to match the detailing at the top. So I touched up those areas with some simple craft paint.
I left the sanded wood frame pieces natural and gave them a sealer coat of brushed on poly to bring out the color and seal.
Old finish before sanding:
Frame after sanding:
Touching up details with craft paint:
Enjoy Decorating with your Finished Architectural Accent
This old beauty has a whole new life! I love it’s timeworn character, and it will be a great piece to decorate with all through the year! Won’t it be lovely with a wreath hanging in the middle?

I used it right away to decorate my Harvest Mantel, “Bountiful Thanksgiving Mantel with Vintage Gold Frames”. It makes a beautiful, impressive backdrop leaning on the mantel. It will also be lovely hanging on the wall.
Don’t you just love when you can repurpose something someone has thrown out and turn it into a functional, beautiful piece? Trash to treasure is the best!
For more ideas where you can use vintage ceiling tin see, “Great Ways to Repurpose Vintage Tin”.
Hope you enjoyed this DIY Repurposed Mirror Frame with Vintage Tin. If you find an old broken mirror, you’ll know how you can revive it!
Pina and share!

Sharing at these lovely parties:
I am so glad I have found your blog! I’ve been enjoying it so much, and don’t know where you find all of these amazing ideas! This is such a great idea. Thank you for sharing it with us at Charming Homes and Gardens.
So glad you’ve been enjoying it, Kim! My hubs has always said I have enough ideas for 20 husbands;0 It’s a disease!
This turned out great! Thank you for sharing your tutorial.
Glad you enjoyed it! Thanks:)
Just gorgeous 😆
Thank you!
Gorgeous!
Thanks, Virginia!
Awesome project. It will be a great mantel backdrop. I’d like to see it with my Nativity set, putting “Gloria”, the angel on the center top! I had to smile when I saw your package of nails! When I haunt ReStore, I look for treasures exactly like that! You never know when that little pack of nails, brads, screws is gonna come in handy!
I love the idea of using it as a backdrop for the Nativity, Kathy! Might have to steal that idea:) And yes…always on the watch for old nails and screws…especially if they already have patina!
Well, Mrs.Creativity you did it again, a very exceptional piece and so pretty, you will be using this forever. I actually can’t wait to see how many ways you do use it, have a great weekend and thanks for sharing. SNOW,WOW!!!
Yes, we’re supposed to get 5 inches today! Too early:( I wasn’t ready…had to pull a bunch of plants into the garage quickly! I can’t wait to hang a pretty Christmas greens wreath on this one! Thanks, Marlene!
Wow, so gorgeous! This will such a beautiful backdrop for so many things!
Tania
Thanks, Tania! It was nice to be in the workshop again:)
Wow, Lora, this is absolutely gorgeous! What a stunning pattern and patina on the sheet of vintage ceiling tin. Much more character than had you turned it into a chalkboard.
Never met a vintage tin piece I didn’t love, Marie:) And I probably have enough chalkboards already!