
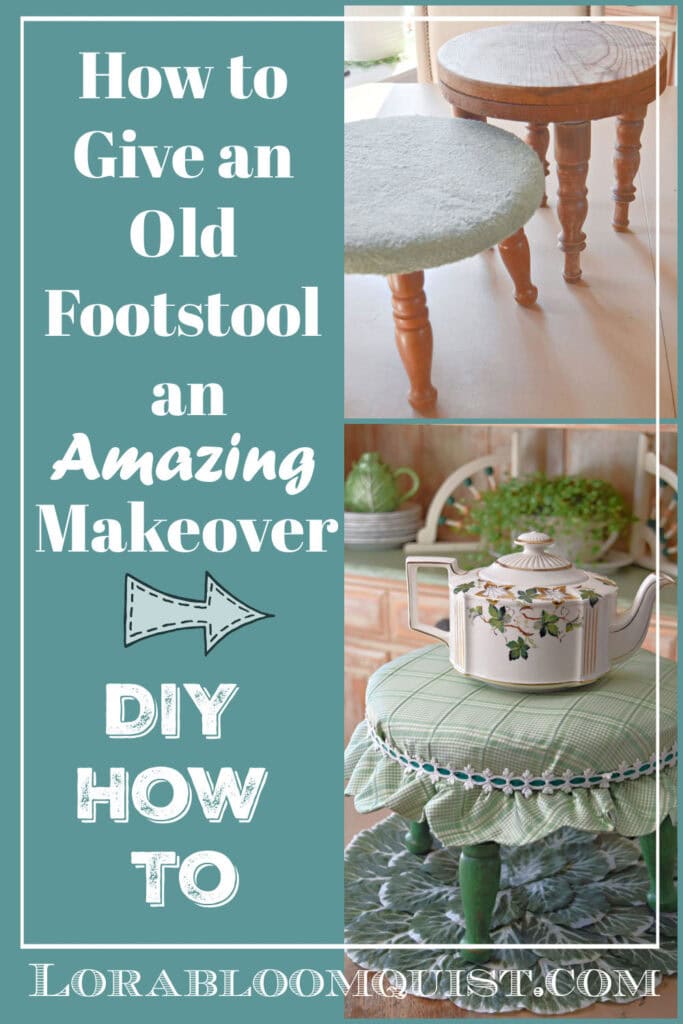
DIY Vintage Footstool Makeover
Ever find these old footstools when you’re thrifting? This DIY vintage footstool makeover is a fun craft project. Once you give these old classics a new look, you will love using them as an eclectic decor accent in your home. Here’s how.
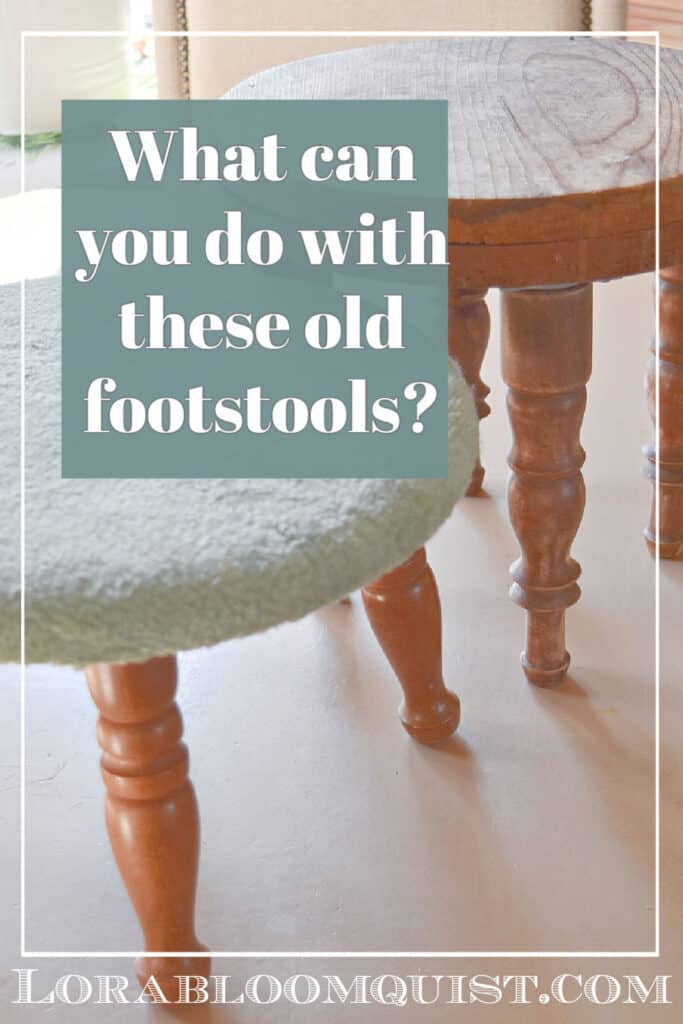
Have you ever come across these old wooden upholstered footstools when you’re thrifting? Sometimes they’ll have a pretty needlepoint cover on them. But if the fabric is…less than pretty, you can give them a fun makeover to use them in your decor styling. Hope this DIY Vintage Footstool Makeover makes you want to scoop these oldies up for yourself.
DIY Vintage Footstool Makeover
For your convenience, this post contains affiliate links. If you make a purchase, I may receive a commission. There is no additional cost to you. “As an Amazon Influencer, I earn from qualifying purchases.” My full privacy policy is here.
Find all my favorite DIY tools for the project HERE.
Thrifted Old Wooden Upholstered Footstools
Whenever I come across these old wooden, upholstered footstools for cheap ($5-10), I scoop them up. They’re sturdy and well made, and can be a fun styling level when you’re decorating your home.
Sometimes the leg brackets can allow the legs to be angled out or straight, so you can adjust the look to fit your style. I’m giving these two a cottage-style makeover, one easier and one a little more difficult. Hopefully it will inspire you to not overlook these the next time you spot them!
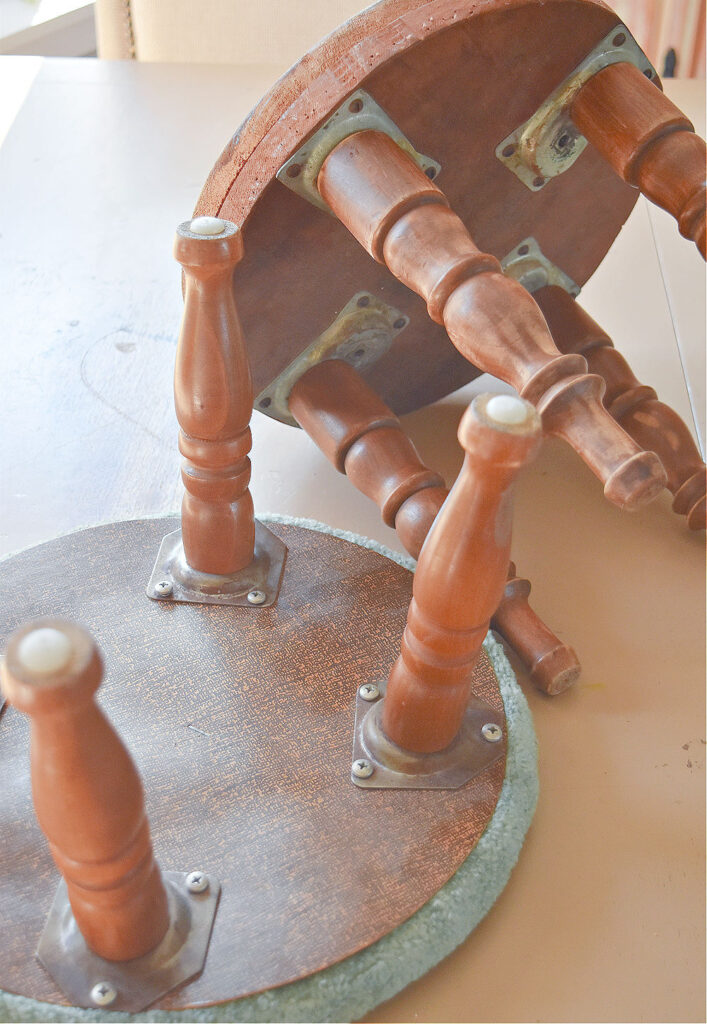
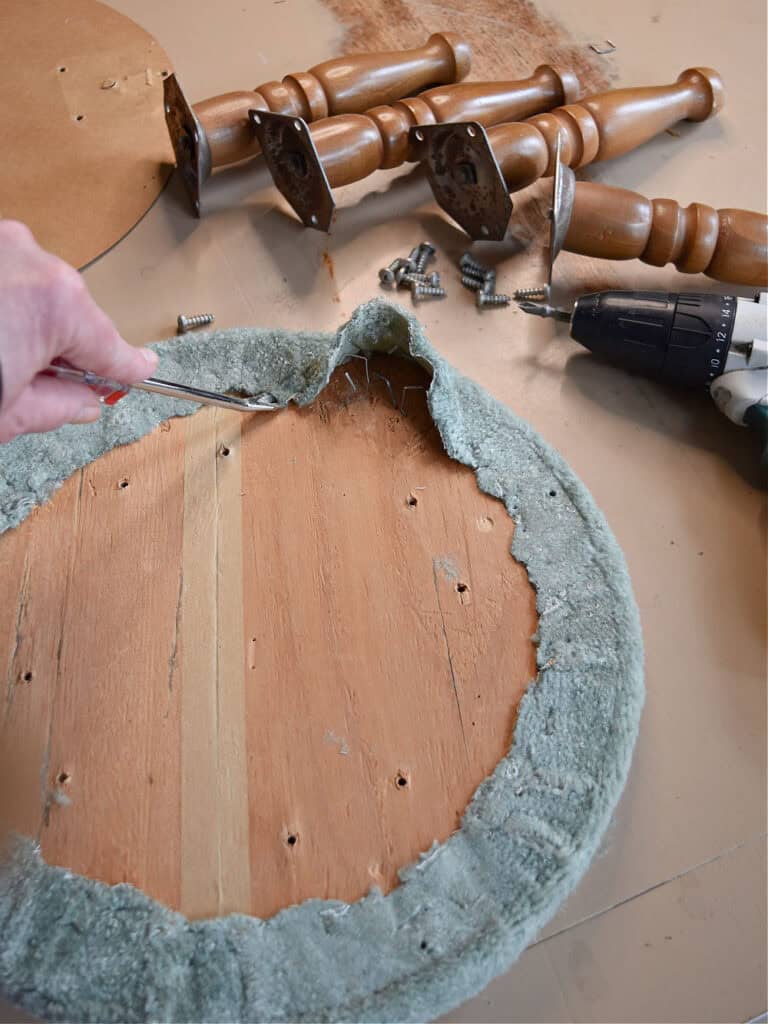
First, Remove Old Fabric
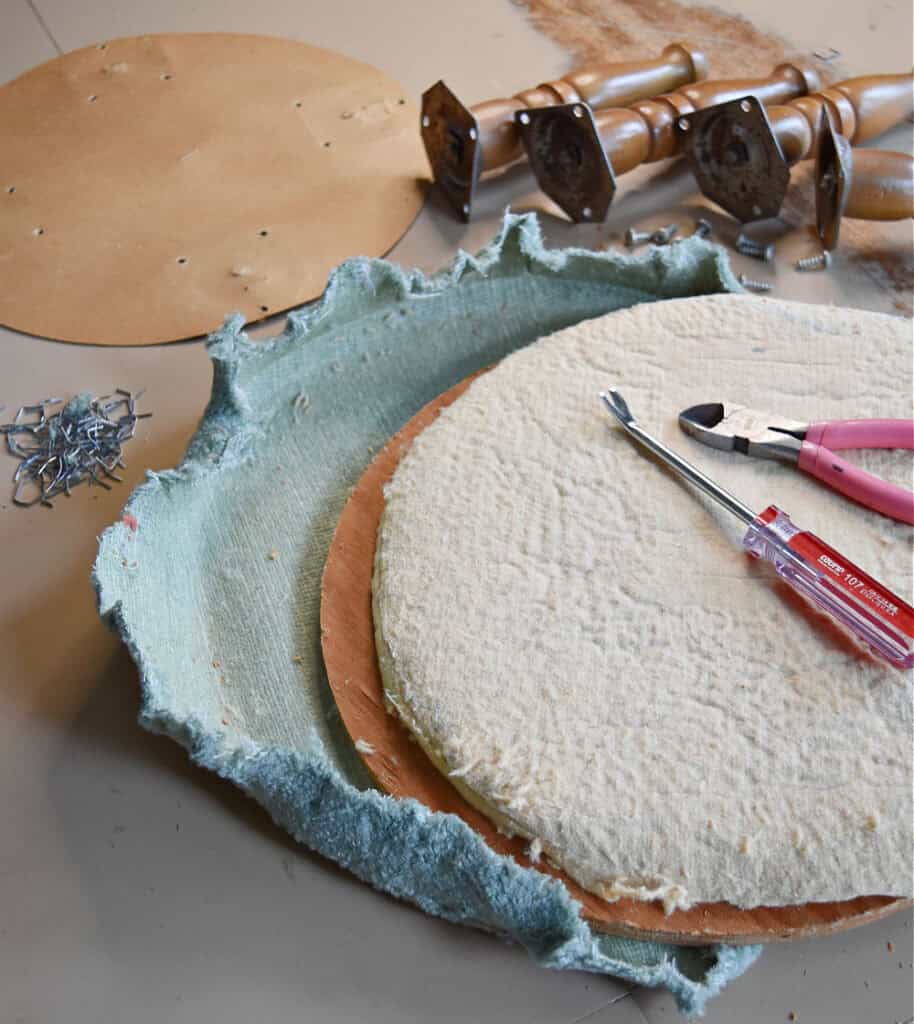
First you need to deconstruct the old. Take the legs off with a screwdriver/drill. Then, using upholstery tools (find them HERE), take the staples out and remove the old fabric and stuffing.
Give Wooden Legs a New Look
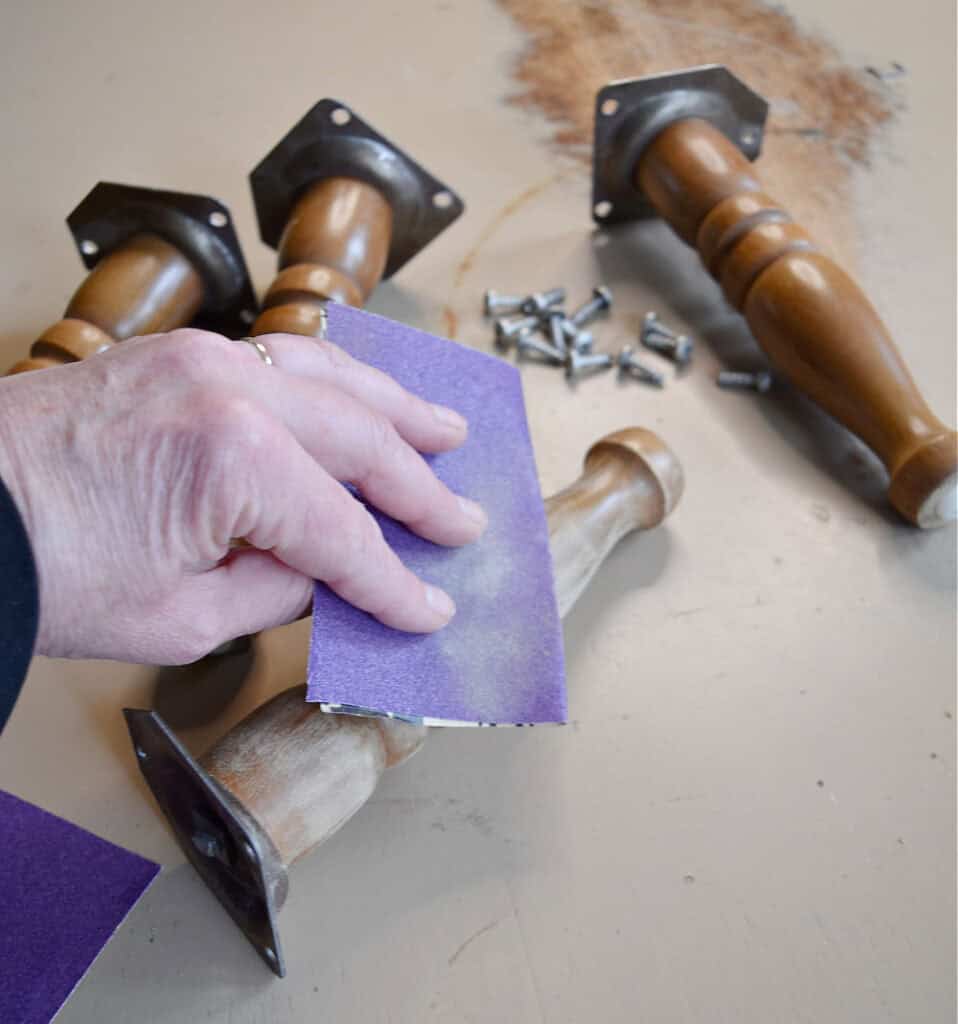
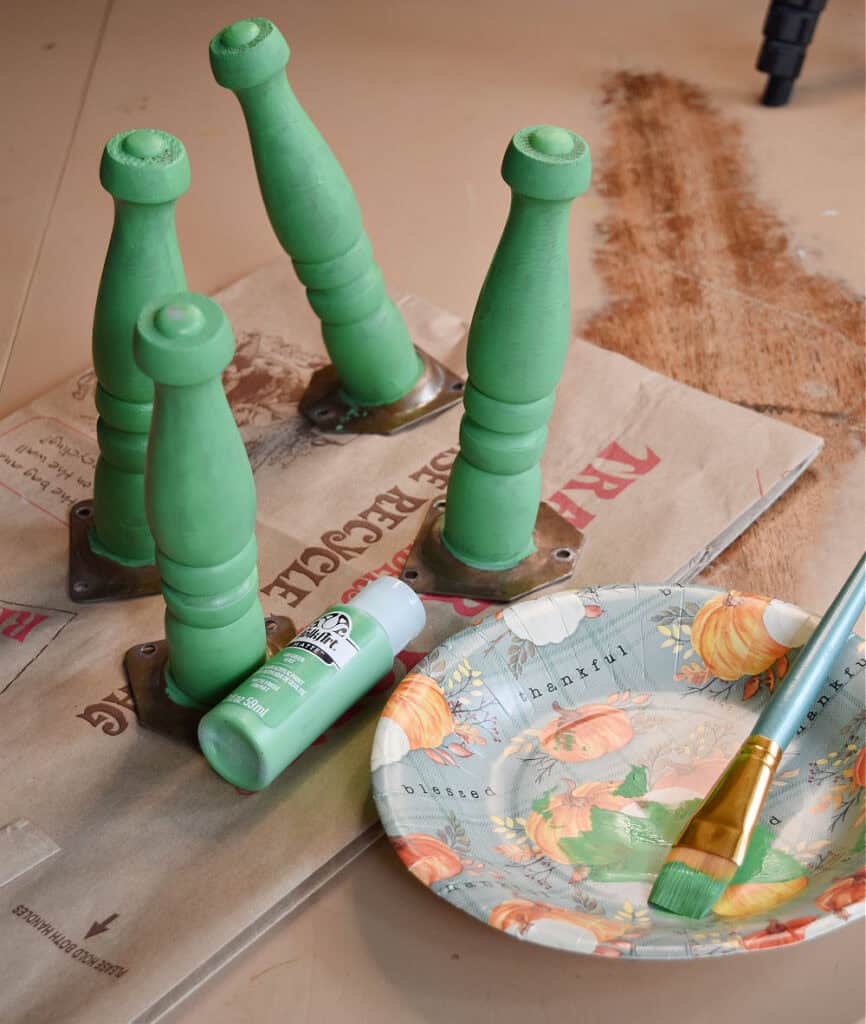
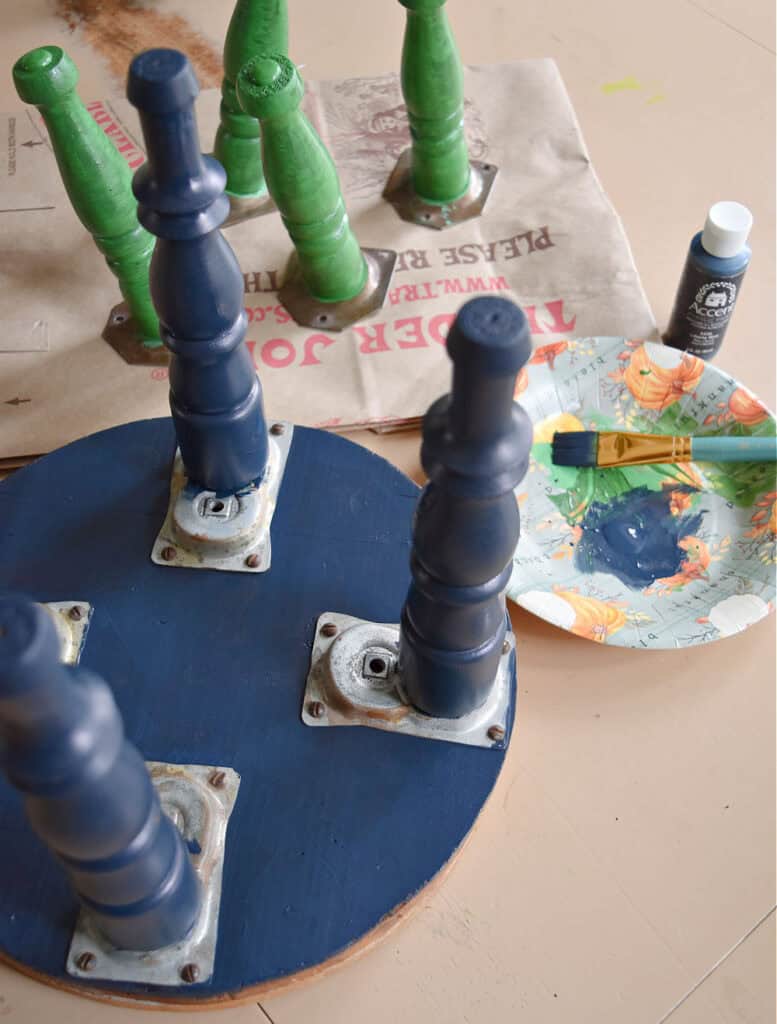
The finish on these footstools is often a shiny shellac, which is not my favorite. I like to update with a shabby paint treatment. First, I scruff sand the legs with 100 grit sandpaper. Then paint with your preferred paint. I simply used craft paints for these.
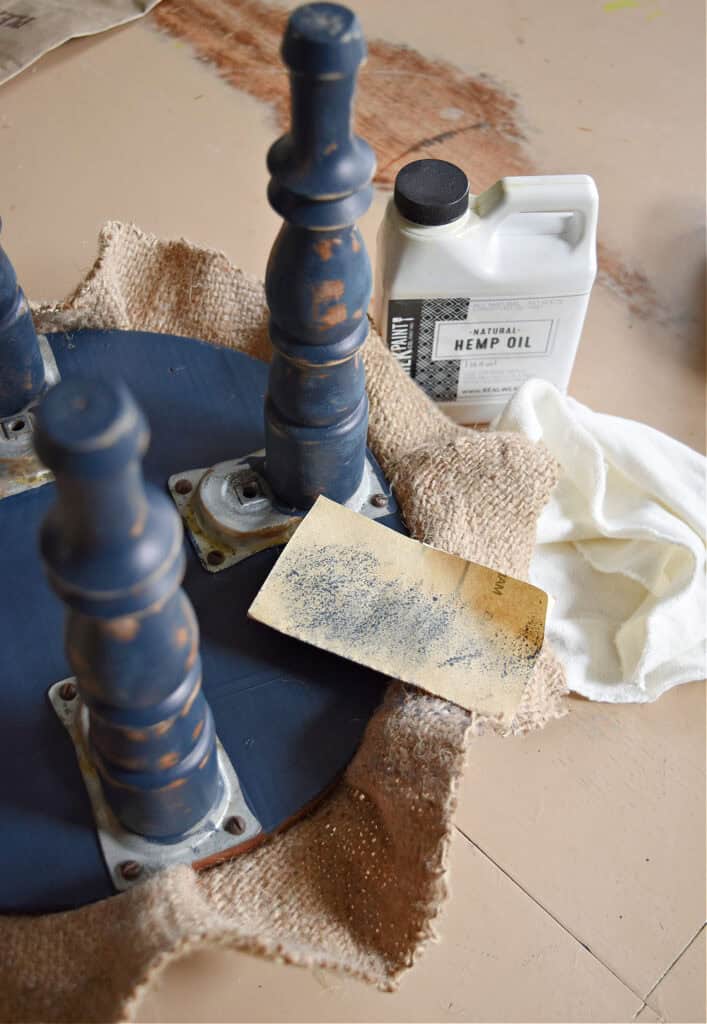
Once dry, I scuff sanded to highlight the details and sealed by wiping on hemp oil. (find it HERE and use code 10OFFLB)
Adding Fabric, The Easy Version
I did two different versions of adding fabric to these, an easier one that is just stapled, and a harder one that involves sewing.
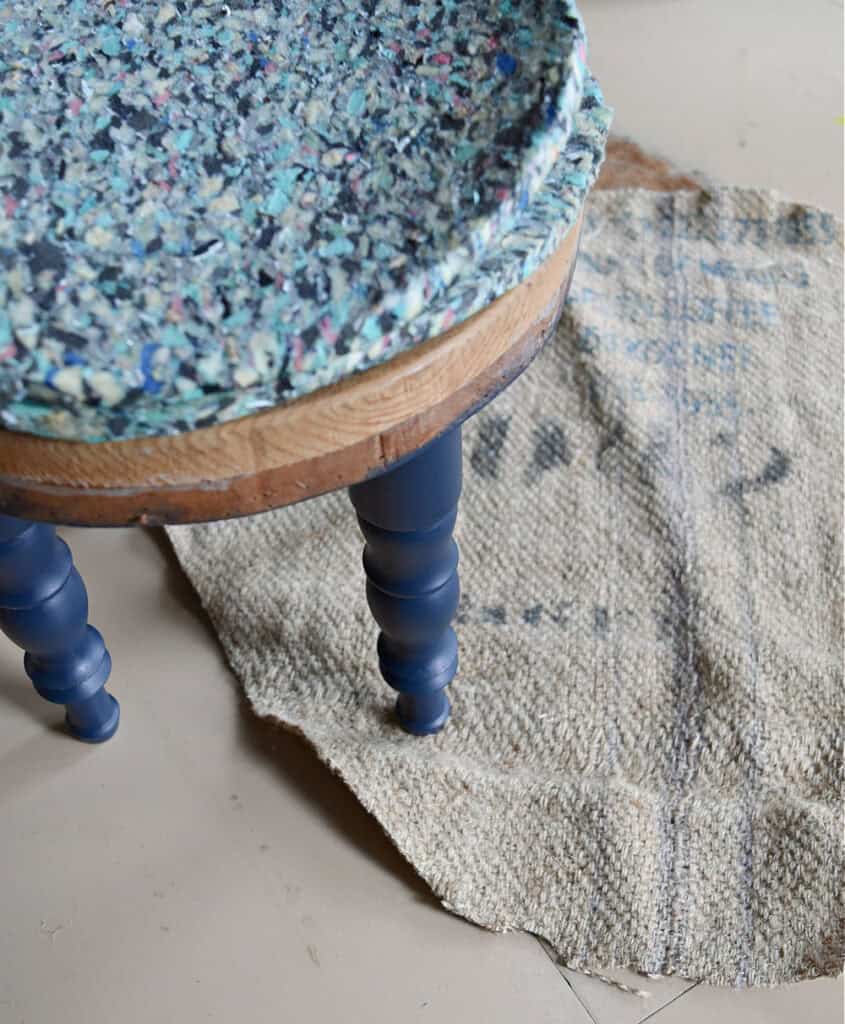
First, cut foam to fit the top of the stool. Carpet pad is an inexpensive option and can easily be found at the home store. You can add softer quilt batting to the top, too. You don’t want too squishy of a treatment, so you can set accessories on it without being tippy.
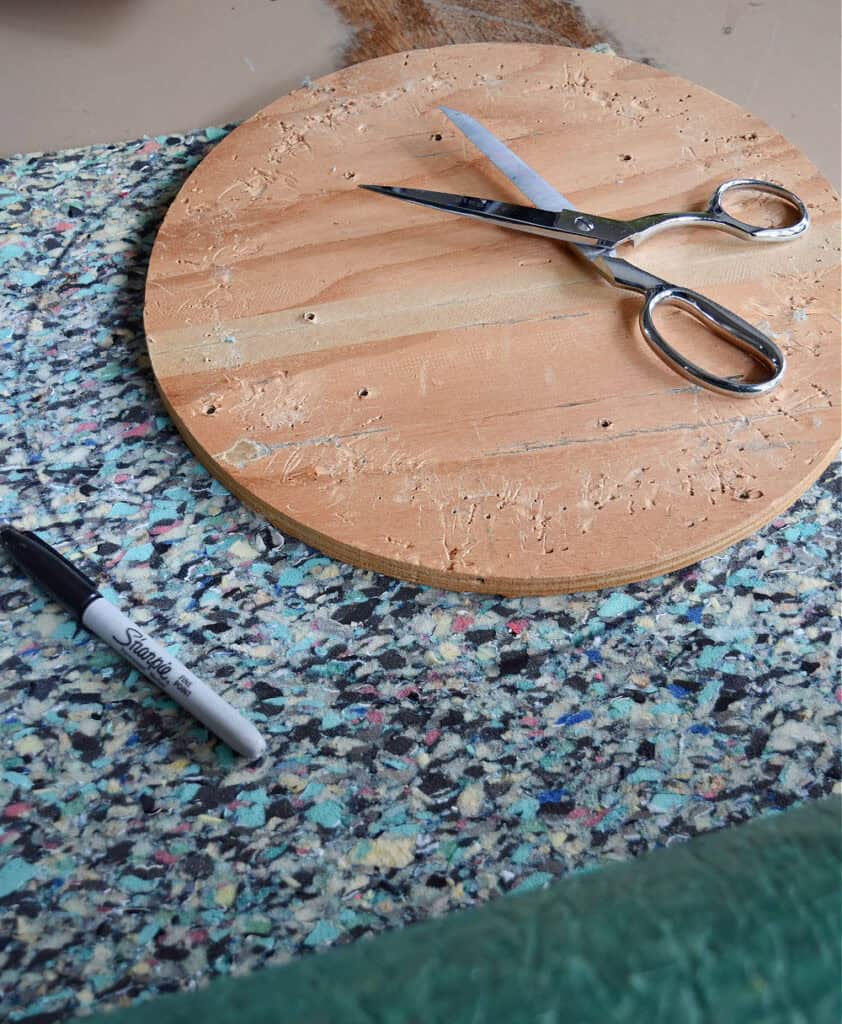
Then cut your desired fabric to size, with a couple inches extra for a ruffle. I used an old burlap coffee bag for the blue legged stool. I free formed the cutting, so it’s very un-exact.
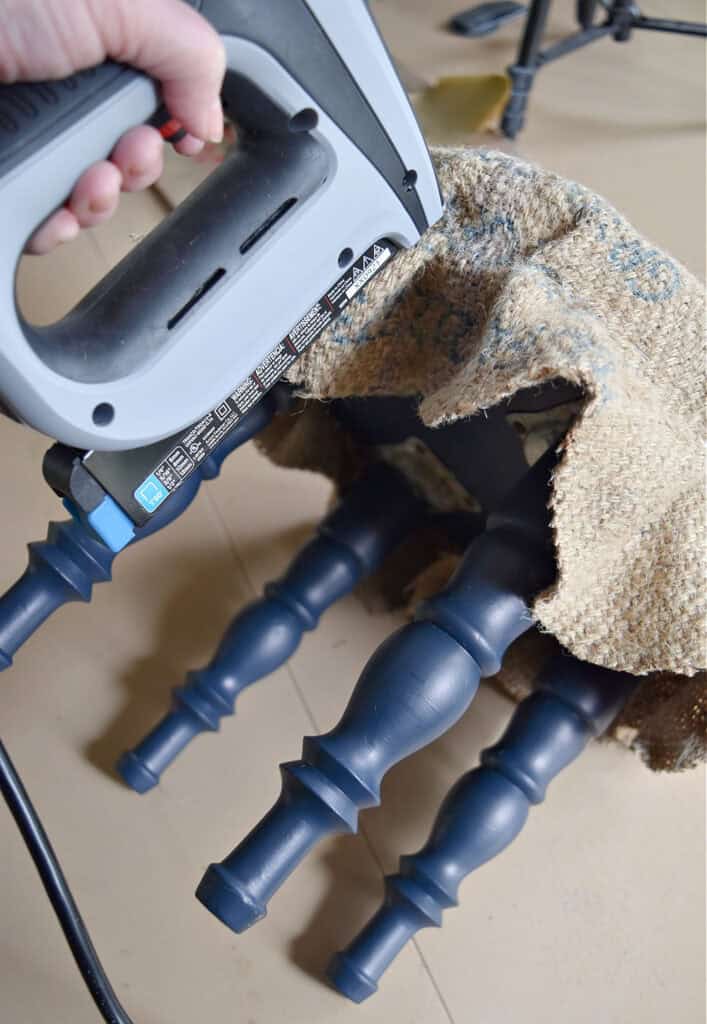
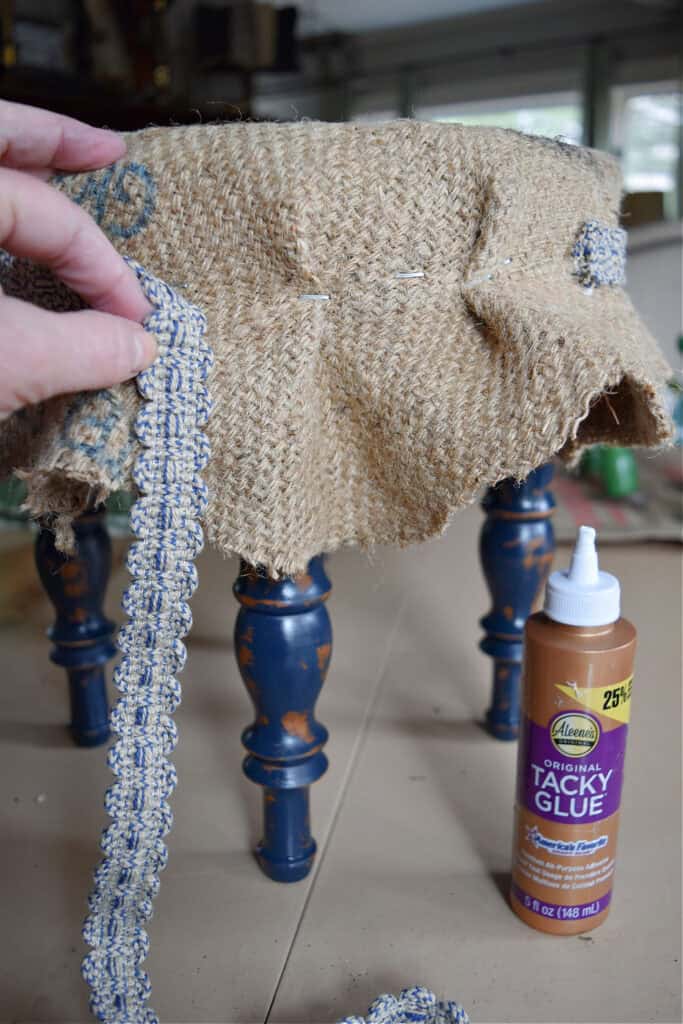
With an electric staple gun, staple fabric around edge of footstool. Overlap fabric around the curved edge to make the ruffled edge. Glue on upholstery trim to hide staples and finish the look.
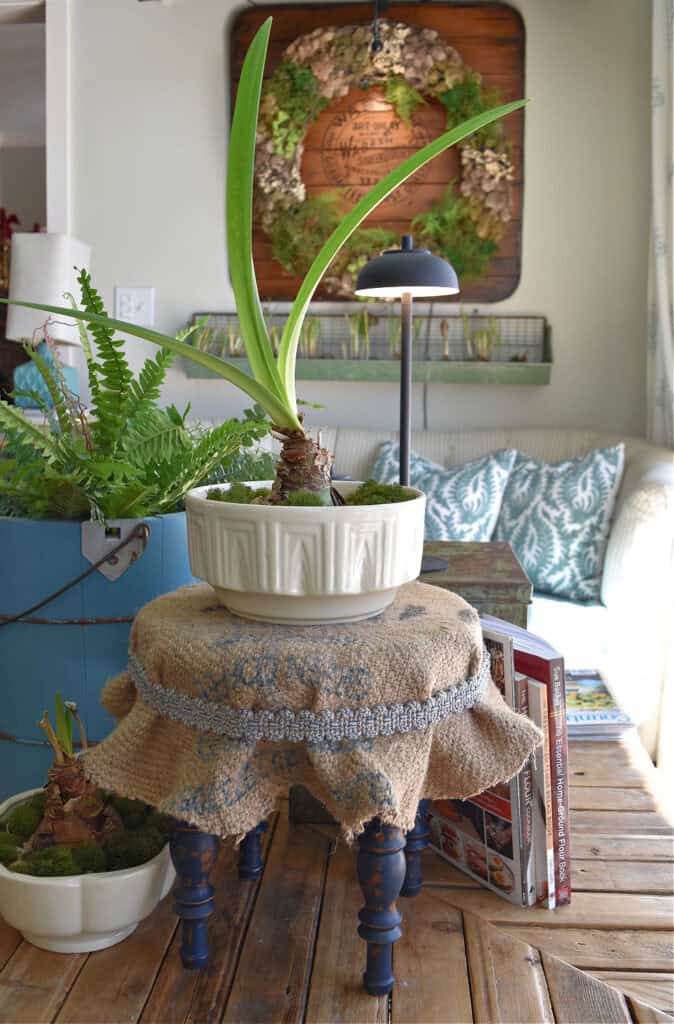
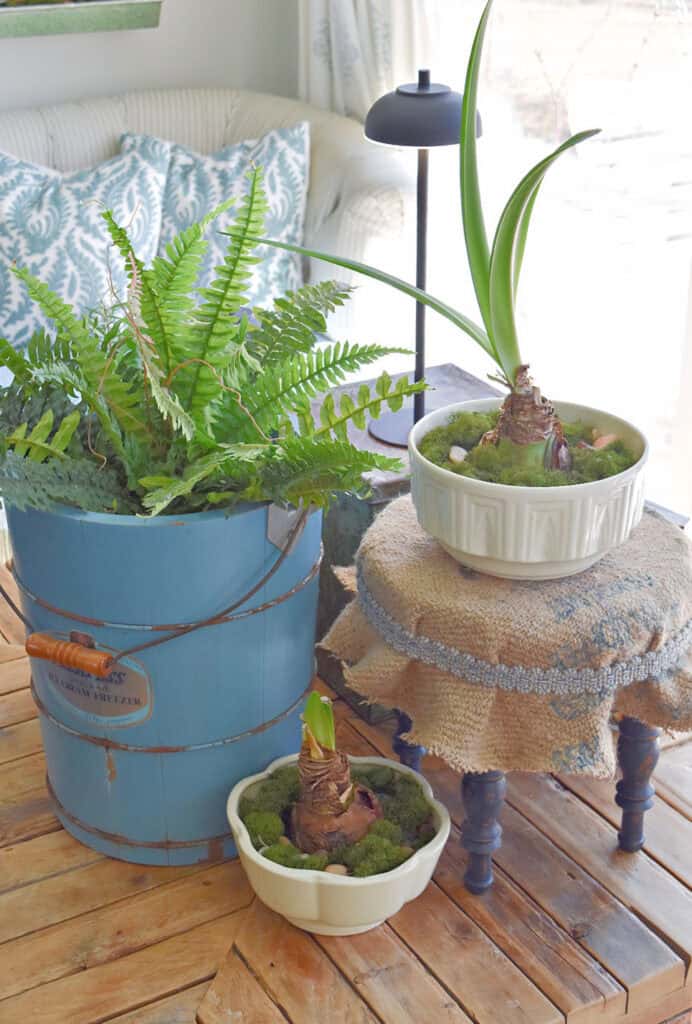
This blue footstool got popped right into a vignette on our kitchen coffee table. So cute!
Adding Fabric, The Seamstress Version
If you have simple sewing skills, this scalloped cottage version is adorable to use in your styling. You could also used purchased lace or trim for a similar look.
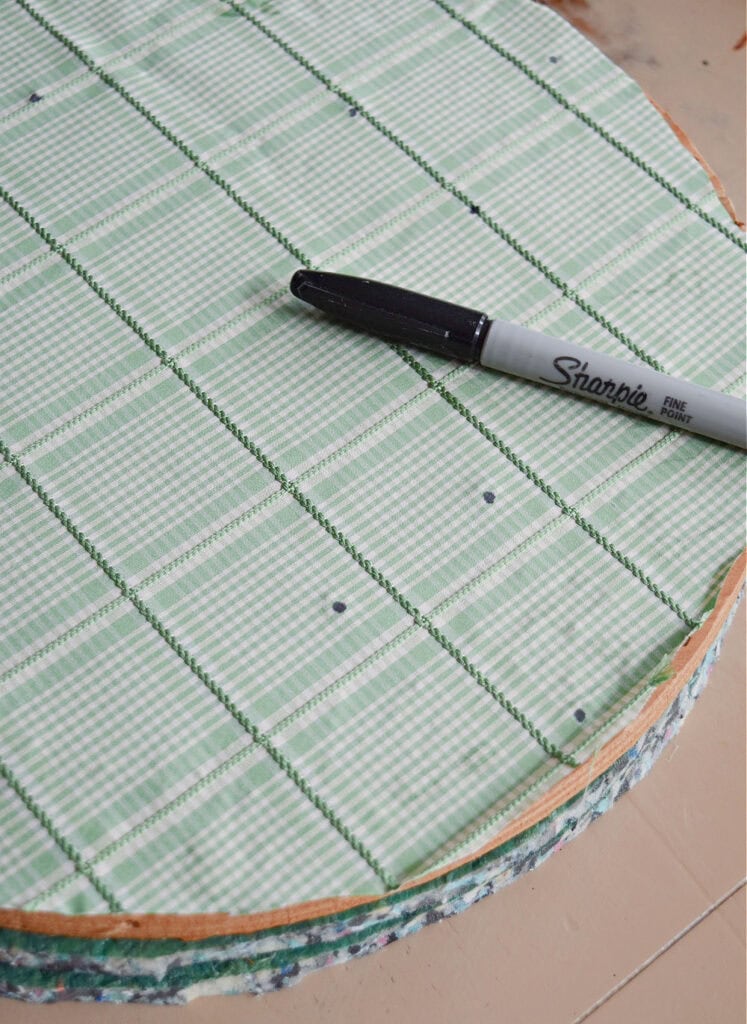
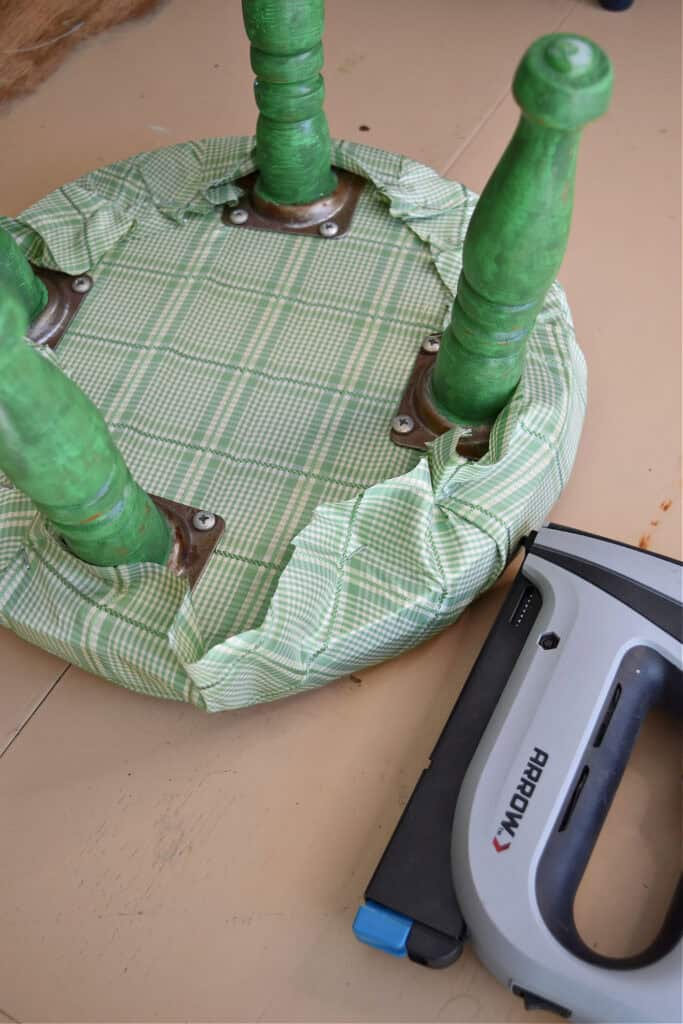
First, glue fabric to the bottom of the stool for a nice, finished look. Then mark where the leg screw holes are so you don’t lose them;)
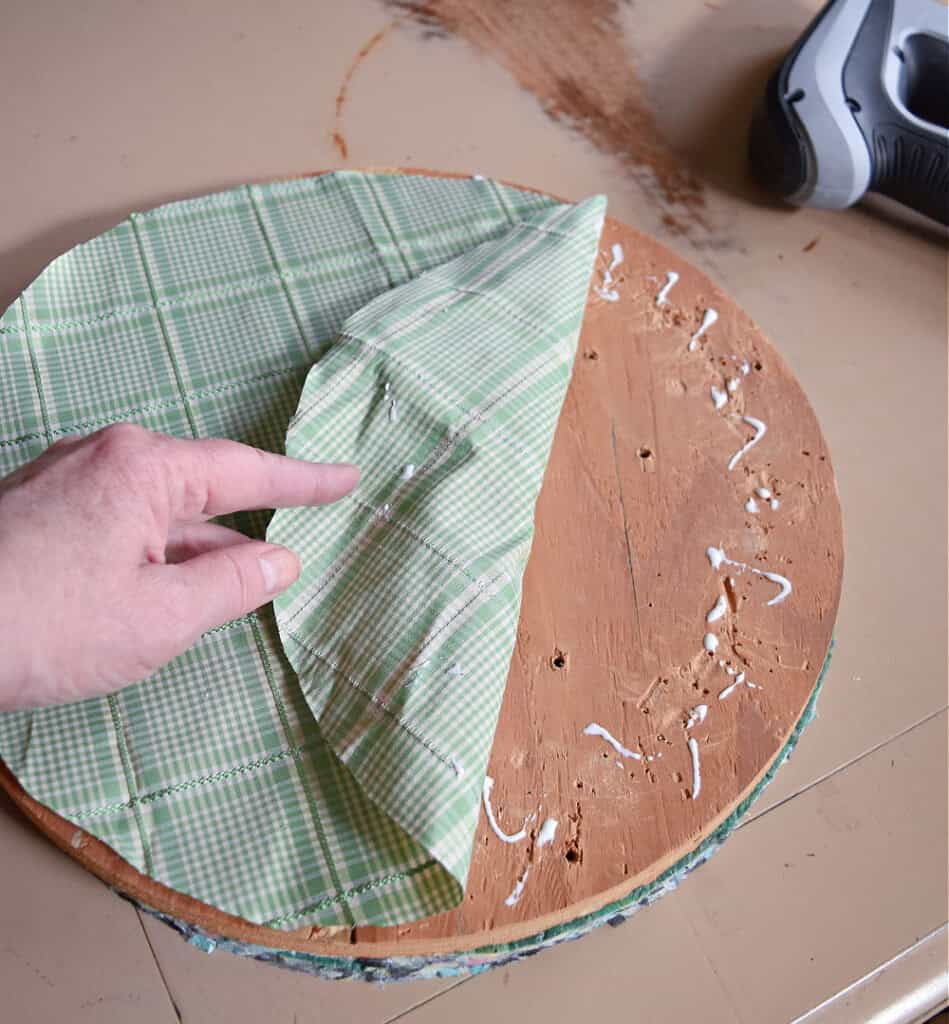
Add carpet padding and poly cushion, if desired.

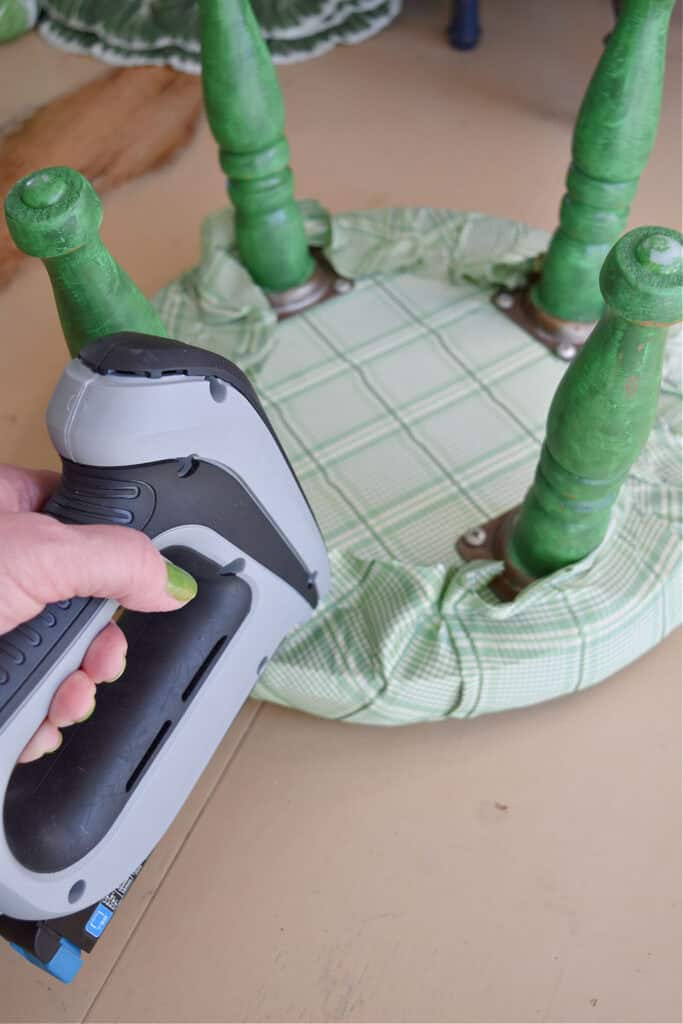
Staple fabric on the back side, tucking as you go around curves. Trim off excess.
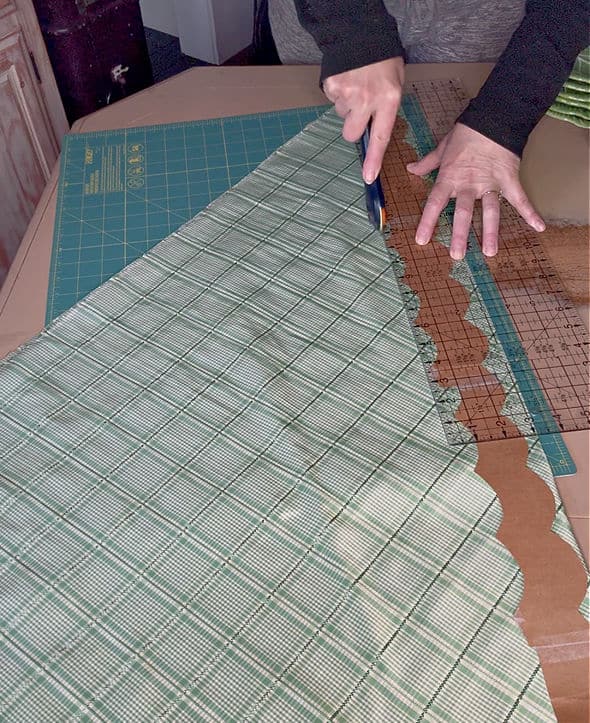
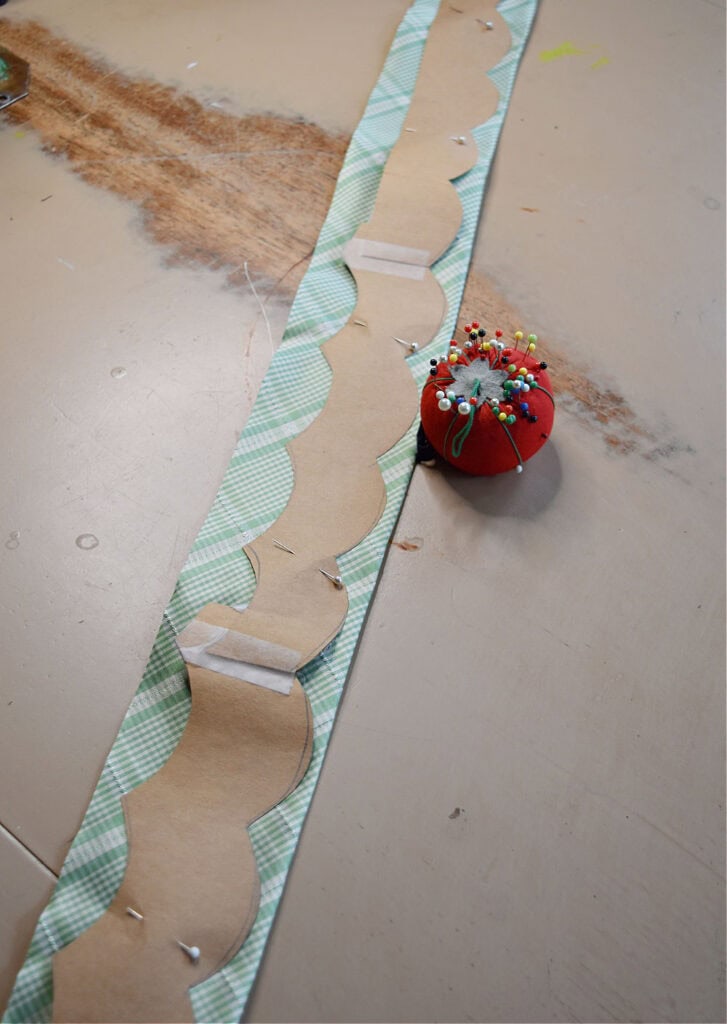
The scallop edging should be 1 1/2-2 x the circumference of the footstool. To make the scallop edging:
Make a scalloped template with a grocery bag from a round drinking glass (or something). I made this one years ago and have used it on several projects.
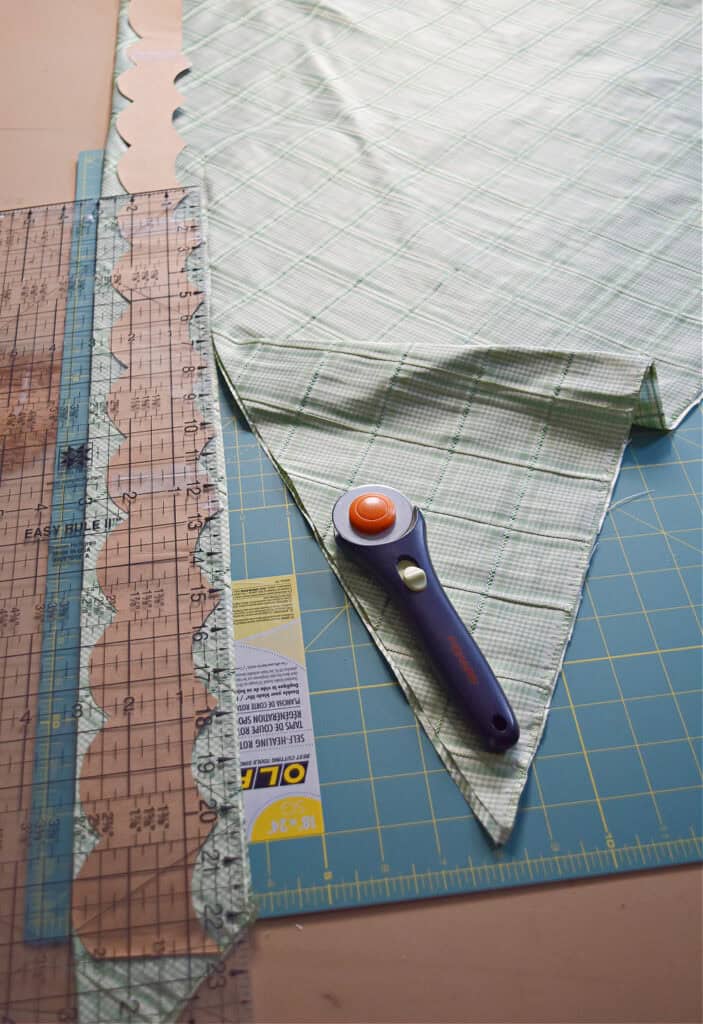
Pull a corner end of your fabric to the salvage edge to create a triangle. Cut a 3″ strip from the folded fabric. This is cutting on the bias. It’s extra cute if you use a plaid, gingham or stripe fabric.
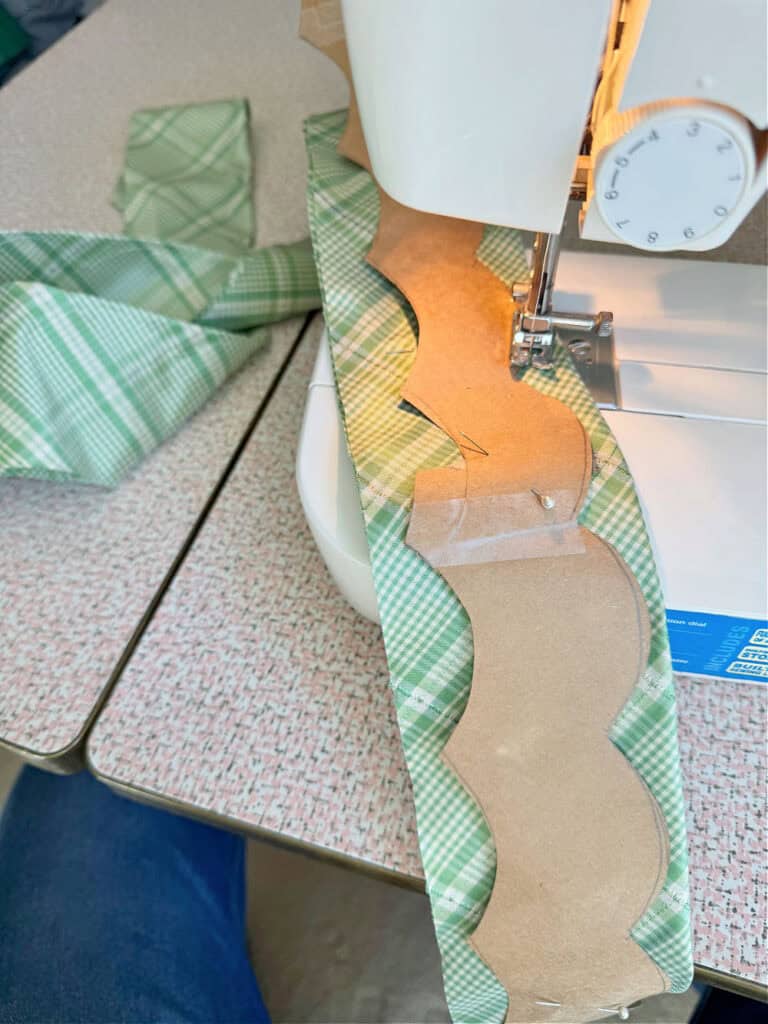
With a sewing machine, sew all along the outside scallop edging.
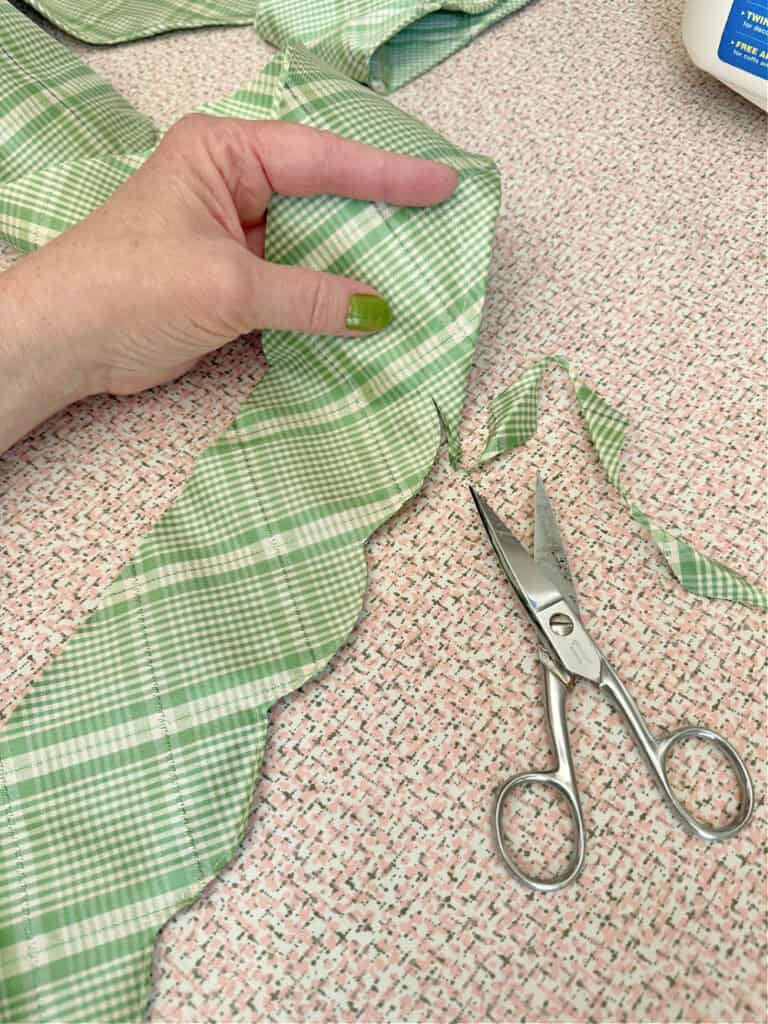
Clip the extra fabric off and turn inside out, so the finished side is out. Iron flat.
Sew a basting stitch or 2 across the entire length. You may want to do it in 18″ sections. It makes gathering easier and helps in case the thread breaks in a spot.
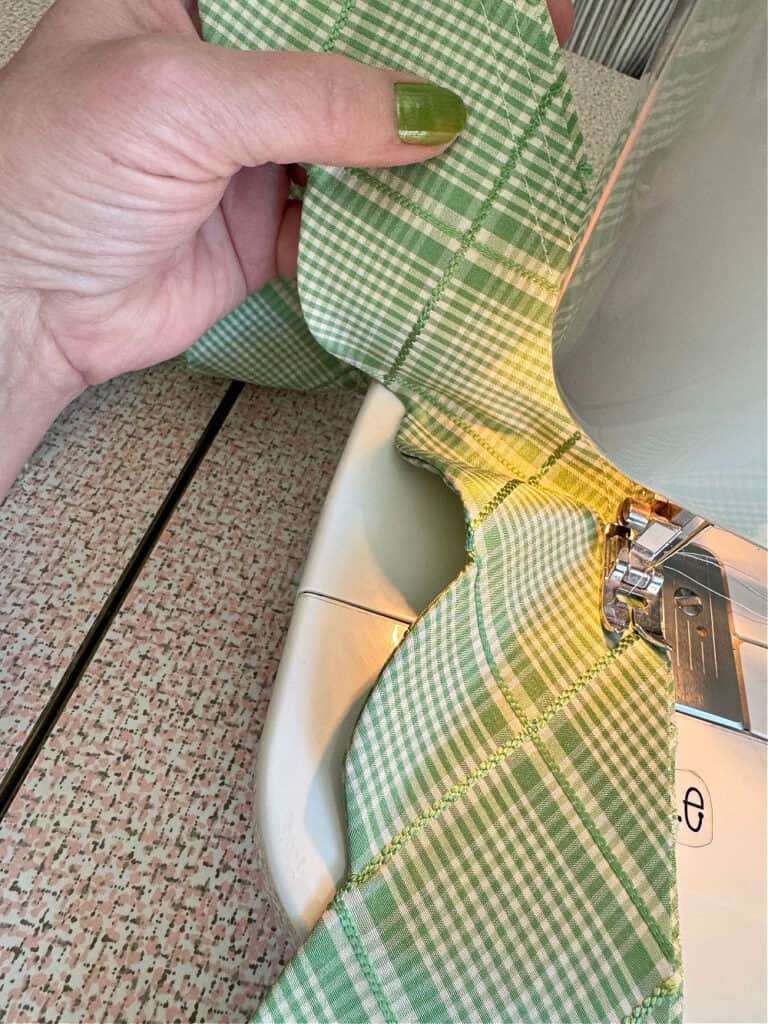
Pull gathering threads to create gathered scalloped trim. Staple to the bottom edge of the footstool all around. Simply cut off the edge when you get it all around.
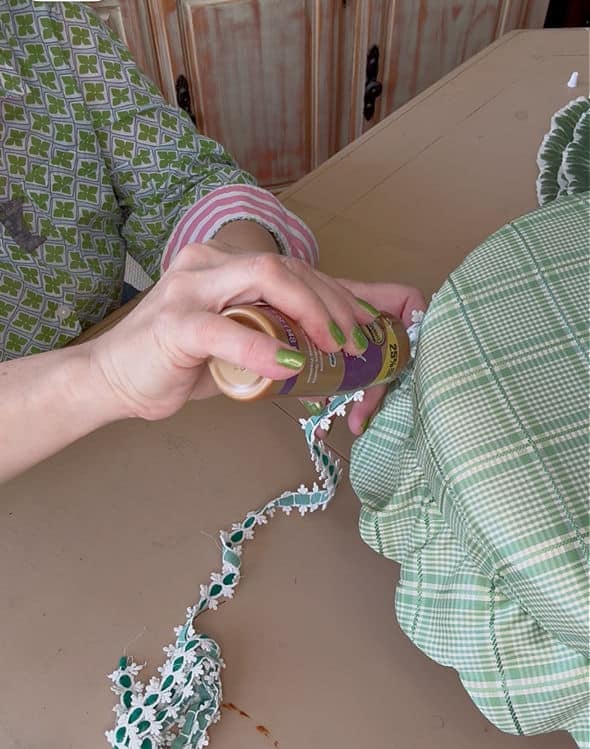
The last step is to glue trim (using THIS) around the edge to finish the look. I took this cute green trim off old lampshades years ago and have been saving it for a special project.


Cottage style cute, indeed! I’m so excited to use this fun footstool when I’m decorating. It fits in perfectly with my cabbage ware filled hutch: “Collecting Cabbage Ware for a Spring Hutch Display”.
Will you give these old footstools a chance the next time you see them thrifting? With a new look, they can be a fun home decor accent and add a level when you’re styling.
For more footstool ideas, see:
“9 Ways to Enjoy Vintage Footstools in Your Home Decor”
“Best Tips to Thrift and Revive Old Footstools”
Thanks for reading DIY Vintage Footstool Makeover. If you enjoyed your visit, be sure to Become an Insider so I can send the ideas right to you! You can Sign Up HERE.
Follow Me: LTK | Amazon | Pinterest | Instagram | Facebook
Pin and save

Sharing at these lovely parties:
I love your ideas and it will certainly make mine a lot cuter, thanks so much.
So glad, Marlene!
ADORABLE, Lora!! LOVE the scalloped edges on the green one. They are both the perfect little accessory for just about anything!
Thanks, Rachel! Fun little projects:)
I am currently searching for a couple footstools and haven’t found a single simple one like yours. But there sure are a LOT of ugly, weird, customized to individual interests ones out there! 😂 I just want simple wooden stools I can paint and add my own fabric to. Having short legs and tall chairs I will use them as actual footstools though 😉.
I love the wonky, homemade ones, Pamela:) The weirder, the better; send them my way!