DIY Custom Framing
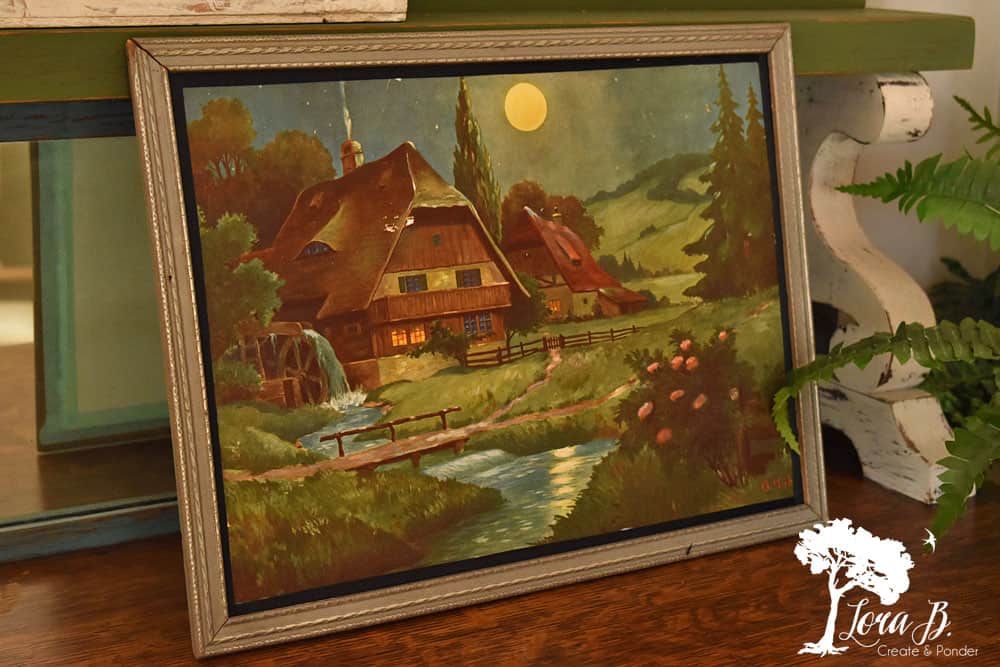
I love old pictures of cottages and pick them up whenever I can get them reasonably priced. And if the original glass is cracked or damaged, the price reflects the less-than-perfect condition. Which is great for me, because I like these pretty prints without the glass better anyway!
The subtle yet vibrant colors can be seen so much better without the glare of glass impeding the beauty. But how do you keep the print from sliding around if it’s not behind glass?
Easy and cheap…foam core, Modge Podge, and decorative tape.
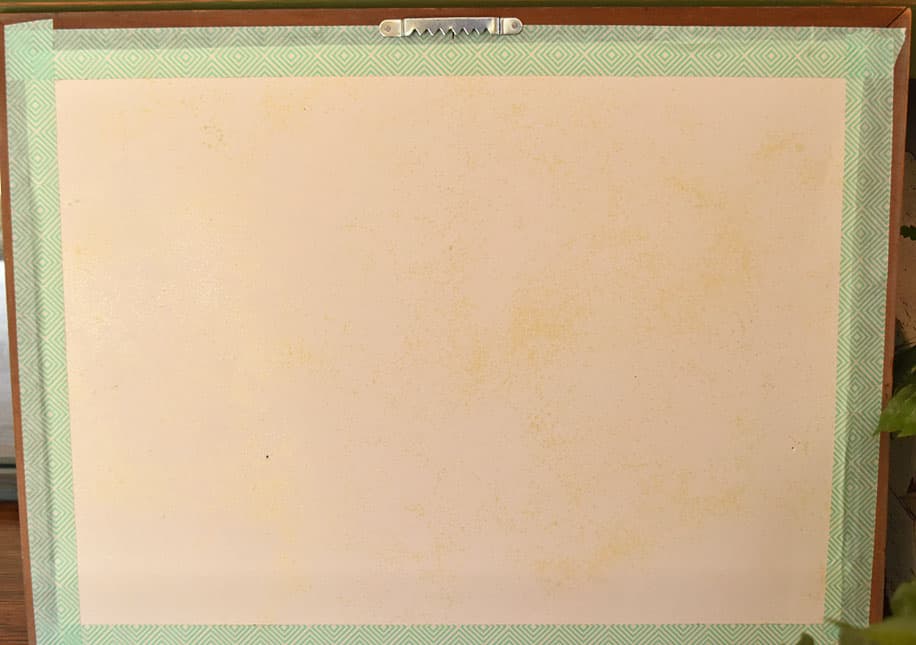
Use an exacto knife to cut some leftover foam core from your kids’ school project to size to fit in your frame. Brush on Modge Podge and glue down your print, smoothing out any bubbles as you go.
If your print has raggedy edges, disguise them with some fabric ribbon. I used 1/4 inch black grosgrain I had picked up from a church sale {Here} for a subtle colored look. I used Tacky fabric glue to adhere it. I think it added a nice finishing touch.

There was a little bauble on the house roof. No problem-just dab a little old english on it with a q-tip and the brown will blend right in.
Then fit the foamcore into your frame and use decorative tape to tape it in. If you ever need to swap it out…easy peasy.
So nice to not have a glare like my other R. A. Fox prints {Here}.
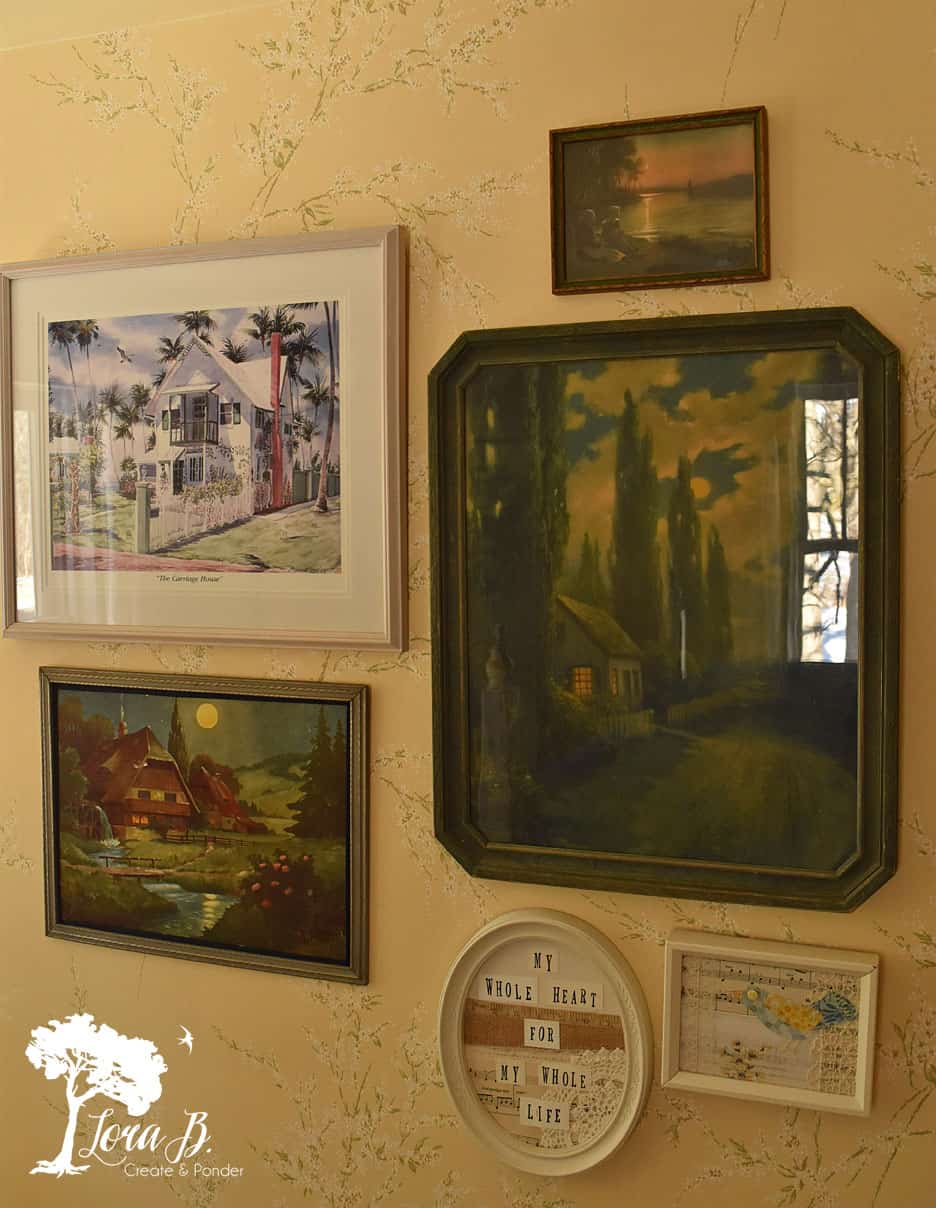
But I like the mix; some frames with glass some without, and some darker vintage frames, with some white and newer.
Such a pretty new wall display to enjoy in our room! (And I’m soon going to swap out that chair for a bench-type seat that’s my next painting project-that’s why I hung the grouping lower).

For more pics of our bedroom and closet see {Here} and {Here}.
Sharing this at: