
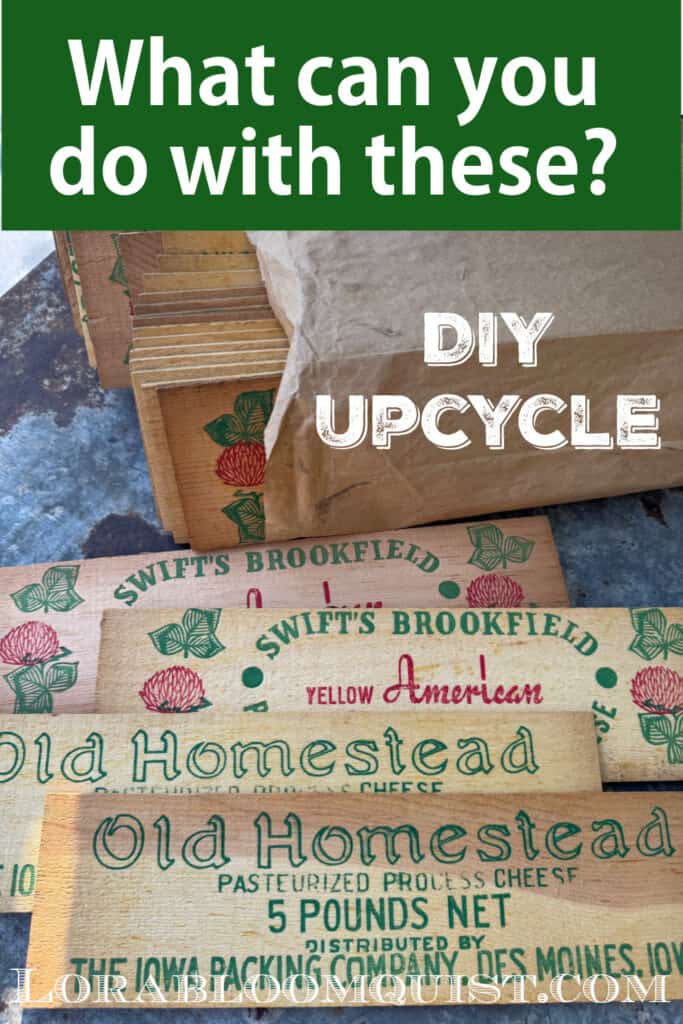
Upcycled Vintage Graphics DIY
Vintage graphics can be upcycled and repurposed to craft an easy DIY set of hooks for nostalgic home decor style. Here’s the easy how to.
When you’re thrifting or vintage shopping, do you ever come across something and think…”oh, I like those…but what would I do with them?” And if you can’t come up with an idea, you leave them. My advice? Buy first, decide later! If you like it and know it’s unique, you’ll come up with an idea eventually. This Upcycled Vintage Graphics DIY proves it’s always a good idea to scoop it up, if it’s a good price and you like it!
Upcycled Vintage Graphics DIY
For your convenience, this post contains affiliate links. If you make a purchase, I may receive a commission. There is no additional cost to you. “As an Amazon Influencer, I earn from qualifying purchases.” My full privacy policy is here.
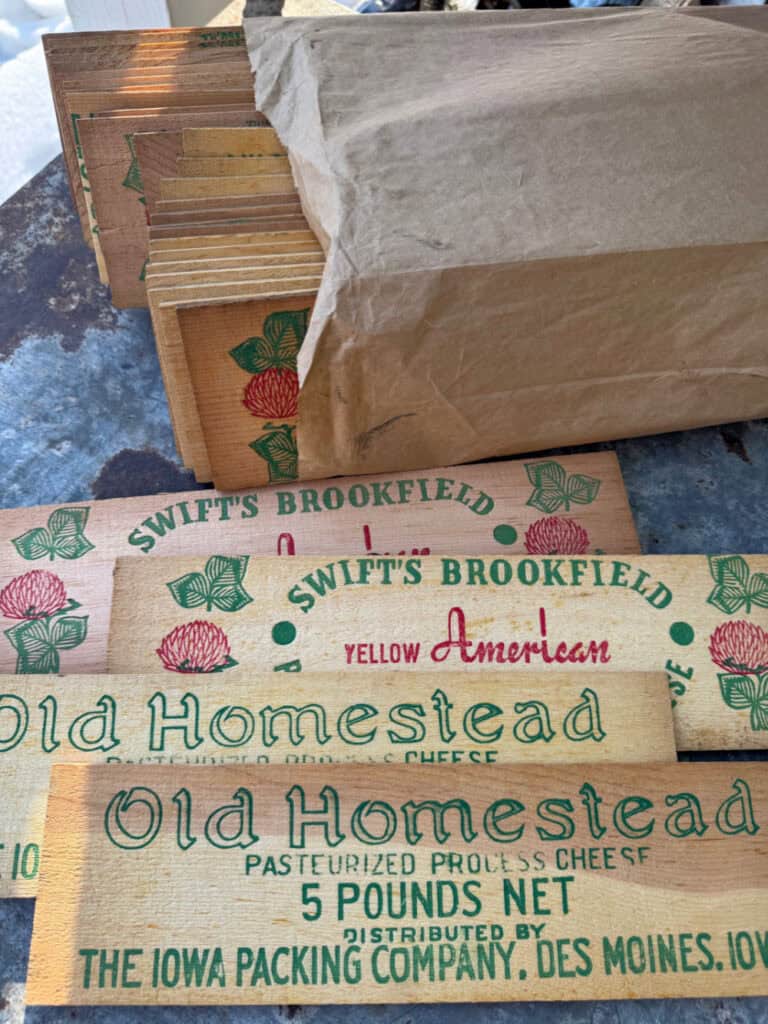
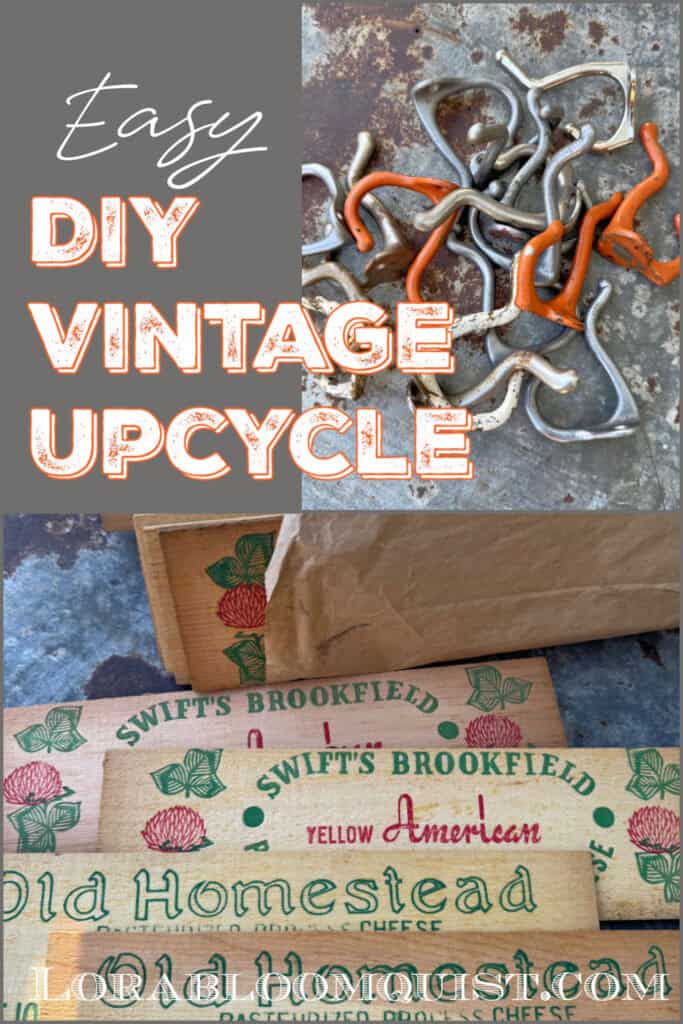
Vintage Cheese Box Sides, en masse
When we were traveling for a wedding a while back, we stopped at several antique shops on the way home. I spotted a big pile of old cheese box sides with vintage graphics. They had never been put together, so must have come from the factory, or the printer.
They were priced at $3-4 a piece (don’t really remember). Tip: if you buy en masse, the dealer will usually give you a better price. I asked the front desk person to ask the dealer if they would give me a better price if I bought all of them. Yep-I got them for a buck a piece, and got about 40!
My initial idea was to make cheeseboxes out of them, like the originals. But after looking at them for about a year…or so, I decided they needed more creativity to be enjoyed every day.
Crafting Function With Nostalgic Charm
Happy Girl said she needed some hooks to hang her brooms, etc. in her “new” 1924 first home. I said she needed something cuter than just hooks on the wall (which she probably expected since I’m her mom;)
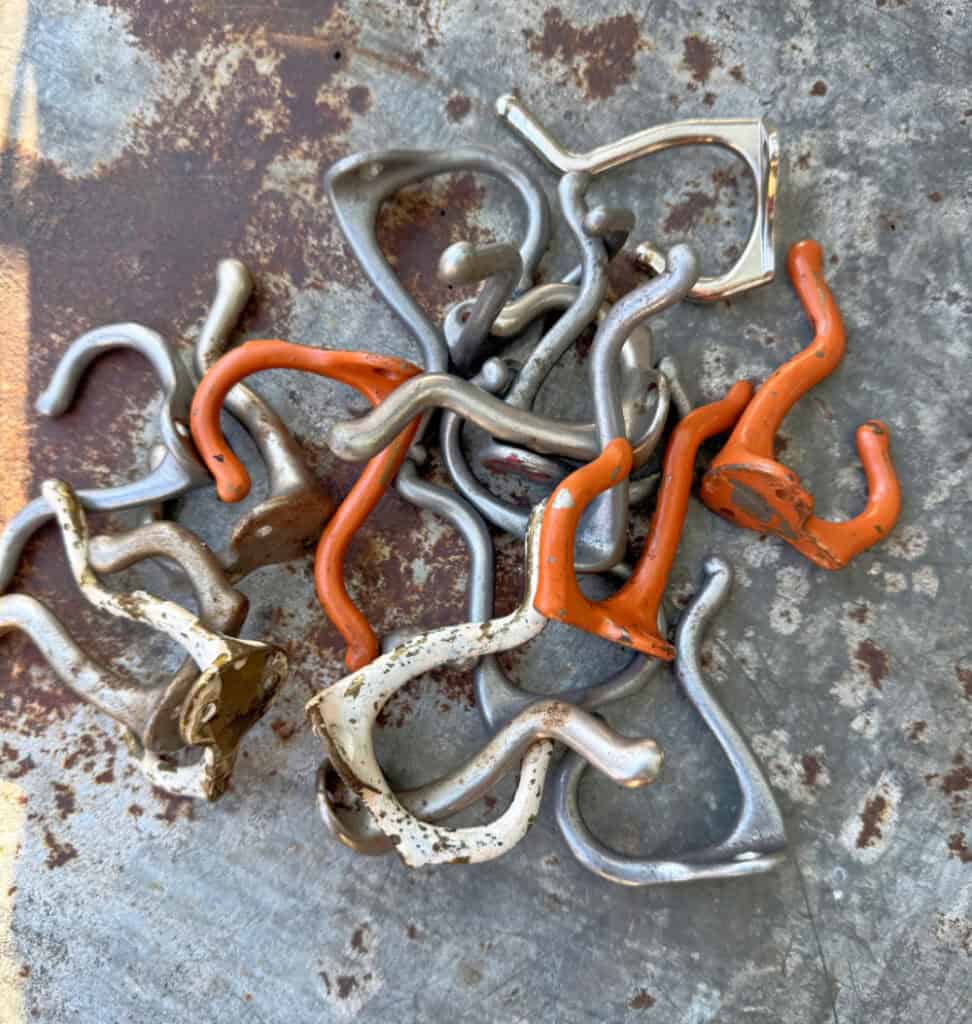
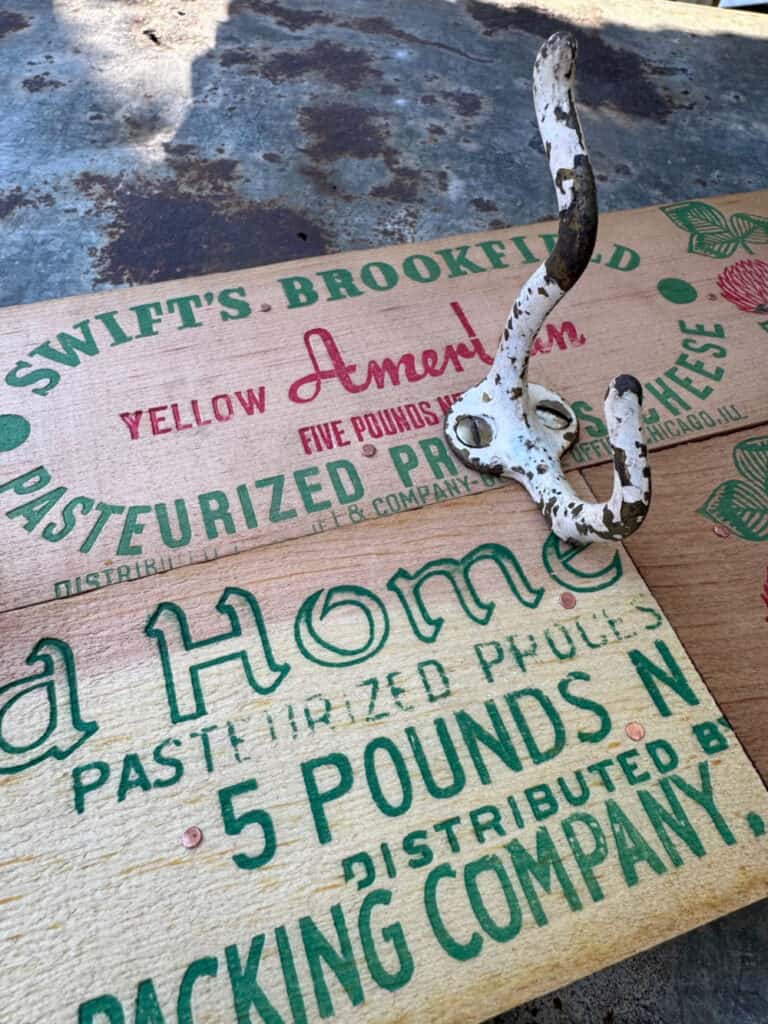
I had picked up a whole Costco-size nut jar full of old hooks in the hardware area of a church sale. Another Tip: Yes…always check out the “handy guy area” for cool old hardware, etc.
I texted her a picture and asked, “how about something like this?”
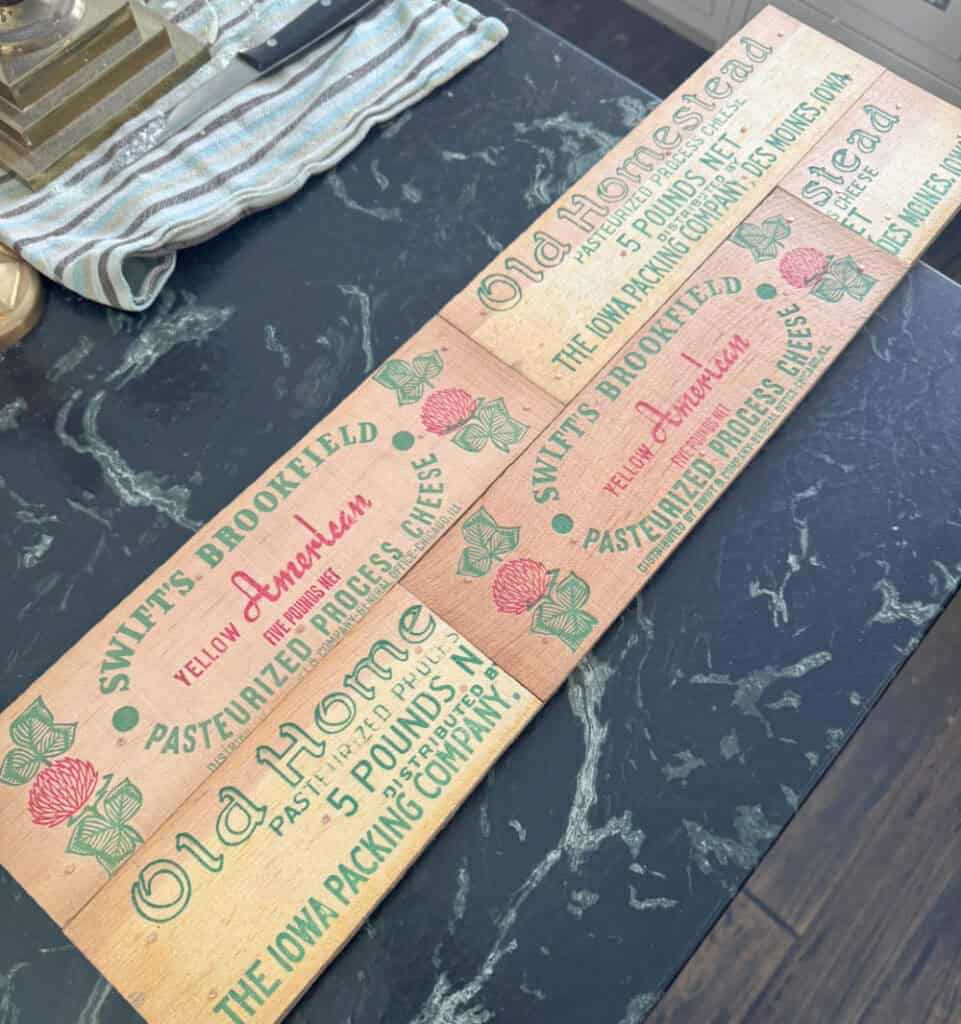
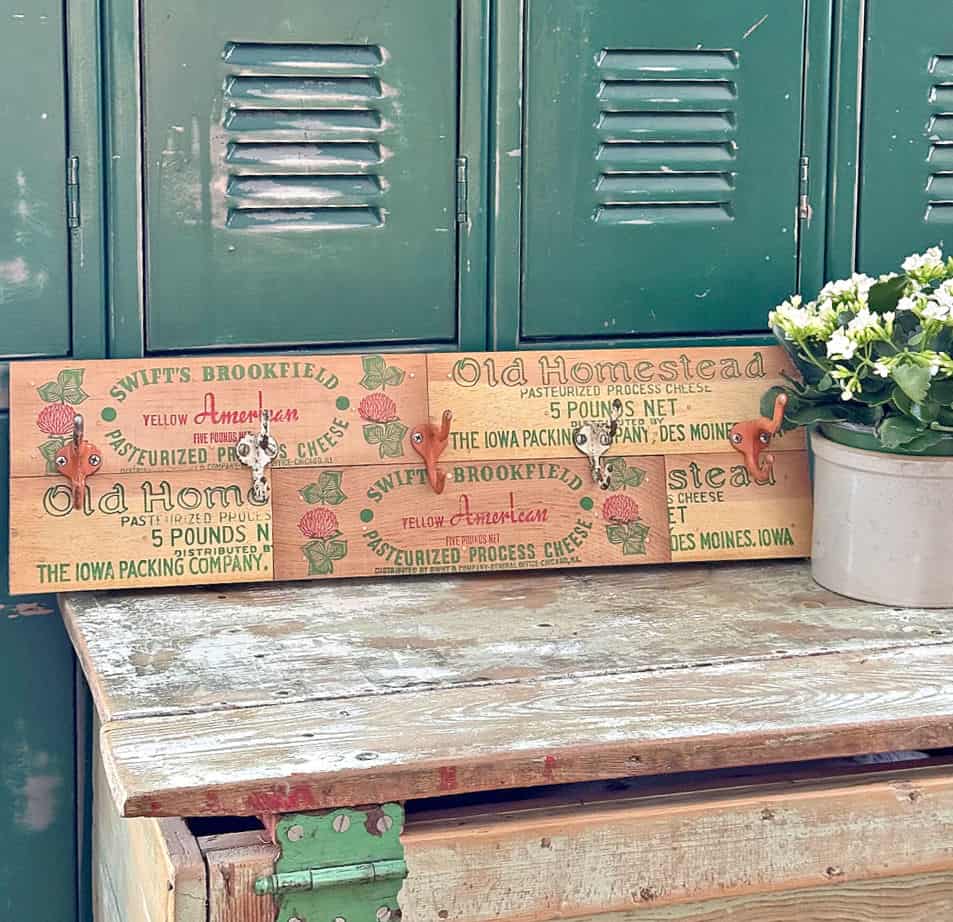
Because she is also quite creative and has her own taste, she requested only the green words version and no orange hooks:
Yep, that’s what she wanted. Now to get Mr. Fix-it to craft our vision;)
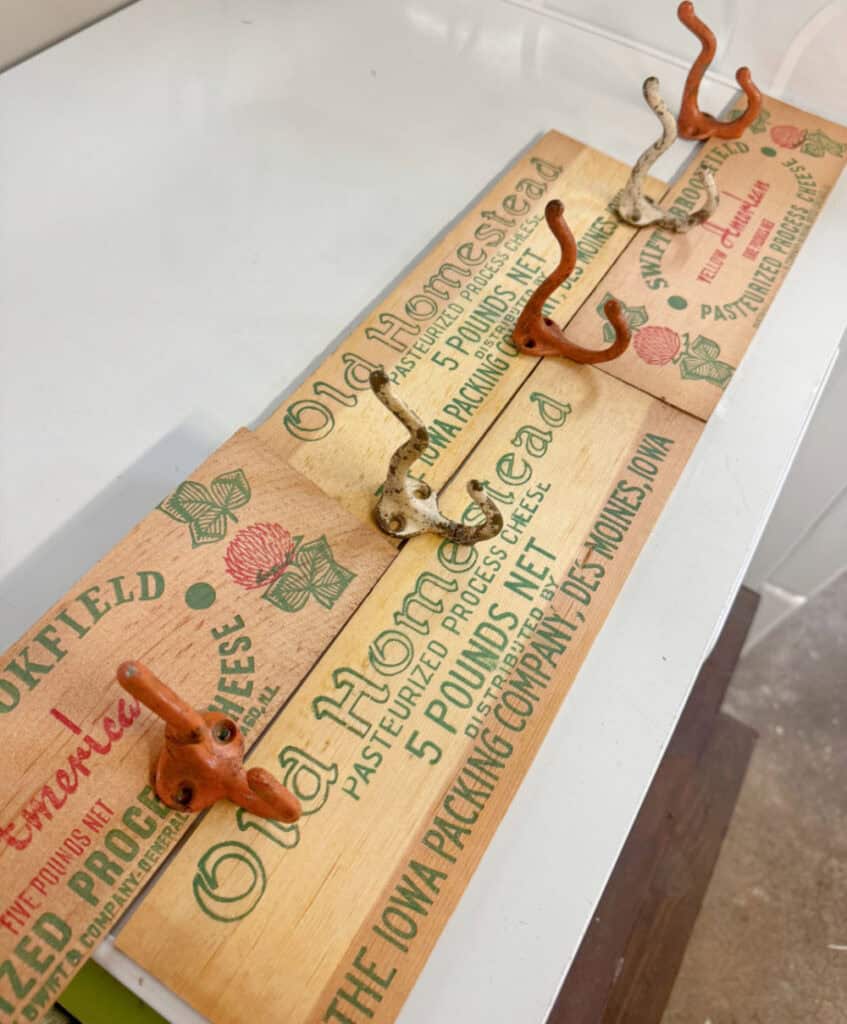
Upcycled DIY Cheese Box Hooks with Vintage Graphics
I suggested he cut one of the graphics in the middle of the Homestead word, so you could see the word Home by itself. I thought it was more interesting to have the pieces in a staggered brick pattern than just straight.
This is what I was picturing! I was getting excited.
Sorry for no in-process pics. As usual, I was working on something inside and he was working in the garage. We’ll be making more and I’ll add pics to this post then;)
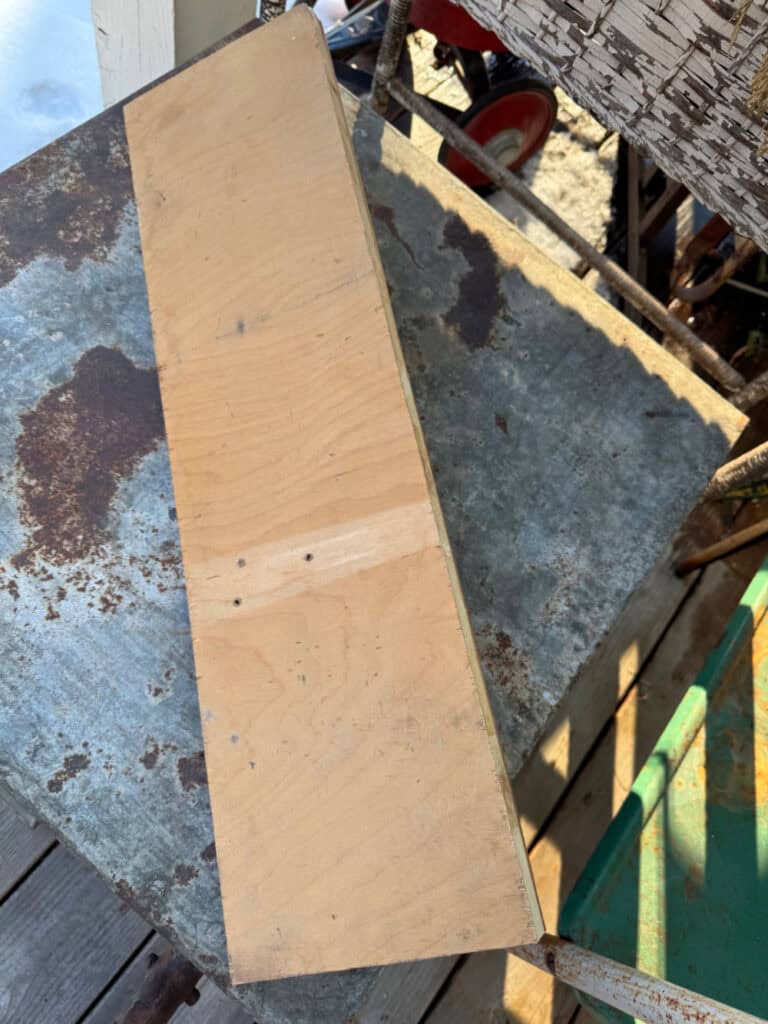
He cut an old piece of plywood the same size as this layout:
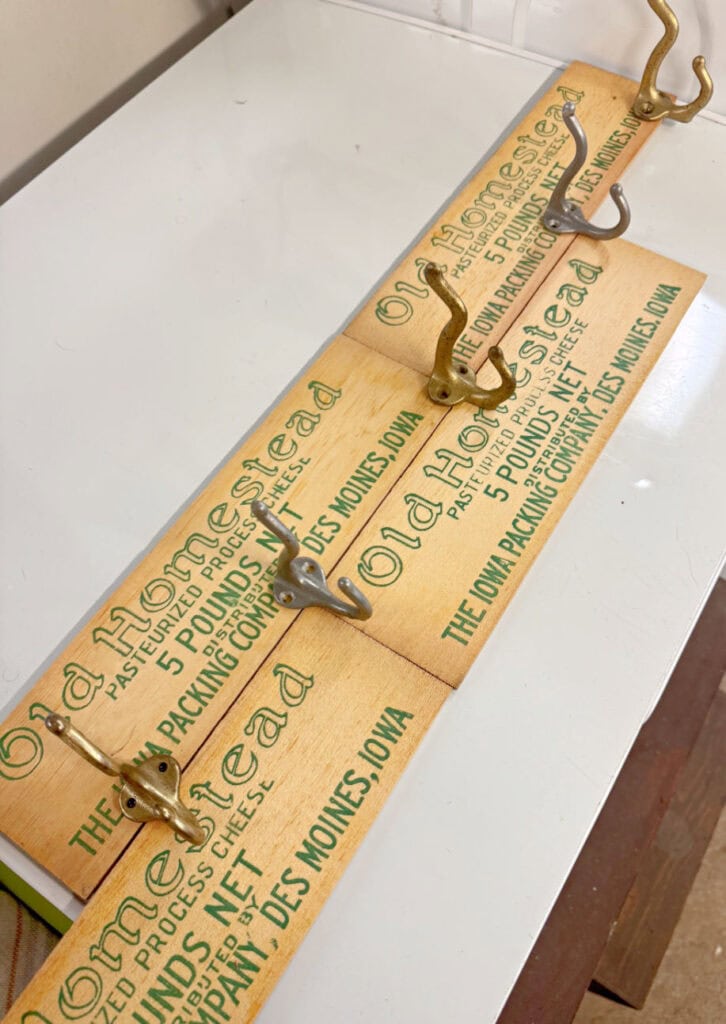
He used wood glue and small copper nails to attach the cheese box sides to the board.
Then he attached 5 of the old, chippy hooks with old screws, just like I like. Nothing shiny and galvanized for me!
Happy Girl’s version got a black “L” shaped board around to finish it off:
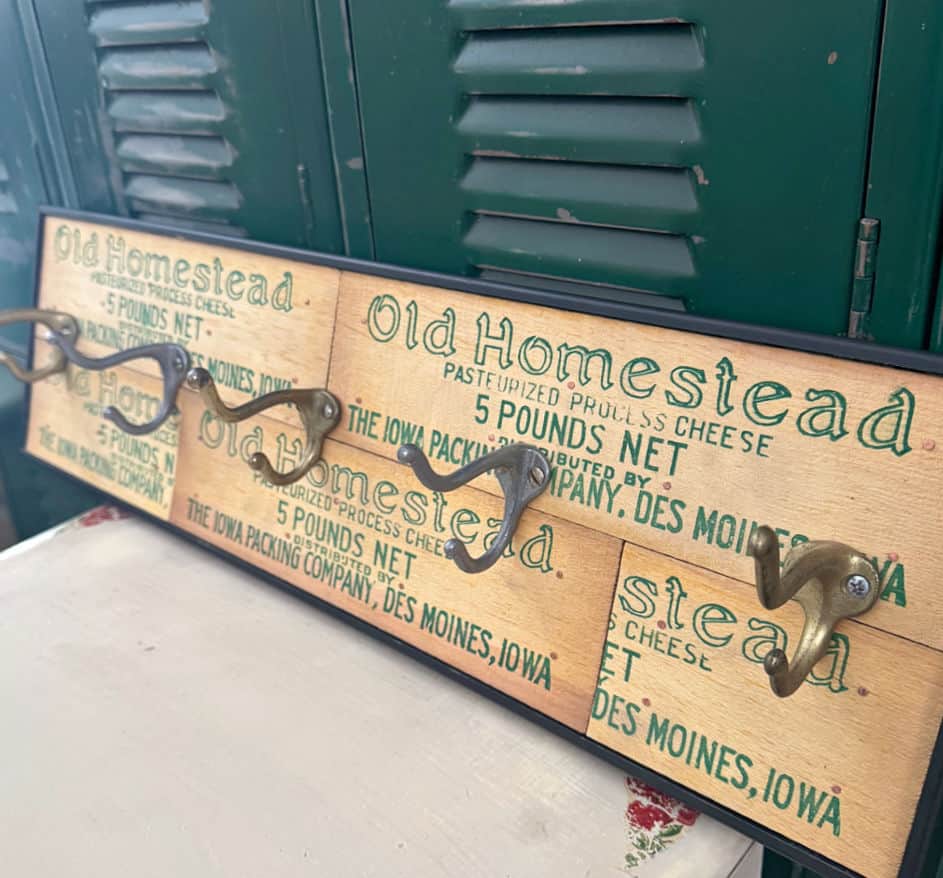
Mine is happy as is:
Aren’t they too cute? Functional and nostalgic is the best combo:)
Moral of the Thrifting Story
Yes, this is an easy little DIY. You could also make these with old yardsticks or crate ends; whatever fun old graphics you find when you’re thrifting. My advice is…if you like it, buy now and decide what you’ll do with it later. The cheese graphics were found one place, the hooks found another place with months in between. You’ll come up with an idea to enjoy them, sooner or later! Parts are handy to have around.
Teaser…we’re going to be making more of these because…I’m going to start selling again! Yep, after 10 years of not selling, the goodies are piling up. And I miss enjoying having a reason to treasure hunt (cuz I am good at finding the stuff;) I’ll be moving into a booth at the beginning of April. And yes, I’ll be sure to share it with you along the way!
Thanks for reading Upcycled Vintage Graphics DIY. If you enjoyed your visit, be sure to Become an Insider so I can send the ideas right to you! You can Sign Up HERE.
Follow Me: LTK | Amazon | Pinterest | Instagram | Facebook
Thrifting with the Gals
My Thrifting with the Gals friends are joining me today. See how Ann, Rachel and Robyn are decorating with their thrifted finds from Vermont and Maine, North Carolina, and Florida!

Rachel, The Ponds Farmhouse, “My Thrifted Home Office Reveal: Achieving Vintage Charm on a Budget”

Robyn, Robyn’s French Nest, “Blue and Green Coastal Cottage Easter Tablescape”

Ann, Dabbling and Decorating, “Thrifted Spring Decor Ideas: 7 Green Vintage Finds I’d Buy Again”
pin and save

Sharing at:
Those are SO cute Lora! I always check the garage at Estate sales for things like those cool hooks you found.
Tania
Yep, garage and basement…and outbuildings are my favorite hunting grounds! Thanks, Tania!
What a great find! The combination of the fantastic graphics & the fun hooks is perfect! Best news is that you’ll be back in the biz 😊 Can’t wait to see your new spot – your shop was always a treat when you were in Buffalo. Looking forward to hearing more about your new adventure !
Thanks, Shelly! Yep, Buffalo is calling me back…but in a much smaller, easier version;) Excited to pull it all together again!
These are so cute, you find some great stuff and create such amazing ideas. Thanks for sharing, know Happy Girl was excited.
Thanks, Marlene:)
Such a cute idea! I love your blog and your great ideas. I’m glad you’re going to be selling again–it seems like that’s one of your gifts–and you can have great Jesus conversations with people, while you’re at it. Have fun!
Yes, both are my goal;)
Lora,
I’m the same way about always thinking of ways to use unique finds. This is a great idea. Good Post.
Thanks, Rachel:)
Oh, how lucky you where in finding the cheese boards, along with a great price. You got a very nice bundle. I’m never that lucky in finding items like that.
I love your board project.
Originally from Iowa and spotted Des Moines, Iowa first thing. Can’t wait to see what else you make using them.
Thank you for sharing
Yes, found them in Illinois, actually;)
These are adorable, Lora. I love the colored hooks you chose to go with them, super cute!
Thanks, Ann:) Love simple, cute projects like this!
Hi Lora , They turned out nice I really like your daughters with the trim around it. I myself would have liked a mixture of them.
Thanks, Teresa! Think we may have more of that trim to use, too.
What a cute idea! The colors on those graphics are so good. Thanks for sharing such a fun DIY!
Your welcome; I just love those old graphics!