
25 Great Photo Styling Tips Using Vintage and Flowers
Get tips for creative photo styling, using vintage accessories and fresh flowers.
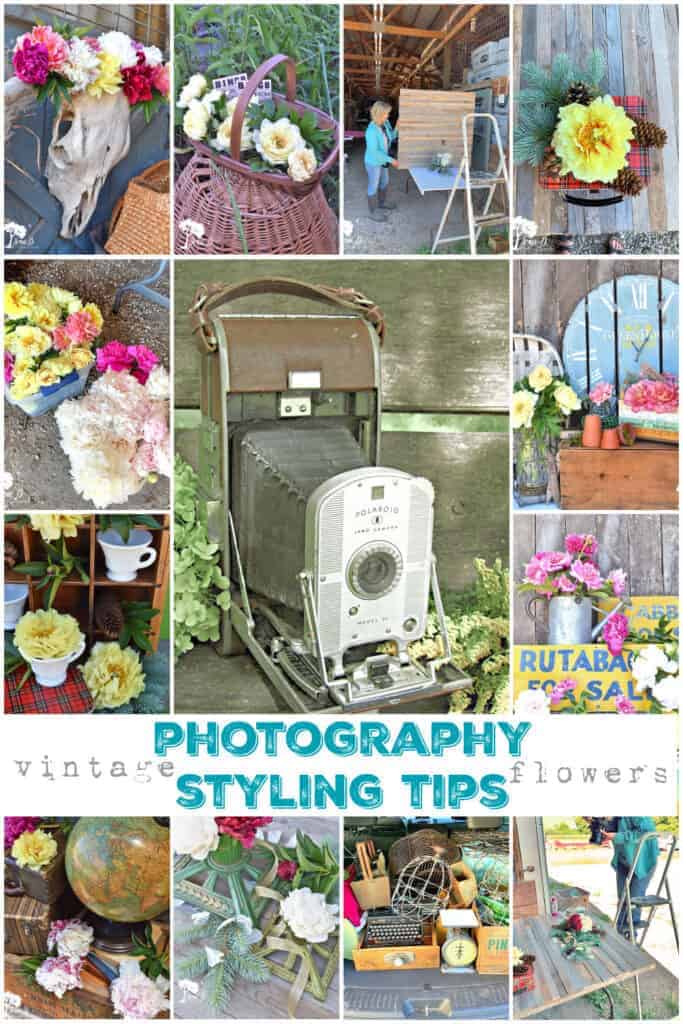
What could be more fun than playing with beautiful fresh flowers and vintage decor out in the country? Becky, from Swenson Gardens, a local organic peony farm, asked if I’d come out for a day of photo styling with their amazing peonies. How could I say no? I’ll share the experience with you in this 25 Great Photo Styling Tips using Vintage and Flowers.
25 Great Photo Styling Tips Using Vintage and Flowers
For your convenience, this post contains affiliate links. If you make a purchase, I may receive a commission. There is no additional cost to you. My full privacy policy is here.
Photography is a constant learning curve. You need to understand the technical aspects of your camera and lens, and also need to learn editing software. But the boots-on-the-ground moments happen when you’re styling a picture, composing the scene. Magazines usually have both a photo stylist creating the beauty and a professional photographer capturing the best shots.
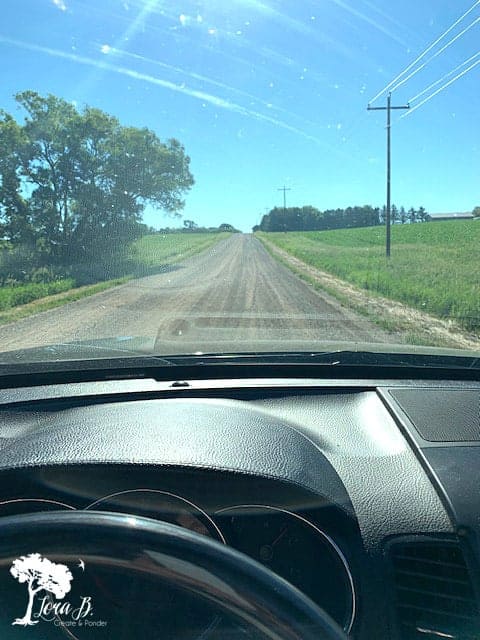
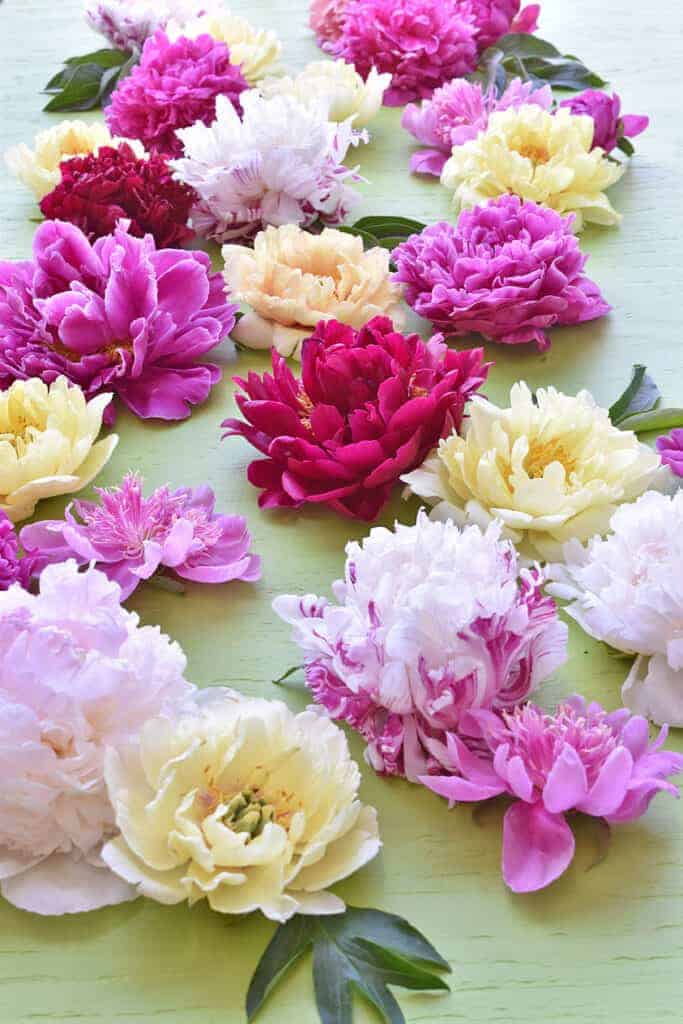
I’ve known Becky from Swenson Gardens, a local organic peony grower, for years. Years ago, I used her beautiful cut flowers for my sister’s wedding. These days, her business is focused on hybridizing strong-stemmed, beautifully colored peony plants and sending them all over the world. Becky asked me to join her when the peonies were in bloom to style pictures she uses all year long. I packed up my car with classic vintage finds and headed to the country!
Here are some tips to make your photo styling a success!
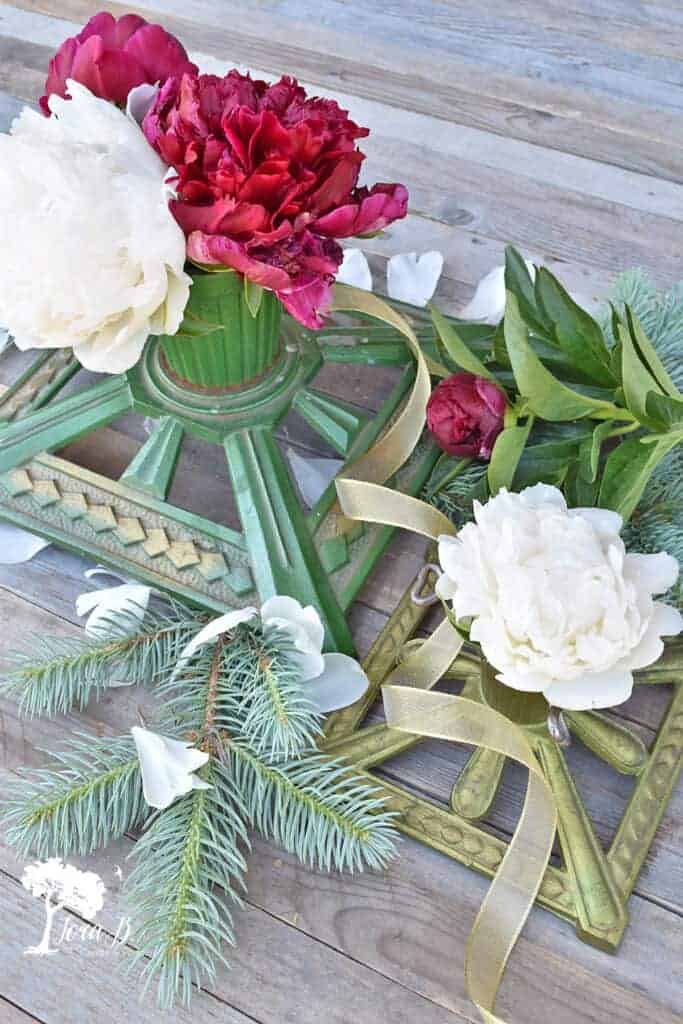
Have a Plan: Make a List of the Pictures You Want
Becky wanted to have a variety of pictures she could use throughout the year. I suggested we think of the calendar year and all of the holidays. We started with Christmas and winter for December and January, and then thought through the calendar year. Have a list of pictures you know you want to take before you start, and check off as you go.
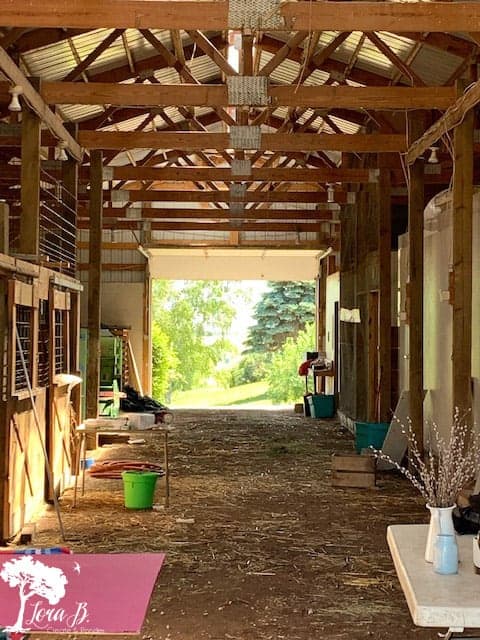
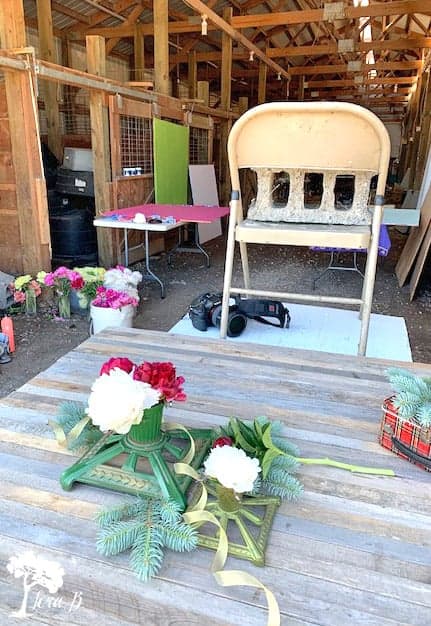
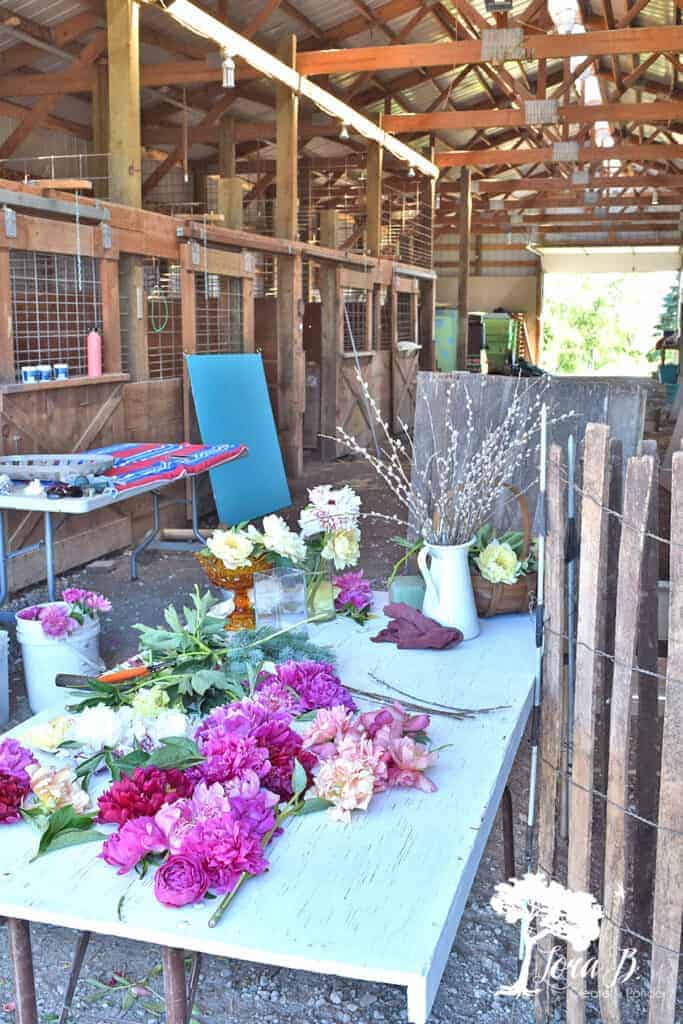
Choose Indirect, Natural Lighting for your Photo Styling
Natural light is definitely best for photography. You don’t want direct sunlight, you want to be just next to, or outside the sunbeam for wonderful brightness. Becky’s barn had skylights, which provided the perfect light. We also styled our pictures right inside the end of the barn that faced north. White foam core sheets can also be great to direct the sunlight onto your subject matter.
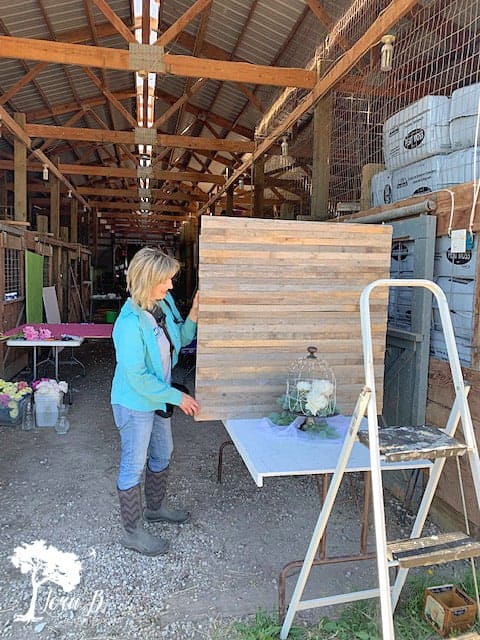
Have Many Photography Backdrop Options
You can use organic, architectural pieces as your backdrop, or create some yourself. Becky had made up several 3 x 3 foot squares to use as vertical or horizontal backdrops. Here are some great backdrops to have on hand:
- painted plywood squares
- pieced or planked rustic wood squares
- faux brick paneling
- fabric, patterned or textured like burlap
The barn stalls themselves ended up being a wonderful backdrop. And the rustic fences around the barn had great rustic texture also.
The background you decide to use will give your pictures the style you want to convey. The brightly colored, painted pieces made for more contemporary pics, while the rustic wood backdrops gave more of a rustic, modern vibe.
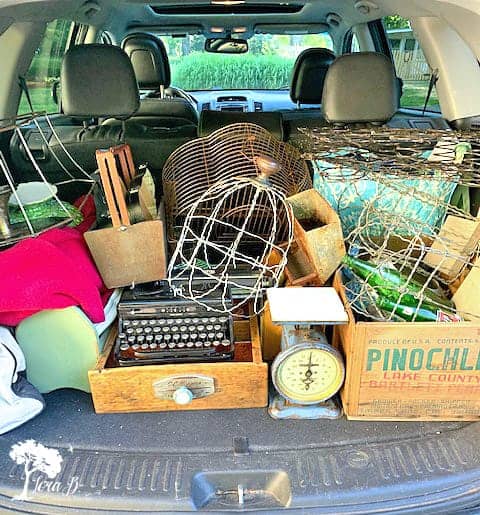
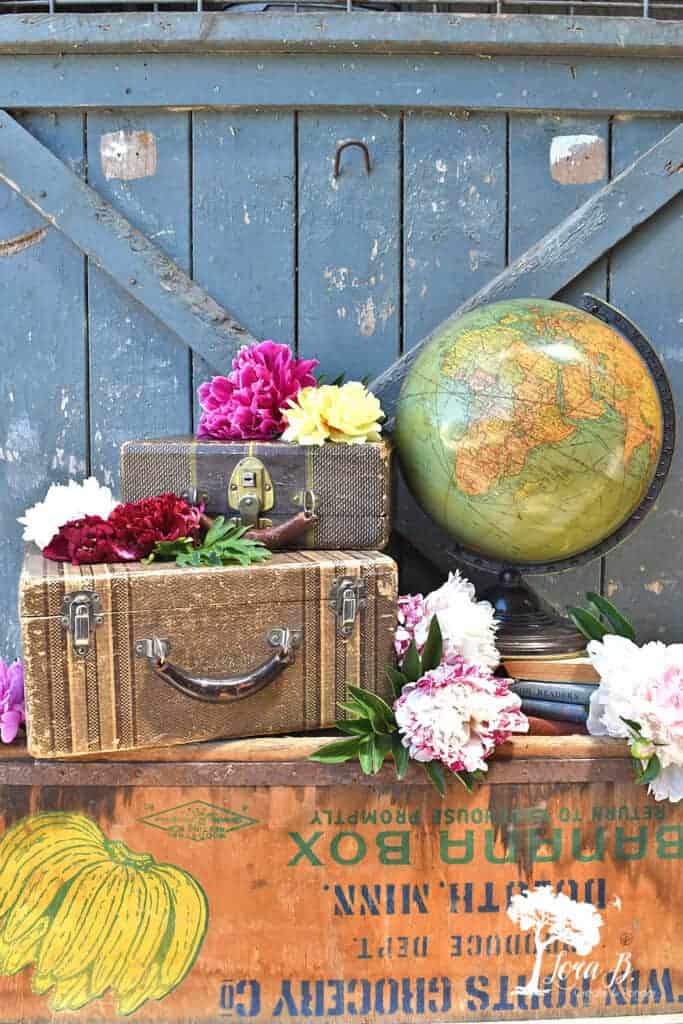
Have a Variety of Props and Layers Available
When I was gathering vintage props from around my house, I was thinking through the calendar year and holidays. I wanted a variety of textures and sizes of items. I also wanted classic vintage items I know people love. Becky also had her own items to use, which gave me plenty of options.
It’s important to have many square layers you can layer items on or against, too.
Here were some of the props I brought along:
- wooden crates
- old wood drawers
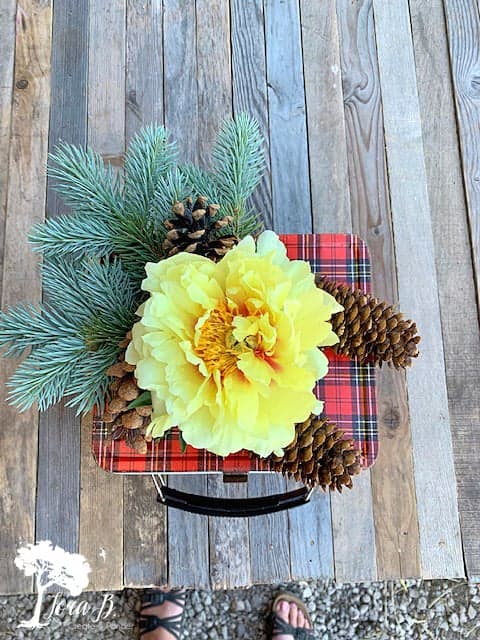
- vintage suitcases
- old chair spring
- kitchen scale
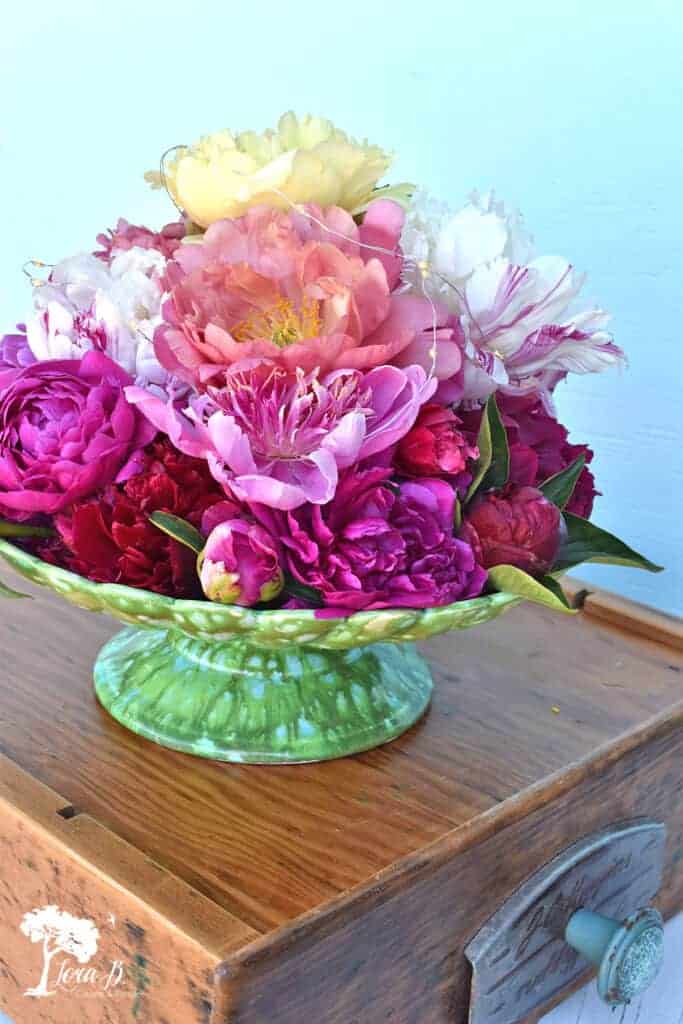
- dishes
- cake plates
- typewriter
- globe
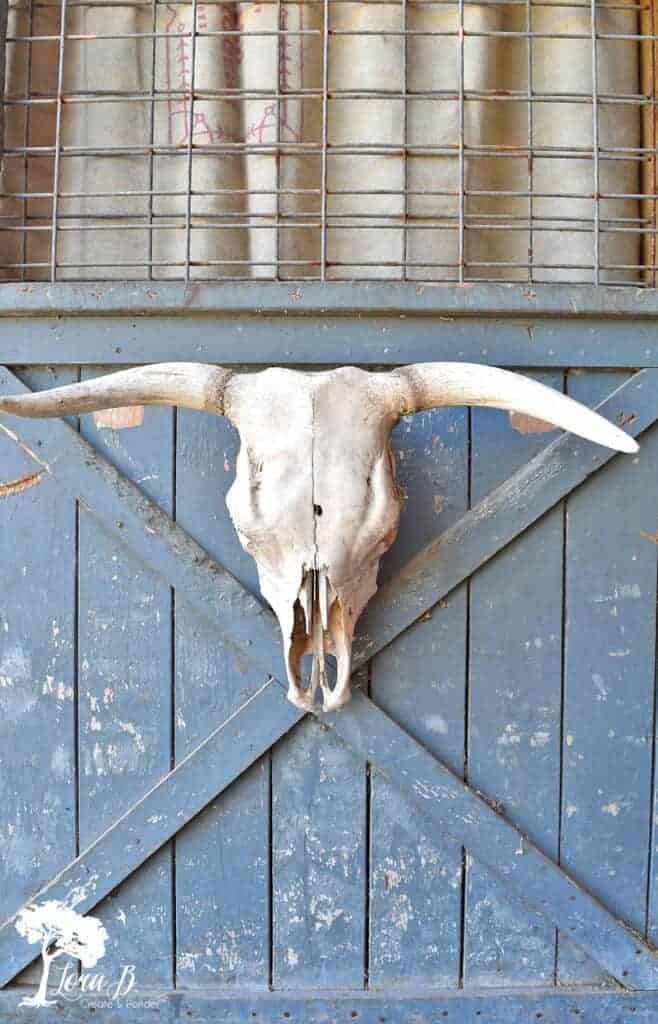
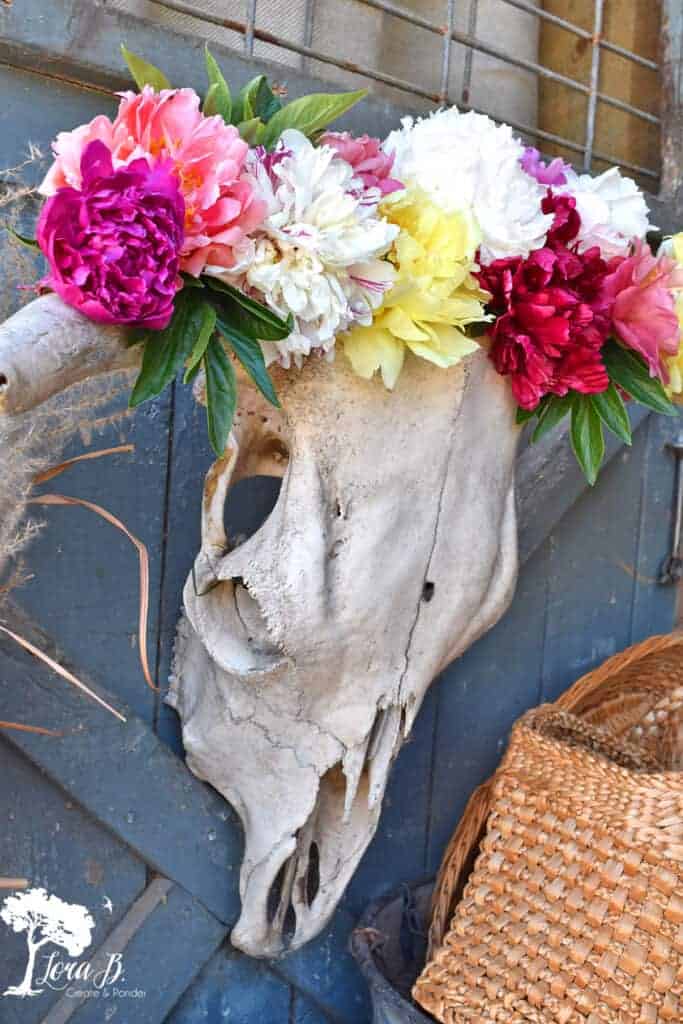
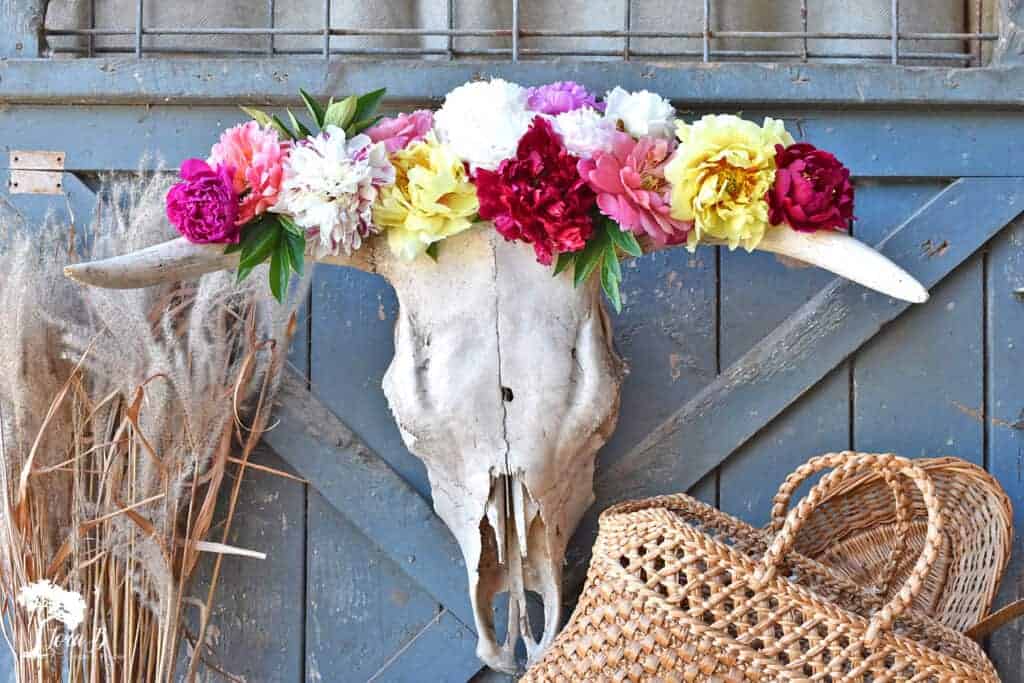
Bring Attaching Essentials for Photo Styling
Just like the beauty pageant contestants need double-sided tape, you may need to keep things together for your picture taking. Having some basic items to hold things together so they look (and stay) like you want them to is important. As I was attempting to beautifully display all the pretty peonies on this bull’s skull, I realized duct tape was in order. Thank goodness I could create the Anthropologie look I was going for! Duct tape allowed it to happen.
No one else will see the mechanics of what you had to do behind the scenes to make the pretty picture!
Great attaching basics to have handy:
- duct tape
- bindwire (one of my faves)
- wire and wire cutters
- twine
- hot glue
- masking tape/scotch tape
- hammer/nails
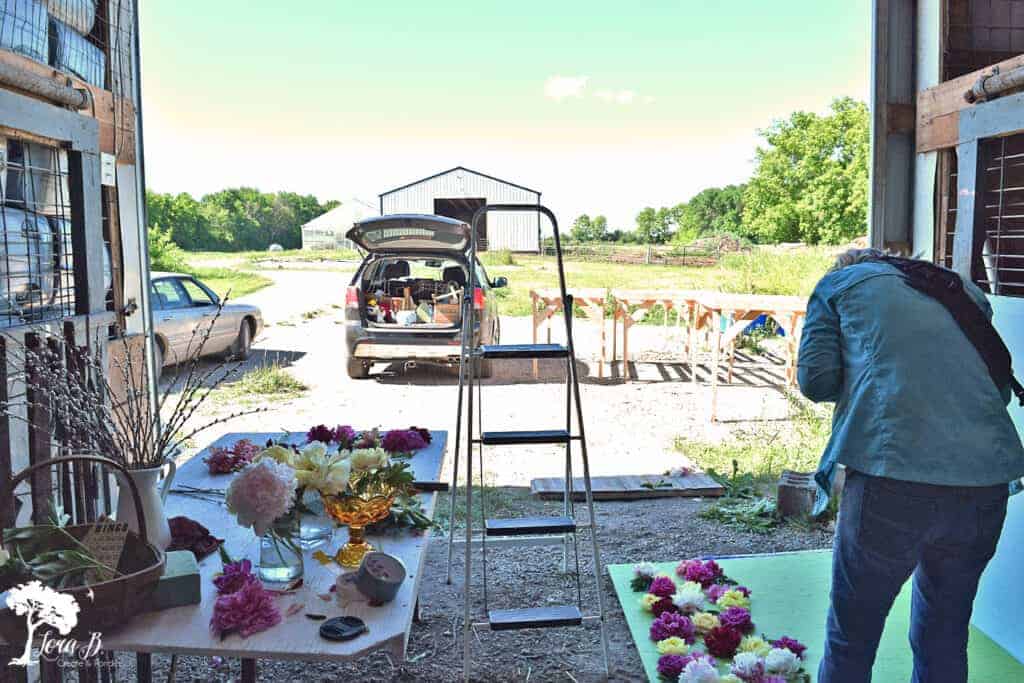
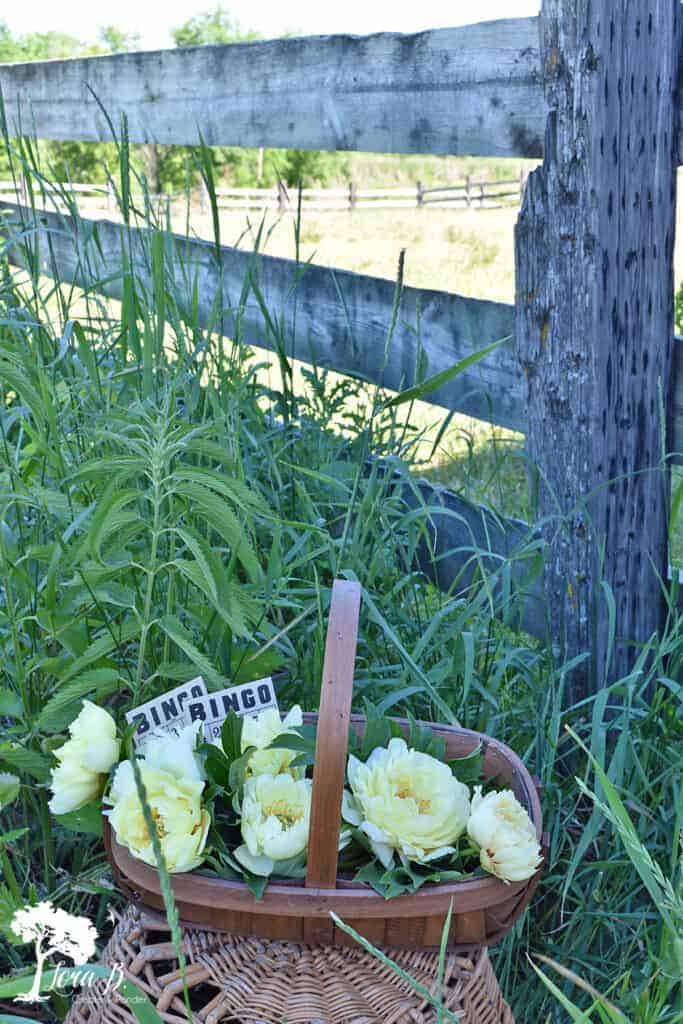
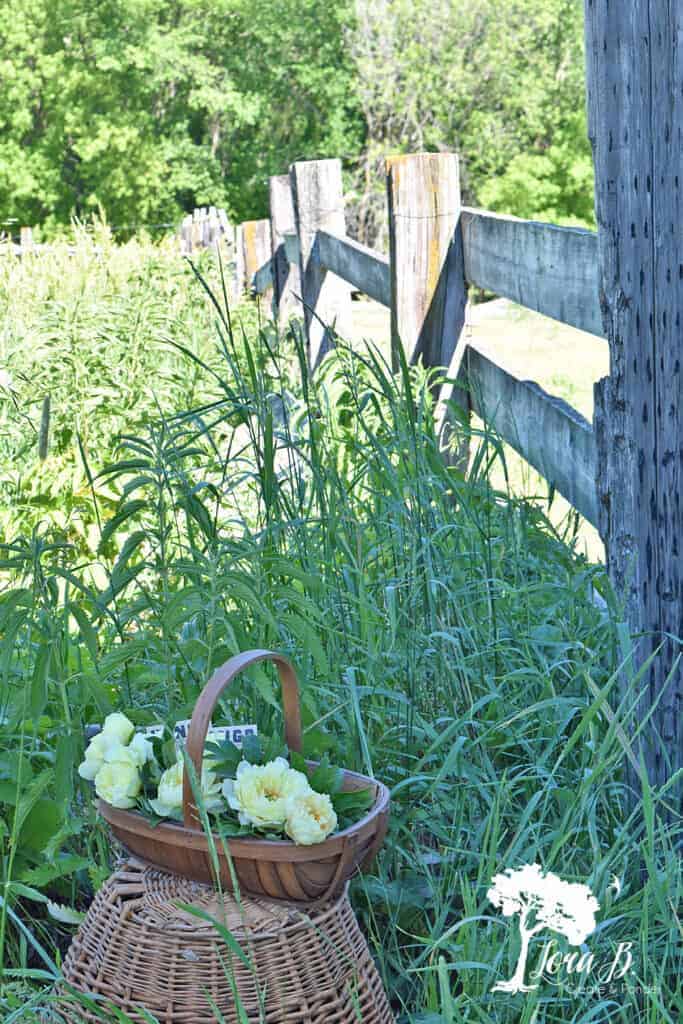
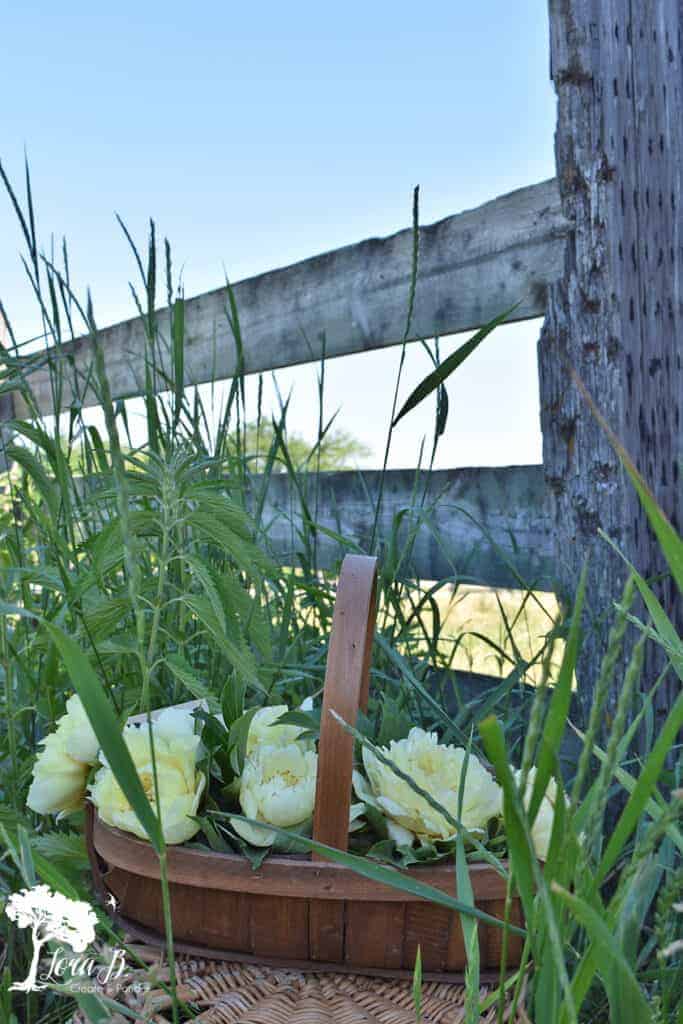
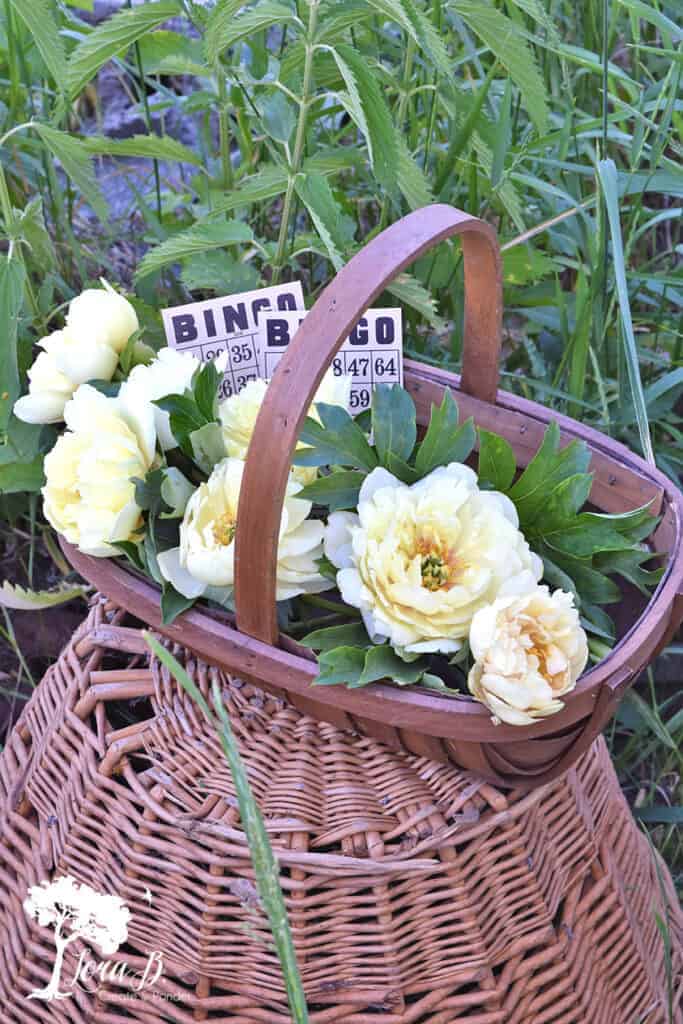
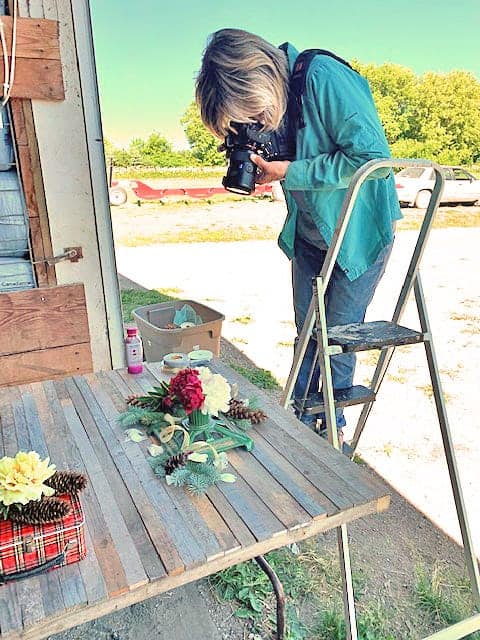
Provide Perspective and Use Different Angles
Creating your vignettes on a table will save your back and give you many possibilities of different shots from various angles. You should also have a ladder handy for the overhead shots. And don’t forget to try some flatlays.
Take several different pictures of your subject matter from various angles. You never know which one will turn out best.
This pretty basket of yellow peonies looked good from all the angles, especially with the rustic fence as a backdrop. But notice how each picture provides a different perspective.
Add Extras and Embellishments to your Pictures
To give your pictures that extra sensory appeal, add a little bit extra. When the wind blew slightly and fluttered the peony petals, it was perfect for some video shots. You can catch them in my IG highlights under photo styling HERE.
Add some of these extras to your styled photos:
- wind or a fan
- twinkle lights
- flickering candle

If you’d like to enjoy the full peony field in all it’s glory, see my post “Peony Field Tour, Swenson Gardens“.
There’s a lot that goes into those pretty pictures, right? Now you can see why there’s usually a photo stylist creating the scenes and vignettes and a photographer. We took pictures all day!
Our day of photo styling made me realize I need to get a couple more powerful lenses for my camera. Like I said, photograpy and photo styling is an area where you can always keep improving and learning.
I hope these photo styling ideas and and photography tips got your brain thinking farther, to make your pictures better! Thanks for reading 25 Great Photo Styling Tips Using Vintage and Flowers. Become an Insider down below, to keep the ideas and inspiration going!

Sharing at these lovely parties:
Wonderful post with some great ideas! I have grand schemes sometimes…but they often don’t come off. Seeing your pictures was inspiring!
Glad you were inspired, Kathy! I’m heading back to the peony field this week!
What great ideas! Your photos are fantastic!
Thanks, Christy!
Lora, styling for a photo shoot can make or break a post! This is wonderful advice and techniques. Thanks for sharing it all at the FWF party.
Hugs
RR
You’re so right, Rachelle!
I love this post. Styling is one of my favourite things to do! Your tip about taking photos from all angles is a gem. I sometimes find the shots I thought wern’t going be good turned out to be the best. Lucky you, to be able to style with all those beautiful peonies!
You’re so right, Jayne! Many times it’s that wacky shot that I like the best! You style your photos beautifully!
I am not into photography it enjoyed your post and seeing how you stage items to photograph. Have you written a post about staging or vignettes? I have a couple of booths and try to set up my merchandise to give customers an idea how they can use things. I would love some new ideas and tips! Thanks
If you search styling tips in the search bar, I think you’ll find some ideas there, Bennie. But I have been thinking about something more concrete that my readers could use to style their own homes and booths! Thanks for the input!
Thanks for all the great tips. Now if I can only remember them all!
Yes, the gray matter isn’t quite as porous as it once was:(
Beautiful post, thanks.
Glad you enjoyed it, Marlene!
AWESOME!
Thanks!