
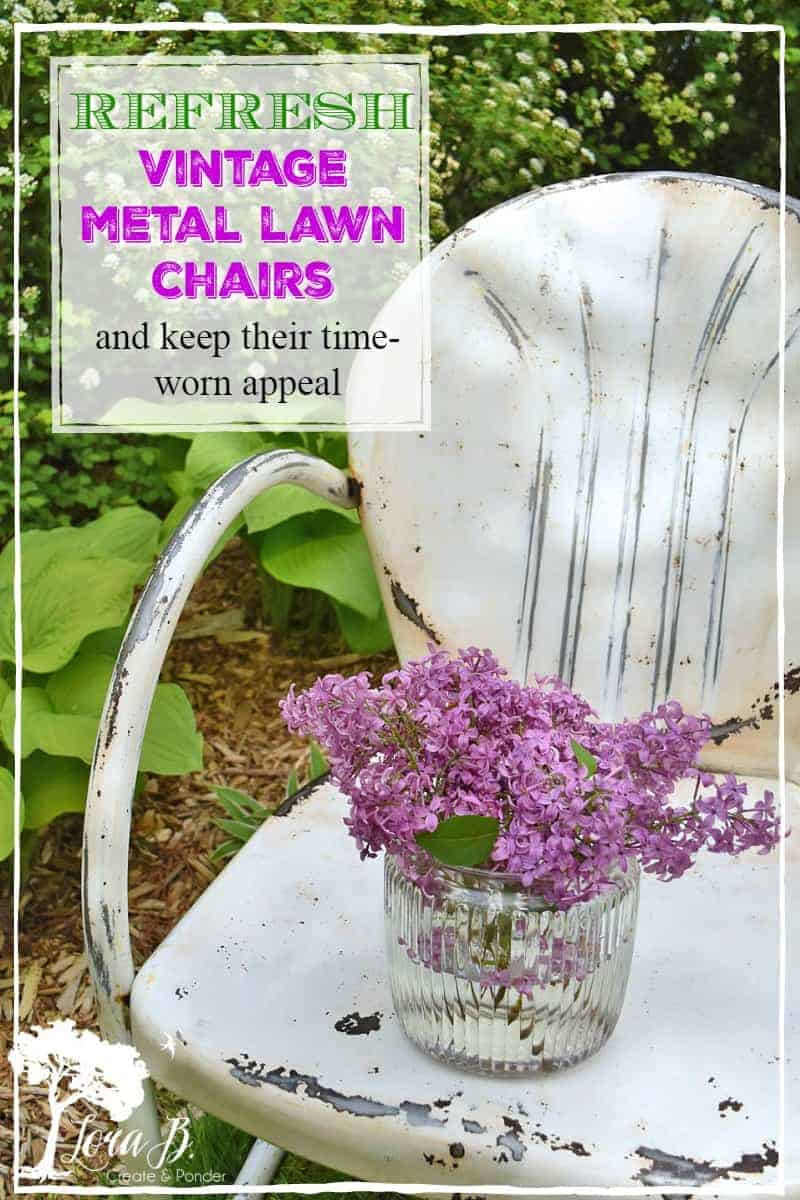
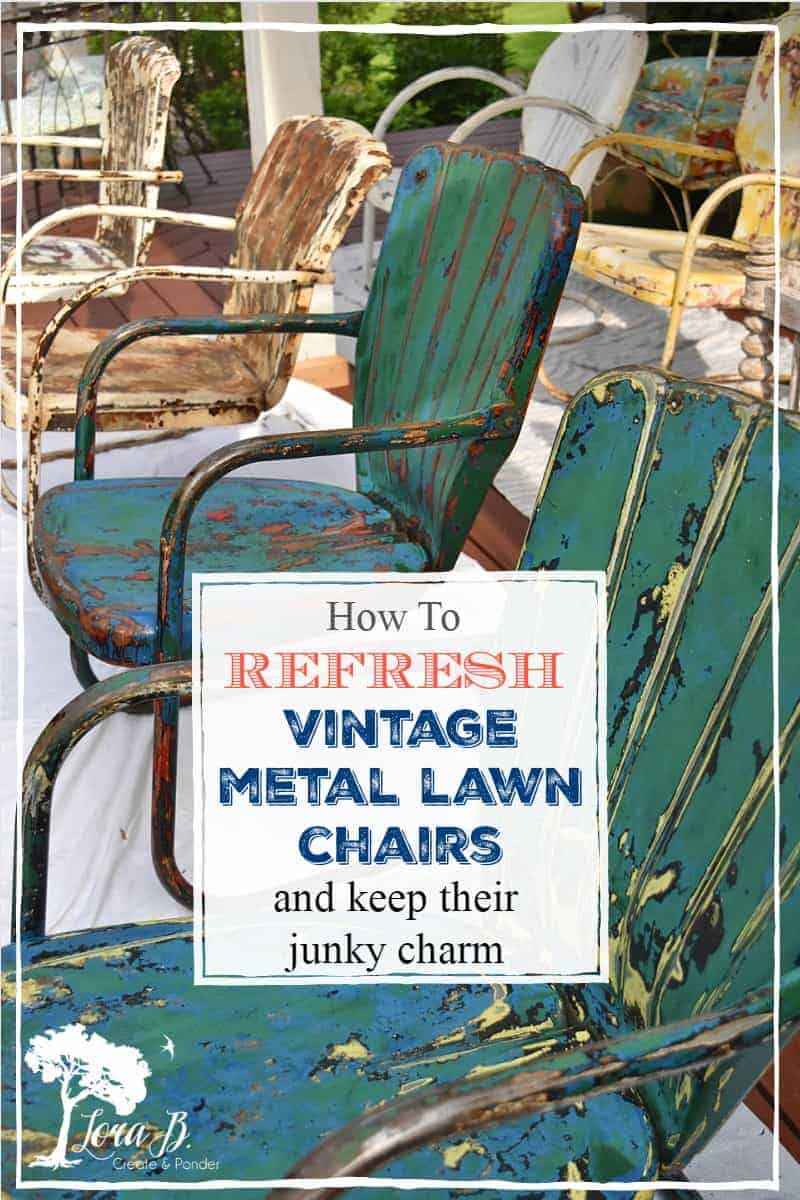
How To Refresh and Enjoy Vintage Metal Lawn Chairs (and keep their time-worn appeal)
Refresh vintage metal lawn chairs with these Expert tips and tricks, and preserve their time-worn charm.
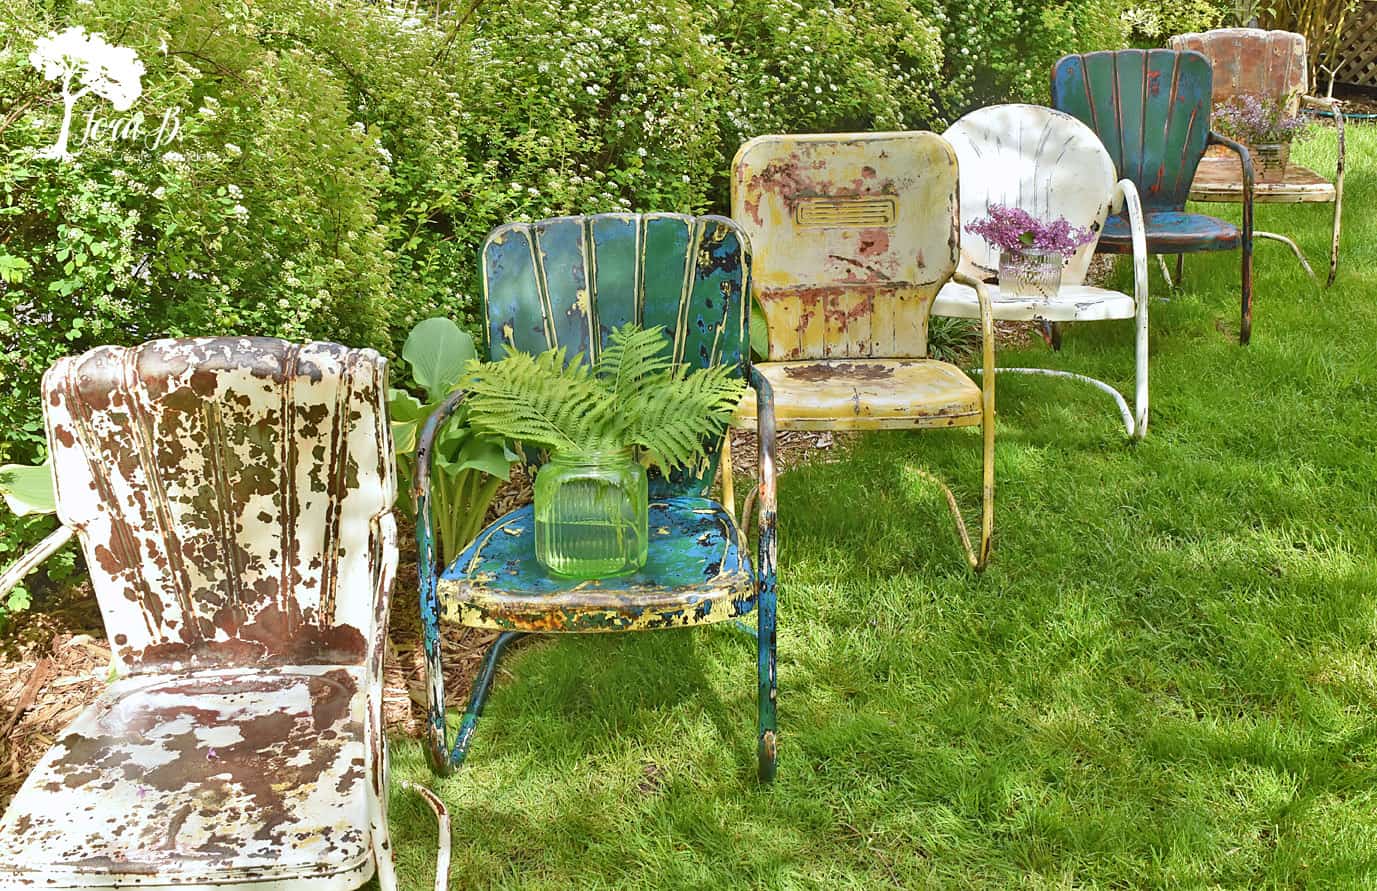
Whenever I can score vintage metal lawn chairs, I am downright giddy! I don’t know if it’s because I’m sentimental about having them at my childhood cabin, or if it’s their various designs and coats of many colors they’ve acquired through the years. Whatever the reason, I want to make sure they look their very vintage best and will last many more years! Today I’ll show you How to Refresh and Enjoy Vintage Metal Lawn Chairs (and keep their time-worn appeal). {“Curbside Junking Adventures and Tips”}

How to Refresh and Enjoy Vintage Metal Lawn Chairs (and keep their time-worn appeal)
For your convenience, this post may contain affiliate links. If you make a purchase, I may receive a commission. There is no further cost to you. My full privacy policy is here.
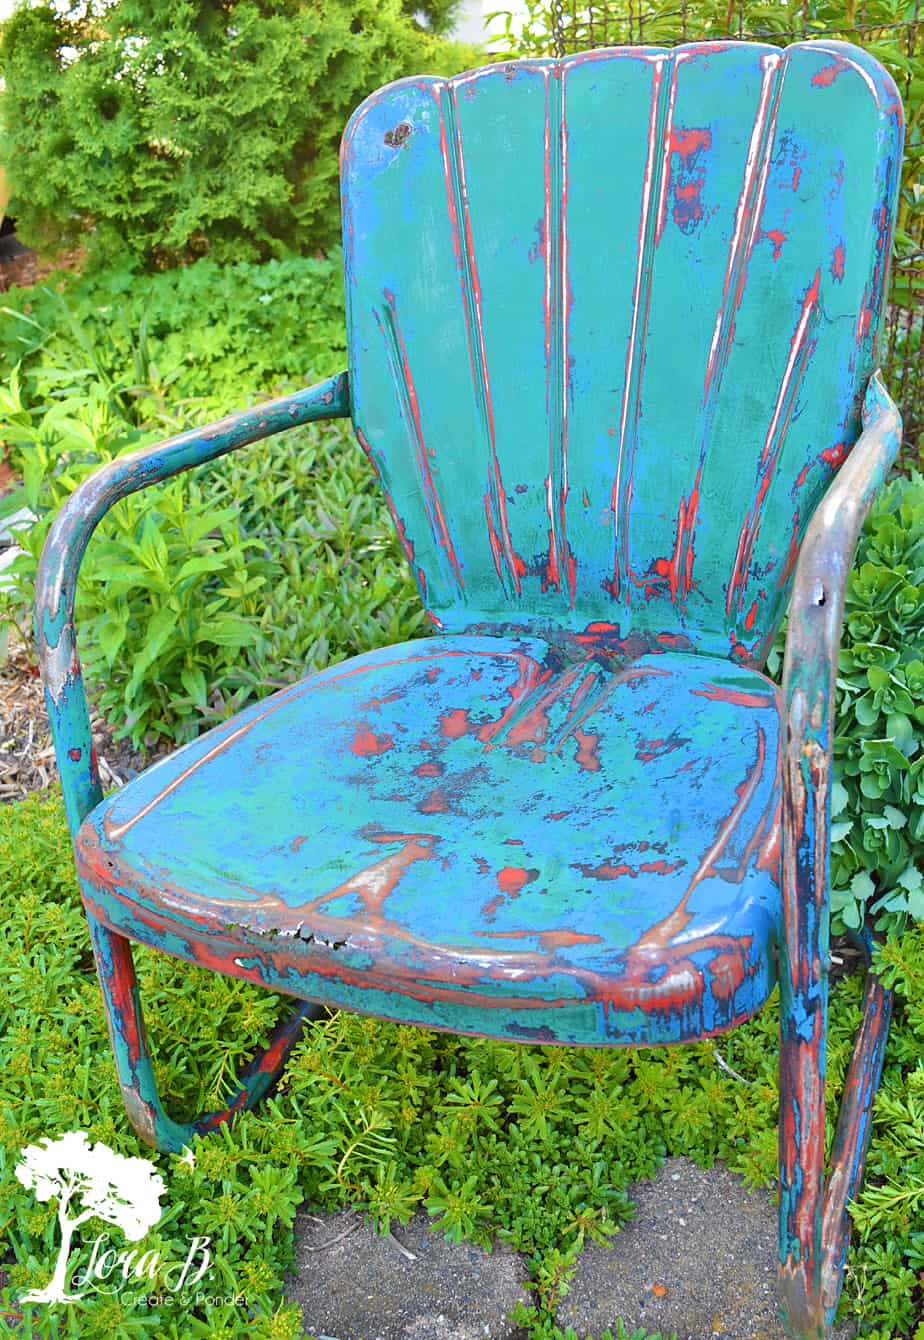
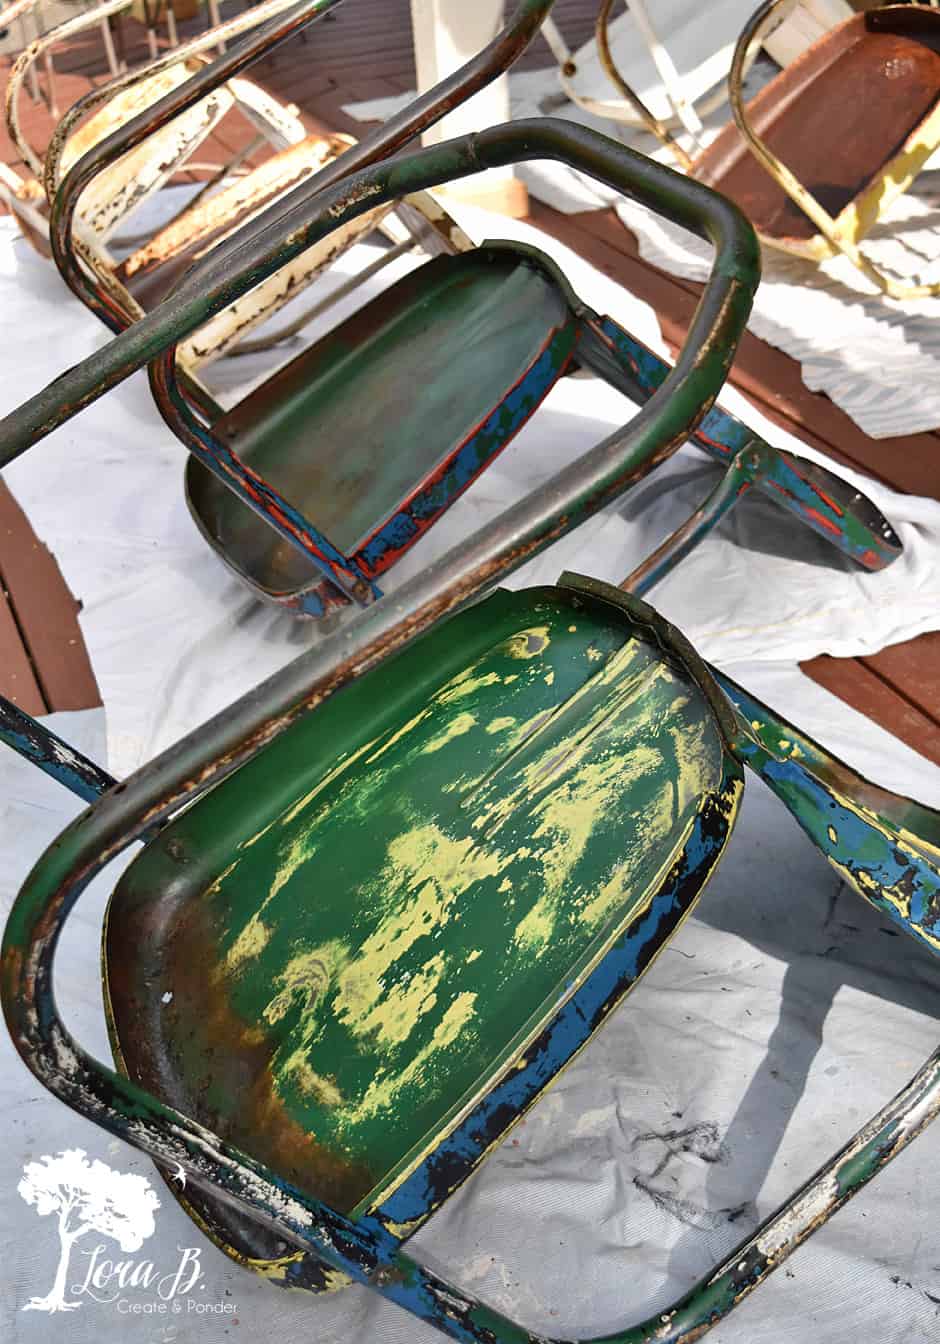
Vintage metal lawn chairs have usually seen their fair share of makeovers through the years. From first glance, this one has for sure been most recently green, and before that blue, but you never really know it’s true heredity until you start sanding. That’s the first step.
To Start the Refresh, Use a Sander
Using a palm sander and 100 grit sandpaper, sand over the rusty spots, sand the chippiness off, and reveal as much or as little different colors as desired. I advise to do it outside to protect your lungs from possible lead based paint and/or wear a mask, too.
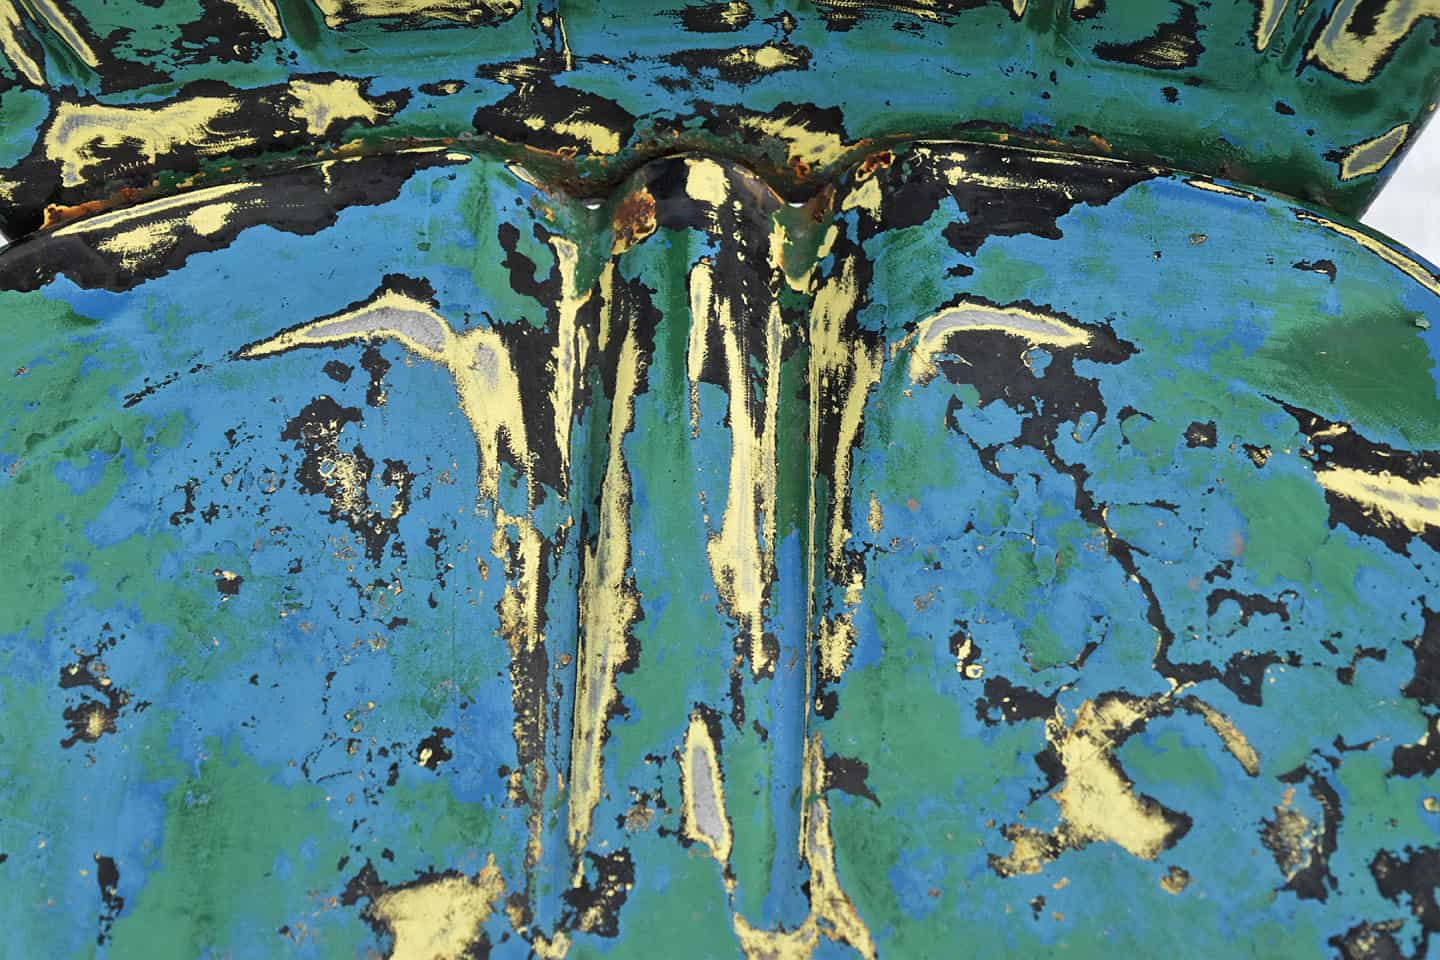
Here’s what this old blue chair revealed after sanding:
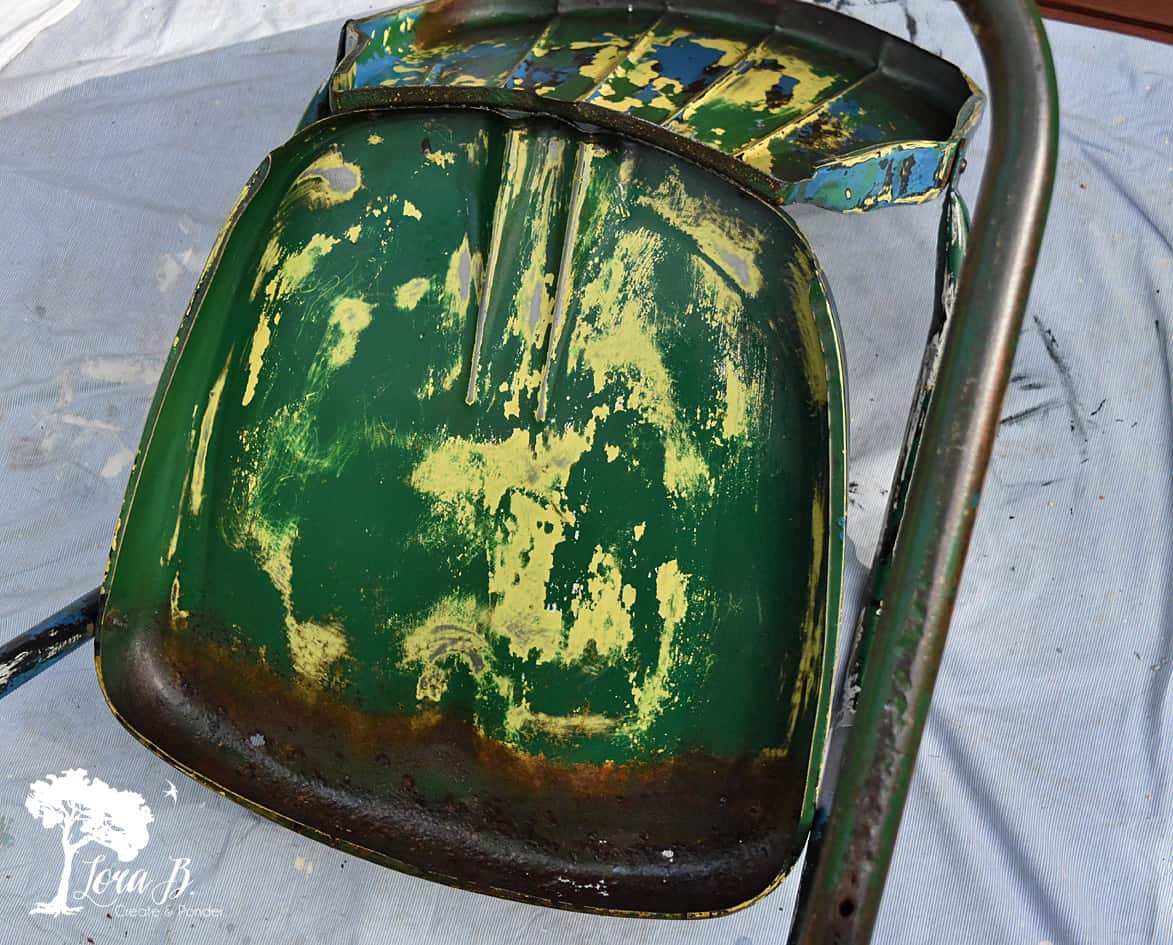
Sand all the pretty grooves and lines to highlight the great architecture these chairs have! This will really show off all the history of these classic icons.
Ironically enough, after I’d bribed these chairs off a fellow junker for $25, I picked up another on the way home from school! This white version is not vintage, which I could tell from the shinier paint job and less heavy weight. But I can give it some age to fit in with it’s elders:
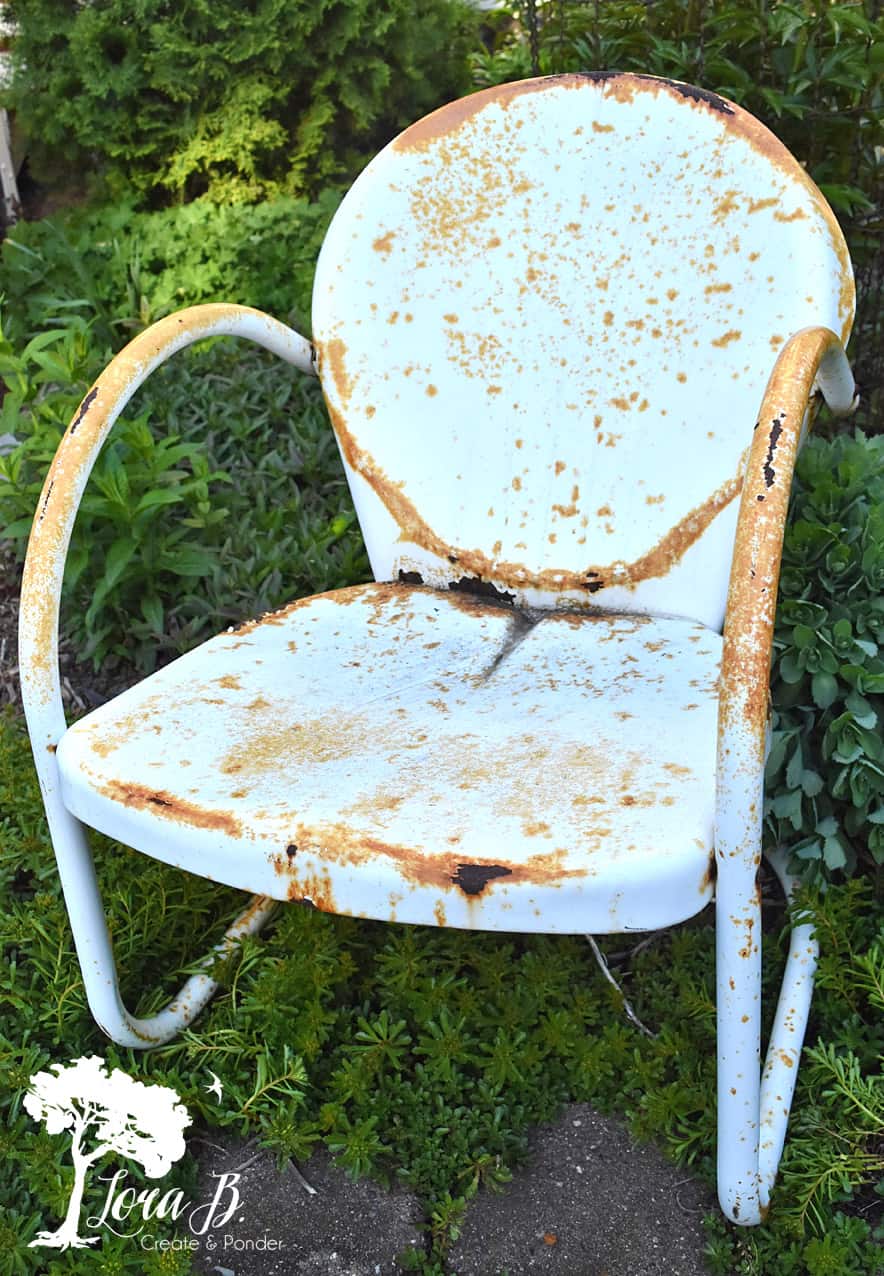
You can see the difference sanding and accentuating the lines makes with this piece:
What a difference, right?
This one’s already gotten the rest of the treatment, though, which makes a big difference too…
Next, Clean and Dry Vintage Metal Lawn Chair
A small, portable air compressor is a handy tool to have for so many refreshing and repurposing projects!
You obviously don’t want the chairs to rust anymore, so drying on a warm day in the sunshine works best. The warm metal is also perfect for the next step…
Brush or Spray on Several Coats of Outdoor Polyurethane
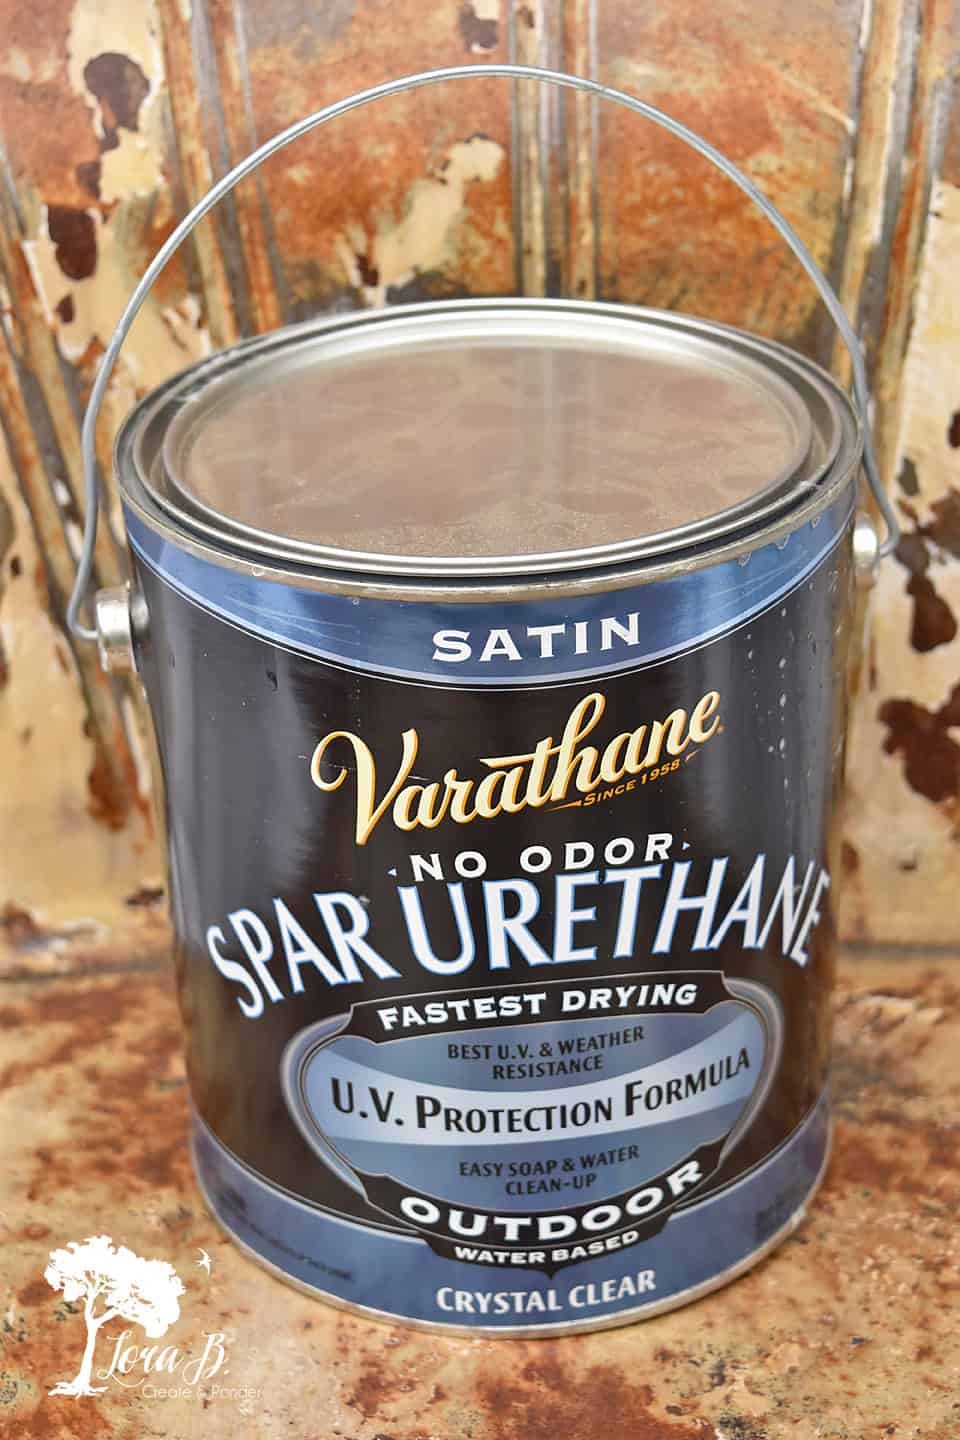
Brush or spray on several coats of outdoor polyurethane in a satin finish. I’m usually a Minwax Polycrylic girl, but I haven’t had luck finding an outdoor version in my stores, so I used the Varathane companies product. I like that it’s soap and water clean-up and I like the Satin version-nothing too shiny for vintage! You want that time-worn patina. Also, a brush-on coat will be much more even and thick than if you use a spray can, but you can apply several coats of the liquid poly with a sprayer.
Expert Tip: Start on the Underside of the Chair
Then you can fix the drips when it gets right side up! If you still get some, sand a little and they’ll disappear…

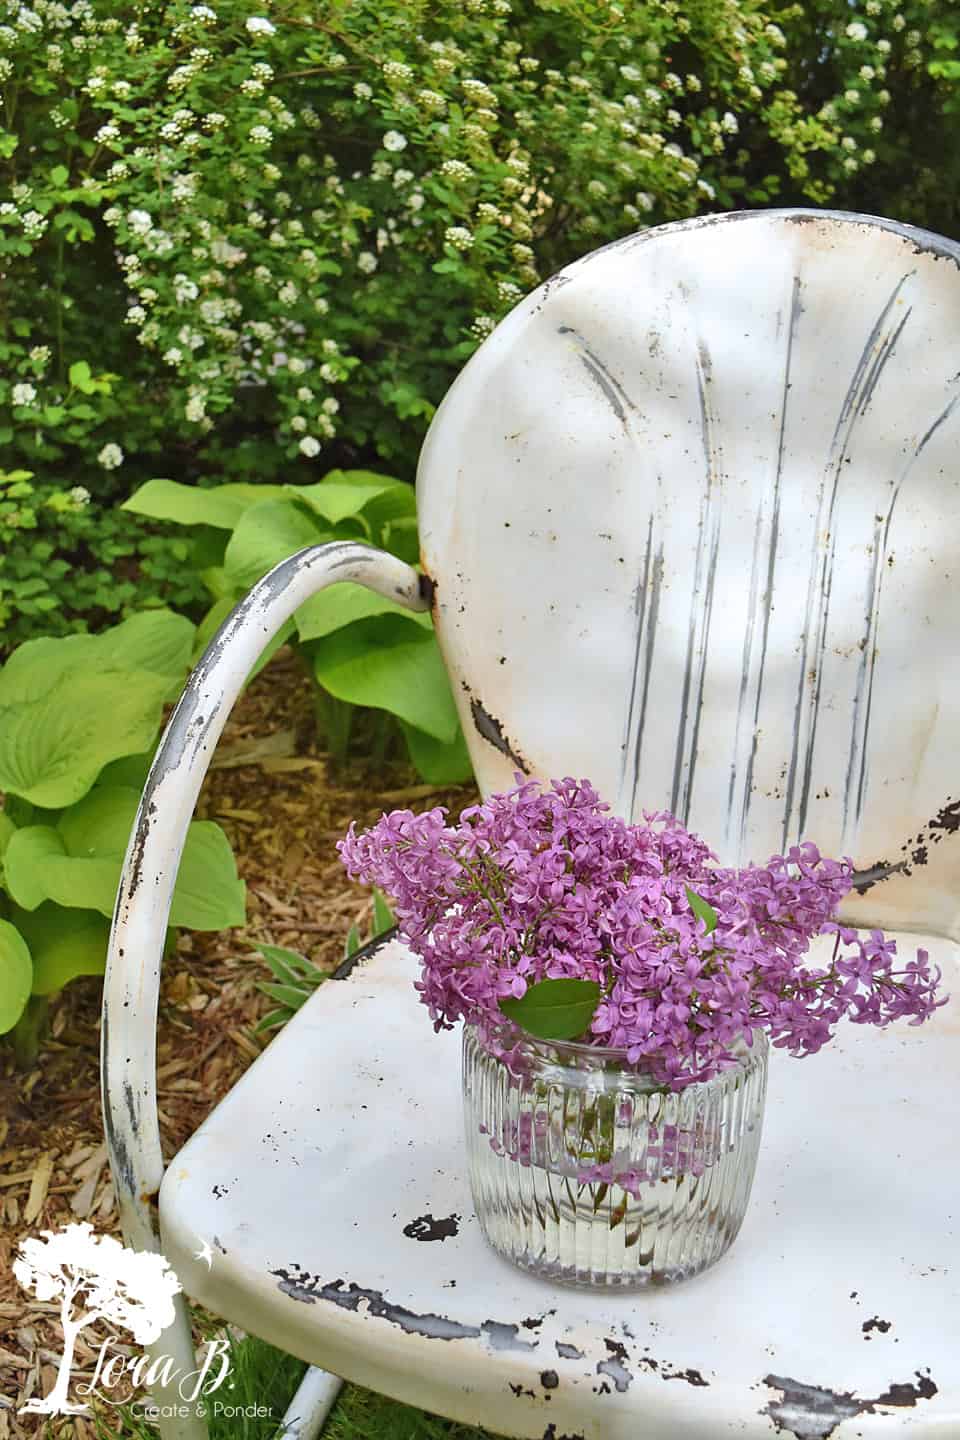
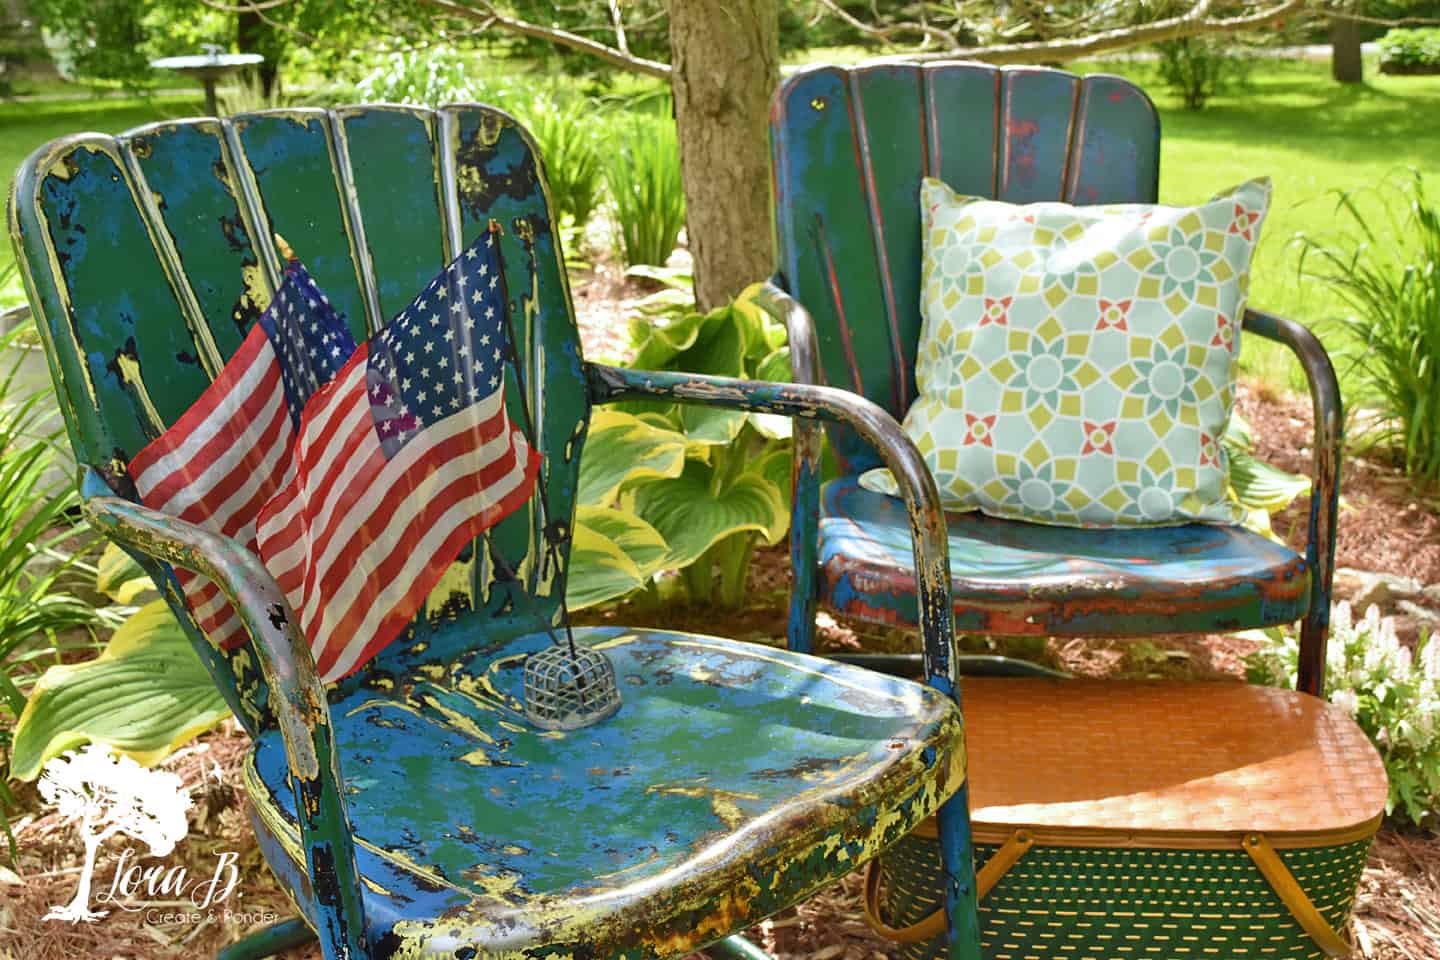
Just look how the poly brings out the beautiful patina of the rust and chippiness:
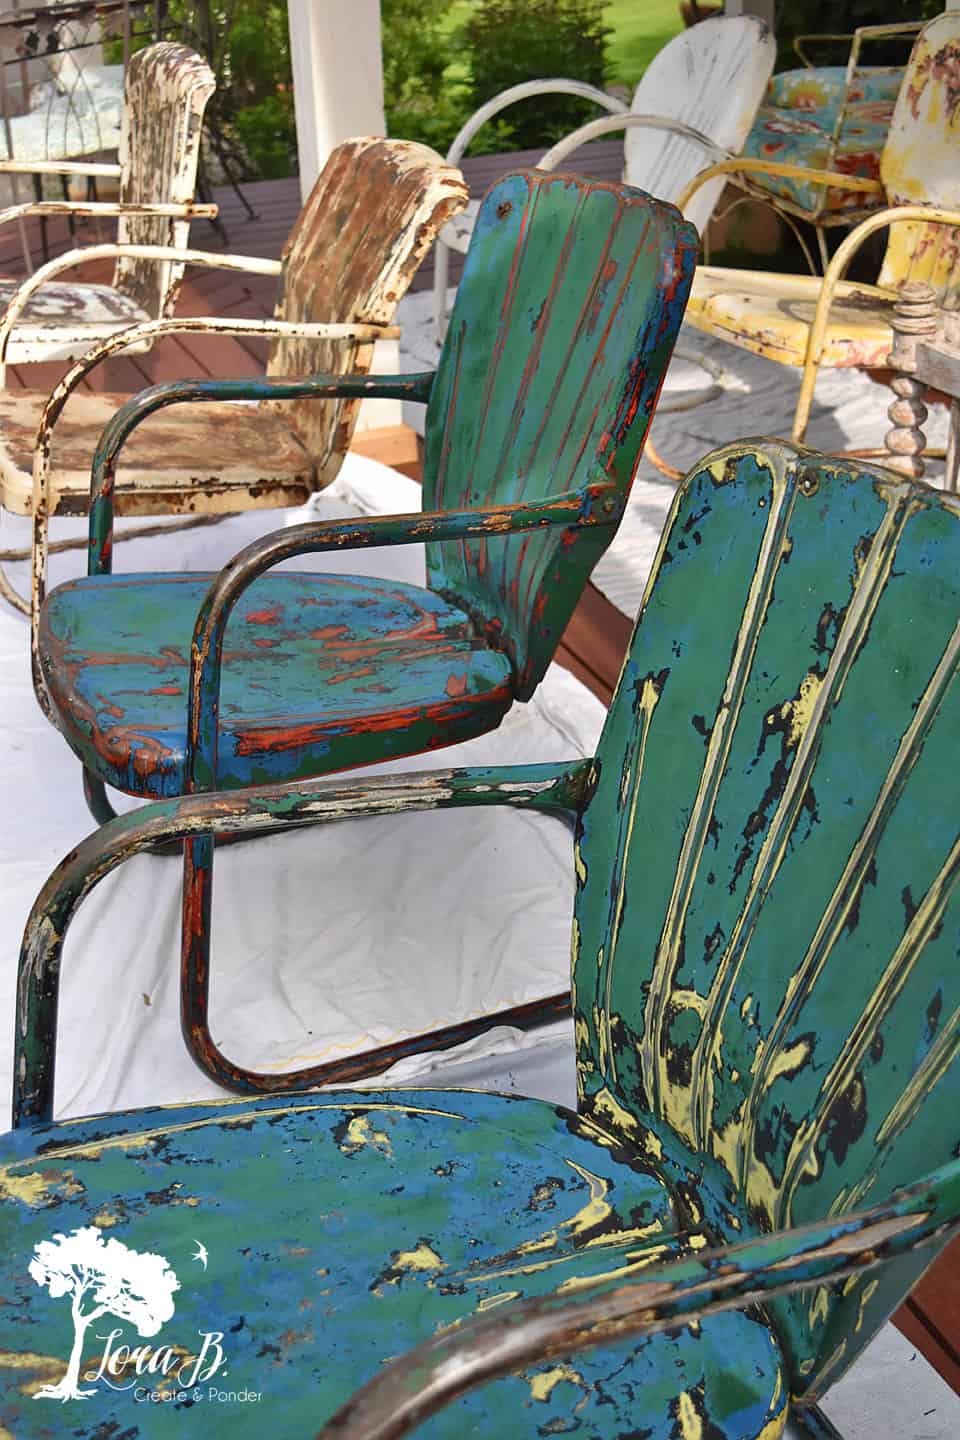
Once again the chairs have a beautiful, smooth, yet lively appearance! I think they look even better with their time-worn character!
Dry Thoroughly In The Sun
Make sure it’s a warm day-60 degrees or warmer and don’t apply at night. Cold or dew can make a not-totally dry poly job on metal turn opaque and blue. Not a pretty sight on your beautiful vintage piece…I know from experience:( Working in the sunshine is best, or pull your pieces in a warm garage if you are at all concerned.
Do you see the yellow peeking out from behind the second blue chair? Boy, was I surprised and happy to reveal that color combo!
Apply a Fresh Coat Each Season To Protect
I’m so excited my family of chairs went from 3 to 6 real fast! Now I’ve got a whole grouping for the grad party (you can read more about the decor planning in “Grad Party Planning Tips: The Decor”. I found out with the last grad party that these metal chairs work better in the shade on a hot, summer afternoon (a.k.a. hot bun syndrome!). Good to remember.
To Protect Vintage Metal Lawn Chairs, Tip Up
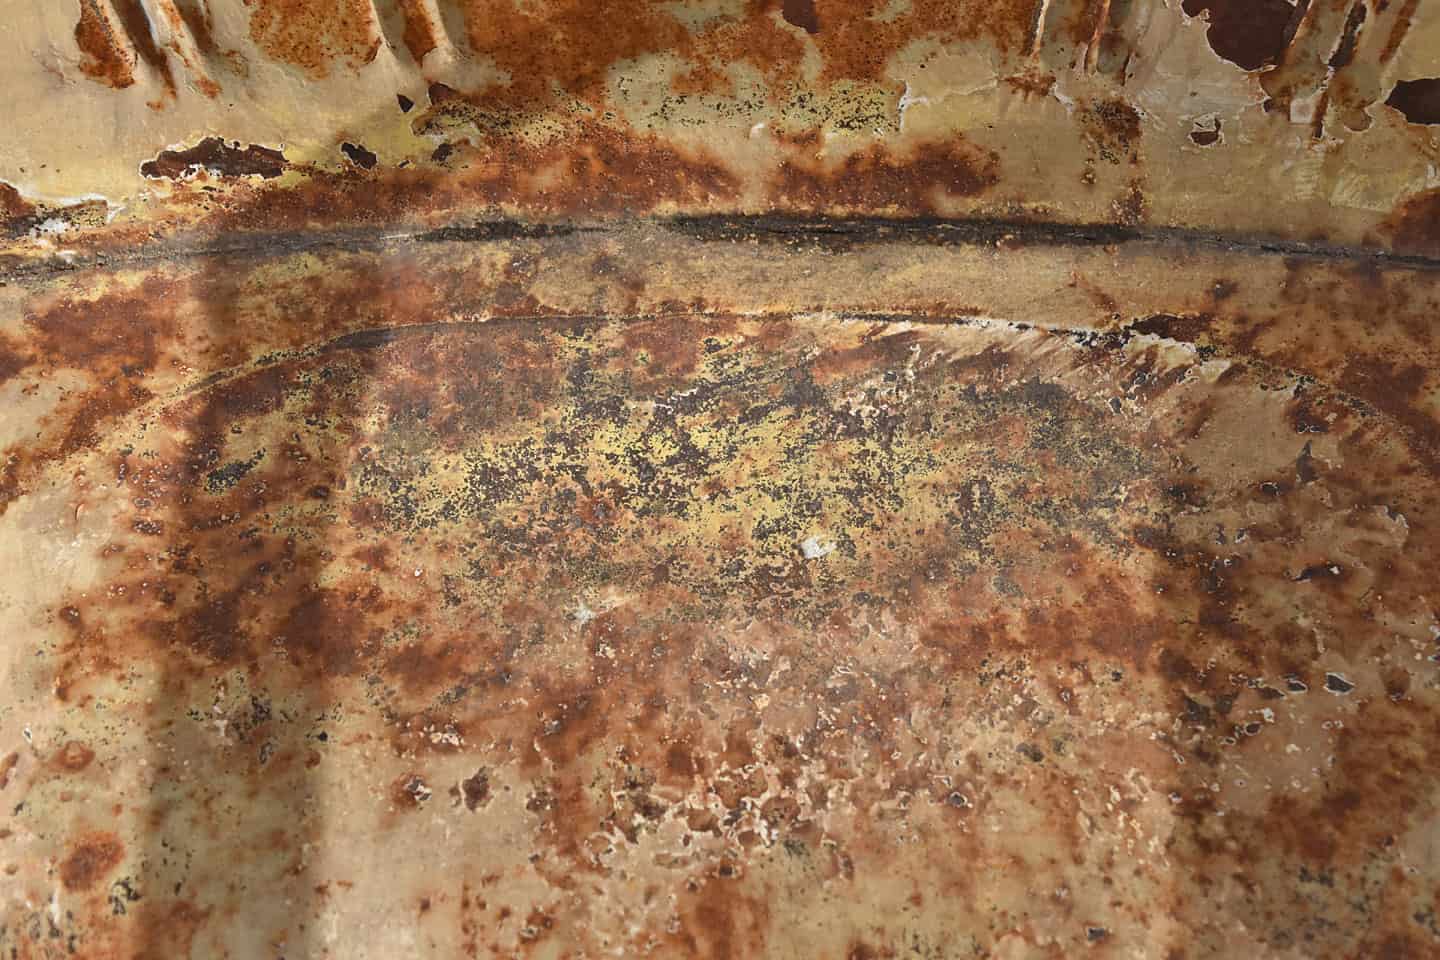
Most of these vintage chairs have some type of drainage built into the design; holes or gullies to make the rain water not settle and rust on the seats:
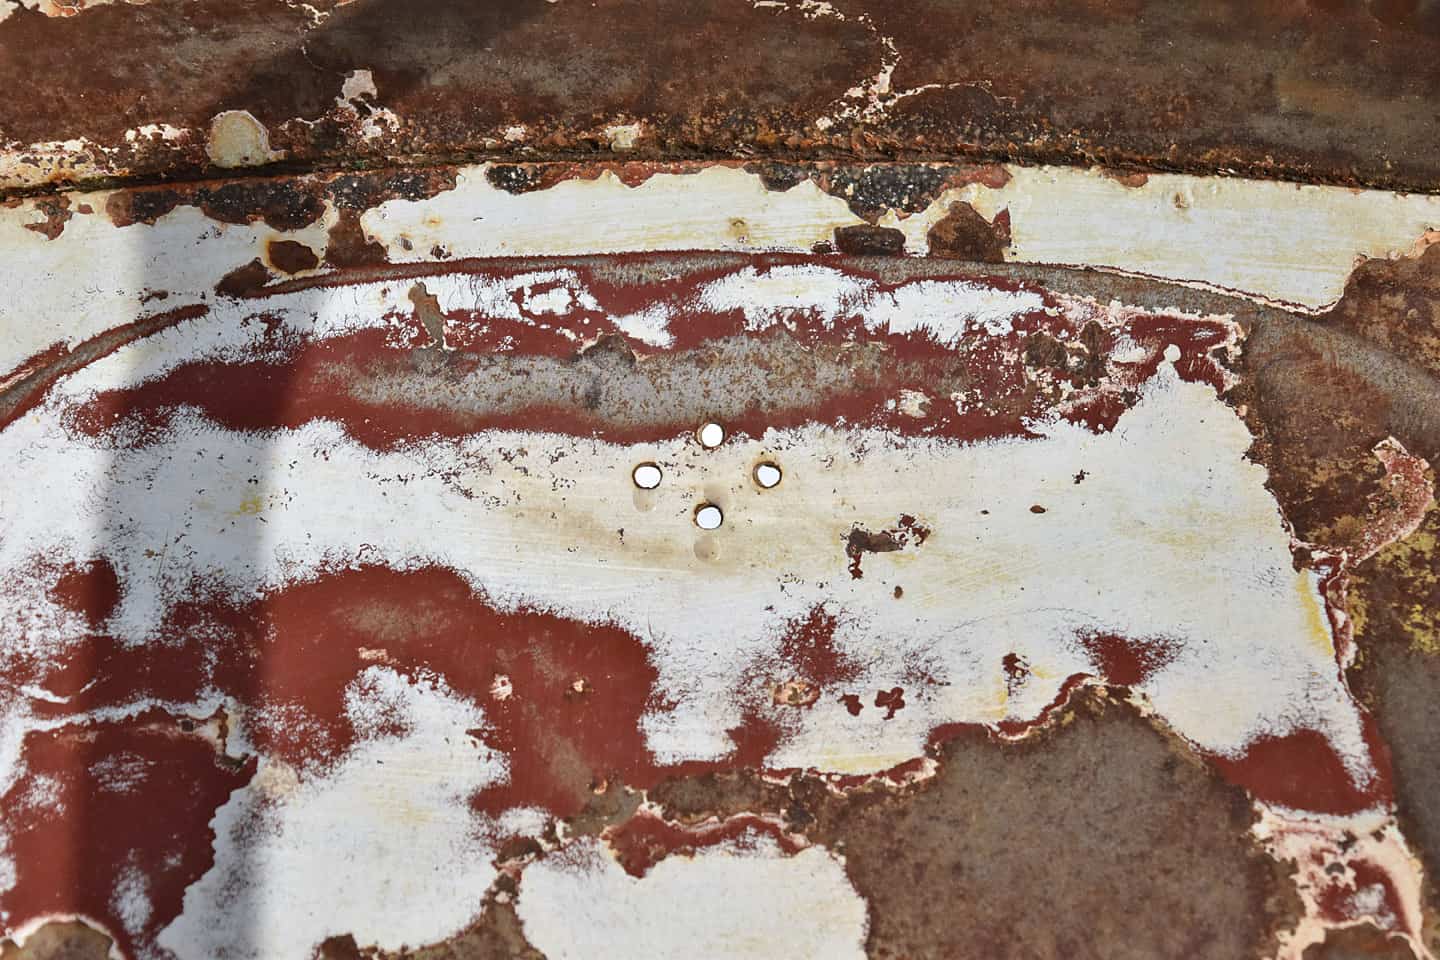
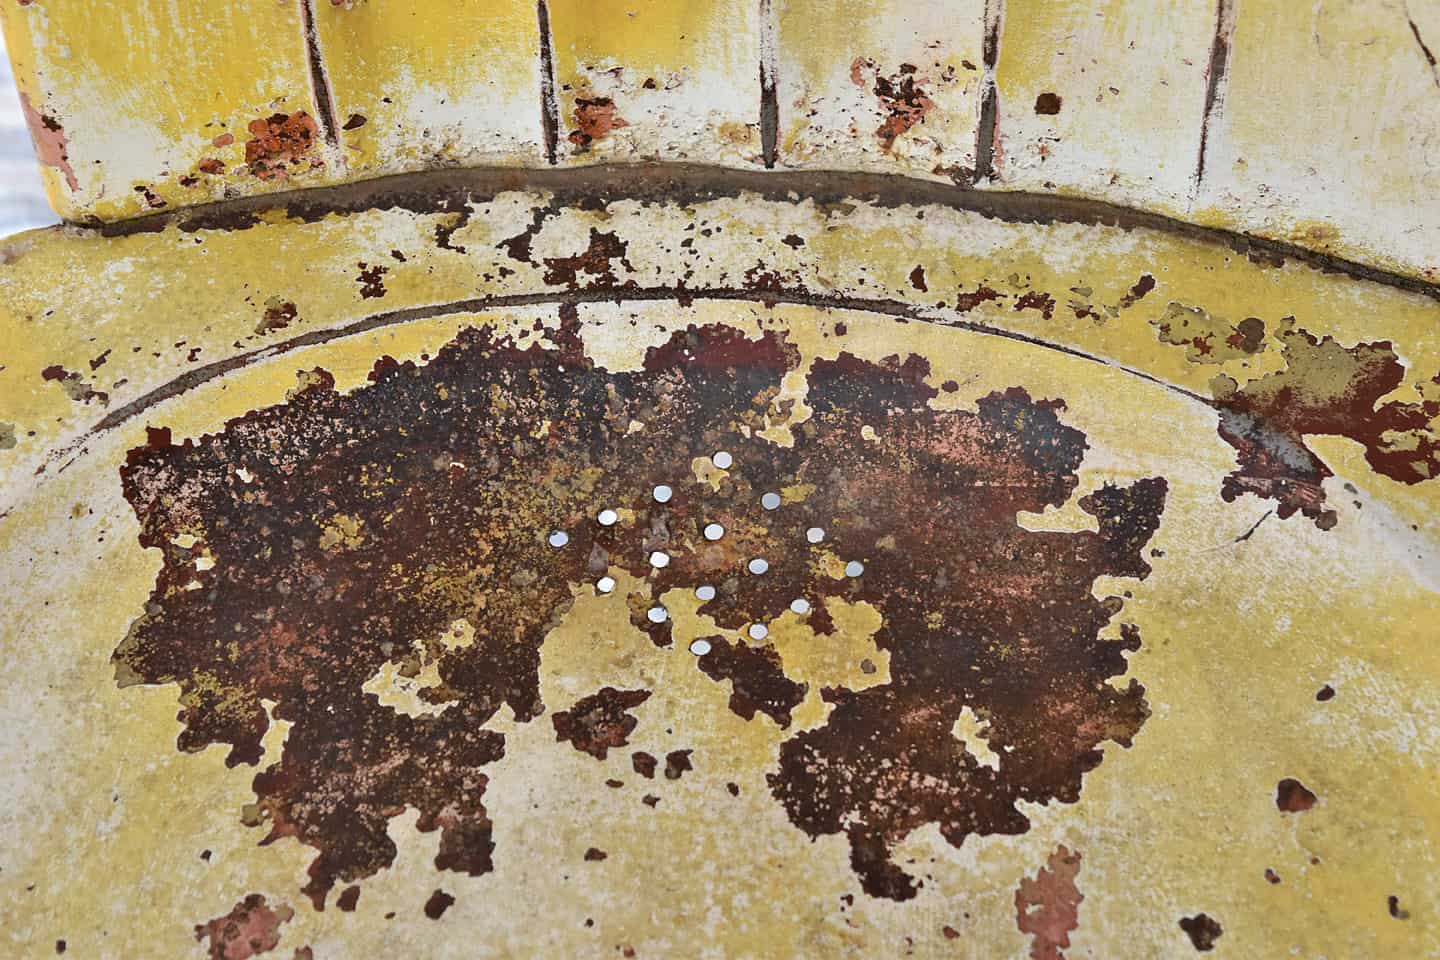
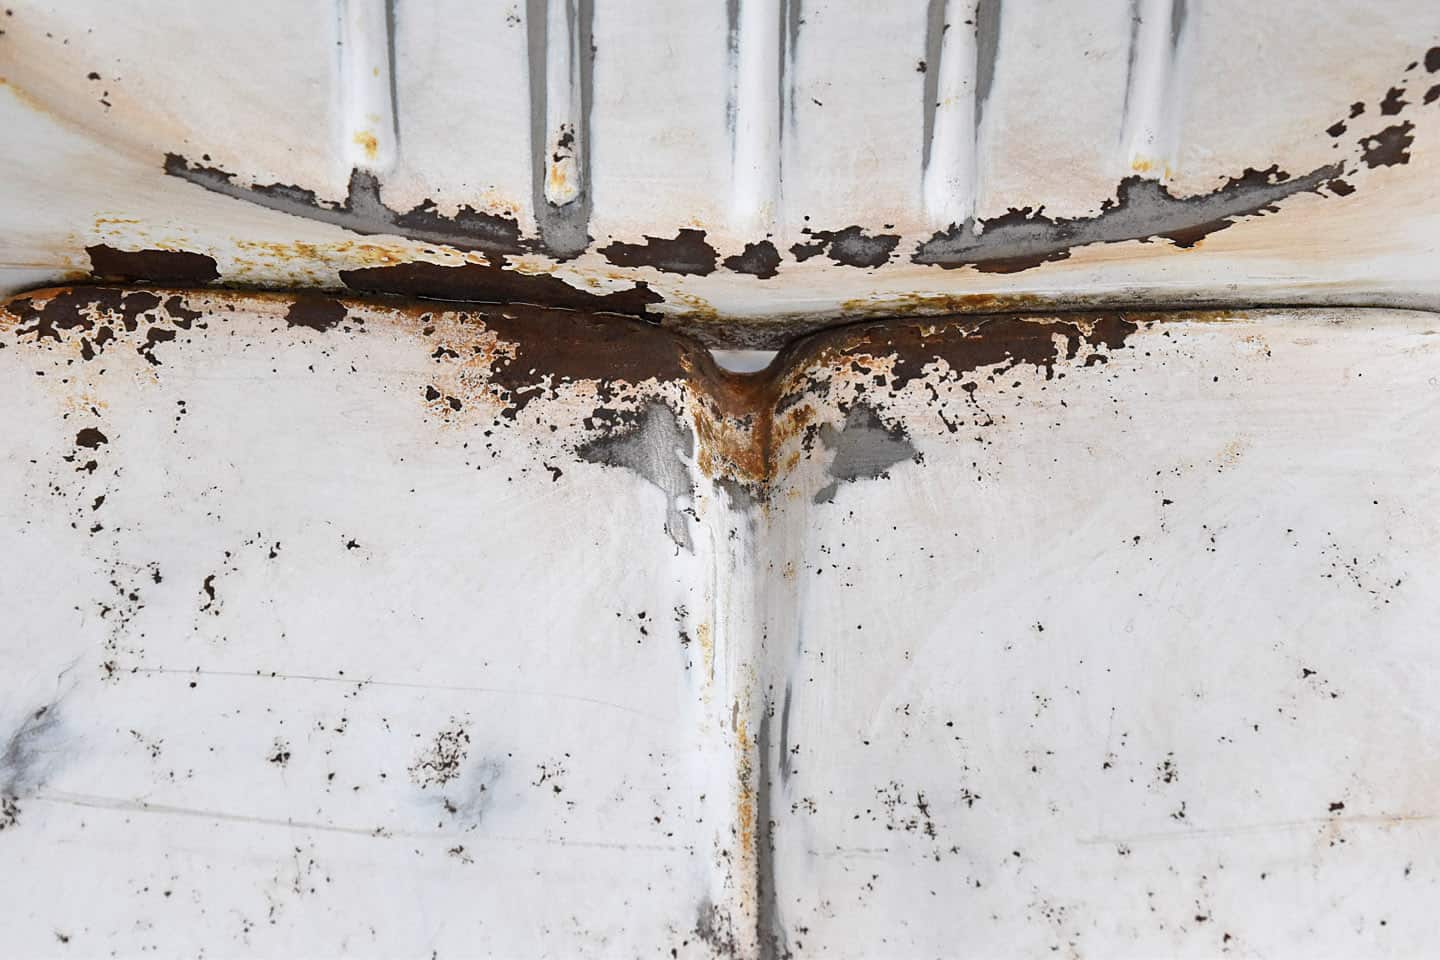
But you can see they still have rusted where the water settles. On rainy days, I try to tip my chairs over so the rainwater won’t sit for long. I have one chair that doesn’t feature any drainage, so I’m thinking I maybe should just drill some holes in a design like the original designs had, because this one is definitely the most prone to puddle and rust:
Do you own a couple vintage, metal lawn chairs that need a makeover? I’ve made a quick printable for you to remember all these steps; kind of like a recipe card. If you’ll subscribe to my newsletter, you can receive this resource for FREE, along with all of the tips, tricks and pretty printables in my Resource Library!
If you enjoyed your visit, be sure to Become an Insider so I can send the ideas right to you! You can Sign Up HERE.
Don’t these chairs just scream summer? Maybe you’ve got a couple family hand-me-downs laying around you could refresh with these tips, or maybe you’ll have the luck of scoring some at a sale or alongside the road!
Please don’t spray paint them and make them look new! Embrace and celebrate their history! If you want new…just buy new and let the junkers like me have the old ones;)
Because when given the right “beauty treatment”, they really are special…
Hope you enjoyed learning How to Refresh and Enjoy Vintage Metal Lawn Chairs (and keep their time-worn appeal). Please Pin and Share so others will know how to save them!
Pin and Save!

Beautiful chairs
Thanks!
Hi Lora , I think that I would have given them a nice new fresh coat of paint . Then do the poly . Either way they are still nice chairs .
I have 5 of these vintage chairs to restore which I was going to spray paint a new color. However, I like using the clear coat to show the original colors on each of the chairs. Thanks for the information.
Yes, I love to see the timeworn, original surface; they’ve earned that nostalgic patina! If you want perfect, you can buy new.
Hi Lora~
I’m trying to find your article on refreshing vintage chairs. When I open the article, it has the intro and comments, but none of the instructions. Are those still available?
I love your style and all your info!
Monica
Monica, thanks for asking about this! Something had gone wrong in the back side of the blog so content couldn’t be seen. It has been corrected, so the full post should be able to be seen. Thanks for giving me a heads up, so I could get it resolved! Good luck with your vintage metal chairs!
Thank you for these easy to follow instructions. Now I’m motivated to spiff up mine…..and pick up more
So glad it was helpful, Ginny! There are so many fun varieties:)
Love it! Exactly what I am doing with 7 chairs now
Lucky you, Holly! Good luck!
Lots of great ideas but what site sell the seats or leg/arm parts when they have rusted through? Thanks.
My best guess is to search on google! Or have a couple chairs and use some as parts pieces, like they do with cars.
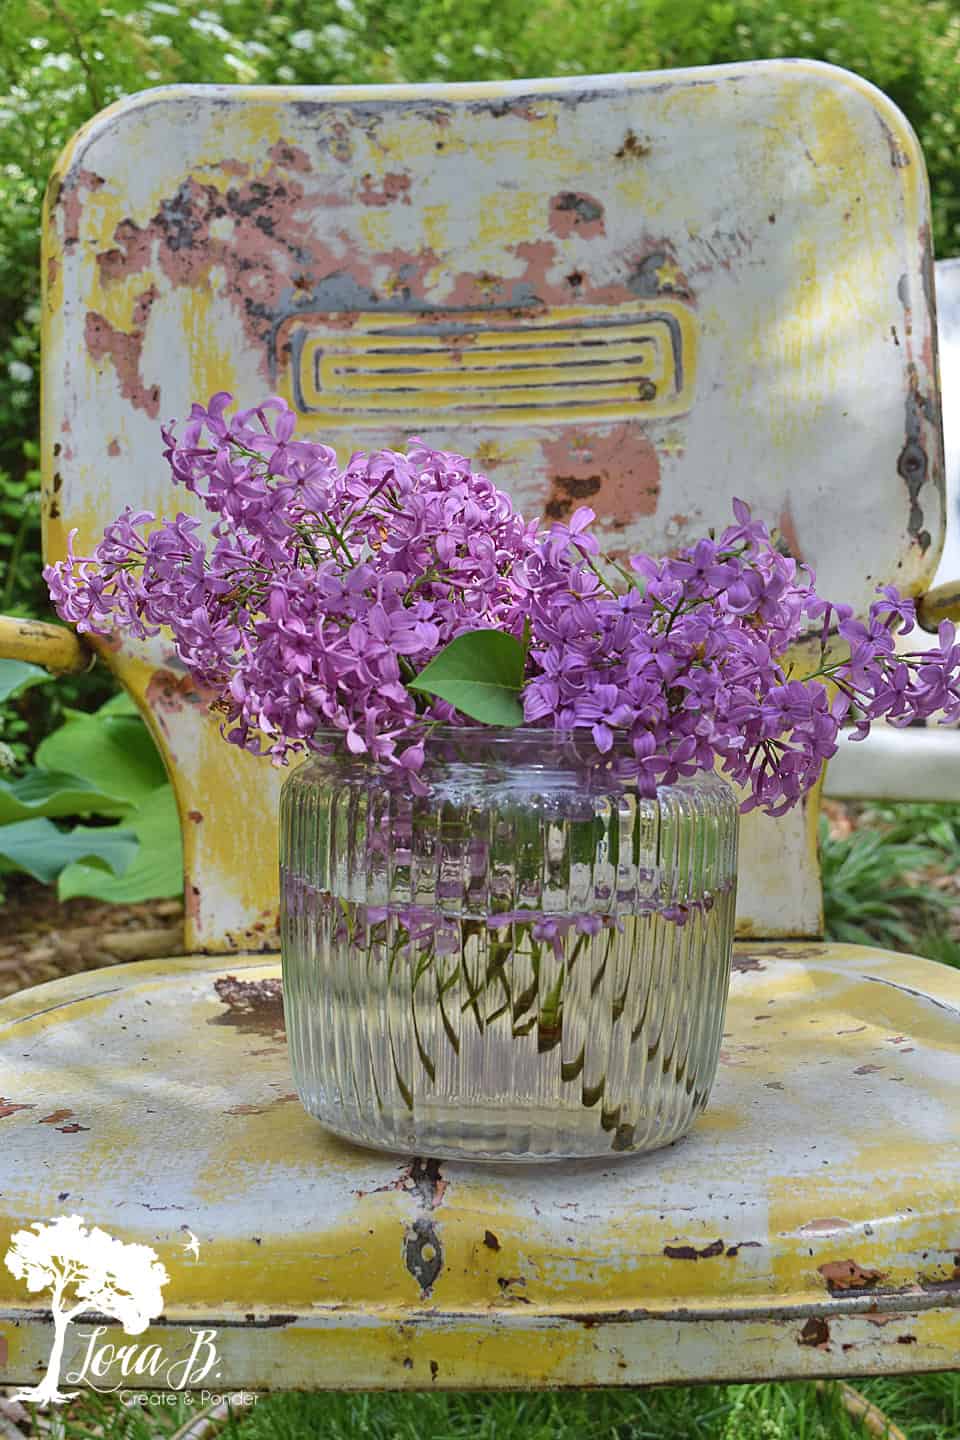
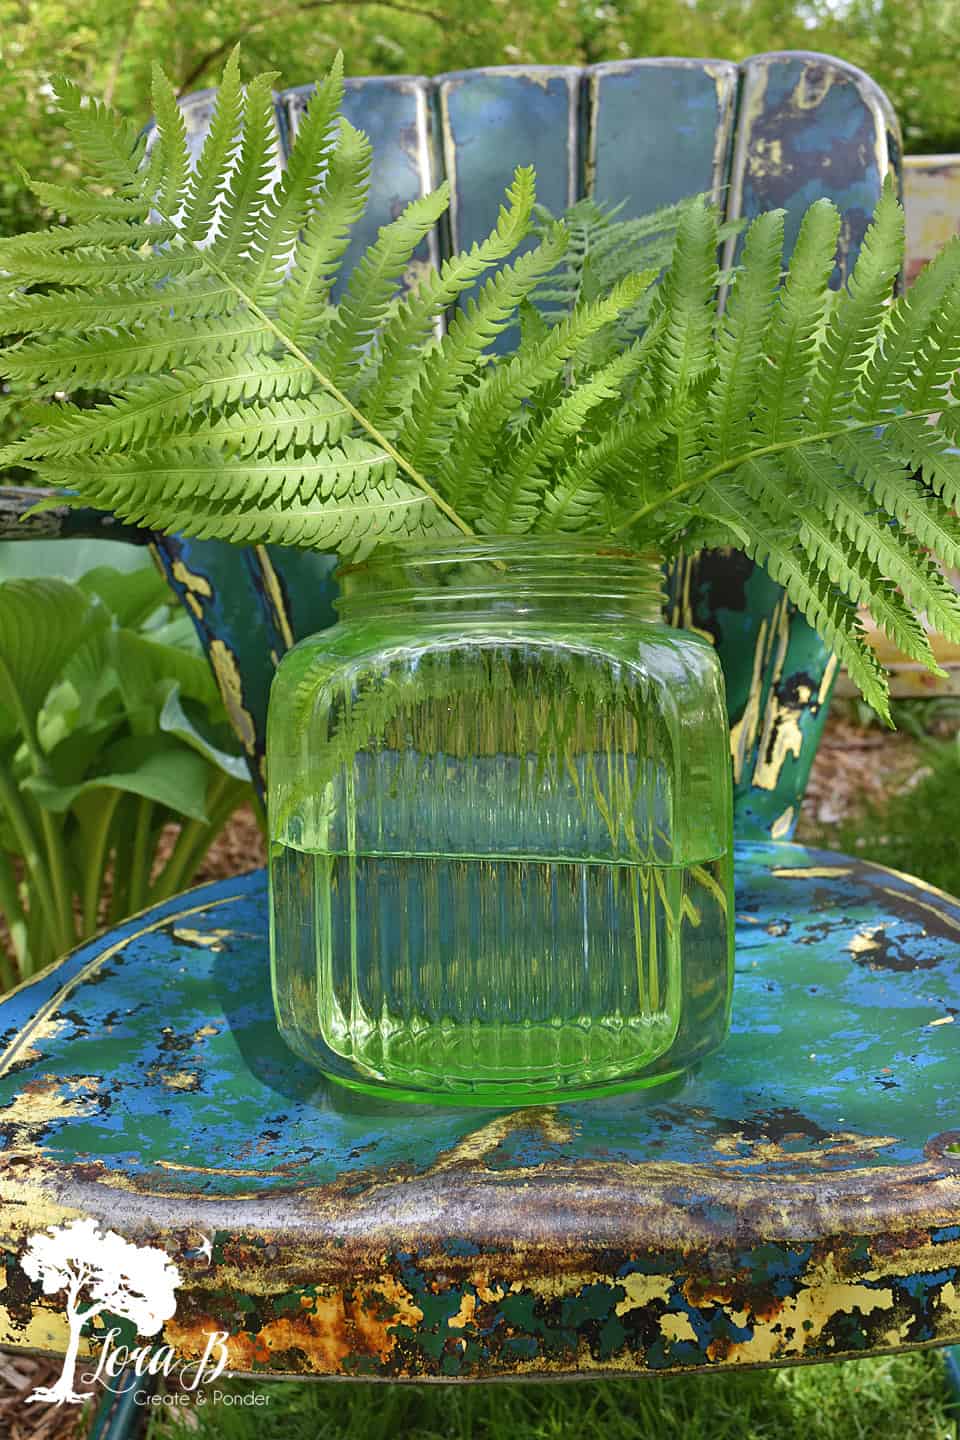
I love your chairs! I acquired 2 slightly rusty, blue ones last year and I have procrastinated doing anything except sitting on them! I even bought spray primer/paint for them. Everyone told me that a sanding and a few coats of paint would help! I am so glad I read your article because now I see that I’m not the only one who loves the vintage look of these! I will forget the paint. Now I know what to do to enhance and preserve that beautiful appearance! And yes, they are much better in the shade. I have my two in a shady corner under a tree in my garden. Your uranium glass Hoosier jar/vase is gorgeous too!
Lucky you for finding them, Sharon! I’m so glad you didn’t paint them; you’ll love that timeworn patina:)
PLease send me the pointers to keep old metal lawn chairs nice
I explain the process in this article, Sandy. If you’d like a printable version, you can become an Insider for free and find it in my free Resource Library.
I have 2 of these chairs which (last year) I painted (yes, I did) and now , I’m just gonna sand them down and release those other beautiful colors underneath!!! Live and LEARN rom the best!!! Thank you, Lora for bringing me back to my senses!!! lol
How exciting it will be when you unearth all those pretty colors hiding underneath, Karolyn! Good luck!
I found this article and did exactly what you suggested. Absolutely love the results. In the past, I had my current set sand blasted and powder coated which for a screened porch, looks great I think and it helps preserve the better pieces. BUT, I recently found a 1939 Cleveland Welding steel spring chair. It had recently been painted black. When I sanded it down I found some great undertones of red and green. Put 4-5 coats of clears on top and bam, it is is beautiful!!! Thanks for posting this, brilliant suggestion!!
So glad you enjoyed it, David! Your chair sounds awesome! Whenever I come across these old beauties for a good price, I scoop them up. I love their coats of many colors and variety of shapes; I’ve accumulated quite a few;) Enjoy your chair!
Beautiful!!
I just acquired some of these chairs, and was going to spray paint them, but now? NO WAY!!
One question though… does the poly sealer deteriorate (peel, flake, etc) in the outdoor elements? I’ve tried with wood before and had poor luck…
I use outdoor poly, Krista. And yes, I’ve had the same issue happen with indoor poly on wood. I do add a coat every year or so to keep them fresh. So glad you’re not going to make them look new! You’ll love the patina!
My grandparents had chairs like this and I remember trying to make them rock in the shade under their catalfa trees in Massachusetts. Thanx for bringing back the great memories!
I’m glad I brought back good memories, Kathy! These old chairs remind my of my grandparents cabin;)
Wow! Gad I found you today featured on Savvy Southern Style! This is an excellent post! Great information. The chairs look fabulous after sanding and sealing!
Thanks, Sandy! I’m glad you found me too! Thanks for hopping over to my IG also! Saavy Southern is a new party for me, but definitely having fun there!
Hi Lora!
Thank you so much for sharing this at the Farmhouse Friday link party! I’ve chosen it as one of the features for tomorrow’s party 🙂
Thanks, Michelle! I really appreciate it!
Amazing transformations, Lora!! Thanks so much for linking up your posts with us at Vintage Charm; we enjoy having you party with us 🙂
Always fun to party with you girls, Diana! Thanks!
Ooooh Laura, I am just giddy for you over these finds and a bit envious too, I can never find these in my area. I just love all that gorgeous patina, so happy you brought out the beautiful history over spraying them all shiny fresh. They are just sublime, and great photos too I must say I want to print them up for an 8 x 10 grouping! Lol thanks for sharing them at #FridaysFurnitureFix !
Thanks, Brenda! I was pretty happy to find them; it’s getting harder & harder to score them:(
I love your collection of vintage chairs. And I love how you kept the patina instead of spray painting them to look new again. They certainly have a character. The chairs are simply gorgeous.
Thanks, Debra! I just love preserving their character!
GET. OUT. Oh my goodness Lora, I so thought this was going to be a spray-it-new type makeover but you made these chairs DIVINE! I couldn’t make patina like that if I tried – they are just gorgeous. Thanks for sharing. xx
Thanks, Kate! The more patina the better in my book! Glad you enjoyed their makeover!
P.S. I’m featuring your beautiful lawn chairs this Wednesday at House of Hollingsworth Blog xx
Beauties!
Thanks, Elisabeth! I’m pretty thrilled with how they turned out;)
How lucky to have six of those vintage chairs, Lora! They look so much better after your refresh.
Thanks, Marie!