
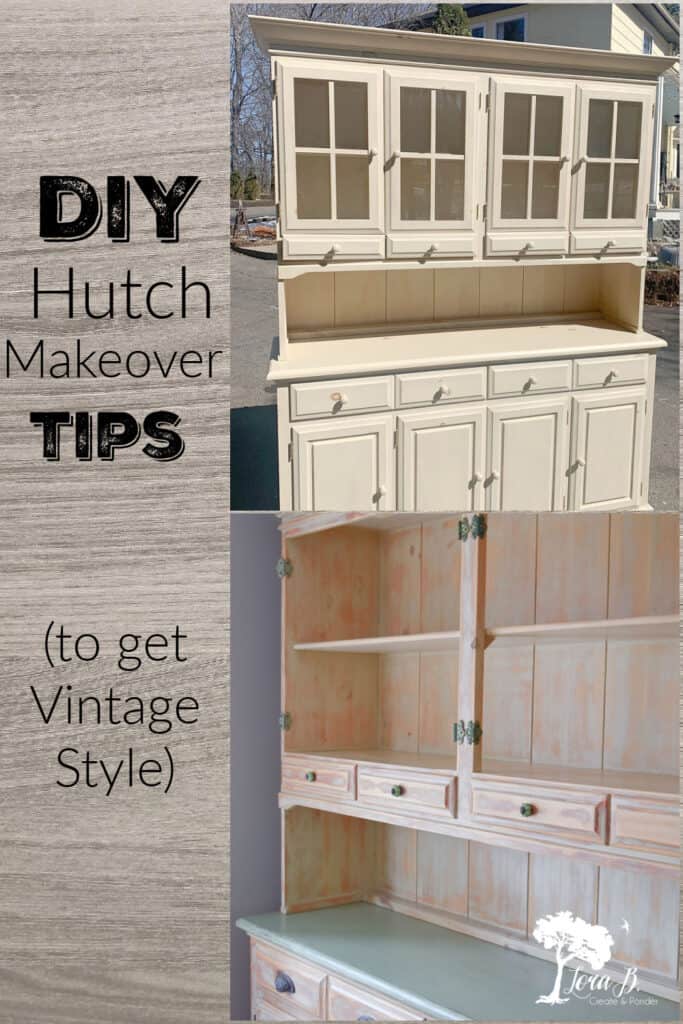
DIY Hutch Makeover Tips (with Vintage Style)
How can I make my hutch look vintage? DIY tips to Make over a hutch with unique vintage style
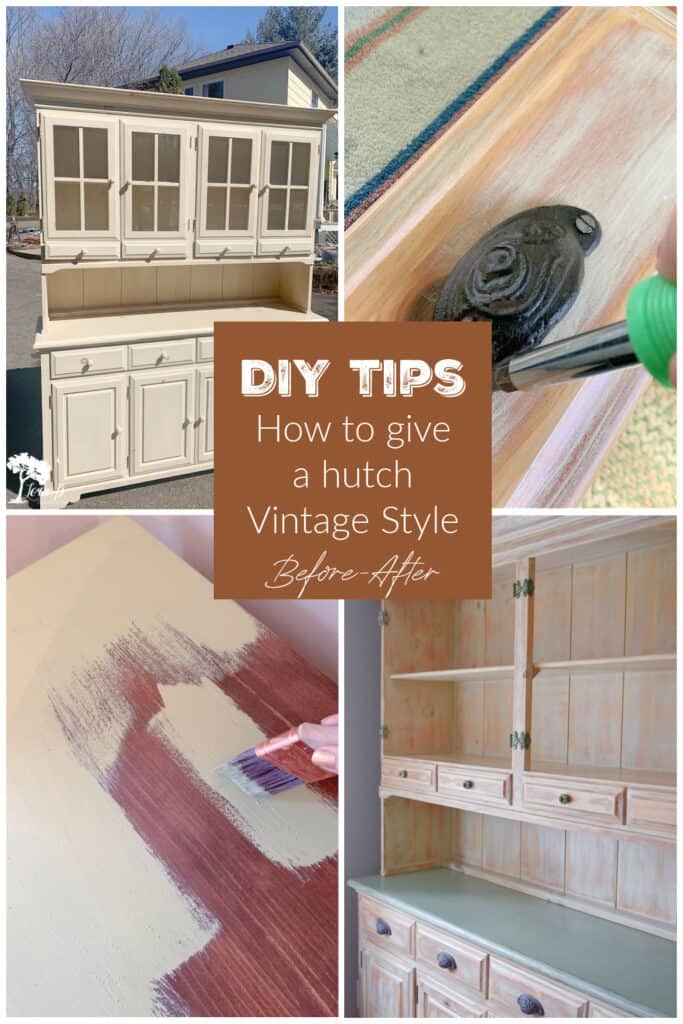
The classic hutch is the perfect combo of storage and display, and my dining room needed one. Luckily I found a candidate on Facebook marketplace. But of course it wasn’t quite my style. If your old furniture could use an update, these DIY Hutch Makeover Tips (with Vintage Style) will give you some great ideas.
I’m joining my Thrifty Style Team friends, led by Julie at Redhead Can Decorate, to send you inexpensive, creative ideas for your home. The rest of the inspirational, Springtime posts will be linked at the end. Hope you can enjoy them all!
DIY Hutch Makeover Tips (with Vintage Style)
For your convenience, this post contains affiliate links. If you make a purchase, I may receive a commission. There is no additional cost to you. My full privacy policy is here.
First, Decide What You Like and Don’t Like
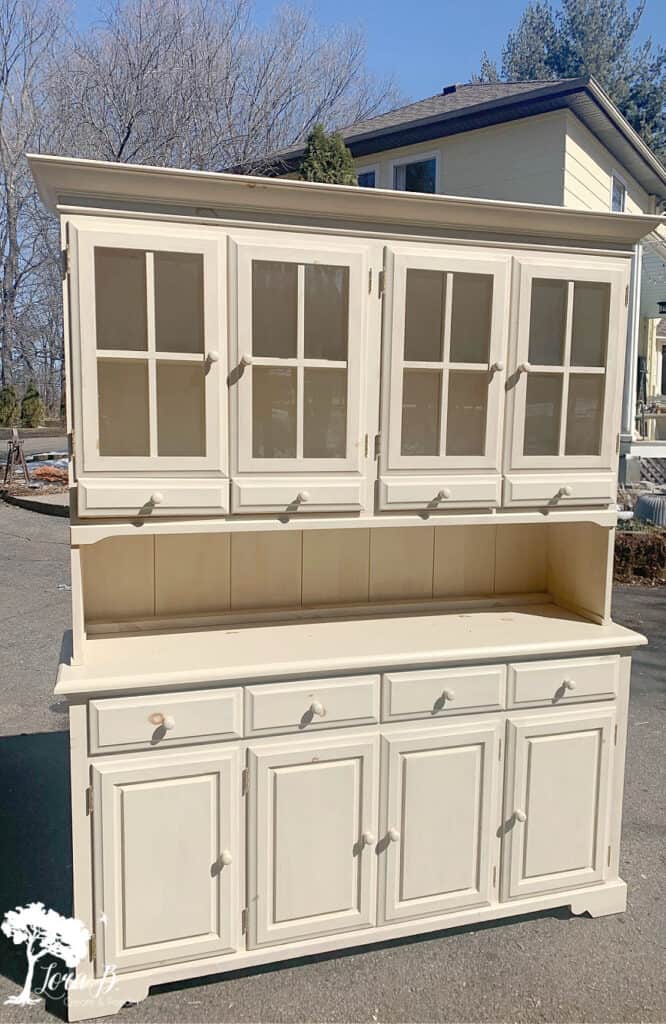
The first step to a furniture makeover is to decide what you like and don’t like about the piece. I liked the size of this hutch and the overall country, classic style. It’s a solid pine piece that is well made. Good bones. But there were several things I didn’t like and wanted to change:
- the color: the previous owner had painted on a thin coat of creamy, flat paint. The knots of the pine showed through like bad acne.
- the top doors: yes, they are kind of cute, but look too kitchen-y for my dining room. I wanted open display on the top for seasonal decor. I have glass cupboards in the kitchen with a different design and these would compete when you see into the other room.
- the hinges: 90’s brass; shiny gold is not welcome in my home.
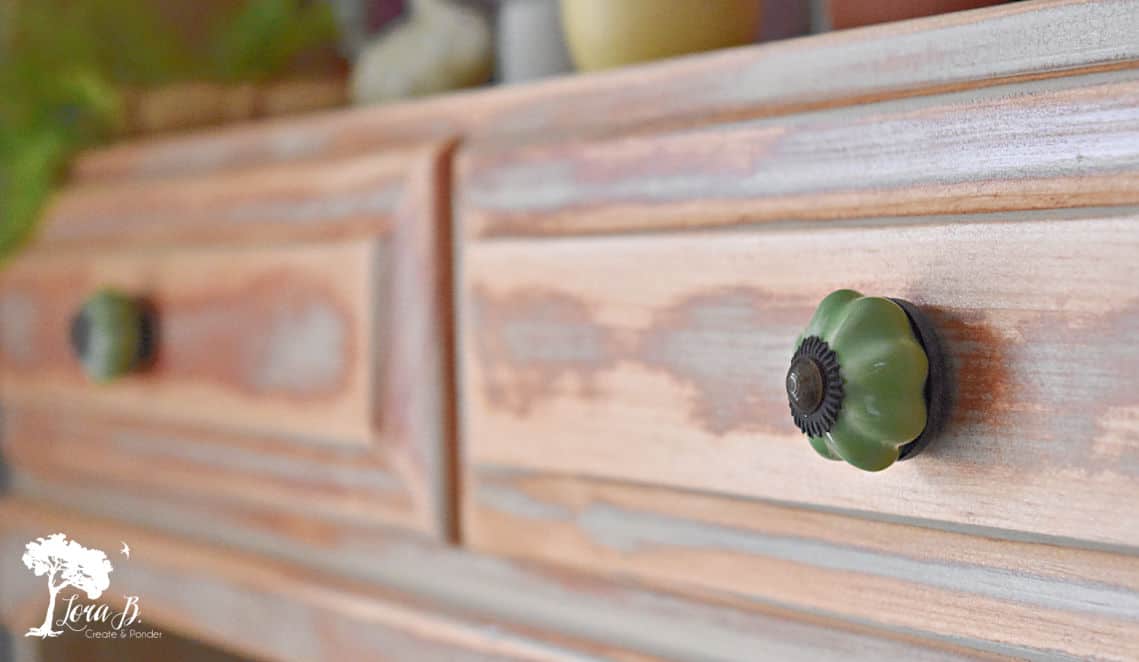
- the knobs: all the boring same and too small and Shaker for my taste.

Decide Which DIY Surface You Want
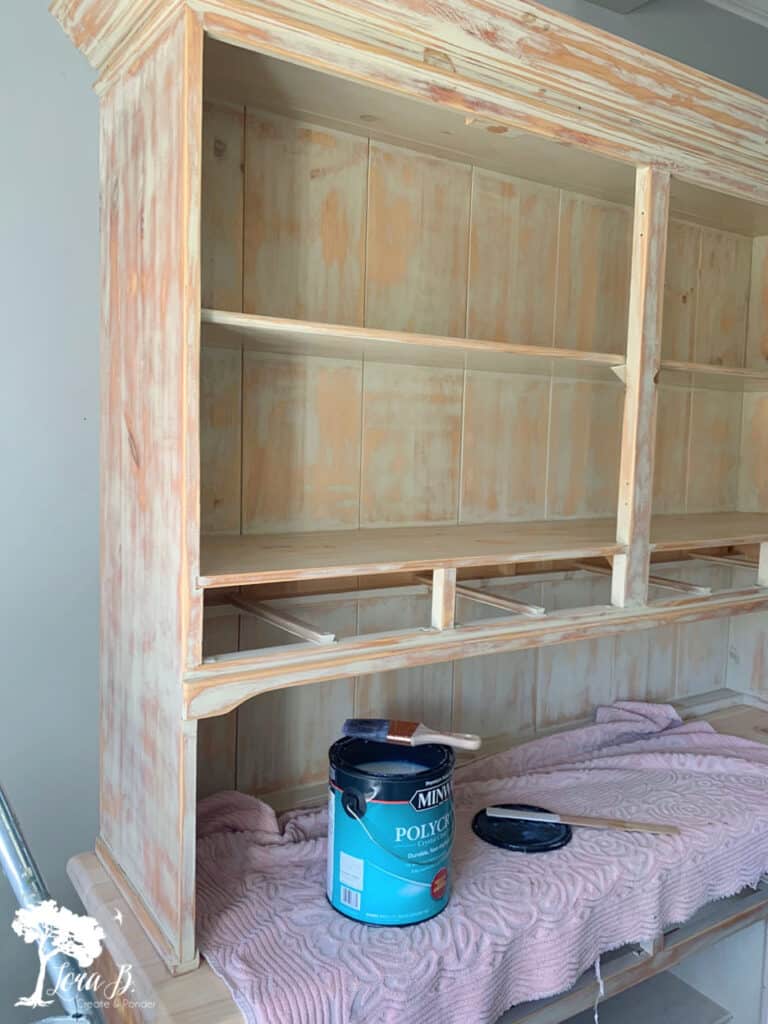
You’ve basically got 3 options when it comes to the overall surface of your hutch makeover. You can paint it, you can strip it down to the wood, or do a combo of the two. I usually decide as I go on a piece. I start by sanding, using my orbital sander and my palm sander. I like to smooth out all the rough edges the piece has gotten through the years. And see how easily the paint comes off.
As I sanded this piece, a reddish tone came out, which I didn’t know if I liked. The top of the base sanded down to the wood easily, but the rest not so much.
Decisions…do I try to strip it down completely? Should I just paint it, now that I’ve roughed up the surface?
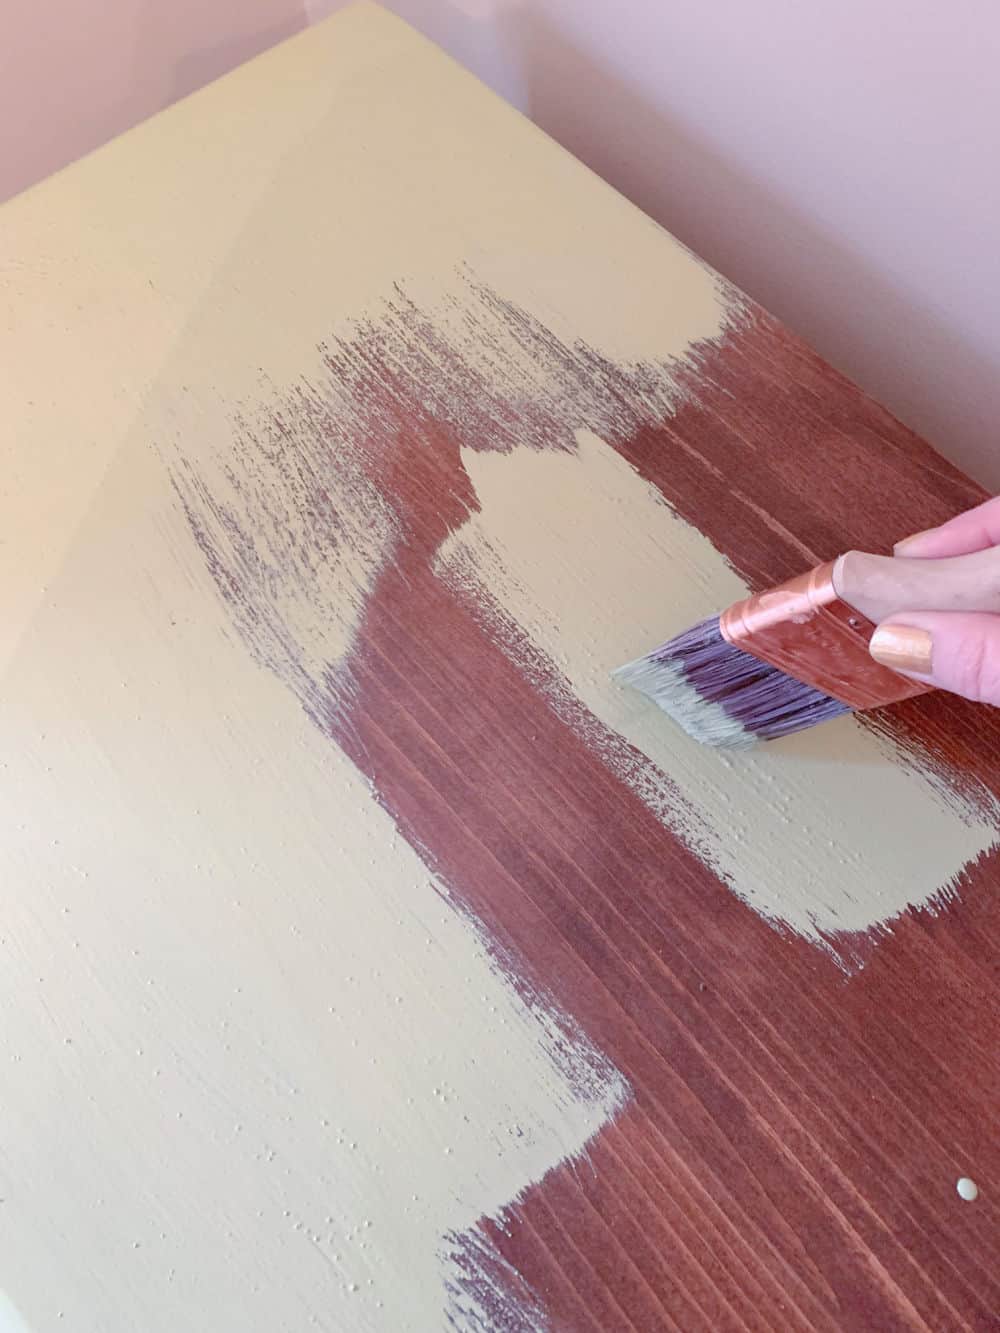
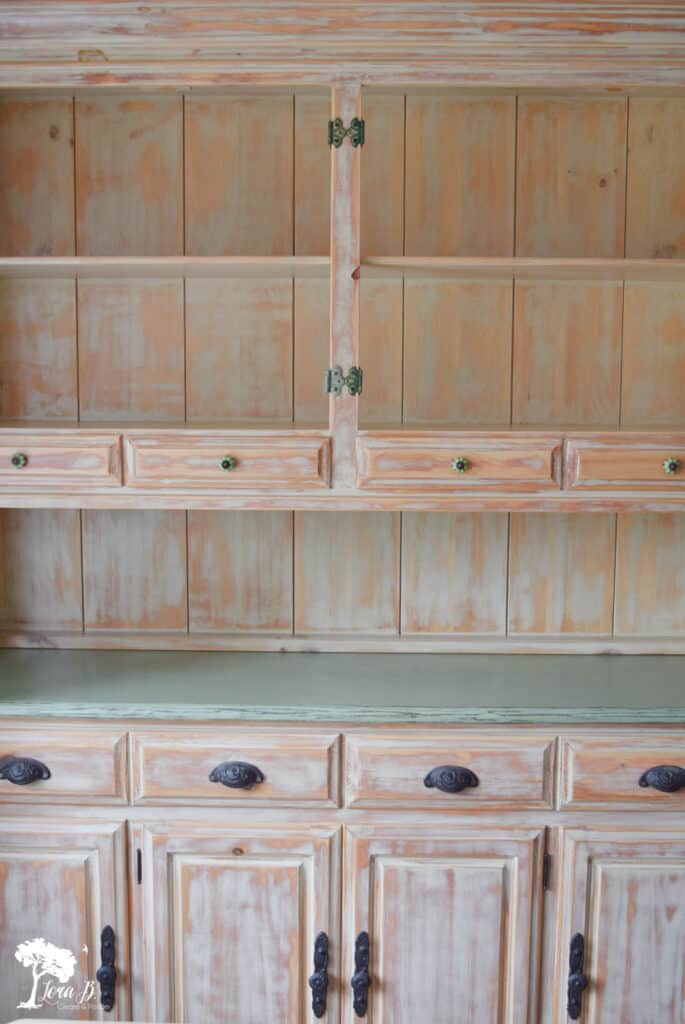
The third option is to poly the roughed up surface, which looks timeworn and Old World. And…it’s a lot easier! Using a brush, I gave the whole body of the piece 2 coats of satin polyurethane. It gave it a subtle sheen and looked similar to a terra cotta pot.

Stain and Paint Together
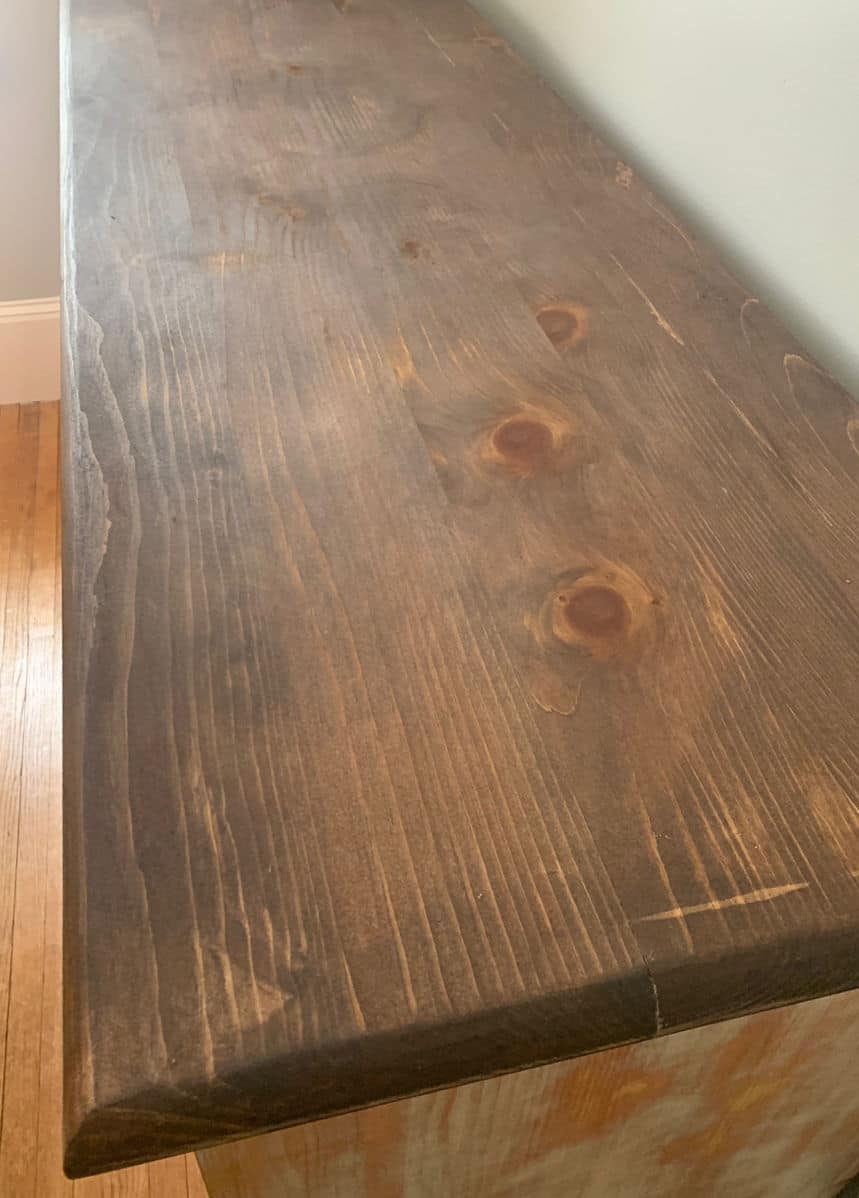
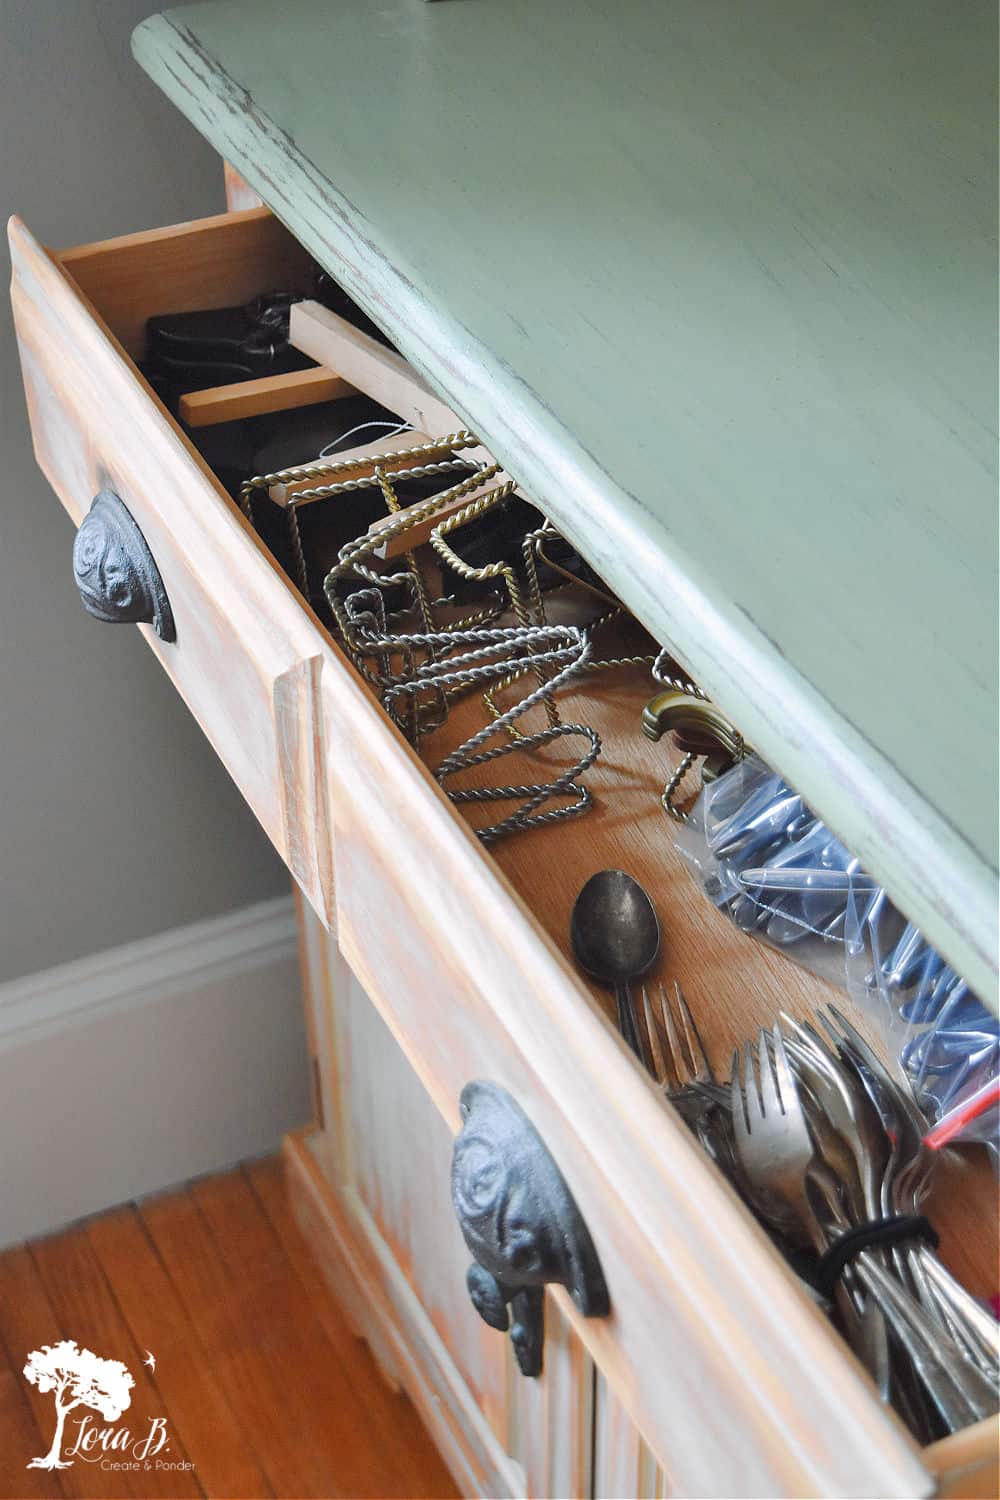
On the buffet top I started with a darker stain for contrast. But as I looked at it, it was too busy with the rest of the look. To give the eyes a place to rest, I painted 2 coats of Miss Mustard Seed’s Luckett’s Green over the stain. I distressed it lightly and sealed with 2 coats of poly. The green looks great with the terra cotta texture of the rest of the piece.
Hutch Hardware; Furniture Makeover Jewelry
Switching up cabinet hardware is the easiest way to get a whole new look for a piece of furniture. There are so many beautiful options available and you can combine new with old for unique style.
Think of knobs, handles and pulls as jewelry for your furniture. Don’t match everything perfectly and use the same option everywhere. Choose larger pieces for lower doors, medium-sized for the middle and smaller as you go up the piece. Choose a combo of different styles, but coordinate their finish and texture.
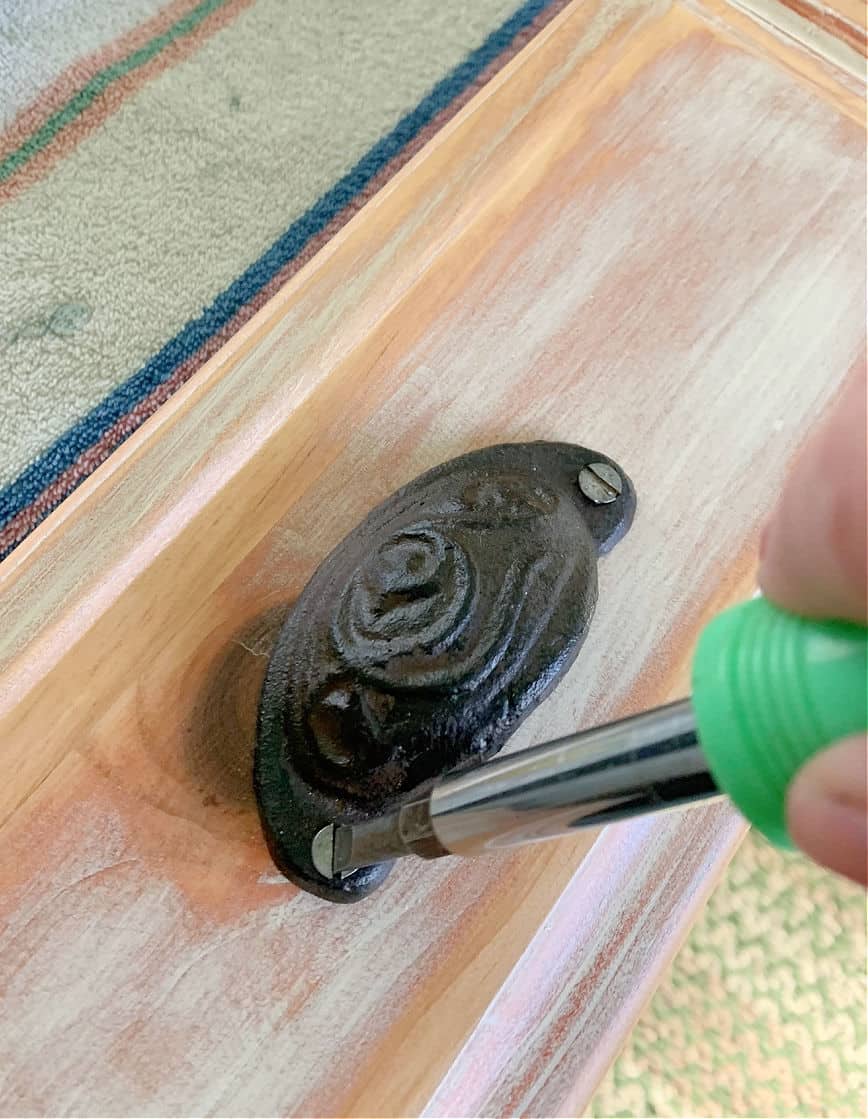
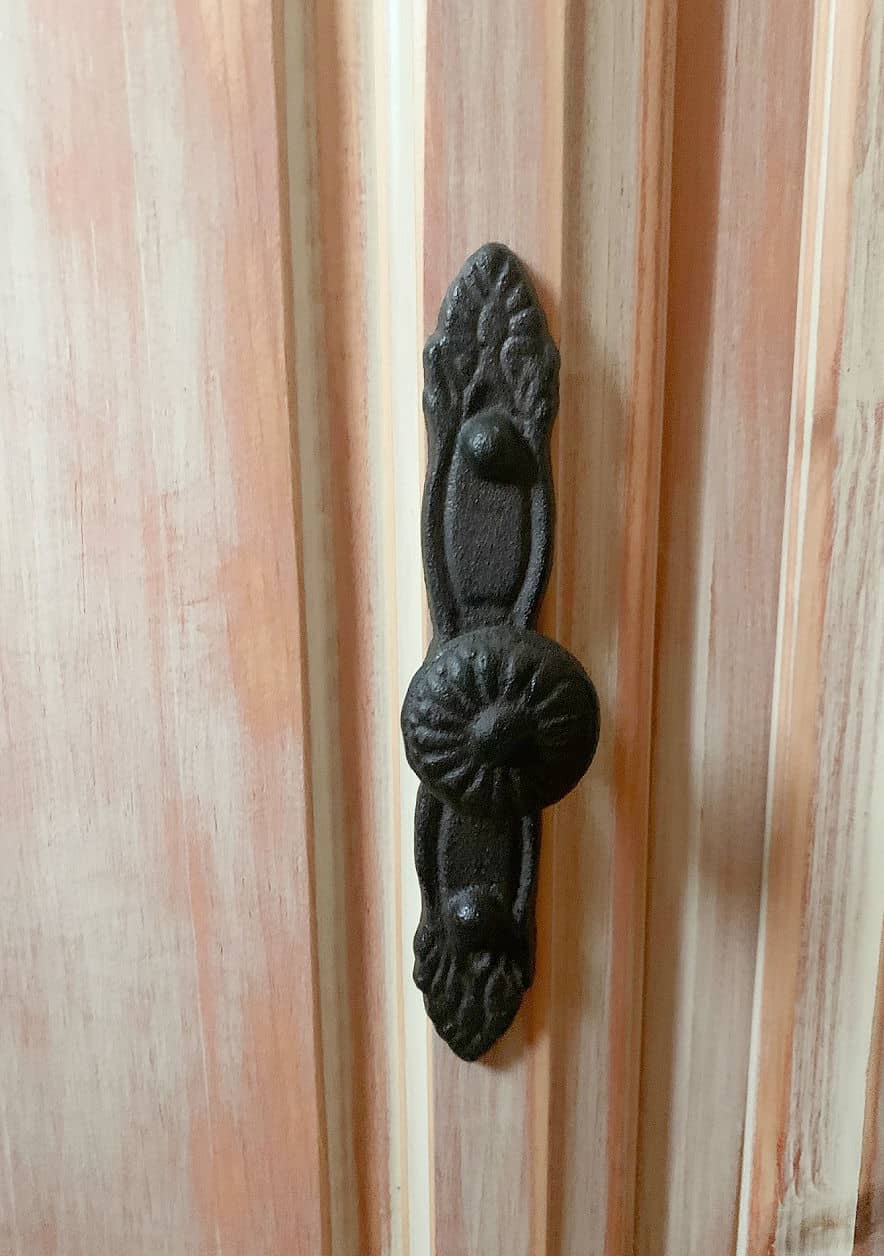
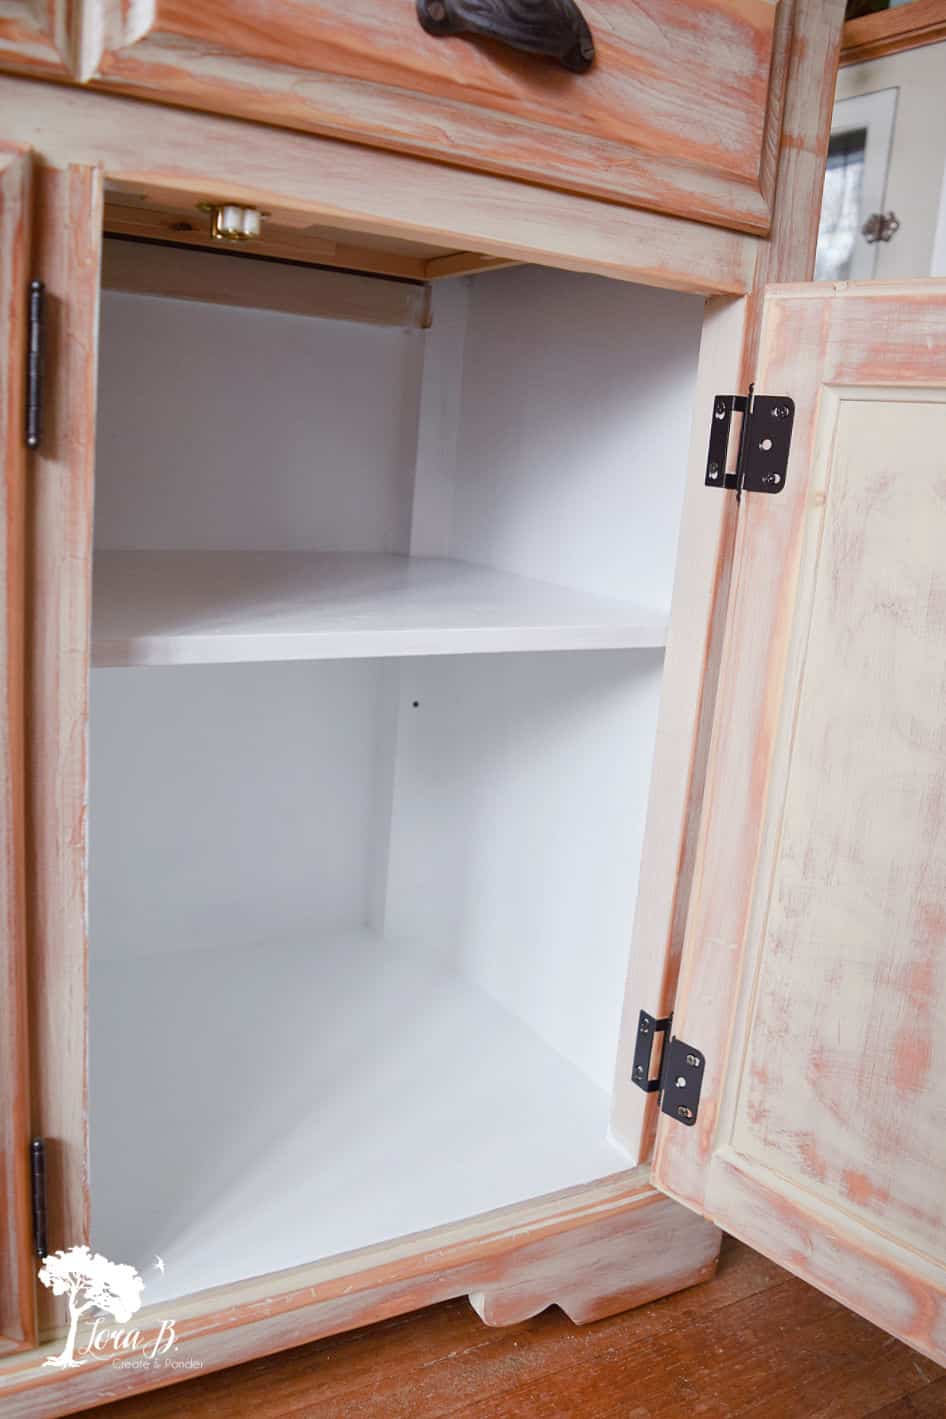
To use the old hinges that don’t match, spray paint to match the new look. I chose oil-rubbed bronze textured pulls and knobs and painted the brass hinges with similarly-colored spray paint. I even painted the screws. It’s so much easier when you can use the hinges that were already on a piece.
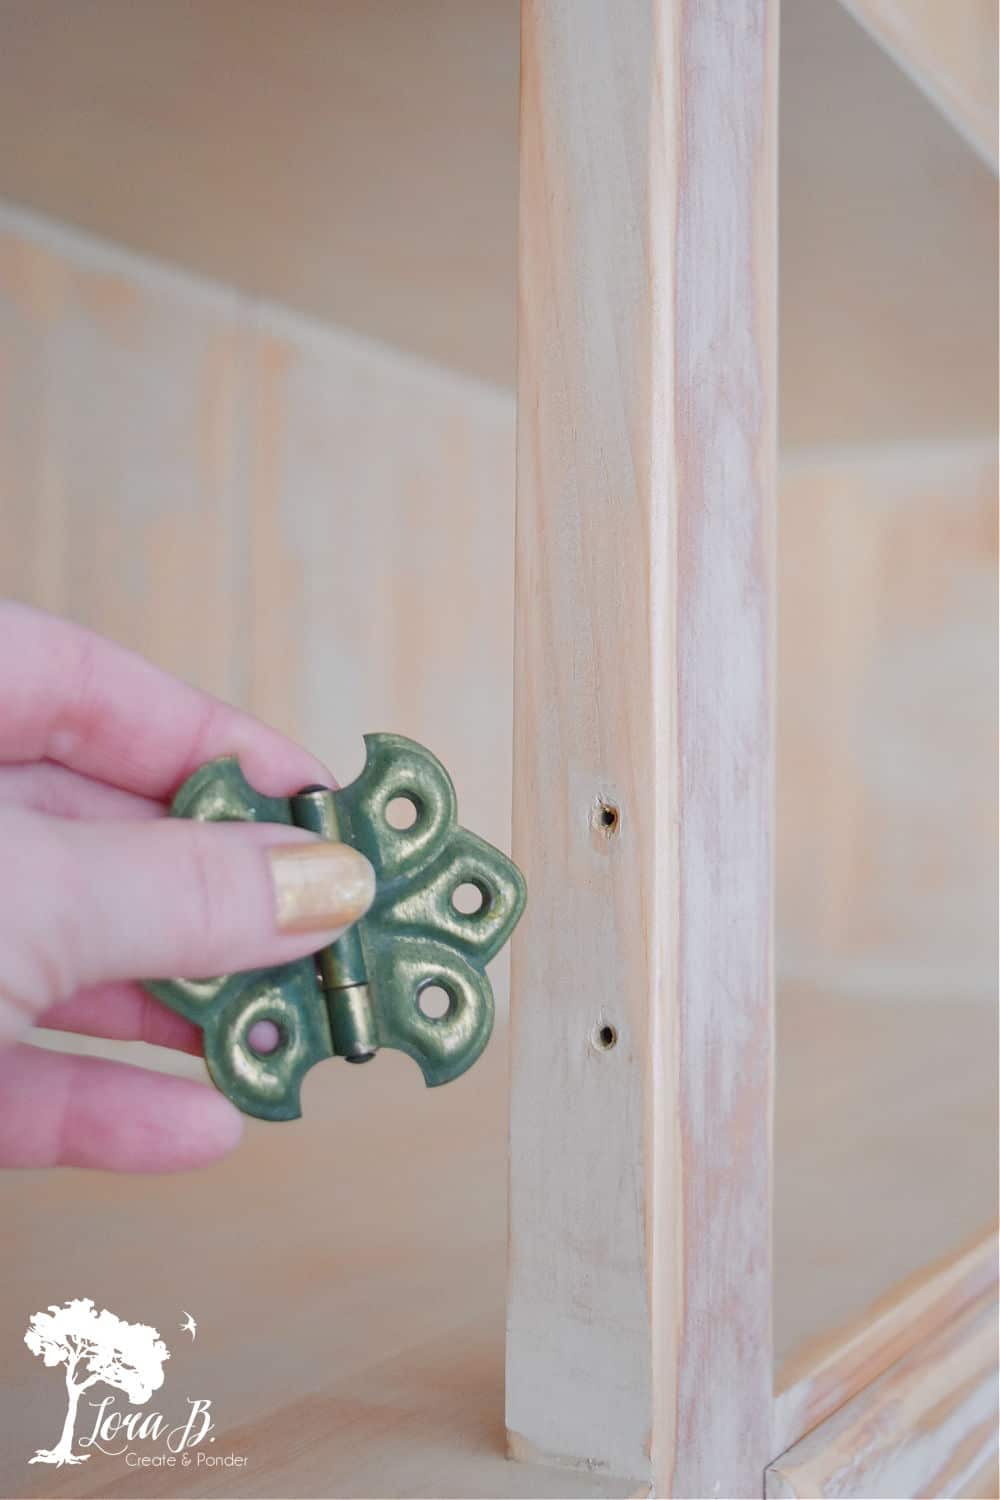
The ceramic green mini knobs inspired the green accents. To cover the holes from the upper doors, I painted gold vintage clamshell hinges with green paint and sanded them a bit. I drilled a couple more holes and added them as vintage jewelry to the top of the hutch.
Get more ideas in my post, “Best Tips for Using Vintage (and vintage inspired) Hardware”.
Revive the Inside, Too
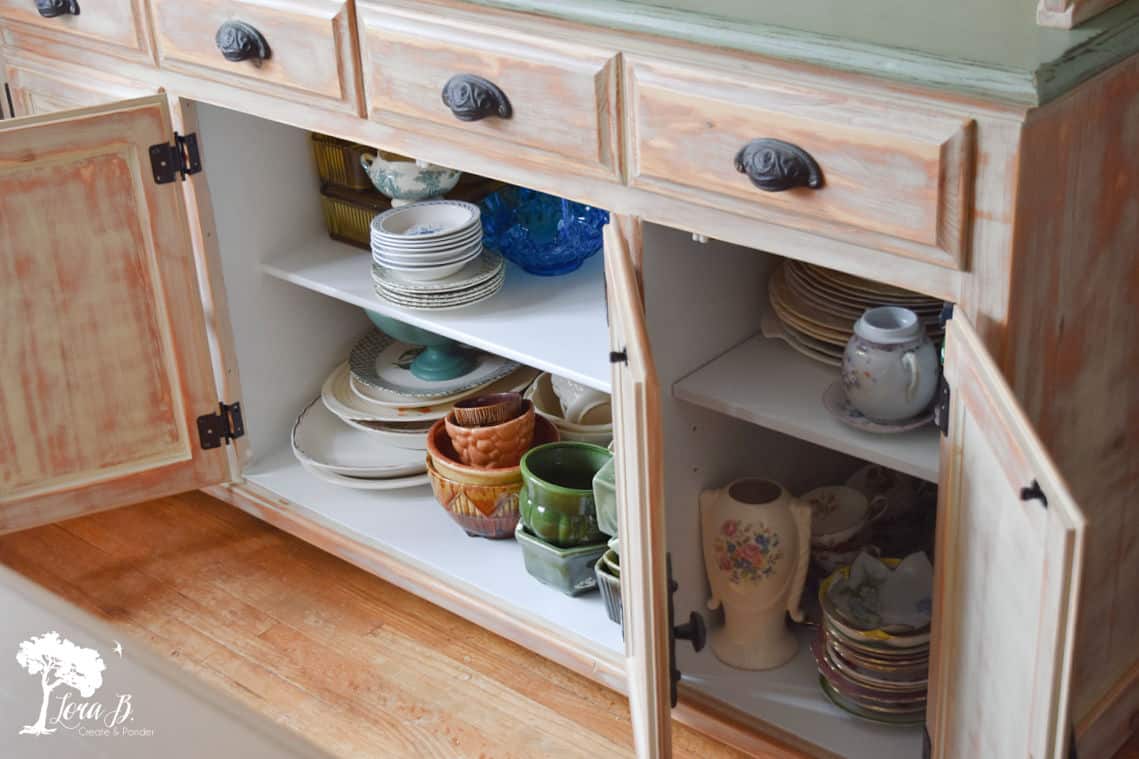
To give your hutch a refresh, don’t stop at the outside. Paint the inside, too, so whenever you pull something out of storage, you can easily see everything you’ve got. I painted inside the cupboards a bright white latex paint with a semi gloss. It smells fresh and clean and I can see what I’ve got more easily.
It’s so fun to fill up this new piece of furniture and to display the top.
Having the right pieces of furniture for your home that are sized correctly for the room and offer storage and display is such a treat. Well worth spending the time to give it a makeover, so it coordinates with the rest of your decorating style.


Shop to Get the Look
My favorite resources and items used for this project can be found in my Amazon Influencer shop, HERE.
Miss Mustard Seed’s Milk Paint Products can be found HERE. Use code 10OFFLB for discount.
Rustic bin pulls and hardware can also be found HERE.
Giving your furniture a makeover like I did with this hutch can be an inexpensive way to get a whole new look in your home. Swapping out hardware, painting, or even sanding can give your furniture vintage style.
Thanks for reading DIY Hutch Makeover (with Vintage Style). If you enjoyed your visit, become an Insider to keep the ideas flowing!
Pin, share, and enjoy the rest of the inspiration!

Thrifty Style Team
Redhead Can Decorate, “Thrift Store Milk Glass Flower Tower”
Our Crafty Mom, “DIY Wooden Carrots From Repurposed Spindles”
DIY Beautify, “5 Must Make Easter DIYs”
Postcards from the Ridge, “Free Antique Ginger Jar Printable Art”
2 Bees in a Pod, “Wicker Bottle Centerpiece”
The How To Home, “Bead Garland Tag DIY”
I Should Be Mopping the Floor, “11 Uses for a Vintage Creamer Pitcher”
The Tattered Pew, “Scripture Eggs”
Cottage on Bunker Hill, “7 Pretty Cottage Style Easter Decorating Ideas”
My Family Thyme, “How to Decoupage a Pretty Planter”
Songbird, “Easy DIY Wood Bead Bunnies Easter Decor”
Amy Sadler Designs, “Chinoiserie Lantern”
WOW – what a gorgeous transformation! Love the green top and open cabinetry!
Thanks! Enjoyed decorating it for Easter:)
Lora- This turned out AMAZING!! I love this light wash you used…so pretty. And the way you left the hinges on the top areas is fabulous. I’m making note of these ideas for my two old hutches that are in need of some TLC! xoxo, kristi
Thanks, Kristi! Lucky you for having 2; I’m jealous!
Lora! You did such a beautiful job on this… what a gorgeous piece of furniture. Your decorating put me in the mood for Easter!!
Thanks, Julie!
This blog post couldn’t have come at a better time! I was trying to choose hardware for my new kitchen and when I saw the green knobs I decided to go for it! I usually play it safe and stick with standard everything but it’s my forever kitchen so I thought, “Why not!?” 🙂 I just ordered them through your blog today.
I’m so excited for you, Stef! You’re going to love them:)
Ooooh, I really like what you
Did with this hutch!! Now I’m itching to refinish something…
I love doing furniture makeovers; can’t wait for the next one!
Lora, this is such an amazing transformation and you have it styled so beautifully! Happy Spring, my friend!
Thanks, Lynne!
Laura, what a great find! I love the way you gave it a new look. And I can’t wait to see how you style it for each season.
Always love to see how you beautifully style yours each season, Angie!
Lora this turned out perfect! I love Miss Mustard See’s milk paint and the color you chose. It’s just what the hutch needed for a fun pop of color! Pinned this beauty! Oh, and you decorated it beautifully too!
Thanks, Kelly!
I love how you made over your hutch. It is super cute and thanks for the diy on how you did it.
Your welcome, Marlene!
I love what you did ! I love using milk paint too! It’s amazing what a little paint will do!
Milk paint is my favorite:) Thanks, Amy!
I love how it turned out, Lora!!! Those green aged looking hinges are amazing and you have it styled so nicely. Beautiful job!
Fun to get the work done and get to decorate it for Easter!
This is an absolutely gorgeous transformation, Lora! The end result is beautiful. xo
Thanks so much, Mary Beth!
I love your hutch makeover Lora, I’m a sucker for all the storage in a pretty hutch! And your vintage Easter decorations are styled to perfection!
I’m so happy with all the storage! And it’s the perfect size for the room:)
I love the finish you created on that hutch. Wonderful makeover! Pinned.
Thanks, Marianne! Sometimes you’ve got to go with the flow;)