
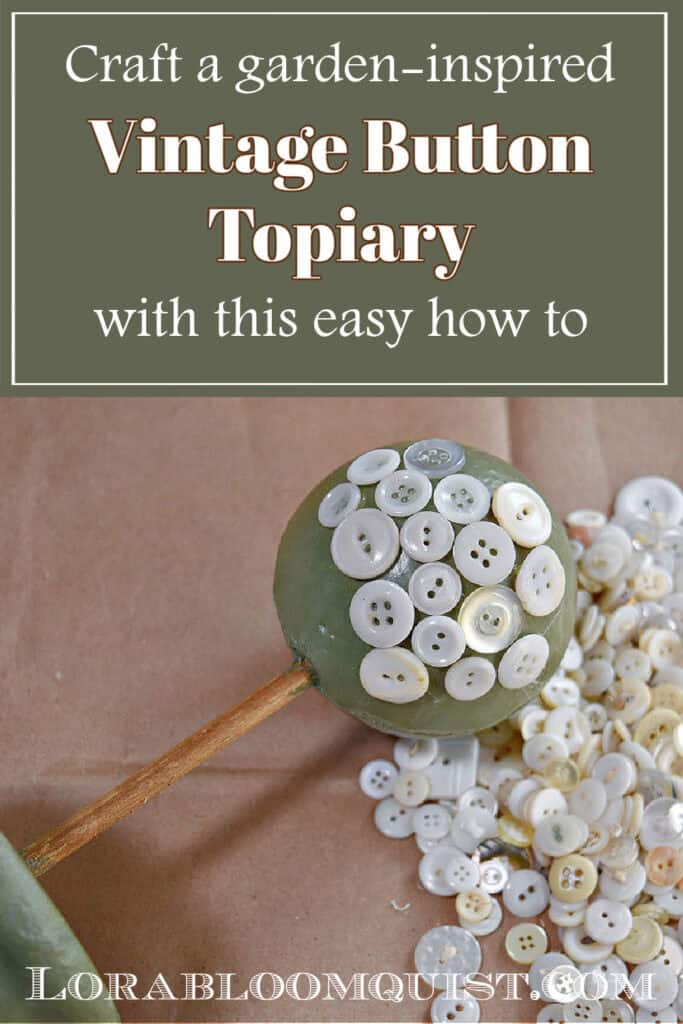
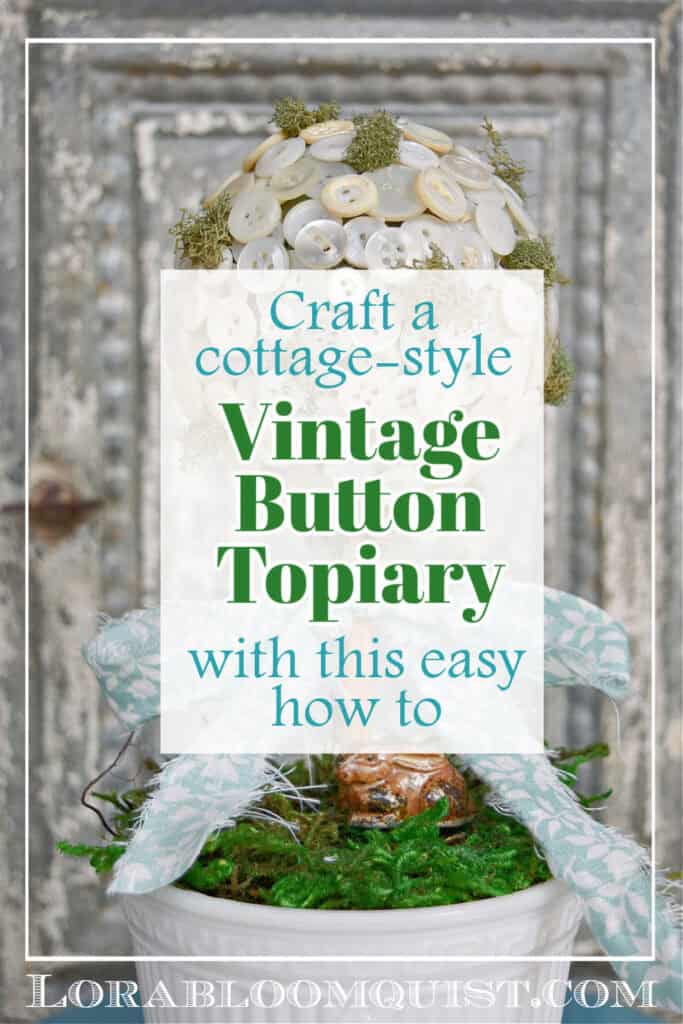
Cottage Cute DIY Vintage Button Topiary
Craft this easy vintage button topiary for cottage inspired decorating style. This simple dIY can be color coordinated to your decor style or party theme.
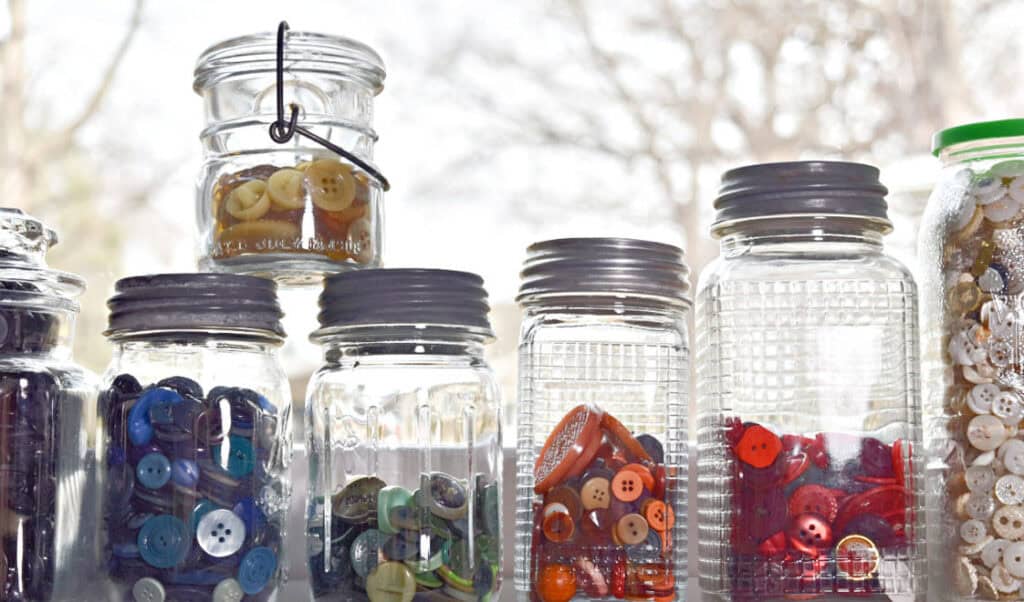
Vintage buttons are such a fun find when you’re thrifting. Back in the day, resourceful women kept every last button from an old garment; it was handy to have a collection when needed for a repair. When I spot a glass jar or bag full of old buttons for a decent price, I scoop them up and add them to the collection I inherited from my Grandma.
Crafting with Vintage Buttons
A collection of vintage buttons can be used in so many ways. Yes, they look beautiful stored and displayed in glass jars in your craft room. But when I picked up a couple of topiary forms from a church sale, I came up with the idea to make cute cottage-inspired topiaries, using old buttons. Here’s how to make a Cottage Cute DIY Vintage Button Topiary.
Cottage Cute DIY Vintage Button Topiary
For your convenience, this post contains affiliate links. If you make a purchase, I may receive a commission. There is no additional cost to you. “As an Amazon Influencer, I earn from qualifying purchases.” My full privacy policy is here.
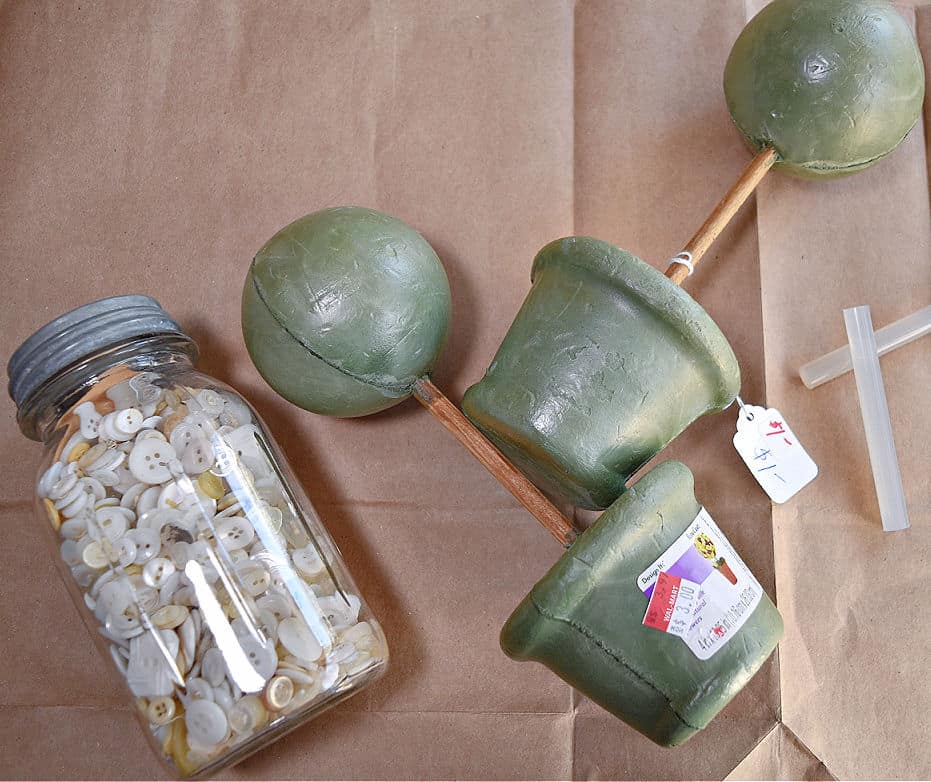
Materials Needed:
Styrofoam topiary form (hard to find online; I thrifted mine. Can also make your own with floral foam, HERE)
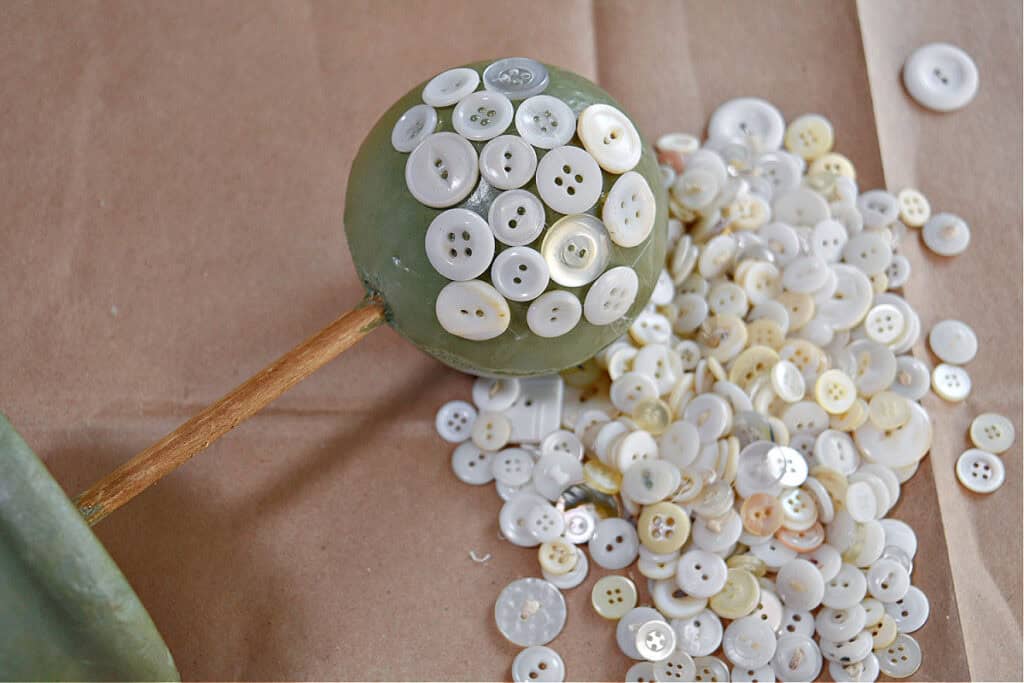
Attach Old Buttons to Topiary Form
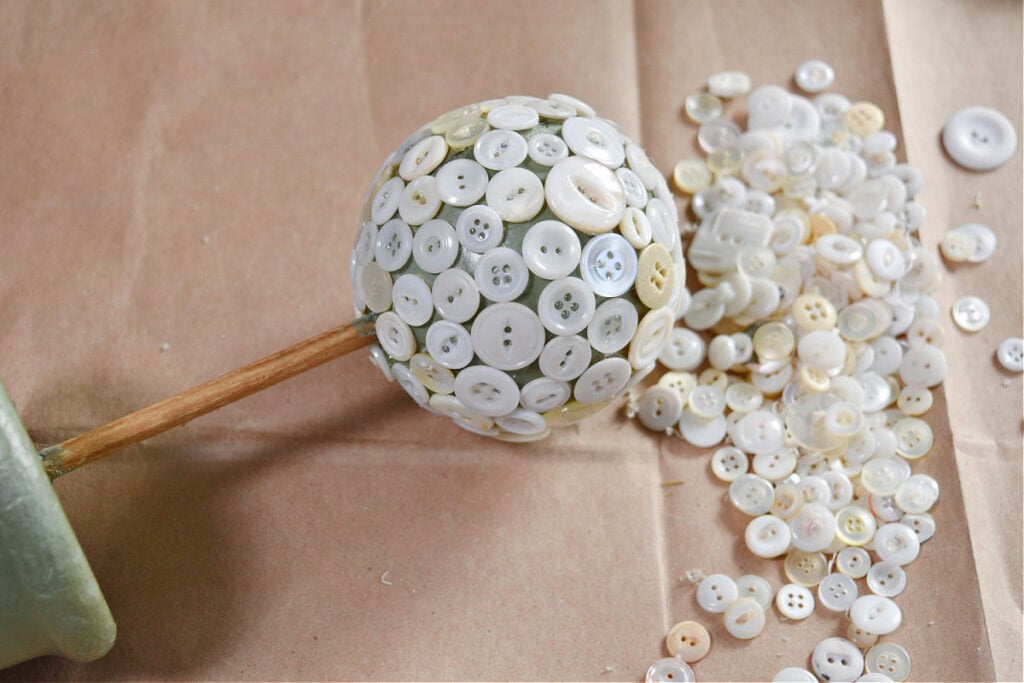
Hot glue buttons one by one all around the topiary form sphere. They should be laying flat next to each other, as close as you can get. Don’t worry if there’s a little green showing in between.
Add a Second Layer of Buttons
Once your first layer of buttons is done, begin adding another layer on top. Glue the second layer on the spaces left by the first layer. Your sphere will be getting heavy with all the buttons! You will have glue strings all over the place, but don’t worry…you can eliminate those later:)
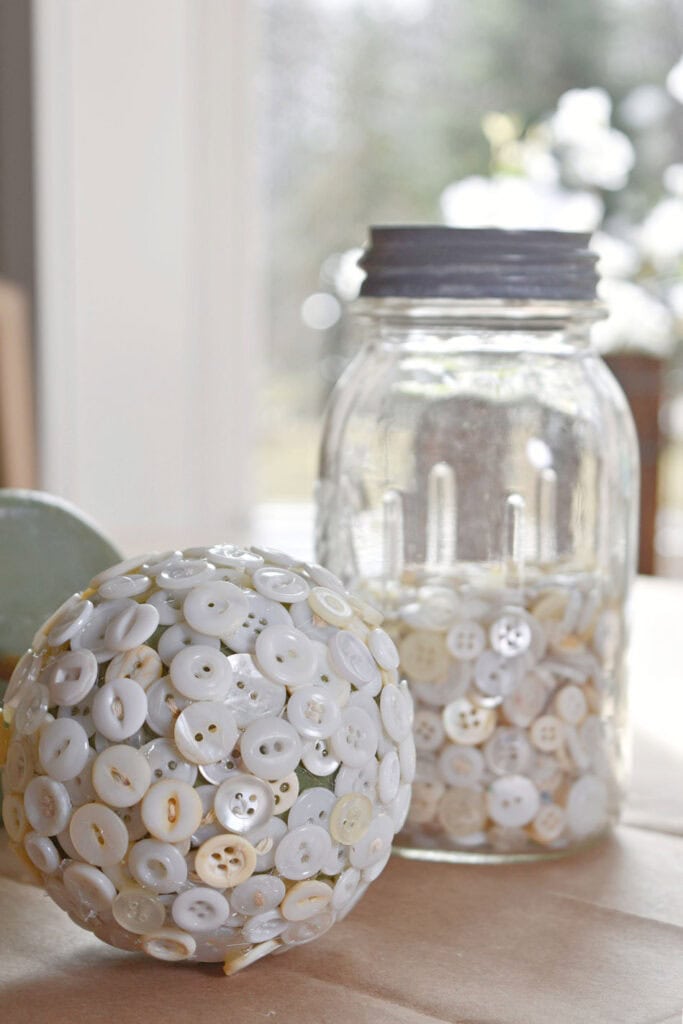
Now you’re going to ask, “How many buttons will I need?” Oh boy. Remember those old baby and wedding shower games when you had to guess the number of something inside a container? I was always horrible at that guesstimate. I used a couple inches of buttons from my ball jar…how’s that for exact?
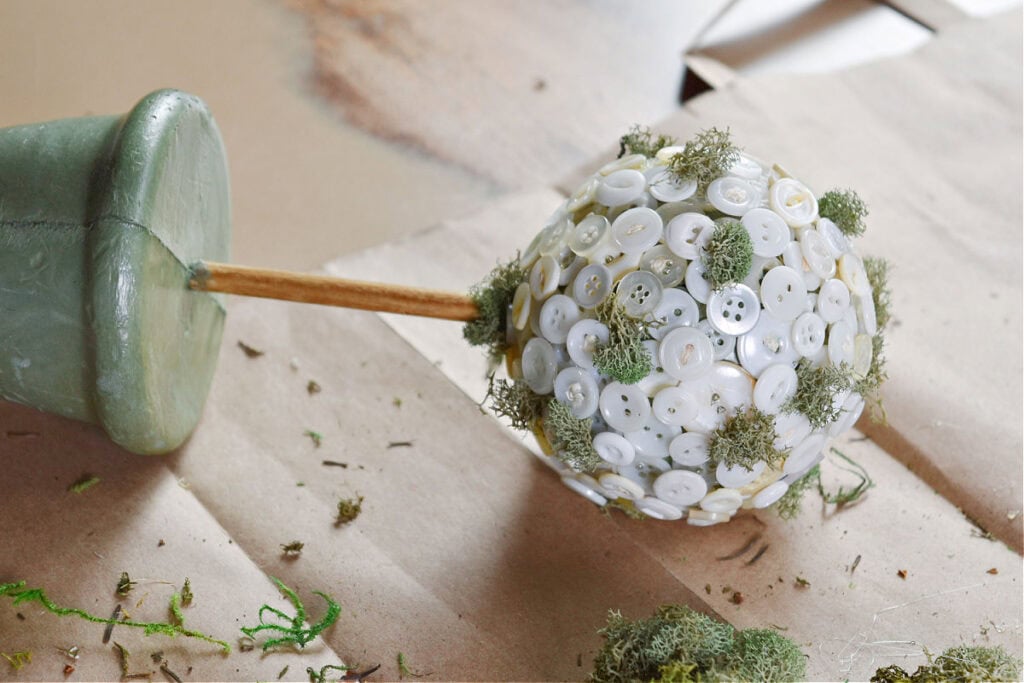
Add Lichen or Moss to your DIY Button Topiary
There will probably still be spots of green showing in spaces between some of the buttons. To add another texture, glue tufts of lichen or moss in spots around the sphere.
Lastly, Melt Your Glue Strings
The last step of any hot glue project is to get rid of those pesky glue strings. Grab your hair dryer and melt away any strings that are showing. You’ll feel so much better about your project after you’ve done this final step!
Place Your DIY Vintage Button Topiary in a Container
Place your DIY Vintage Button Topiary in a container. A terra cotta or ceramic flower pot would be cute. I placed mine in a milk glass vessel. Add moss on the styrofoam base with metal U-pins or hot glue.
You can also add a ribbon to the trunk of the topiary to coordinate with your decor or party theme. Mini animal or insect figurines can also sit at the base. I used an old terrarium bunny figure. You could also have a faux butterfly land at the base.
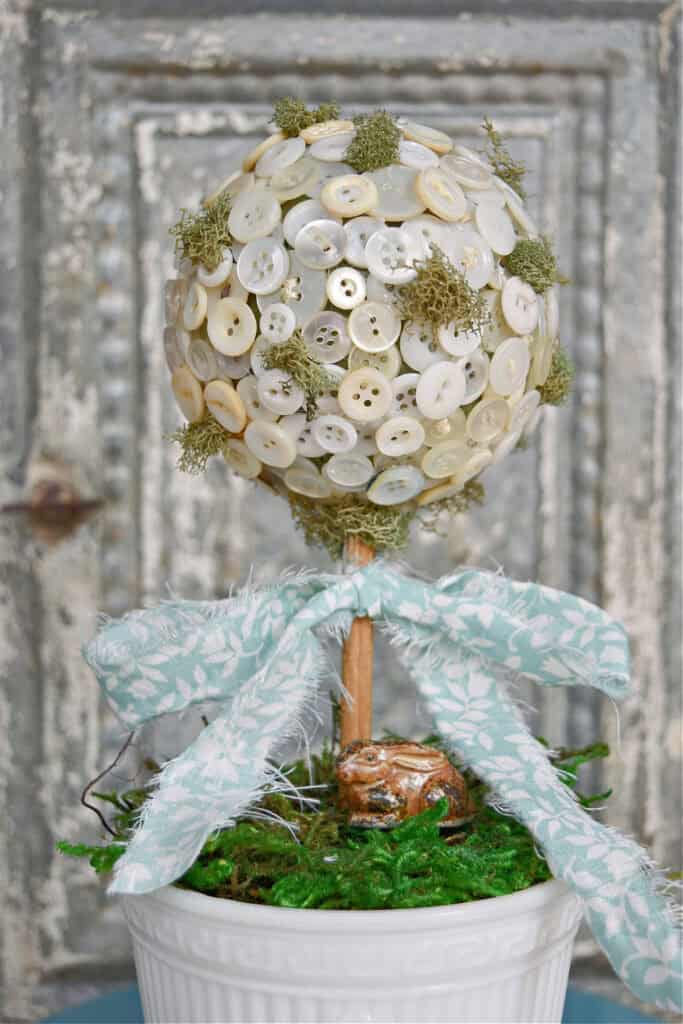

Don’t you love how cottage cute it is? I love easy little craft projects like this where you can repurpose and upcycle something that was utilitarian into charming decor. A grouping of these DIY vintage button topiaries in different shapes could be a wonderful centerpiece for a bridal or baby shower, or even for Easter or Mother’s Day. And you could get a totally different look with different colored buttons, too.
For more creative DIY craft ideas, see HERE.
Thanks for reading this Cottage Cute DIY Vintage Button Topiary post! If you enjoyed your visit, be sure to Become an Insider so I can send the ideas right to you! You can Sign Up HERE.
For more ways to use and sell vintage buttons, be sure to check out the ideas from my Thrifty Chicks friends down below!
pin and save


- “Button Easter Egg”, Little Vintage Cottage
- (no longer seen)
- Me;)
- “How to Display and Sell Vintage & Antique Buttons + Free Printables“, AdirondackGirl@Heart
- Fun DIY Button Card Projects, Itsy Bits and Pieces
- “Button Flowers Pillow Makeover”, Color Me Thrifty
SUCH an adorable idea, Lora! I love your creativity!
Thanks, Julie!
Pretty buttons present endless possibilities, don’t they? I love your topiaries! Thanks for sharing at Vintage Charm!
Yes, buttons are a wonderful crafting staple!
I have a jar of buttons I received as a sweet gift from my youngest brother when he was a tween and I cherish that jar of buttons because we lost him too young. I love your pretty button topiary, Lora! What makes yours unique is adorning it with moss and the pretty white container embellished for Easter. You got me thinking about my cherished jar of buttons. Instead of hiding them away in my sewing cabinet, maybe they should be used in some way, like adorning a picture frame with a photo of him. Thank you for the inspiration, Lora! xo
Those buttons are extra special, Marie! You should definitely have them out somewhere to remember your precious brother.
Your topiary is lovely Lora! Such a great way to repurpose buttons. Love that sweet little bunny too.
Thanks, Tuula! I could totally see you doing this with your favorite colors and your huge button stash!
This is just Lovely! Thanks for the hair dryer tip. i do not often use hot glue but I will do more now that I know that trick!
Hot glue is so handy, but the burned fingers are not fun; happens every time:( Glad you learned a new trick, Molly Jo!
Great project, Lora–perfect for spring decorating. Love your darling bunny and thanks for the hair dryer tip for getting rid of stray hot glue strands 🙂
Glad you learned a new tip for your already-full arsenal, Diana!
What a great idea, Lora! I love the idea of table centrepieces for a wedding, bridal shower, etc. And you know what, I never knew the blow dryer trick to melt the stings of glue. Thank you for sharing that!
Thanks, Sheila! Glad you got some ideas and learned a new trick!
This is such a fun and charming project, Lora…perfect for spring decor, and I love your idea for party or shower centerpieces!
They’d be so pretty for a spring bridal shower. Glad you enjoyed them, Linda!
Its adorable Lora! I always sucked at those guessing games too… I guess 657…nope its 25! ?
Tania
L.O.L., Tania!