
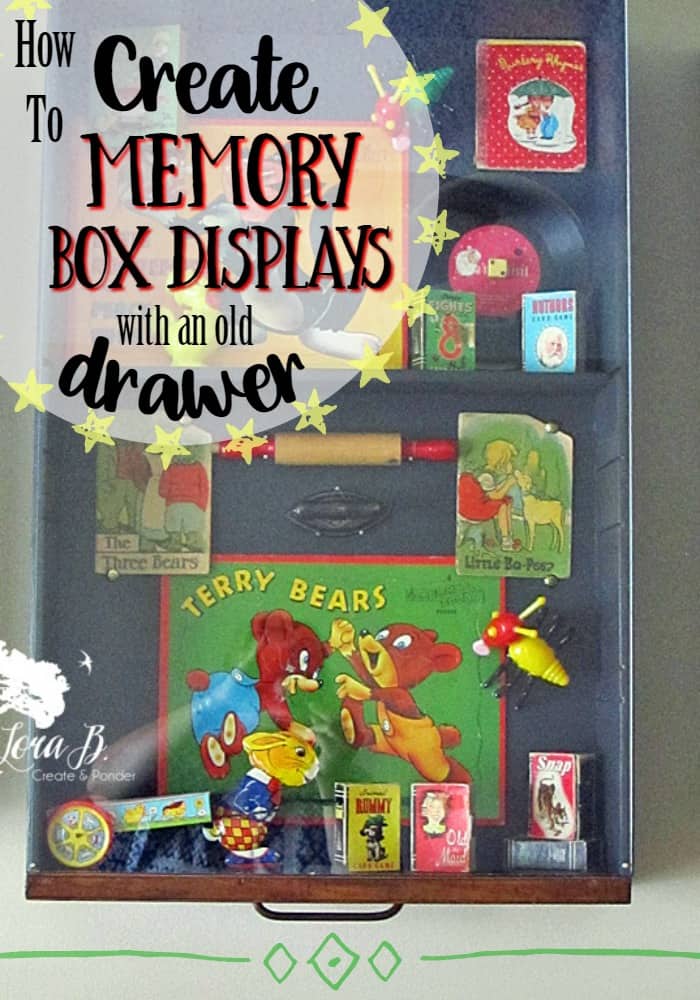
How To Create Memory Boxes from Old Drawers
This week I encouraged you to “Transform Your Memories Into Something You Love”. It’s just sad to let your sentimental items hibernate in a closet or box somewhere. With a little creativity, you can take your vintage memories and repurpose them in a fresh way to be enjoyed all the time! Today I’ll share a project I did a while back using a collection of old drawers to display family heirlooms.
My client was frustrated with the fact her family memories were hiding away in closets and boxes. She wanted to enjoy them on a daily basis, but not have clutter and dusting all over her house. Her initial attempt at this project involved purchasing some store-bought memory boxes, but as we quickly realized, they were not deep enough for the precious items she wanted to use.
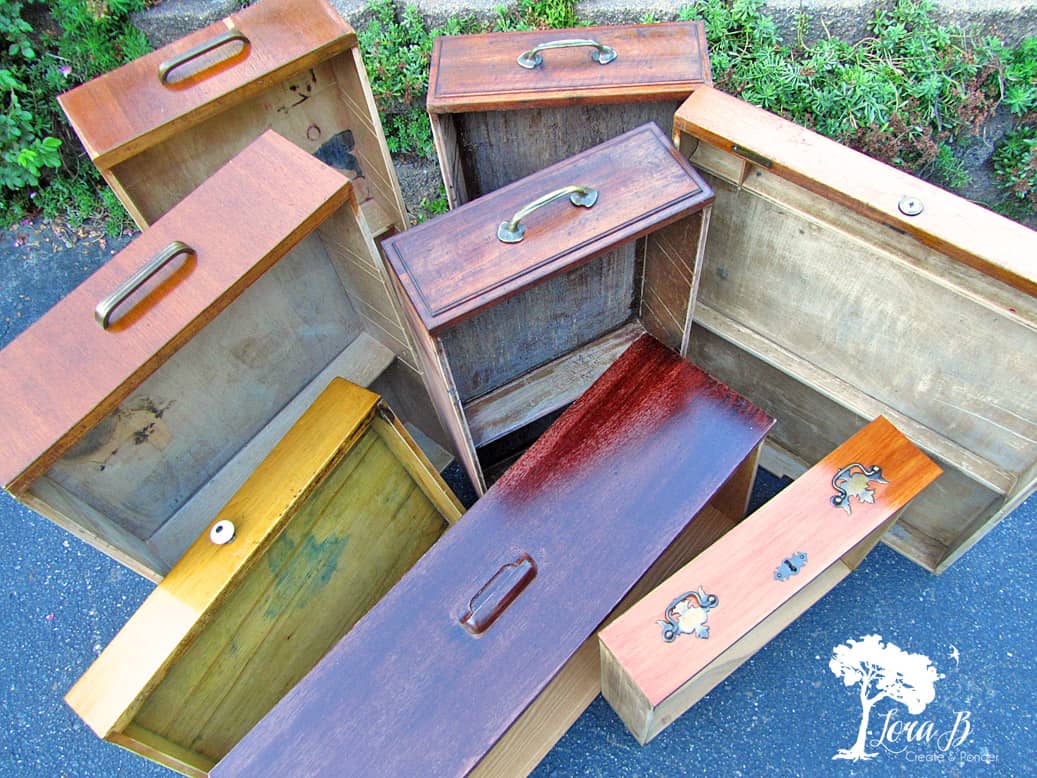
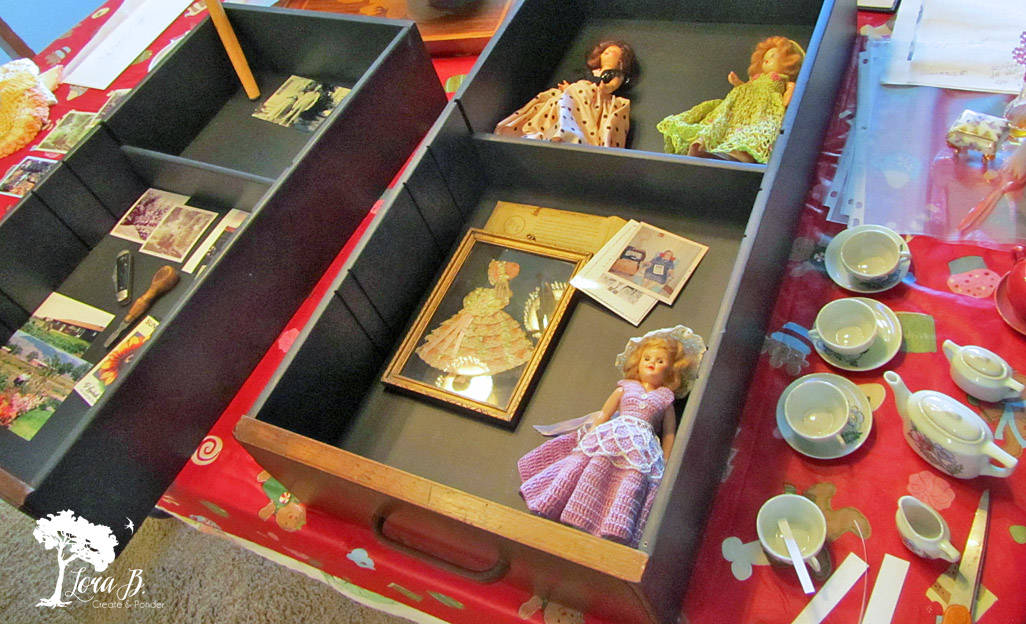
The first step is to gather all the items to display and group them into “like” piles.
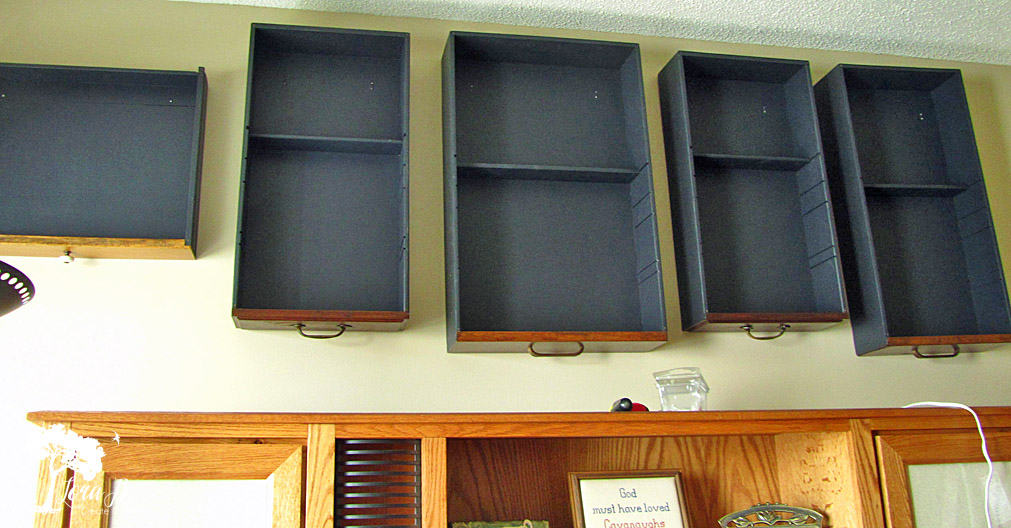
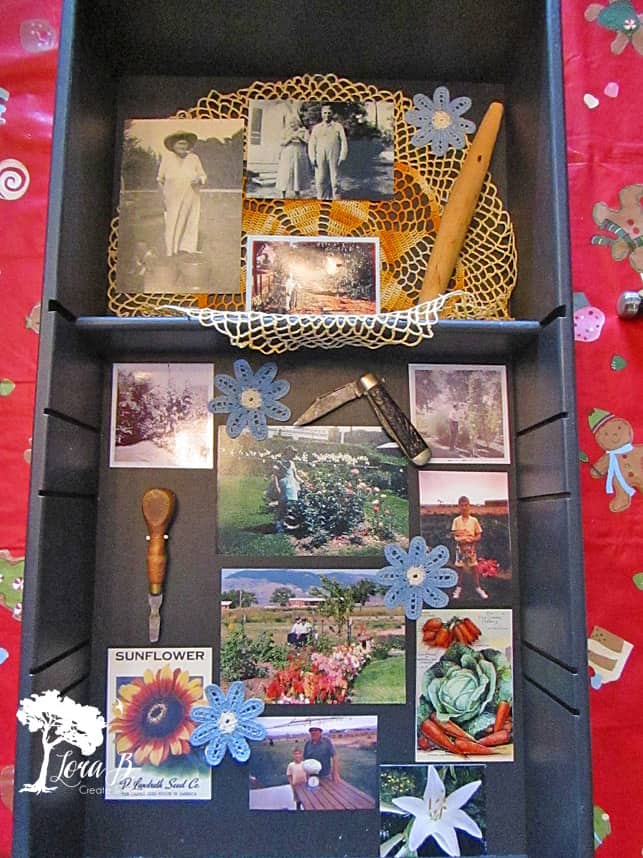
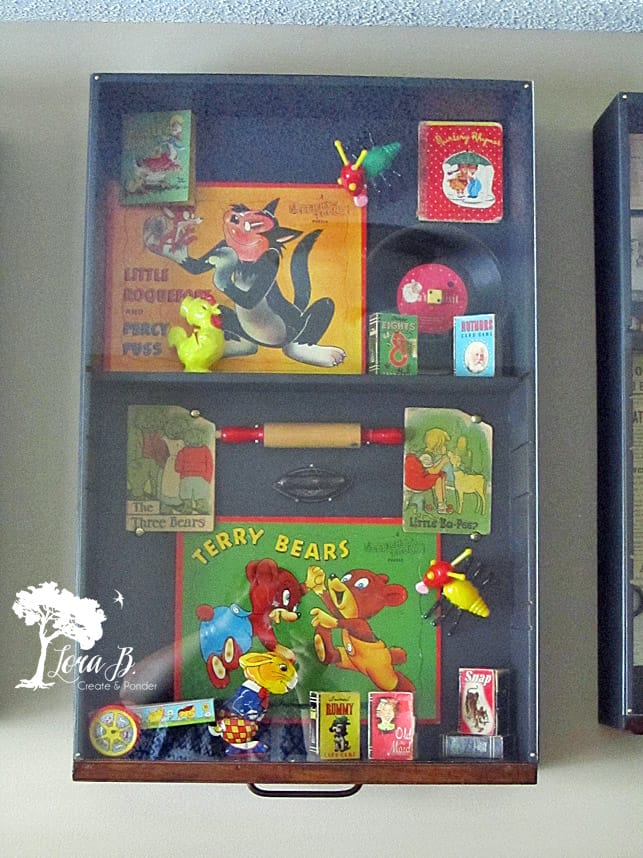
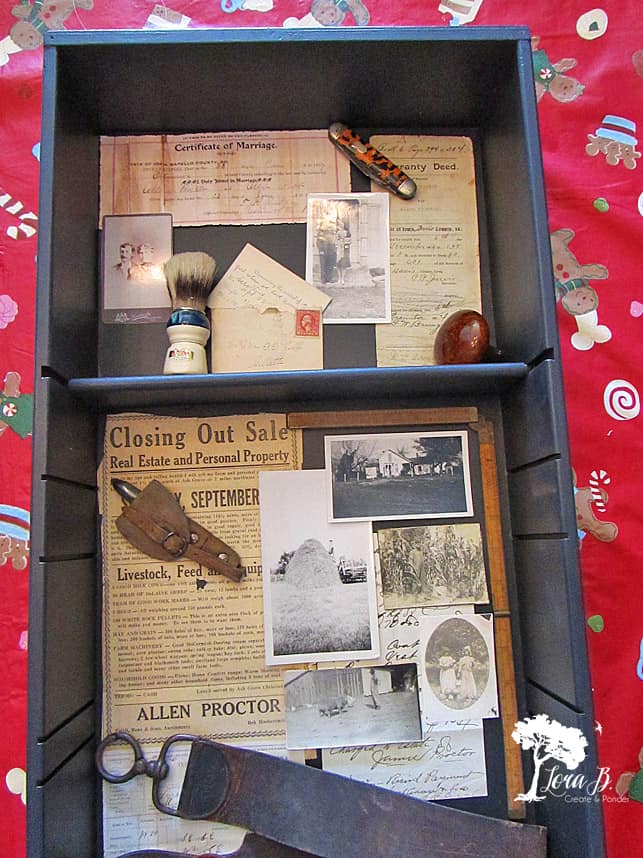
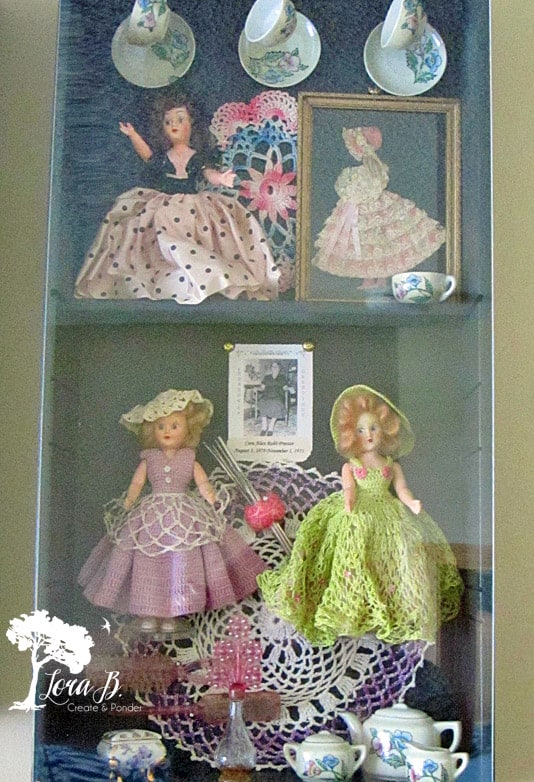
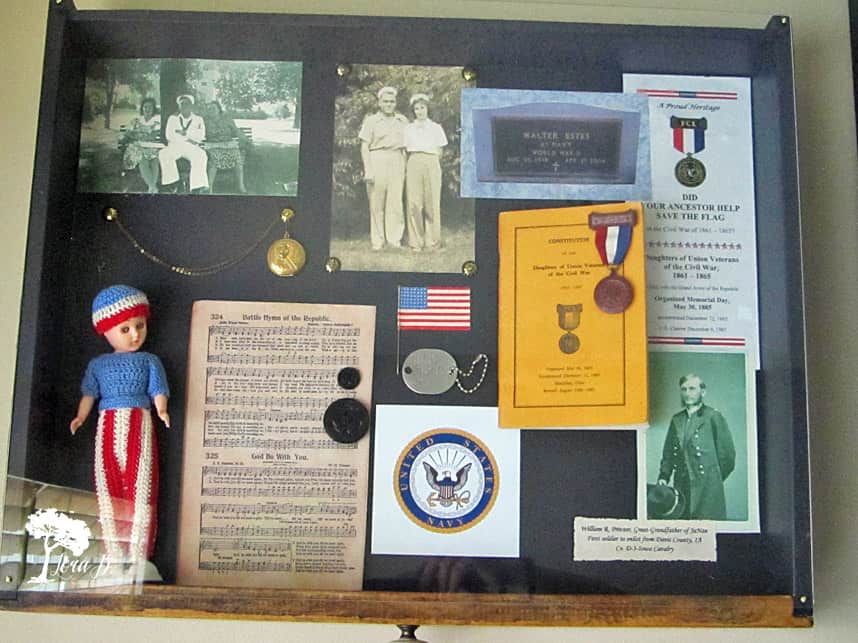
We came up with 5 groupings: the family farm, her Dad’s garden, vintage toys, dolls, and Americana. The items were all shapes, sizes and textures. In deciding which of my drawer collection we should use, we took into account her style and also the depth and size of the individual drawers. I took the 5 drawers we decided on back home, tightening them up and painting the insides and sides black, so the collections would really stand out, like a museum display. I left the finished ends intact with their original hardware to further embrace the realm of generations.
With D-hooks and wire attached to the back and a sleeve to place history notes, we placed the drawers where we wanted them above a large desk. Having real wood to screw and nail into is such a bonus!
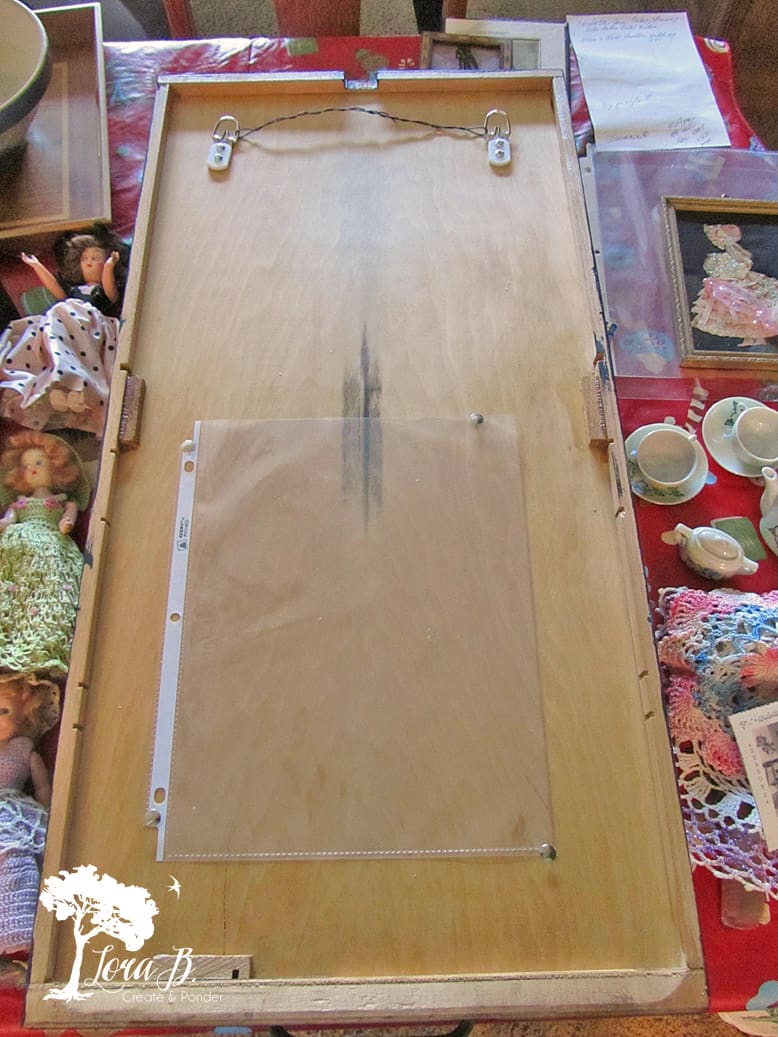
Because she didn’t want to be a slave to dusting, she took the drawers to Lowes, where they custom cut plexiglass to fit the top. At $10 each, it wasn’t free, but gave these archival-type displays a museum quality that can be enjoyed for years.
Before arranging the items, we drilled small holes in the plexiglass and the drawer edge for small brass screws:
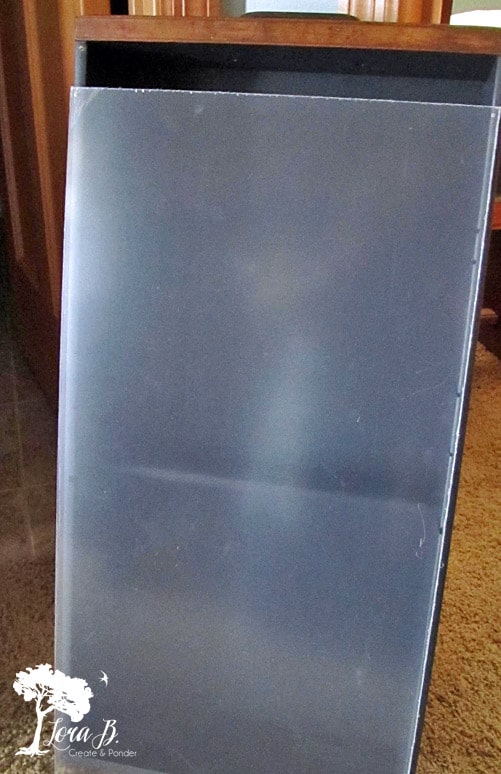
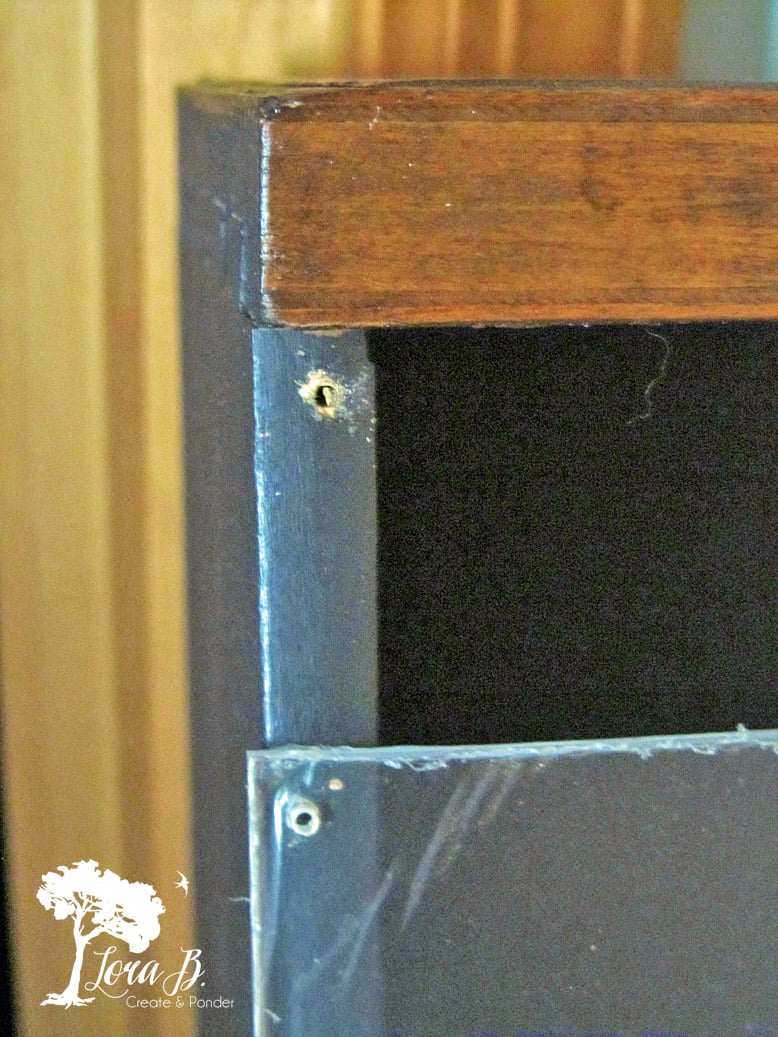
As you can see, we waited until the last minute to take the protective covering off the plexiglass.
Now to arrange all the precious memories!
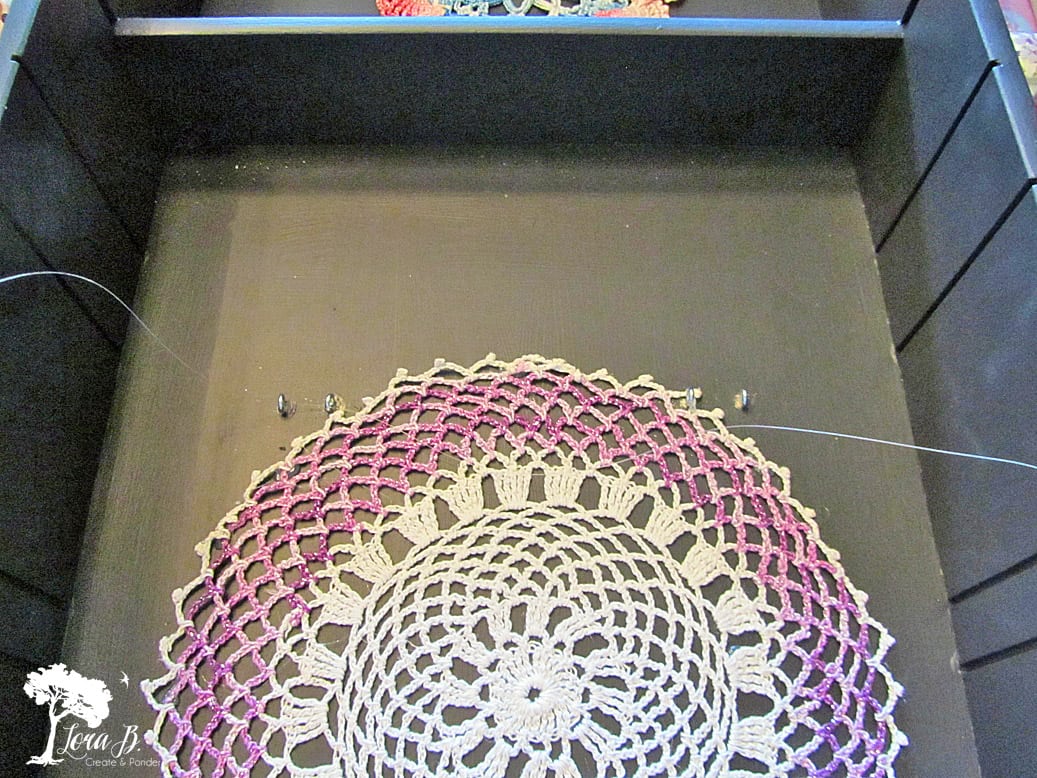
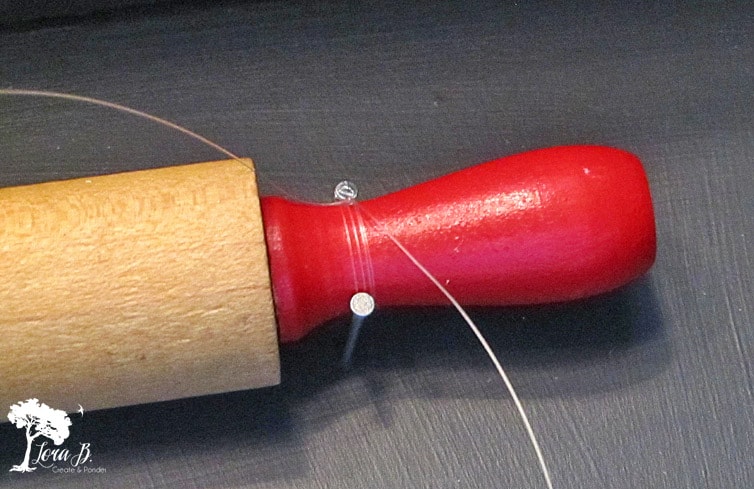
Because the drawers were wood, attaching all the items was much easier. I used a variety of small nails, cup hooks, and eye hooks combined with fish line to attach the larger, deep items. I used decoupage medium to adhere the photos and the paper ephemera. I used hot glue to adhere the doilys that were in the background and used stronger E6000 for the heavy items, giving them a day or so to dry.
Some of the drawers had shelves, which added to the display possibilities.
Lay out your display plan first and then take a picture with your phone before you start adhering anything.
Each memory drawer becomes a work of art in itself! The drawers all had their own personality by the time all the elements were layered.
Add some new, store-bought items to the displays to carry through the theme.
Don’t feel bad if you need to add a couple new items to the display for some extra color or texture to fill out your theme. Some seed packets or some fake veggies would add to a farm theme; a few fake blooms would look cute with the garden photos.
Adding enough 3-D elements to the flat items is essential for an appealing overall look.
Here’s how they all turned out, some with their plexiglass covers on, and some without:
Upholstery tacks added a nice finishing touch and add to the antique look.
Hope this inspires you to get your sentimental mementos out of storage and put them into an appealing display to be enjoyed! It’s a fun family project to do together, reminiscing over old stories and sharing your family history. Put any other notes or information that you don’t want lost in the sleeve on the back of the drawer. A great way to preserve your family’s history!


Sharing at these lovely parties: