
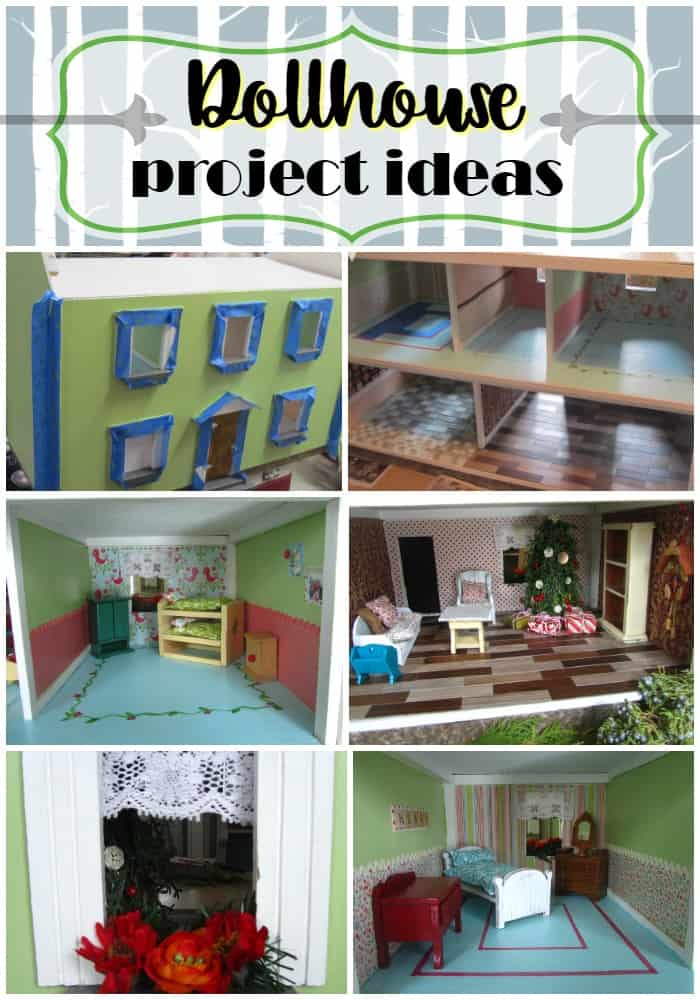
The Dollhouse Project
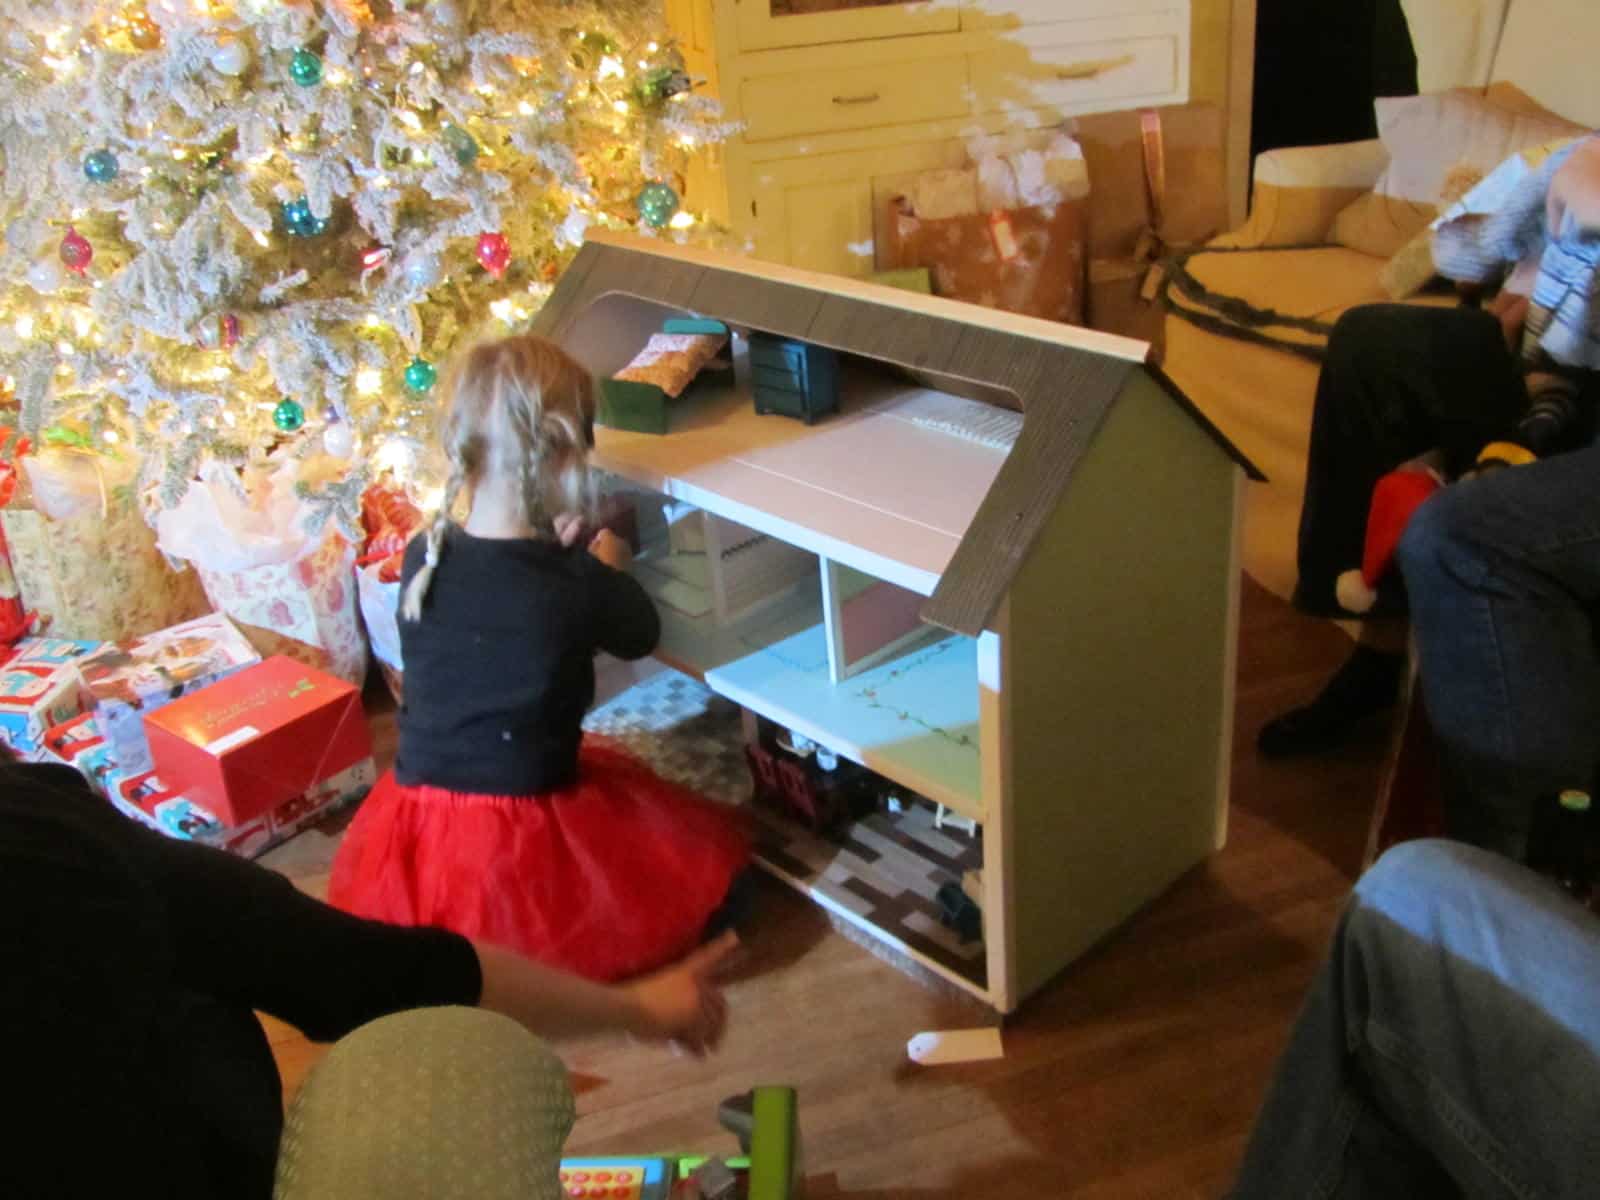
Hope you all had a Merry Christmas! We’re having a typical day-after, crash-and-burn day…still in my P.J.’s at 5 pm, and snacking on leftovers all day, while ignoring the last batch of dirty dishes in the sink. But since it’s been too busy of a week to even blog, thought I’d share with you the “little” project we’ve been busy with…a dollhouse for my 3 1/2 year old niece.
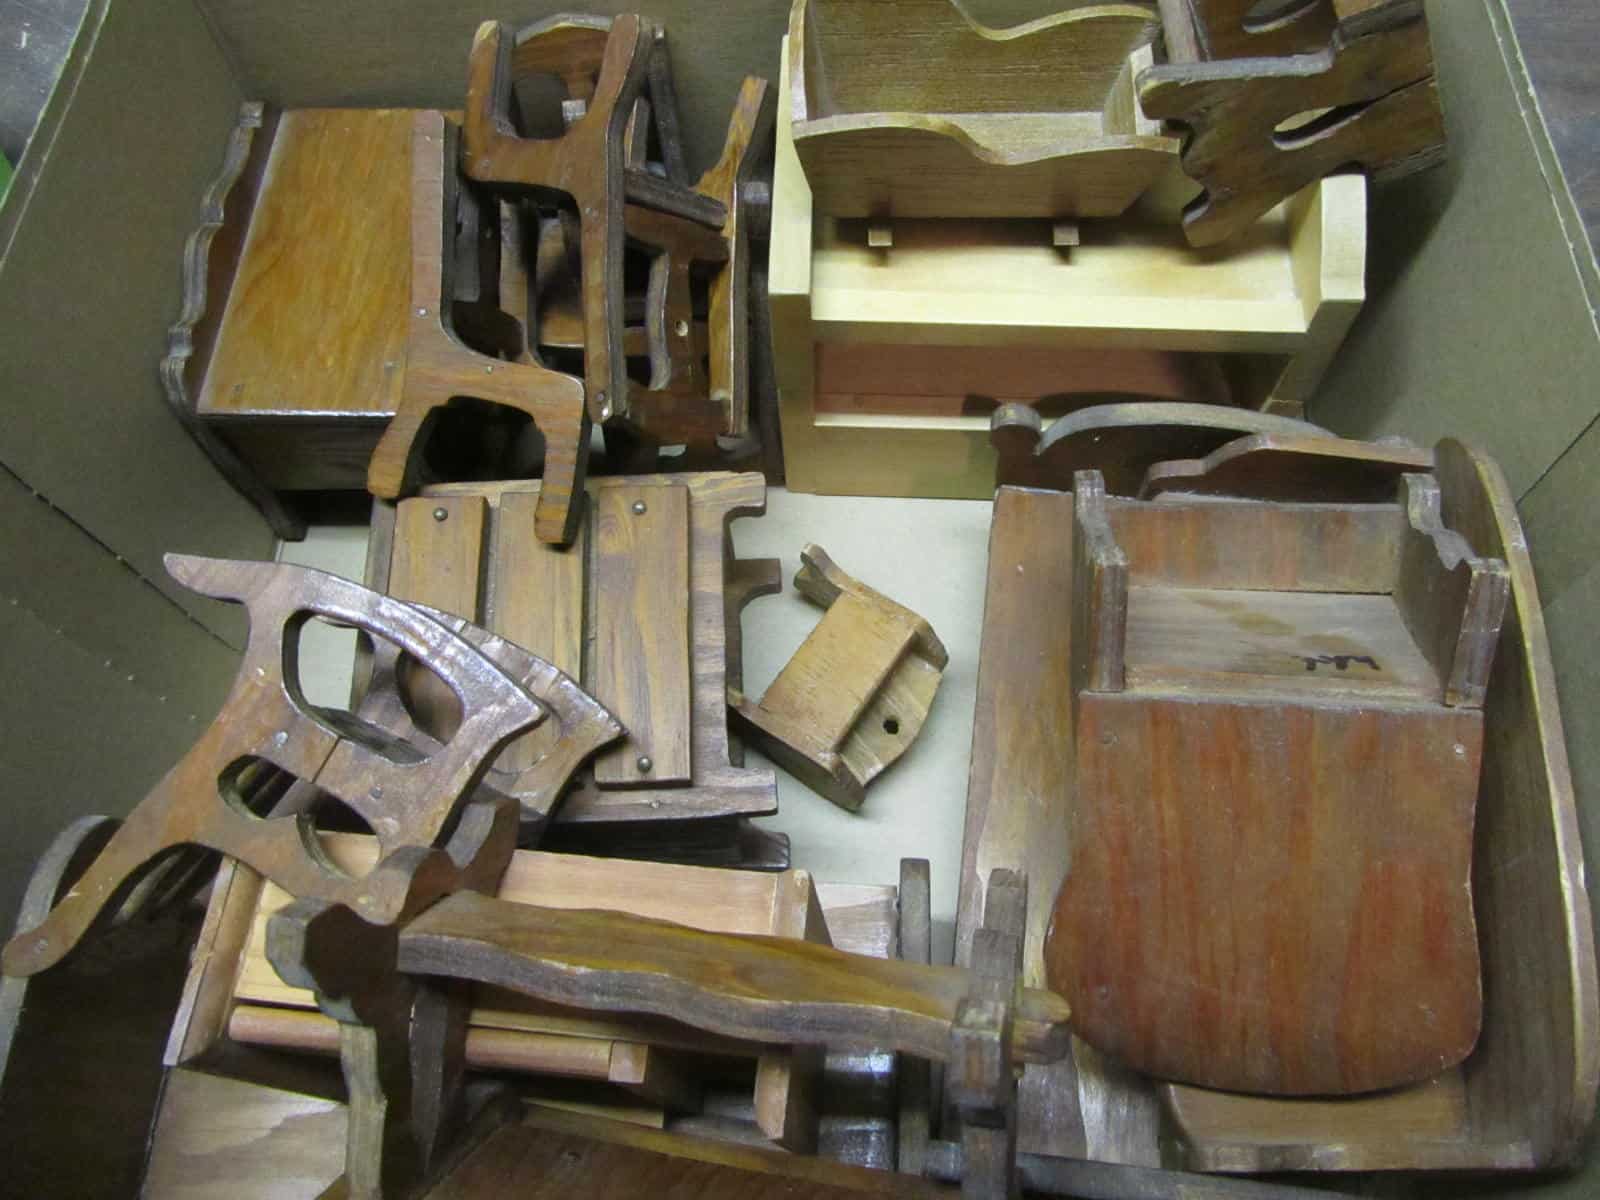
I think working on this project with Happy Girl was probably as fun as if I would have done it for her when she was 3! This dollhouse and furniture were actually hers, and have been resting in the attic for many years. I apologized to her that it was never this cute, but explained that I was too busy with her brother that was a year and a half younger, to spend this kind of time. We had done a similar project for my other niece several years past (a log cabin), and thought we needed to continue the family tradition.
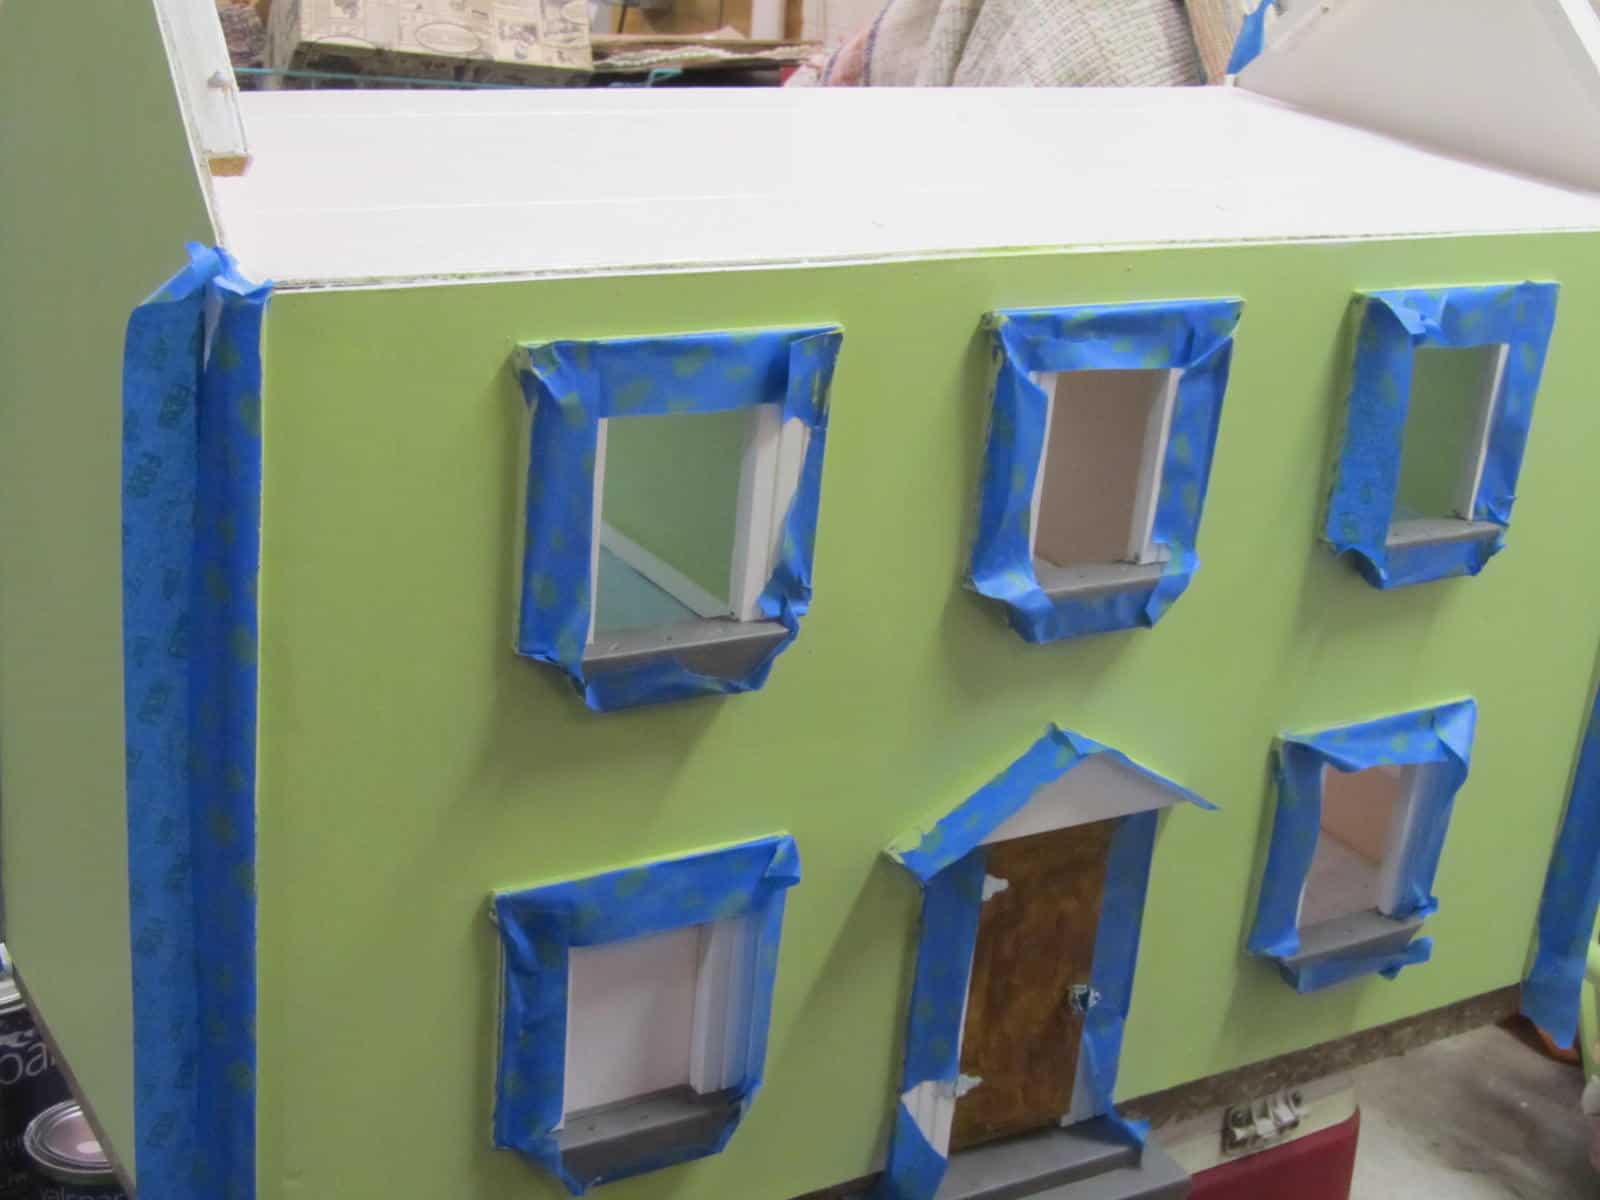
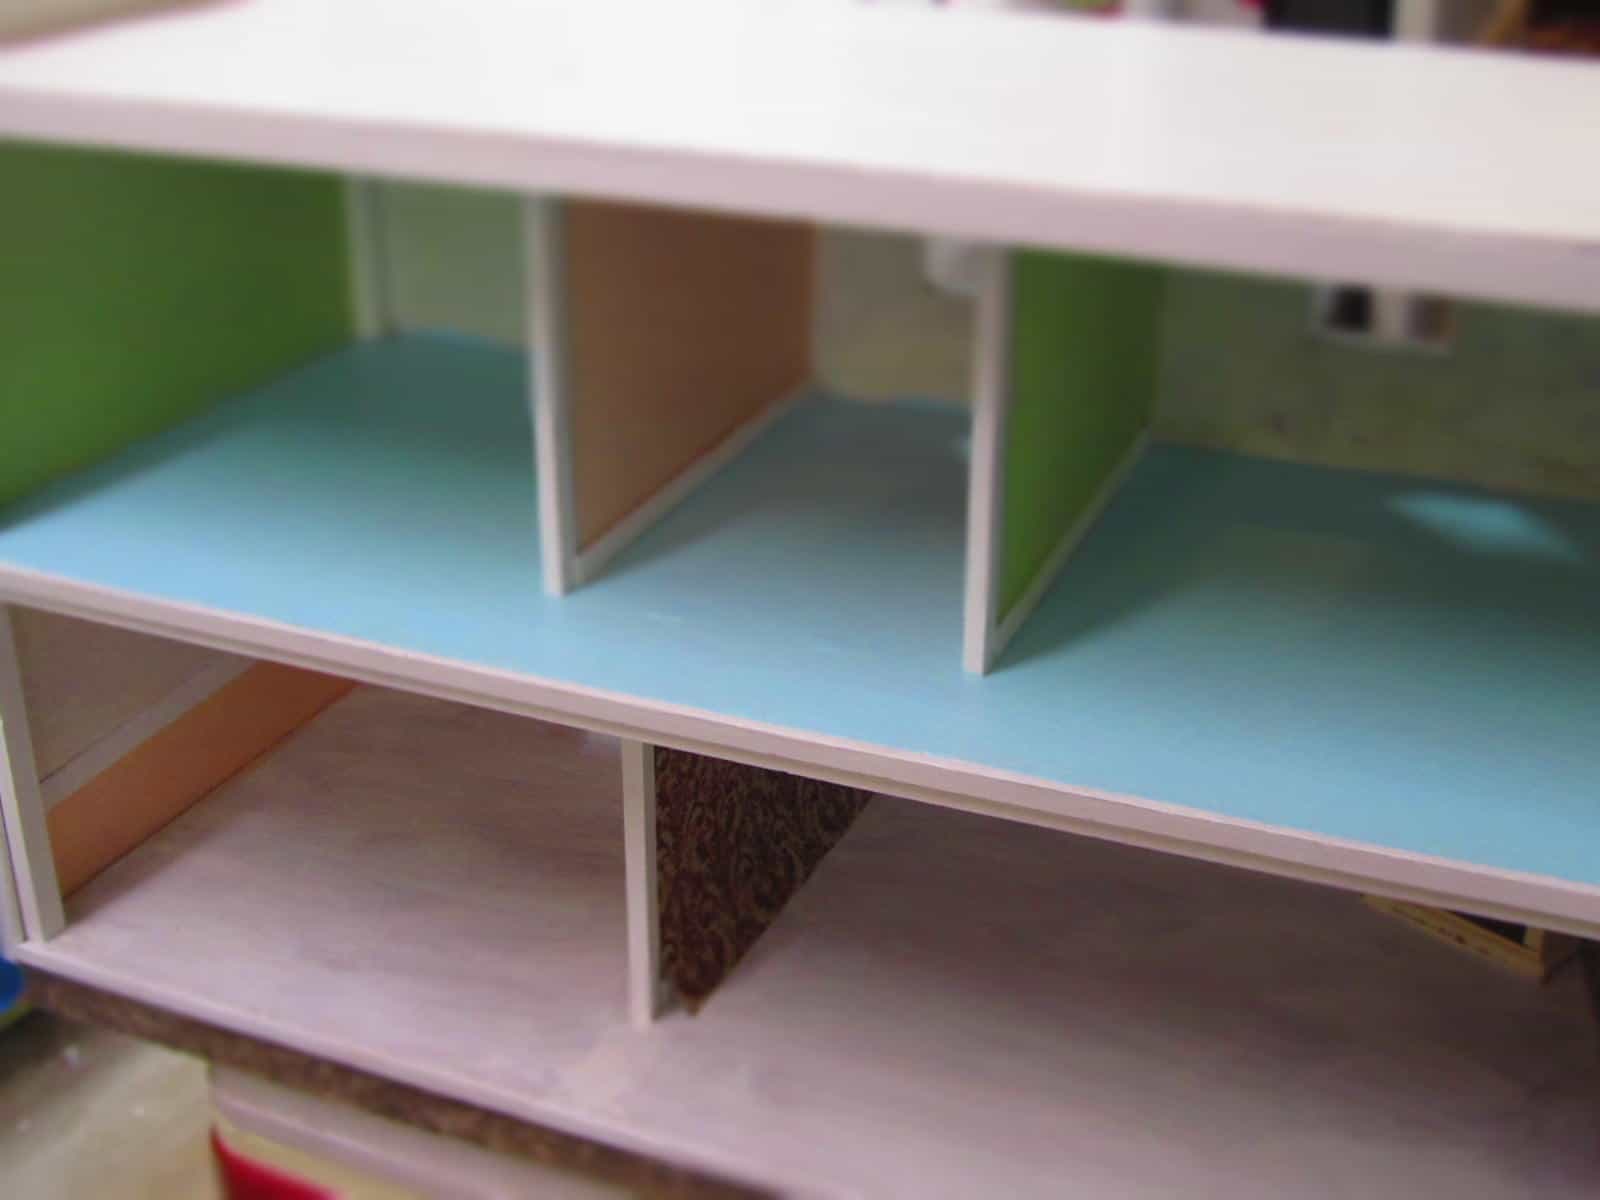
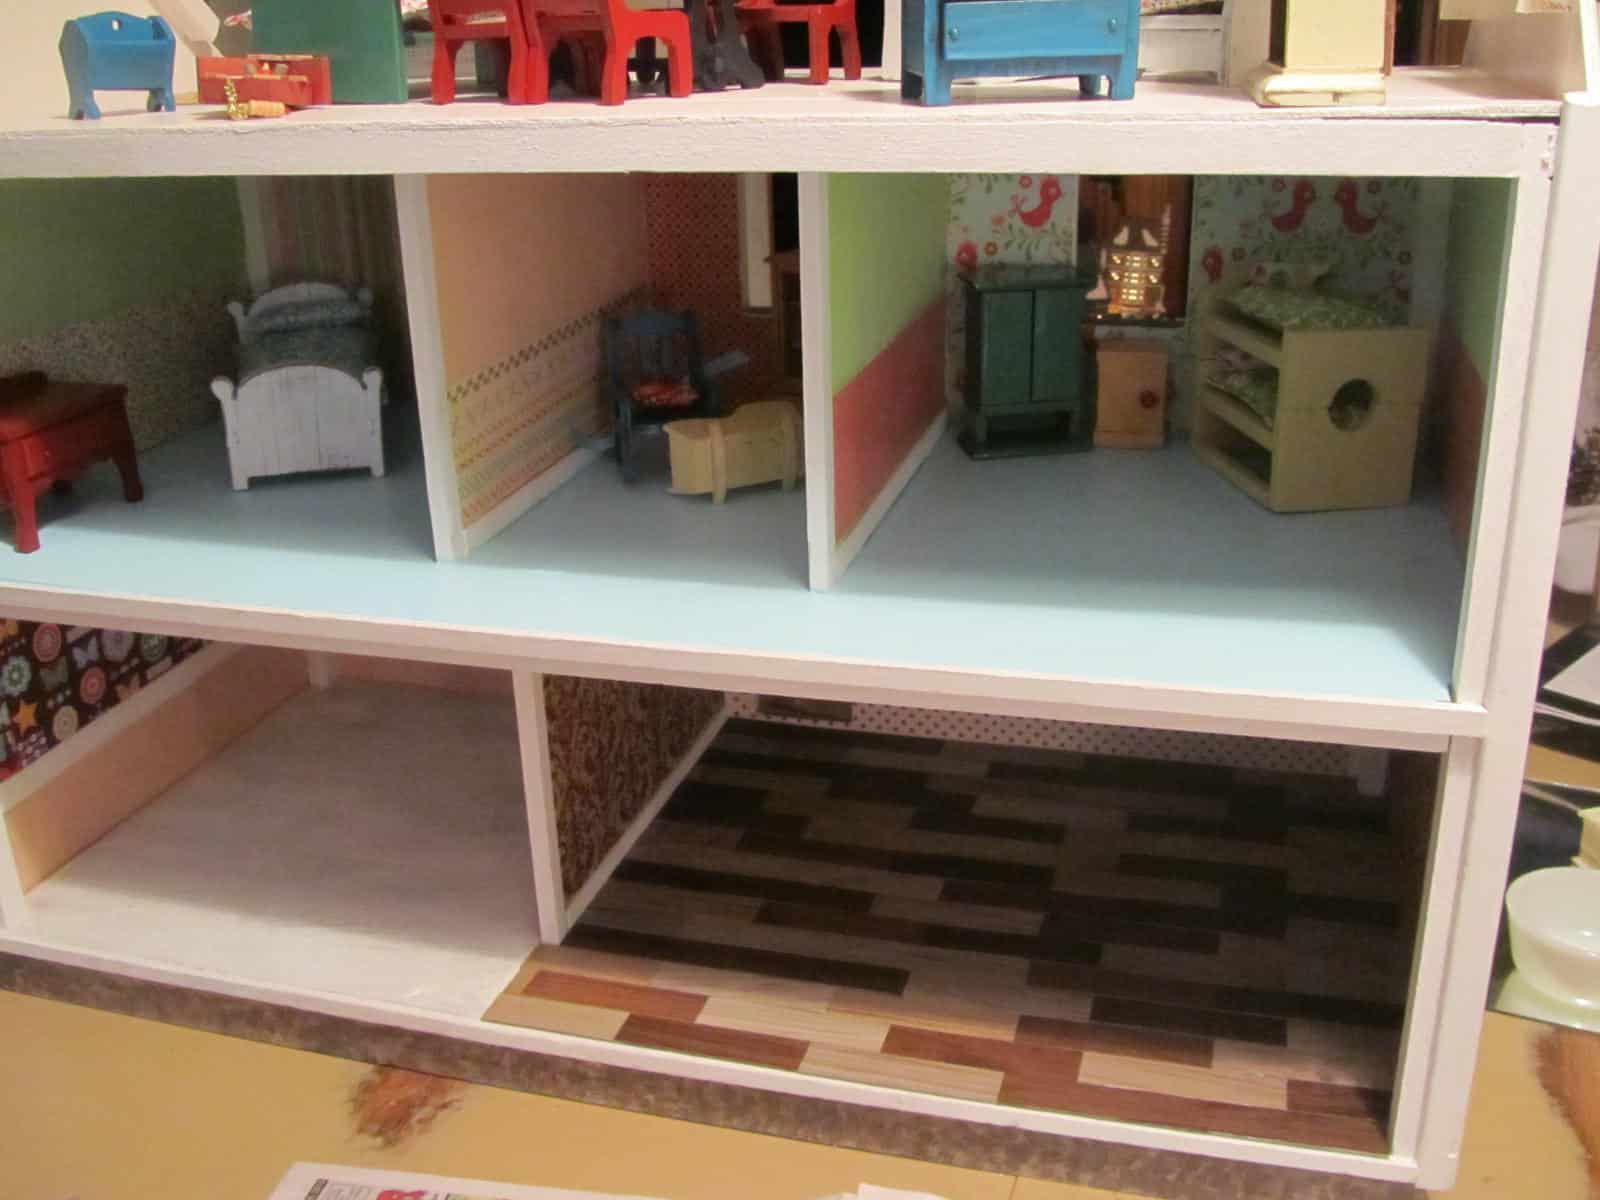
First on the agenda was to prime the whole inside and outside of the house, covering up the brick red exterior, and giving us a fresh, blank slate. I then grabbed some gallons of Oops paints and painted the exterior and all the interior walls. I also painted the exterior trim and window boxes and refreshed the interior trim boards, too.
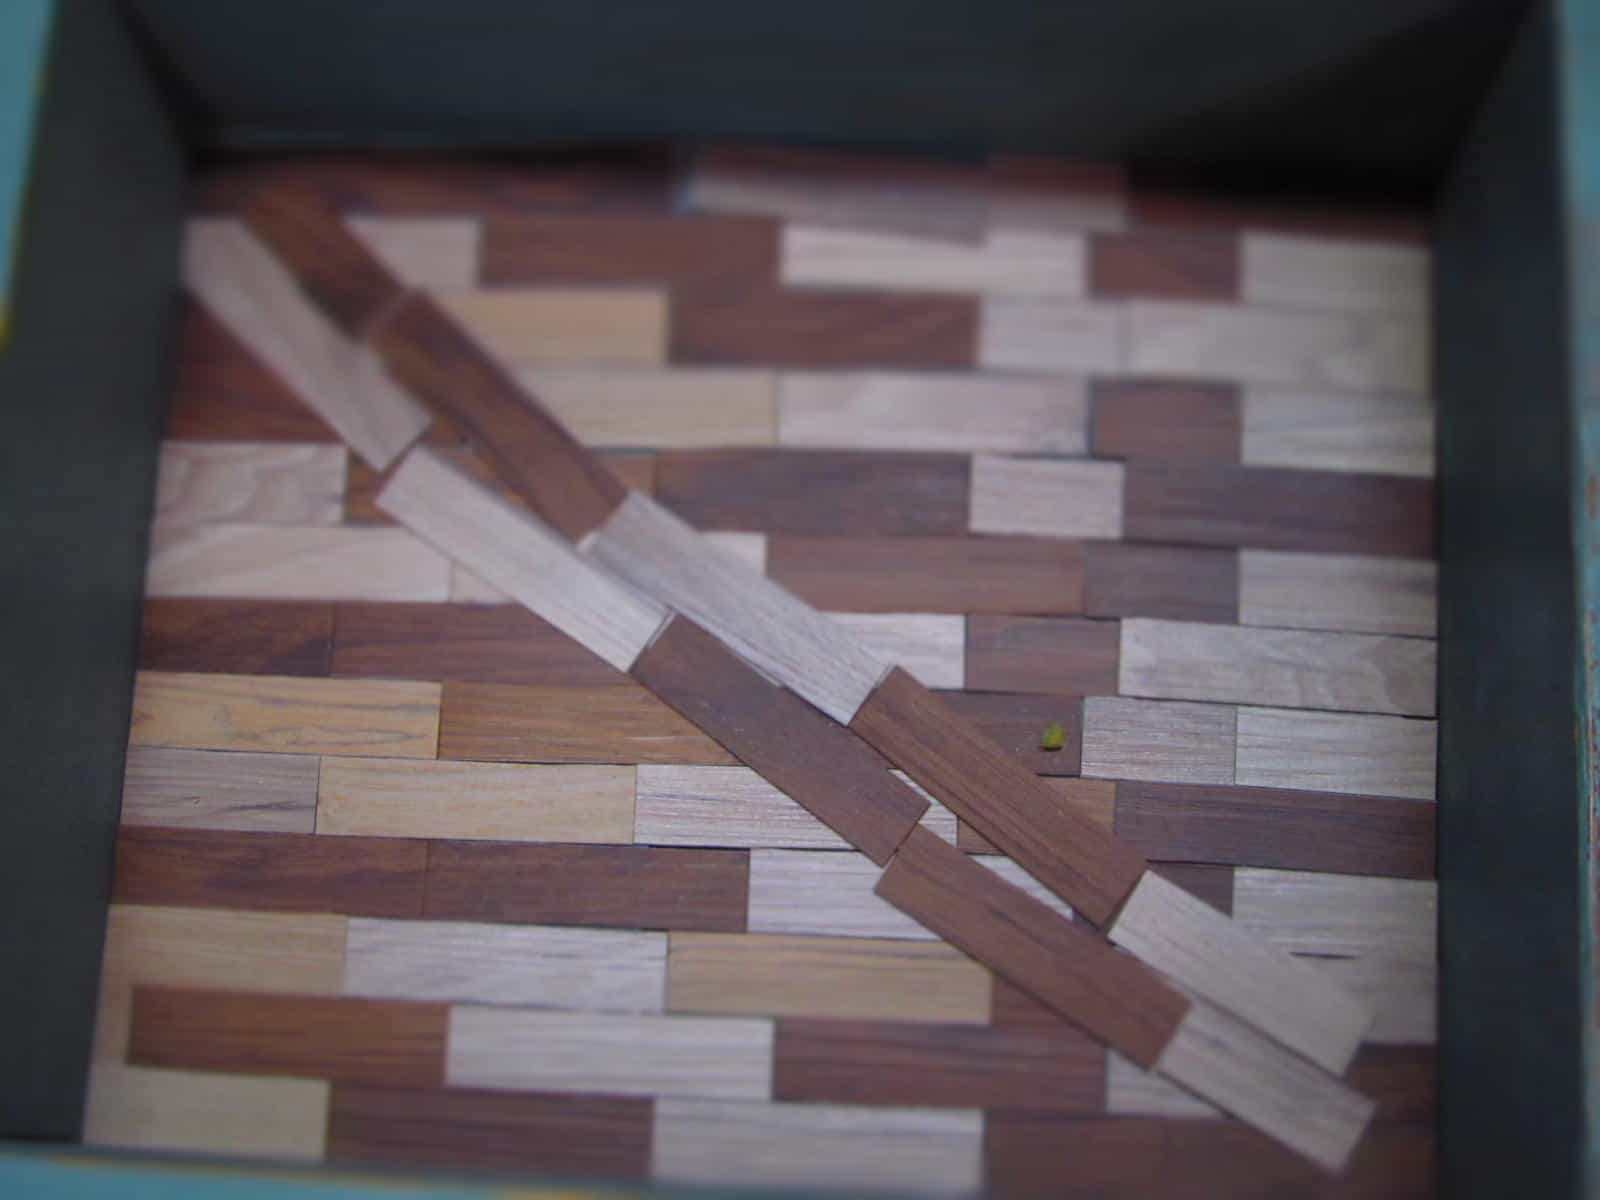
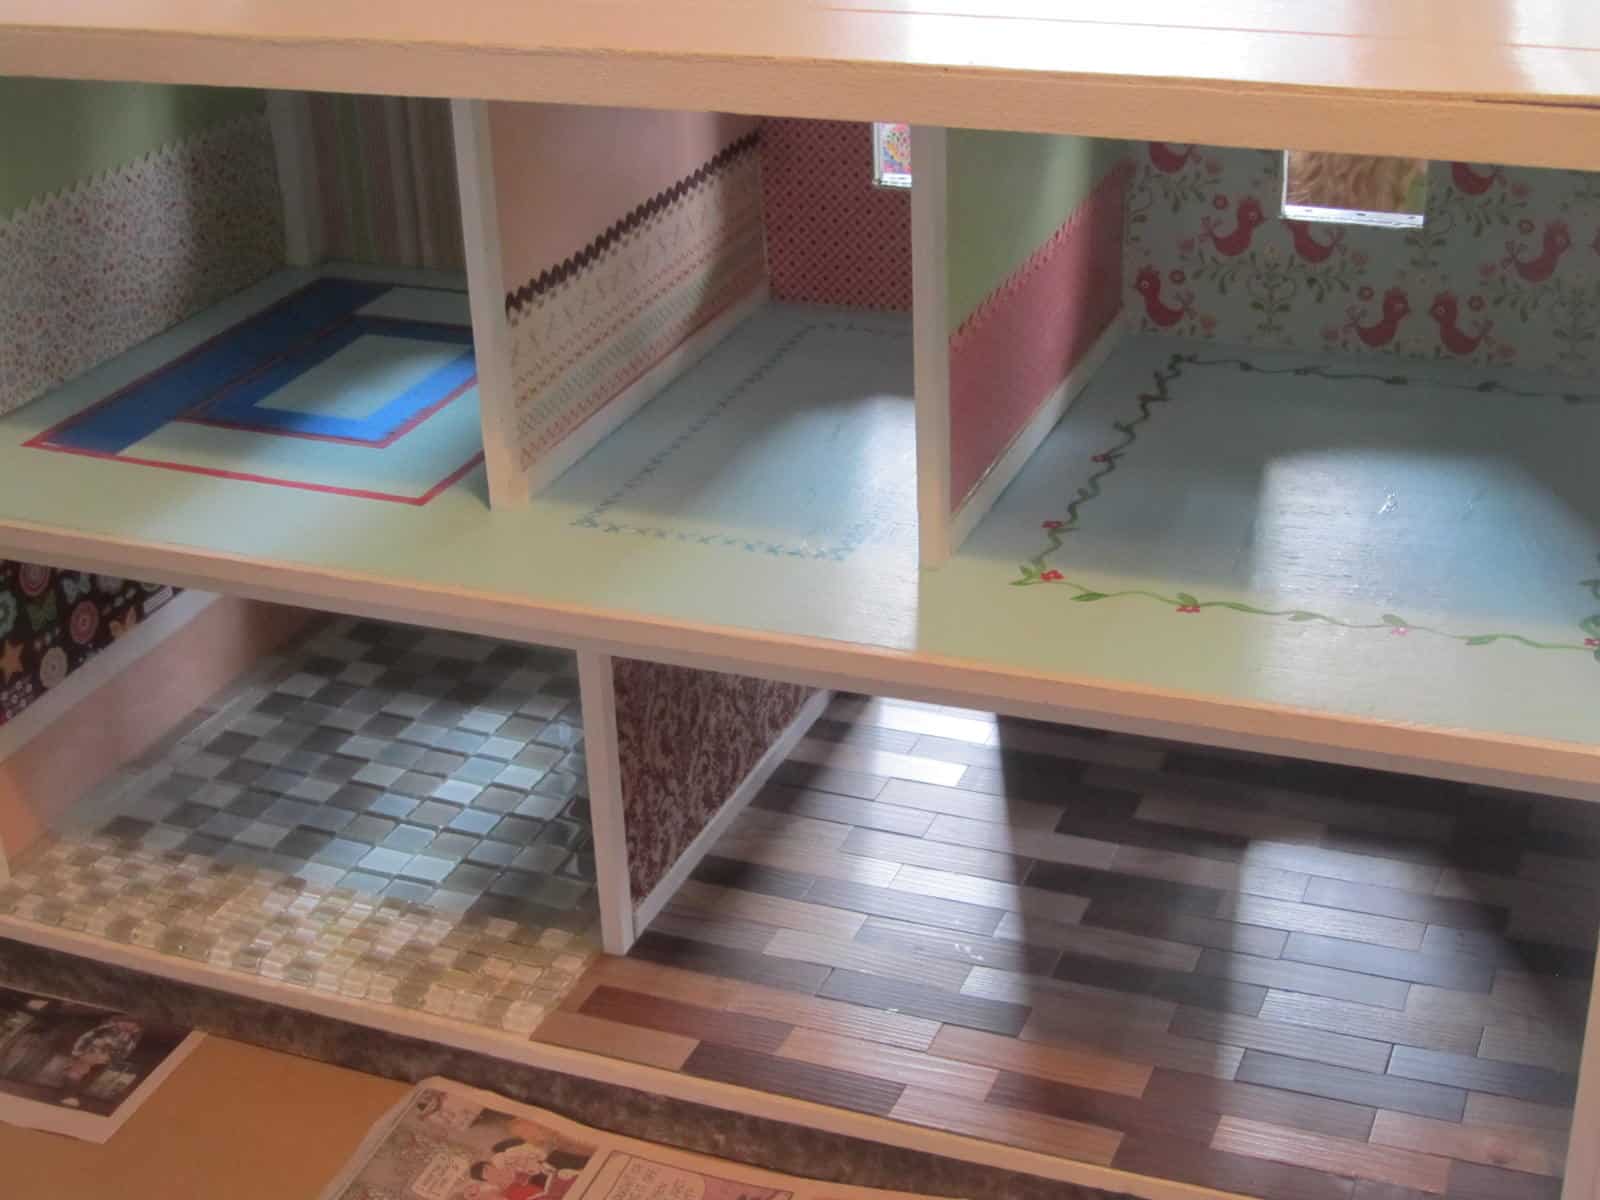
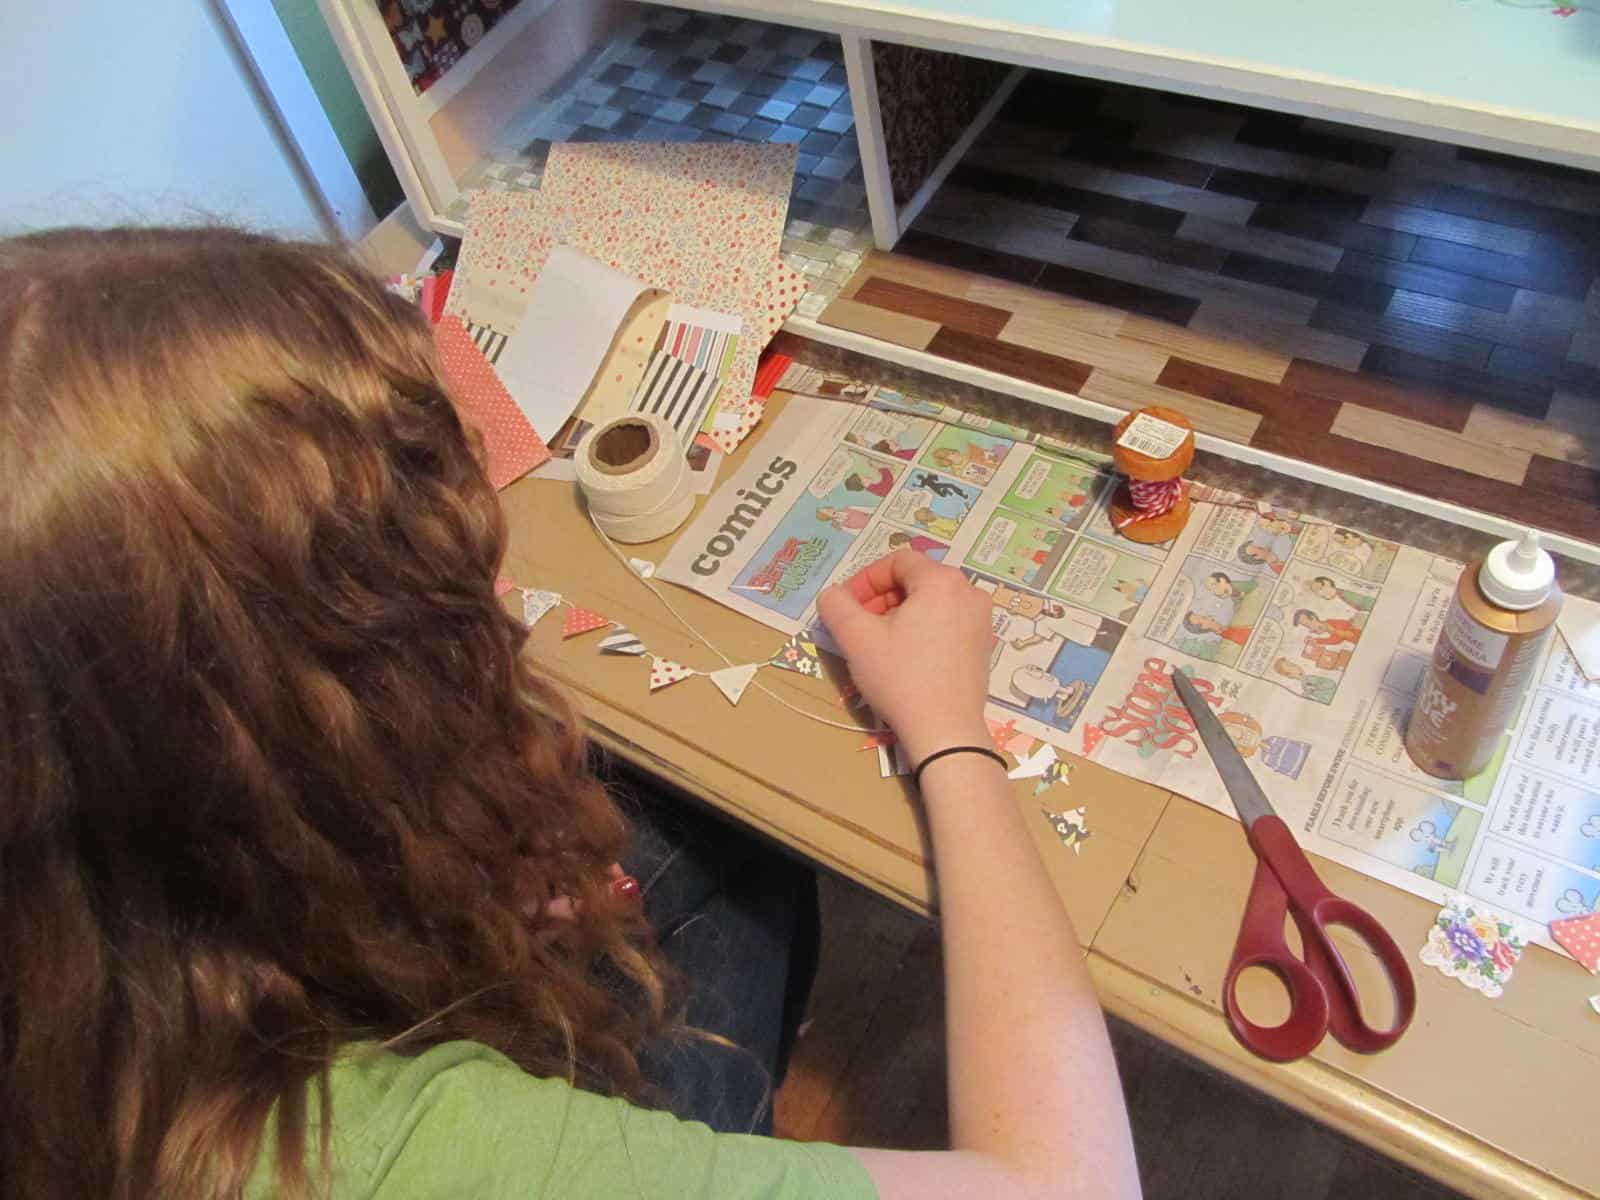
In the meantime, Happy Girl was collecting floor samples from the home store and having Mr. Fix-it cut them up to create a wood-planked floor. She was also digging through our paper stash to decide on wall coverings, and get a color scheme going.
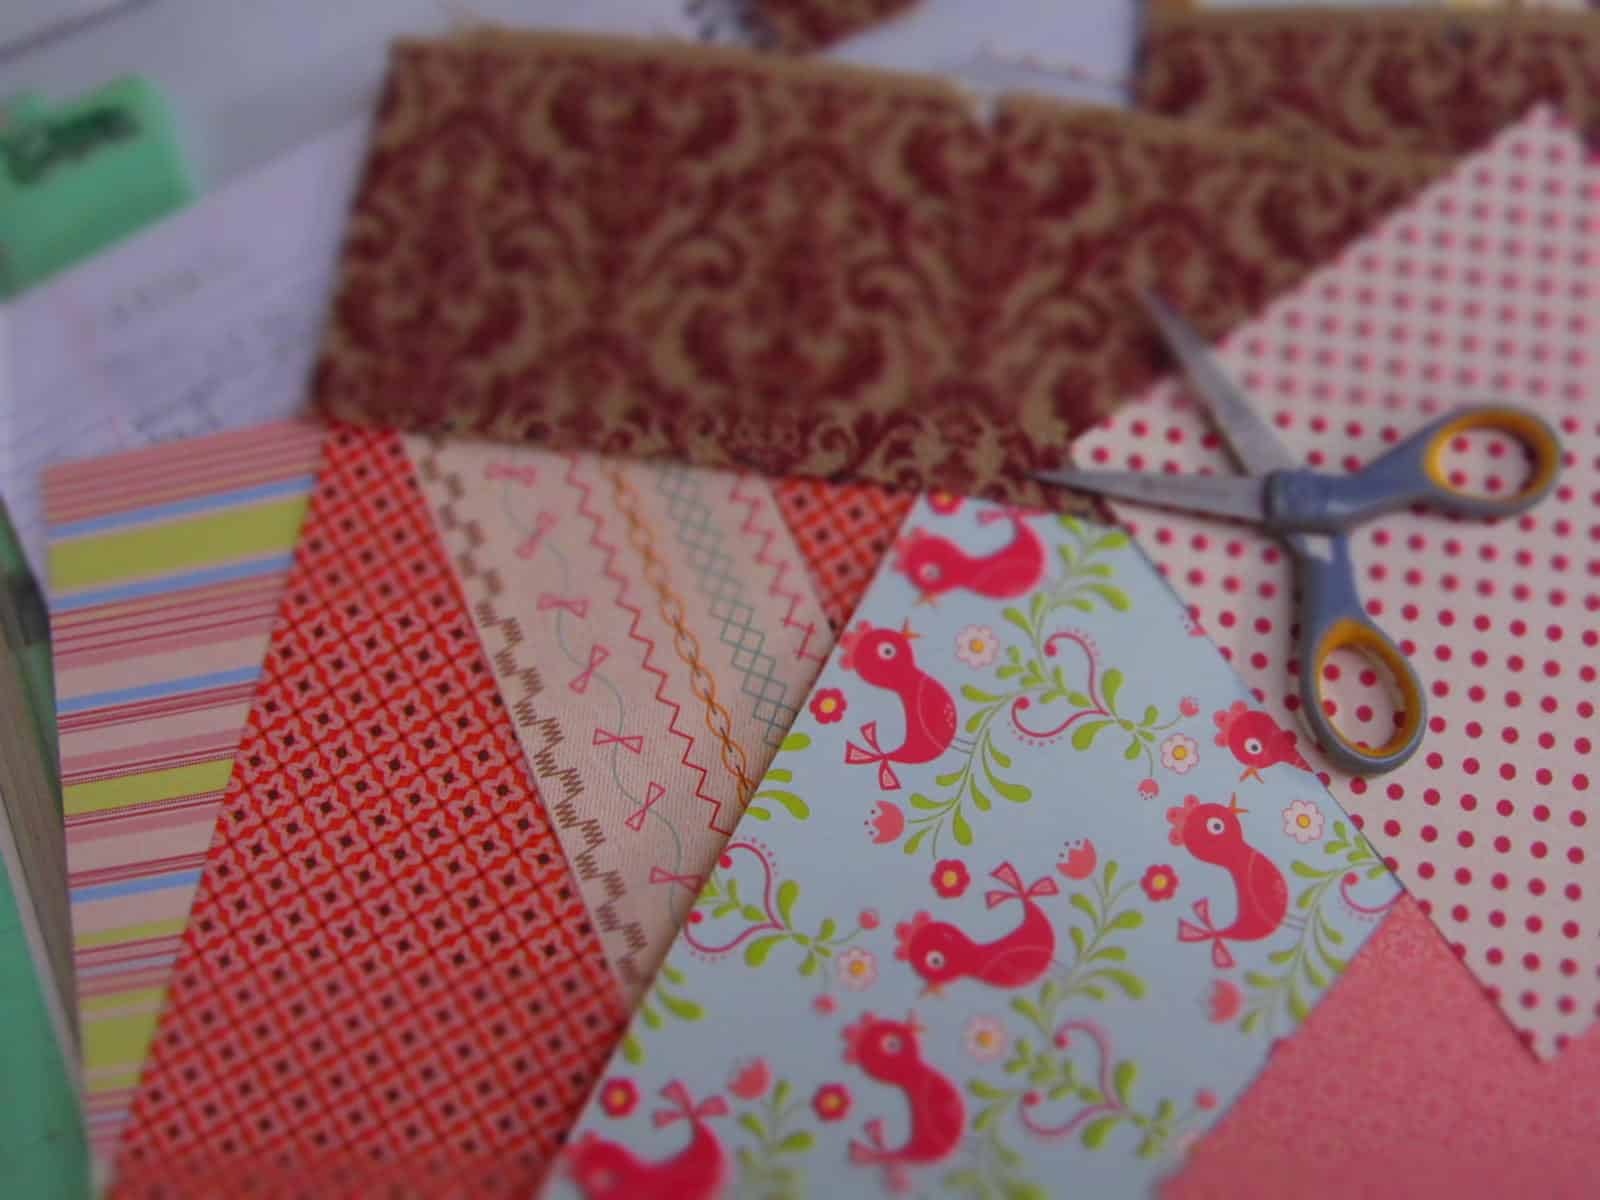
She measured all the walls carefully and cut and decoupaged all the cute papers. She added extra cuteness with rick-rack for a chair rail, glued on with tacky glue.
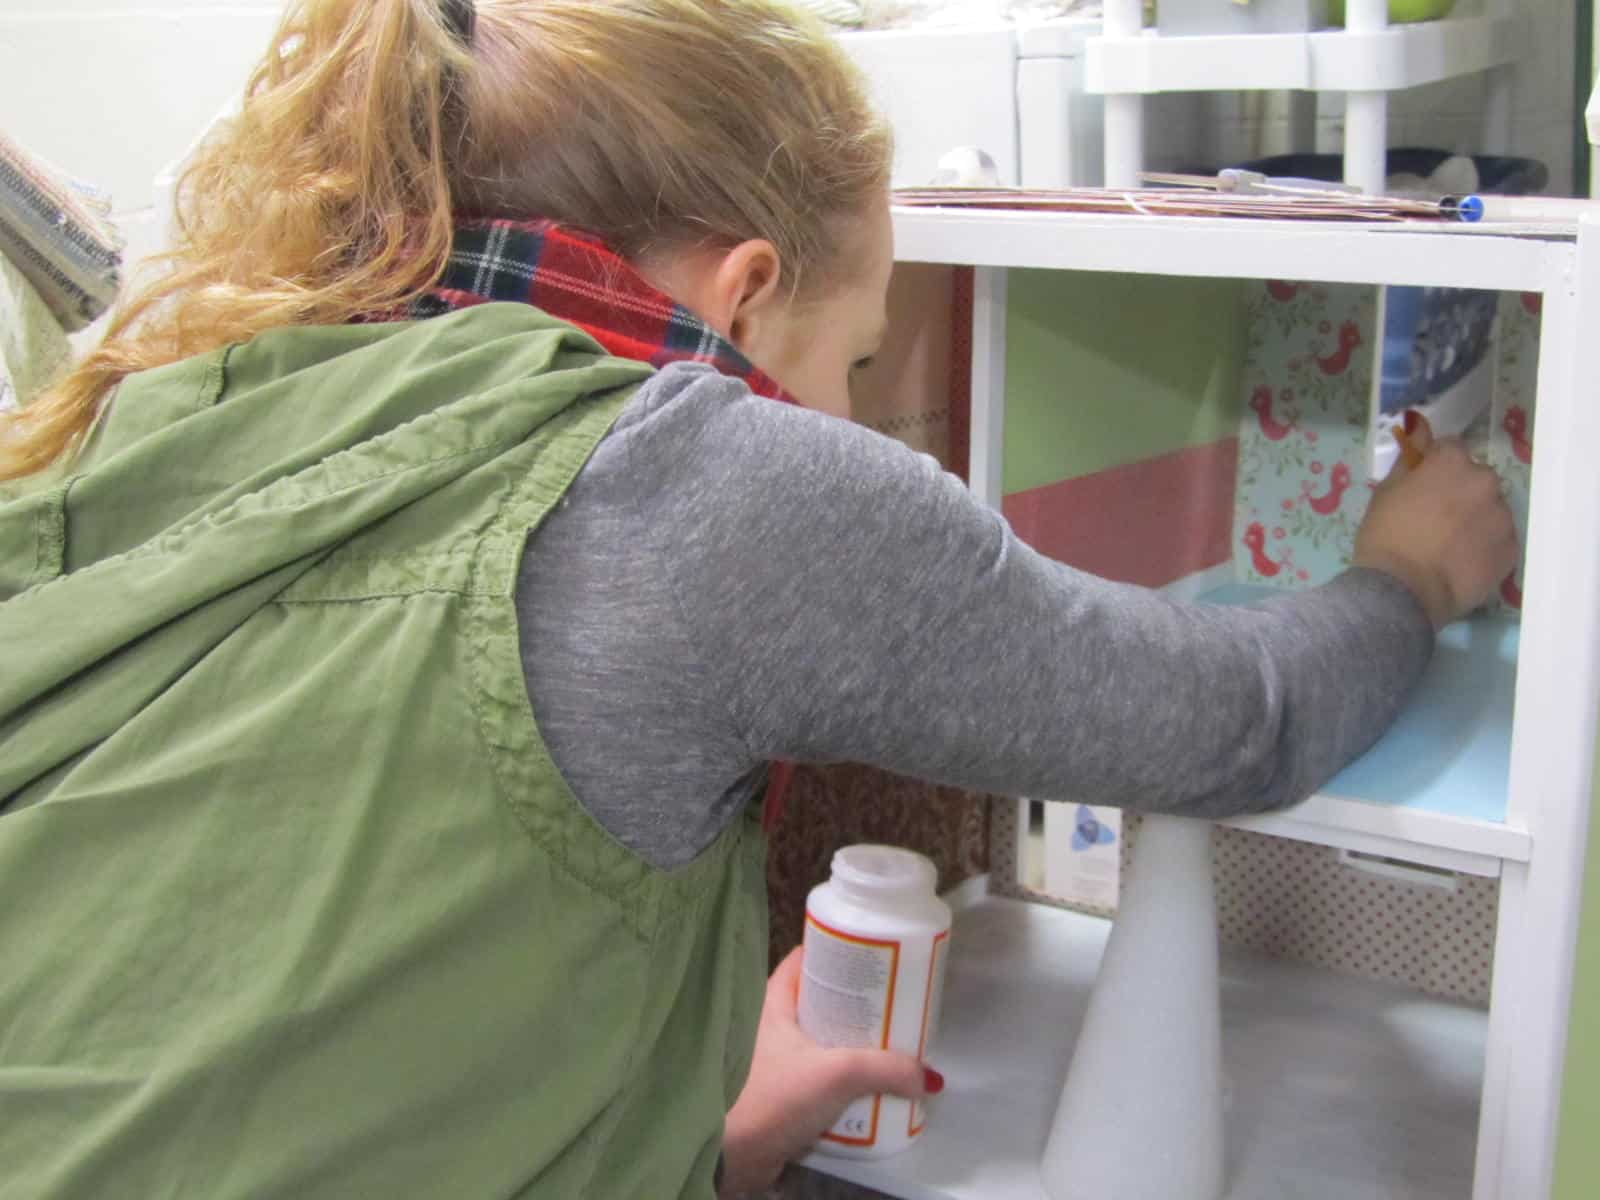
The imitation wood-planked floor was adhered with E6000, and so was the glass tile floor in the kitchen. She popped each tile off their backing, so they could be glued right next to each other. She used up all the tile I’ve bought trying to decide on tile for my bathrooms 🙂
We wanted a fresh, vintage, vibe for the decor, so I took all the old, brown furniture out to the garage for a coat of spray paint. I decided the white pieces looked a little better with a little sanding, but liked the matte look on the rest of the pieces.

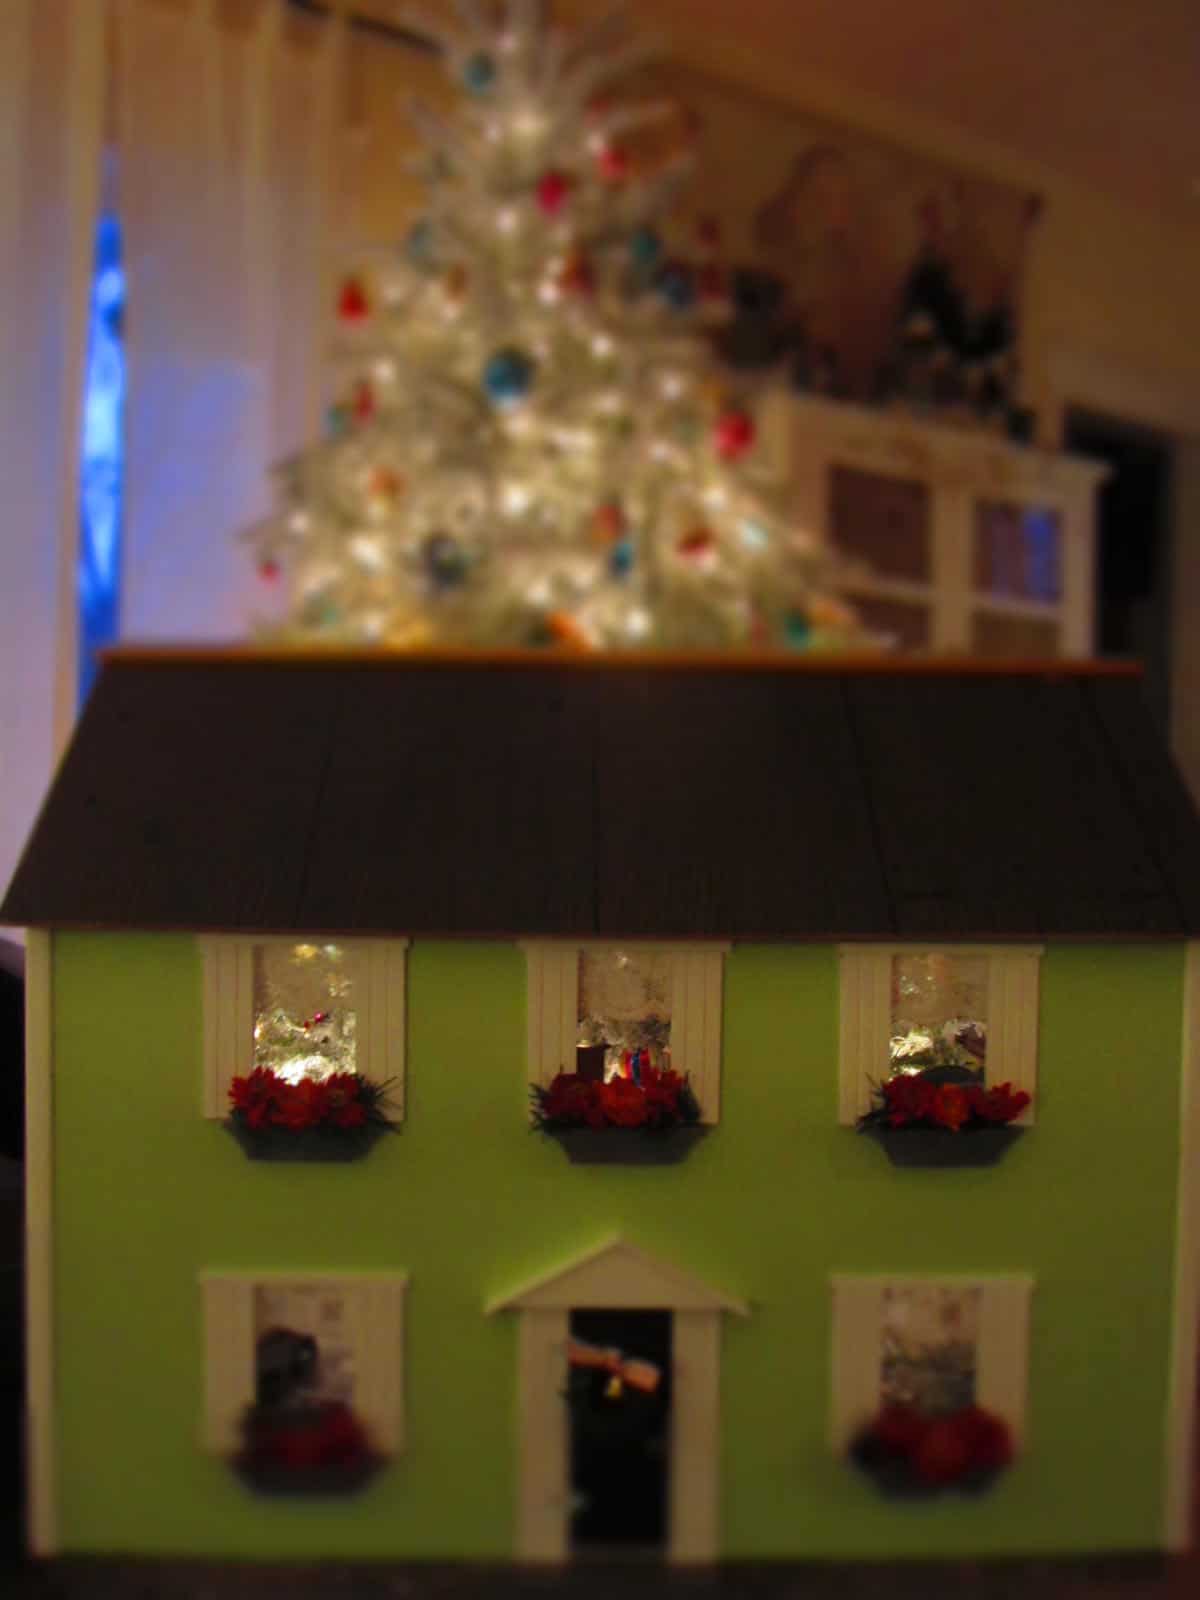
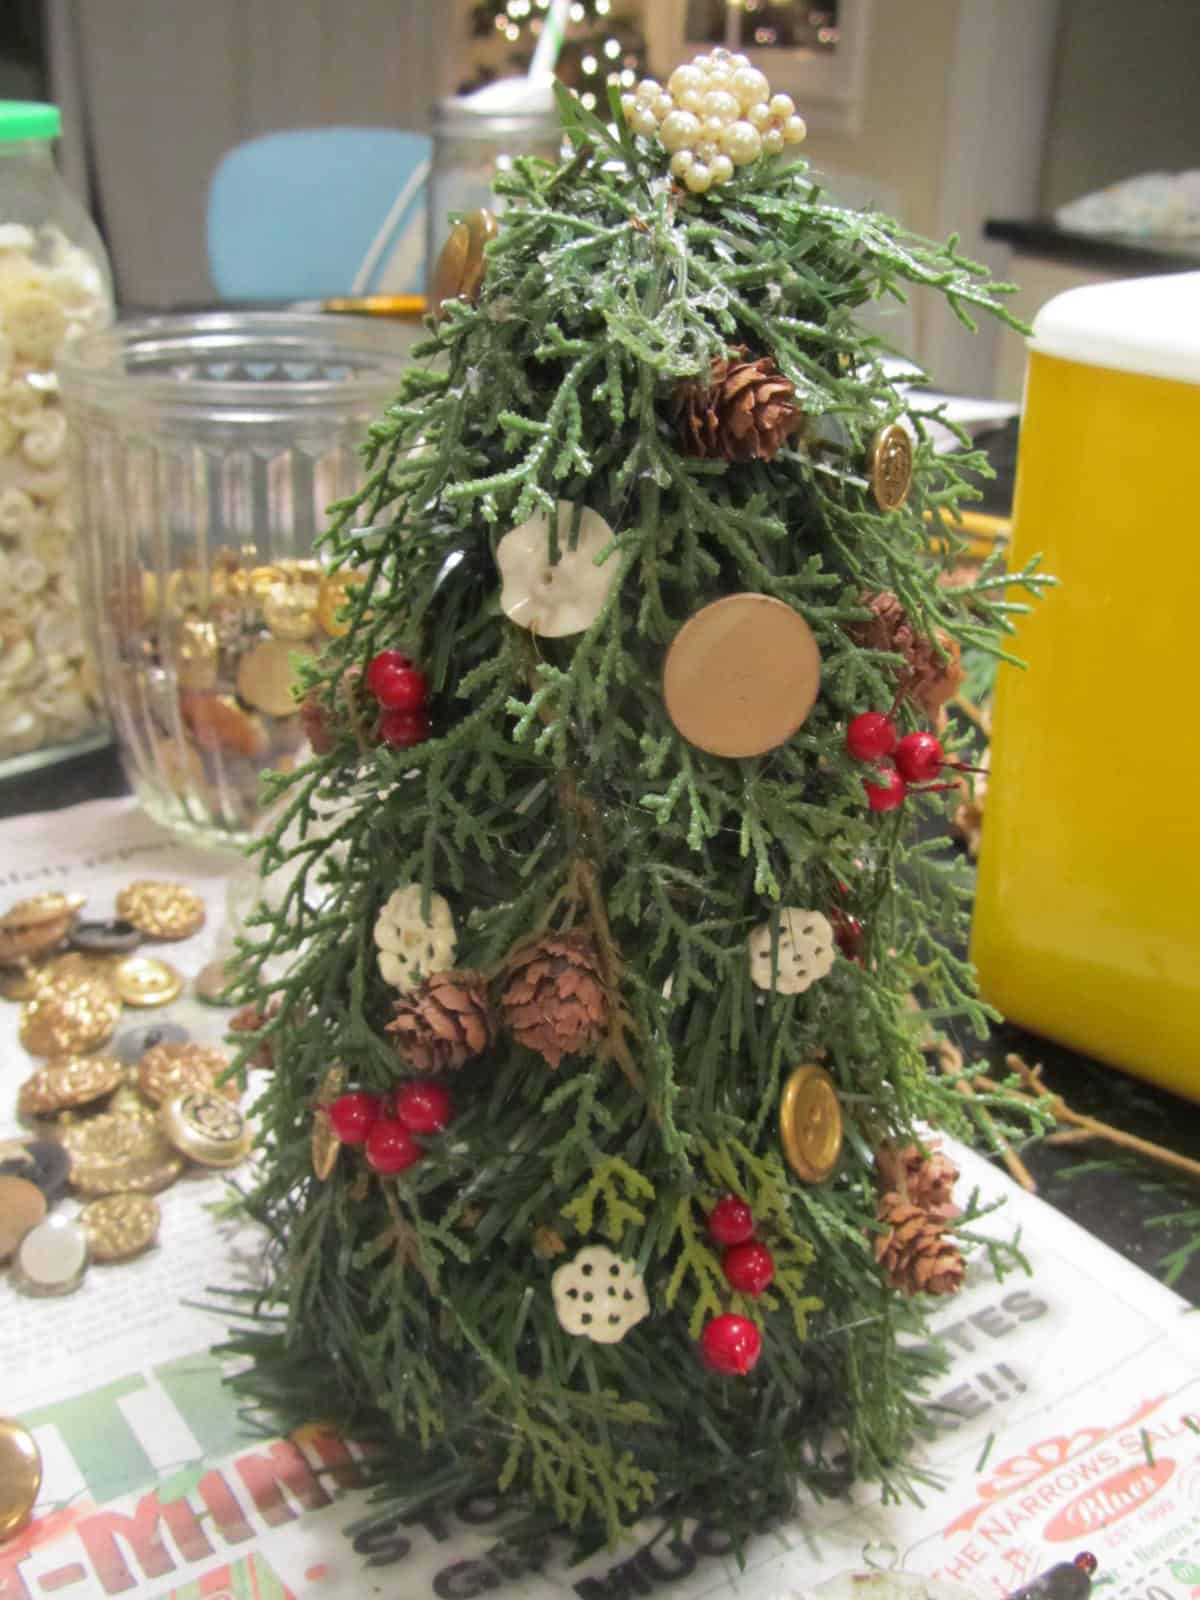
We wanted the house to be all decked out for Christmas, so I created a Christmas tree from a styrofoam cone I had in the basement, and Happy Girl wrapped up some tiny jewelry boxes as gifts.
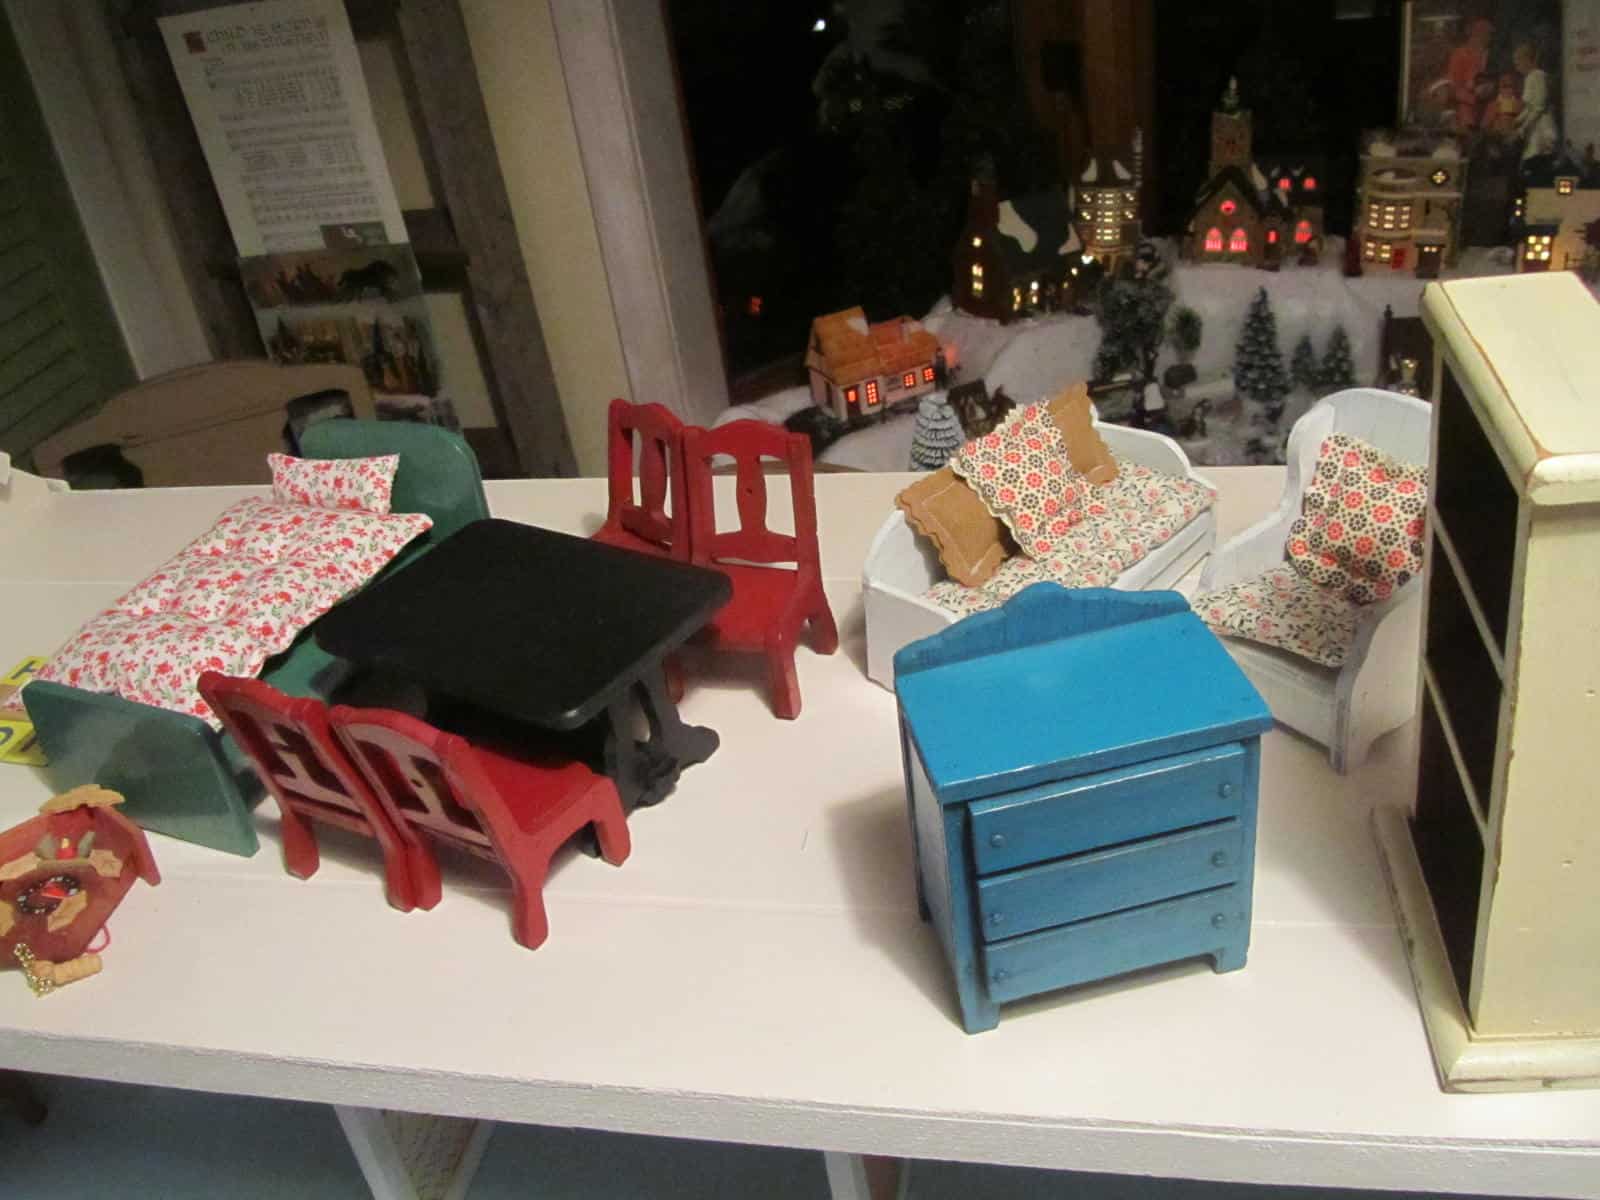
Happy Girl also treated all the furniture to cute little mattresses, cushions and pillows made out of charming small patterned fabric.
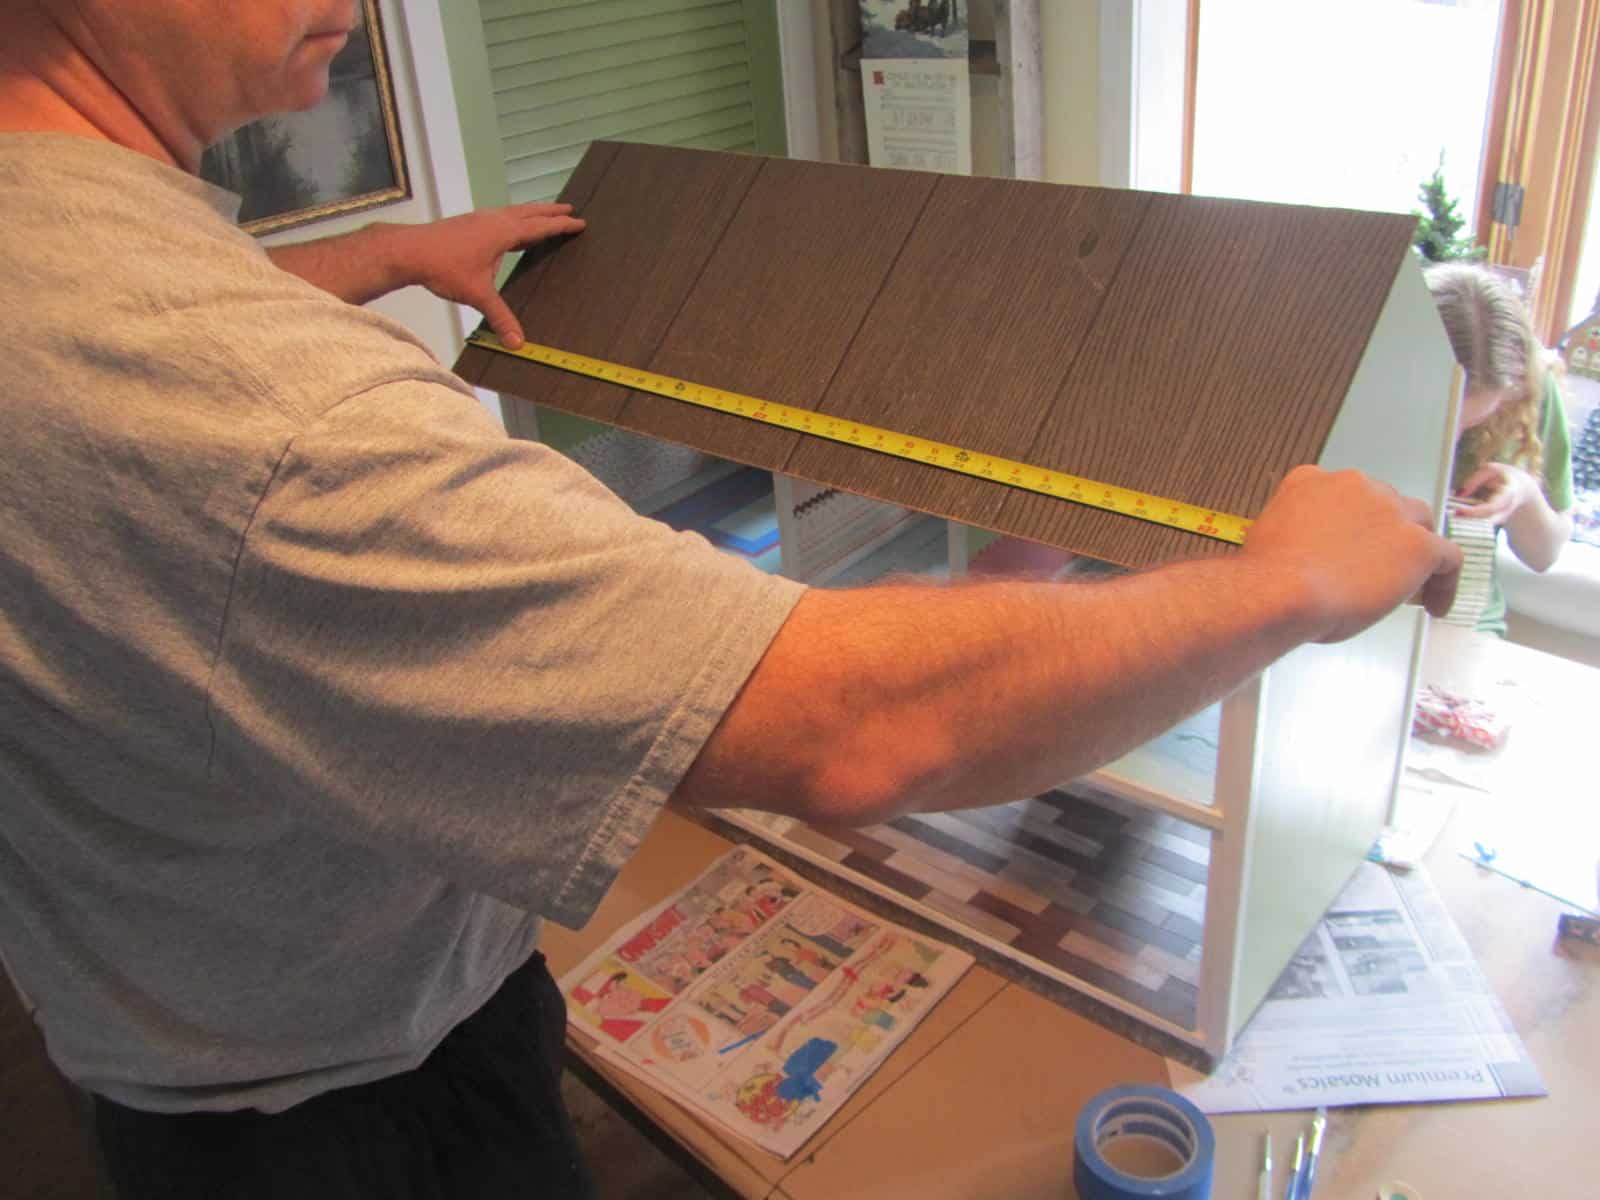
The final details included Mr. Fix-it putting a roof on, made out of some vintage, wood-grained plywood I’d found in a road-side pile. I did some accent painting on each bedroom floor, and put a protective coat of poly on the whole exterior and interior painted surfaces.
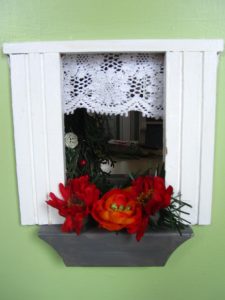
Happy Girl put up some lace curtains, wall art decoupage, scrabble tiles, and mini pennants in the kitchen. Someone previously had the great idea to drill small holes in the window boxes for flower inserts, so I clipped some flower heads from my trove, along with some Christmas greens. I’m hoping they can switch out the flowers seasonally, because that’s important, right? 😉
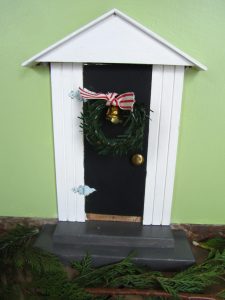
I painted the foundation of the house to look like stone, and also created a cute little wreath for the front door, complete with a little bell to ring when it opens.
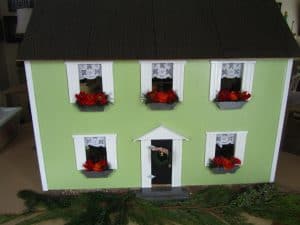
Here’s the finished project…just makes me want to shrink myself and move right in!
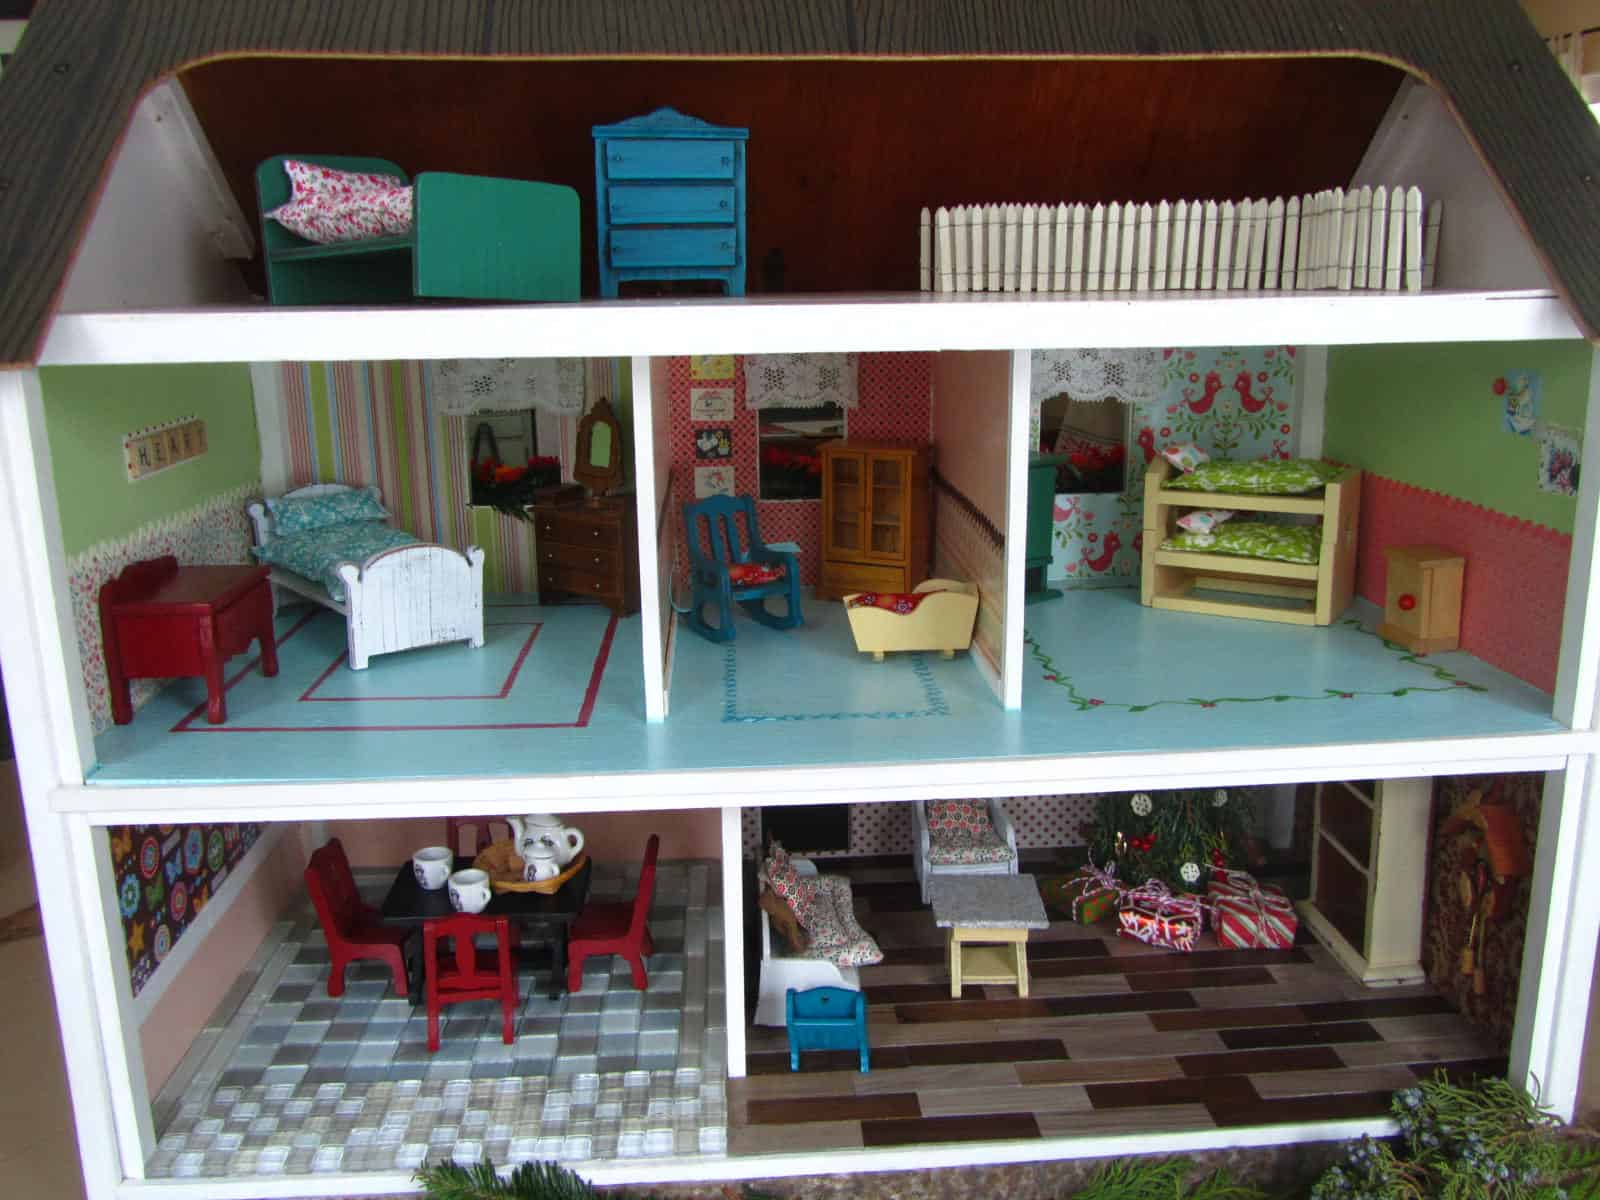
I think this little one is going to enjoy many hours of imagination with this gift…just like I did with mine.
Special, time-consuming gifts are what make Christmas special and memorable, just like I talked about in this post. Spending time with my family, creating a unique gift for someone else is as much about the shared experience as the final product.

I just came across this post; I am a dh lover. I don’t have the precision of eye to build dh furniture or do counted cross stitch, but I love what I calll “scrap craft”–making something out of almost nothing! Like bringing home the little plastic communion cups from church, painting the inside with acrylic paint, then gluing on a flower, sports emblem, or small picture on the outside. My kids weren’t allowed to throw away toothpaste caps–potential flower pots, waste baskets, and lamp shades. I embarass my SO at the diner wiping out cream cups and wiping off coffee stirrers to upcycle! NOW, I need time to “play”, making stuff. Maybe after Christmas??
I love dollhouses, too, Kathy. Actually just bought another metal one because I love the graphics. So fun to hear about all your repurposing ideas!
Hi Lora. Am I crazy because I think I would spend hours “playing” with that dollhouse. I remember when I was little Santa got me a collapsible dollhouse. I LOVED it. But after years of play it started ripping at the folding parts. But by that time I was growing out of it. Thanks for sharing. Your family did a great job! Cindy
I know, Cindy! It was such a fun project; I wish I had someone to make one for every year! I made a log cabin one for my other niece years ago that was super fun, too. Once I have some grandchildren…