
5 Ways to Make Your Outdoor Winter Containers Beautiful
Wondering what to put in your outdoor winter pots? Here are 5 things you can add for beautiful winter containers.
Have you ever oohed and aahed over gorgeous wintertime containers outside of fancy stores or malls? Professional floral stylists create beautiful pots to decorate businesses during the dreary wintertime months. But you can have similar beauty for your own home’s entry or porch if you include a couple pretty embellishments to those greens. Here are 5 Ways to Make Your Outdoor Winter Containers Beautiful.
You can create your own pots of wintertime greens easily by yourself; all you need is a non-clay pot, dirt and some evergreen bundles. I explained my process in “Spruce Tips 101”. But you can also purchase store-bought containers of evergreens, too. Either way, adding some pretty extras to your wintertime containers will bring them from ho-hum to wowza. You’ll be able to enjoy gorgeous containers on your porch or your entryway for months. Here’s what to add.
5 Ways to Make Your Outdoor Winter Containers Beautiful
For your convenience, this post contains affiliate links. If you make a purchase, I may receive a commission. There is no additional cost to you. “As an Amazon Influencer, I earn from qualifying purchases.” My full privacy policy is here.
If you want your winter pots lighted, definitely add your light strings before you do any of these “extras”.
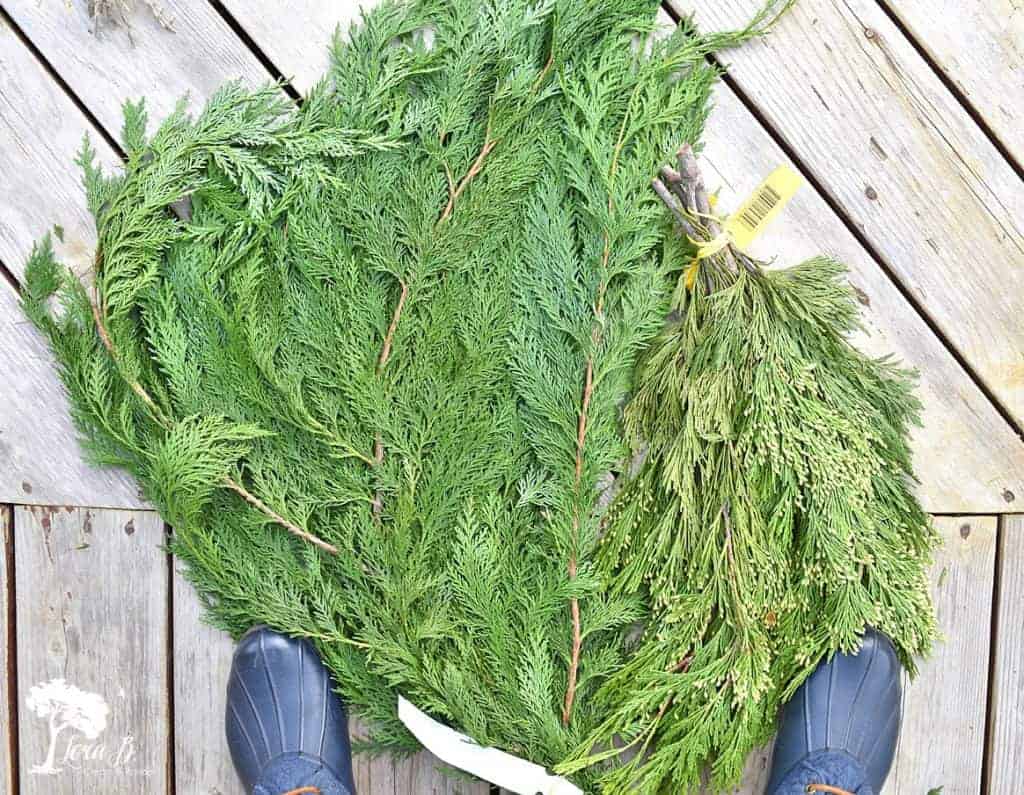
Use a Variety of Different Evergreens in your Outdoor Winter Pots
Store-bought versions of winter pots usually have a variety of long needle and short needle evergreens. But adding even more will bring beautiful variation to your display. Clip varieties from your yard or buy an extra bundle form the floral dept. Gold-tipped cedar or juniper berry fronds will look beautiful tucked into the rest of the greens. Simply tuck them into the branches of the other varieties; no need to stick them into the dirt.
(a lopper like THIS comes in handy, and also a handheld pruner like THIS)
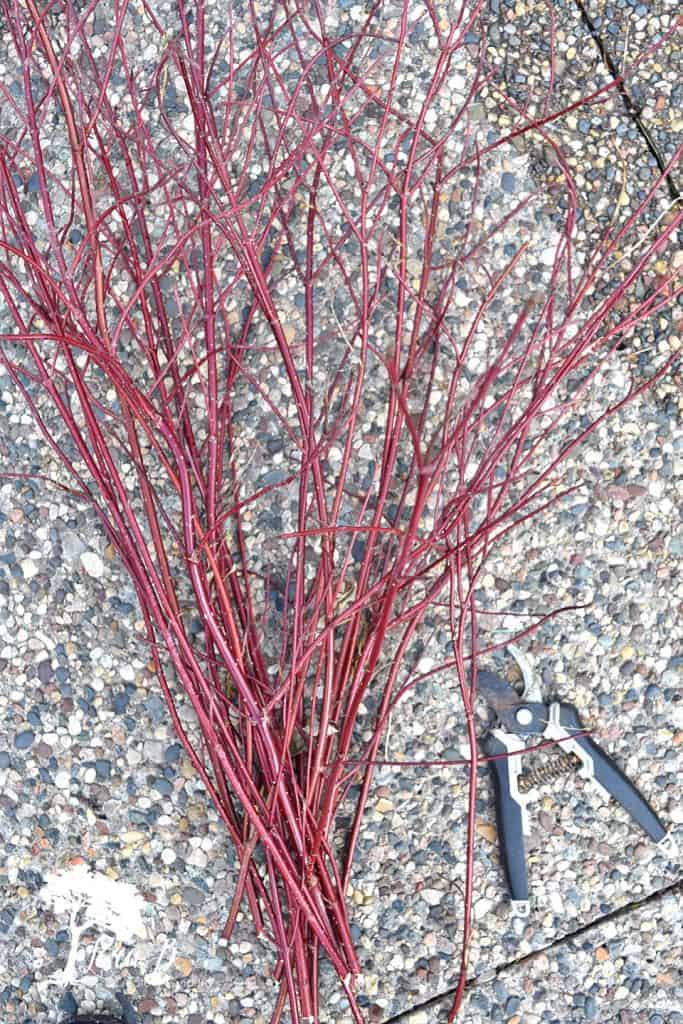
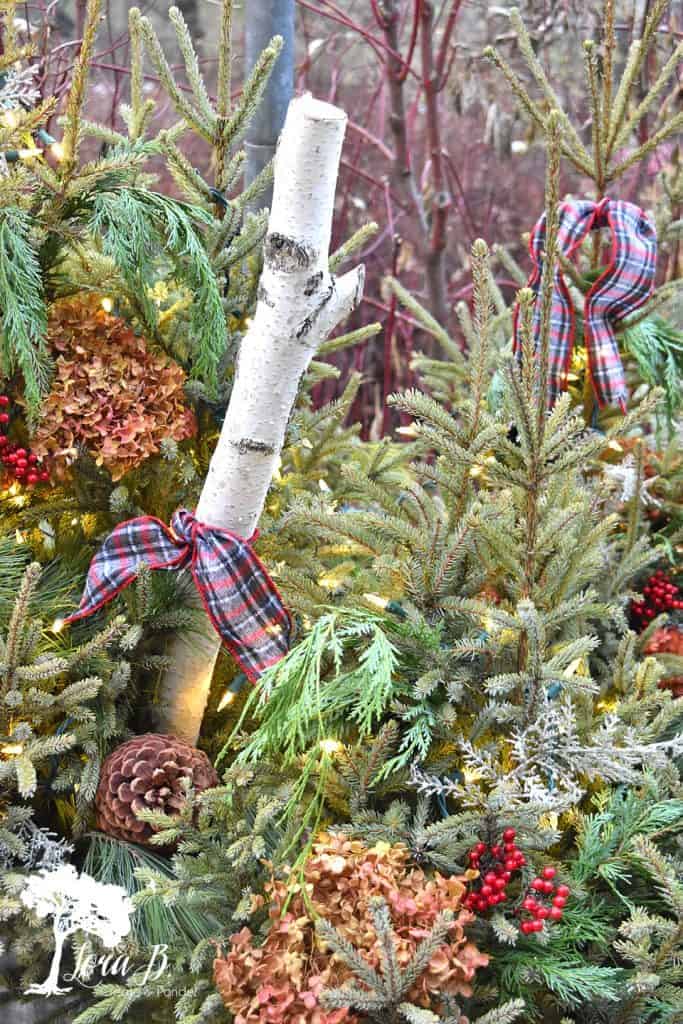
Add Branches to your Winter Porch Planters
Sticks and branches add a hard element that make all the feathery greens look even prettier. You can use painted sticks for a pop of color, or go natural with something clipped from your yard.
Here are some ideas:
- red or green dogwood branches clipped from your yard (or the side of the road)
- spray painted twigs: white, silver, gold or blue
- curly willow branches
- repurposed spindles (you can stick decorative items on the ends, too)
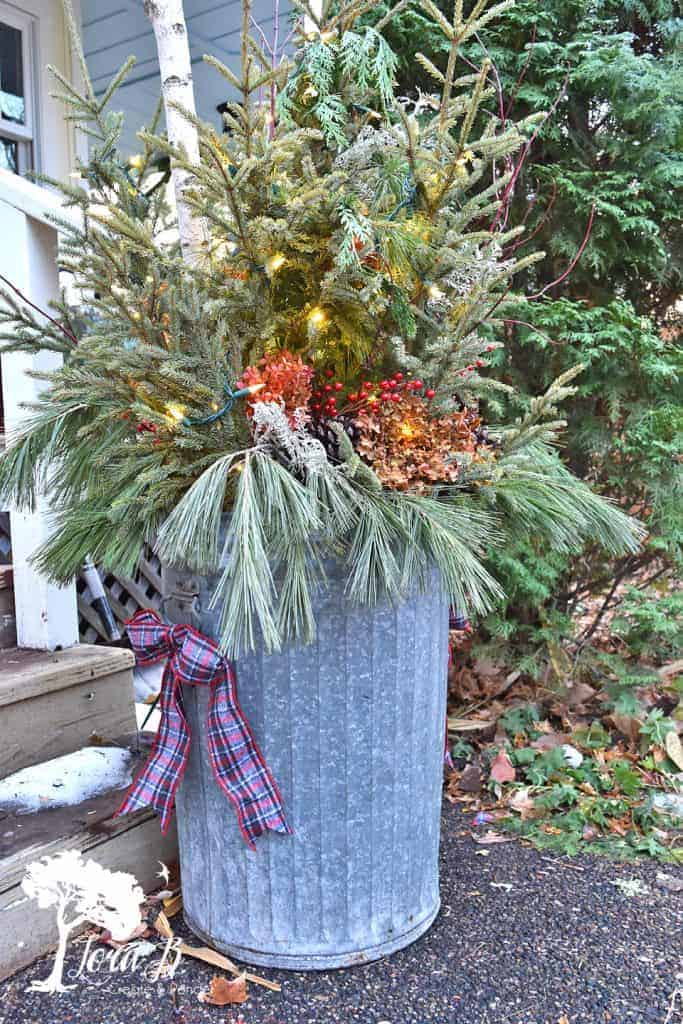
Create Your Container Theme with Ribbon
Ribbon is a natural starter for the color theme and style for your winter container. A wintertime plaid can give you the colors to help you decide the other elements you’re adding. The black/gray/red plaid I chose for my pots this year steered me to using red branches and red berries. It also looked great with my galvanized, ribbed garbage cans (a huge nod to my trash-to-treasure lifestyle;).
Be creative with how you work your ribbon in. You don’t have to make a big, fluffy bow. Your ribbon will go farther if you do a simple bow, or even a simple knot. And get creative with the placement. You can tie it on a stick and insert it into the dirt, so it’s right at the base. You can tie it onto a handle, or around the whole container. You can even knot it onto the evergreen tips themselves, or onto the sticks or branches.

Another option instead of ribbon would be to use a an old scarf. Get more ideas in “12+ Creative Ways to Decorate with a Thrifted Old Scarf”.

Use Natural Elements with a Touch of Extra
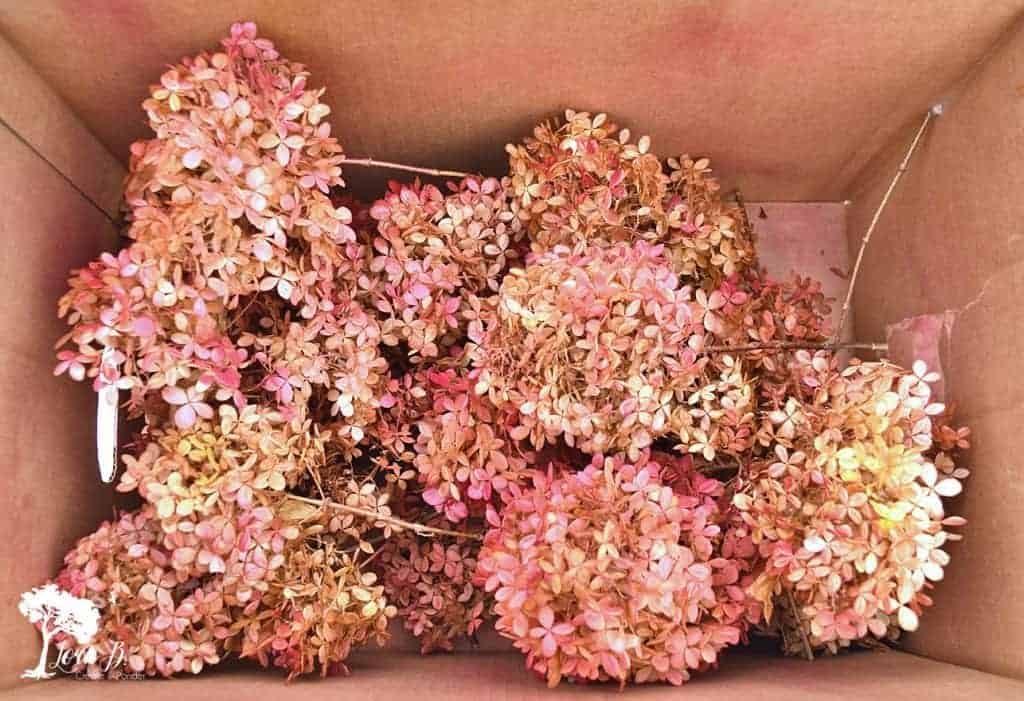
Your yard and garden can be a wonderful trove of extras to add to your winter outdoor planters. Pinecones, hydrangeas, seedpods and dried berries and hips look beautiful when added to spruce tips and evergreens.
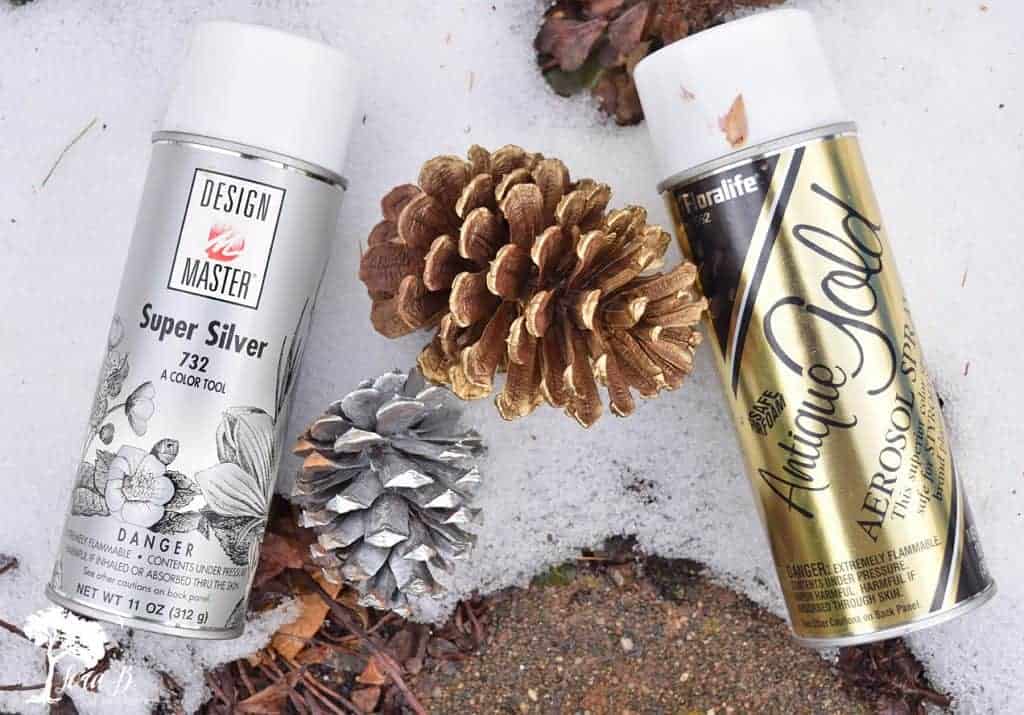
You can use them in their natural state, or add a little extra punch of color with floral spray paint. Floral spray is a lighter version of spray paint and is used by the floral industry. I love to add a bit of rosy reds and olive greens to my hydrangea so they’ll look pretty all winter long. Silver and gold add a touch of glimmer to pinecones. I’ve had these bottles for years; they last a long time because you don’t need much.

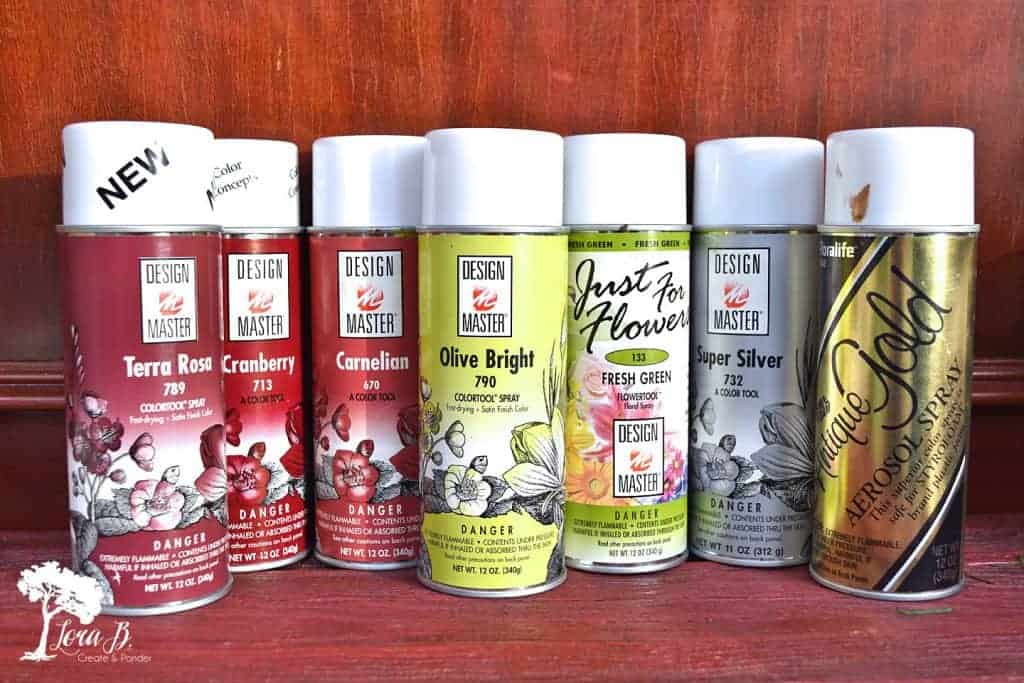
You can use it on fresh or artificial flowers and foliage. Once you use this great stuff, you’ll be thinking about a whole new world of possibilities!
Once I’ve touched up the hydrangea heads and other natural elements, I tuck them into the greenery. If they’re lightweight, I just shove them in tightly. Pinecones are heavy, so I wrap my favorite chenille stems around the end and wire them to a branch down at the base of the arrangement.
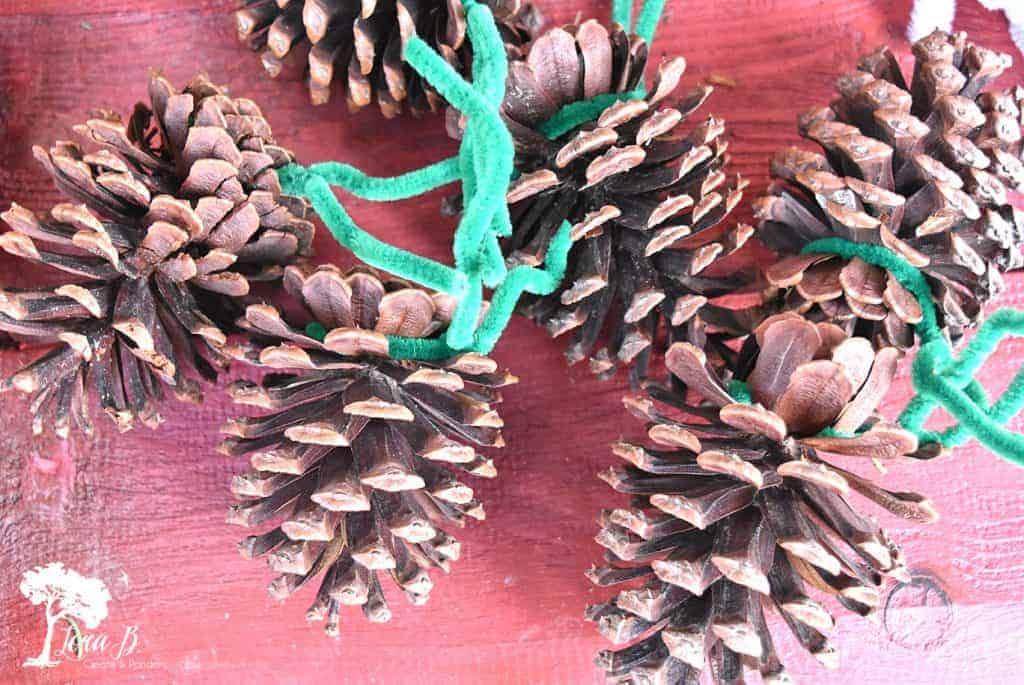
Find chenille stems HERE. I like to have green, red and white available for my holiday decorating.
Add Seasonal Store-Bought Items to Outdoor Containers
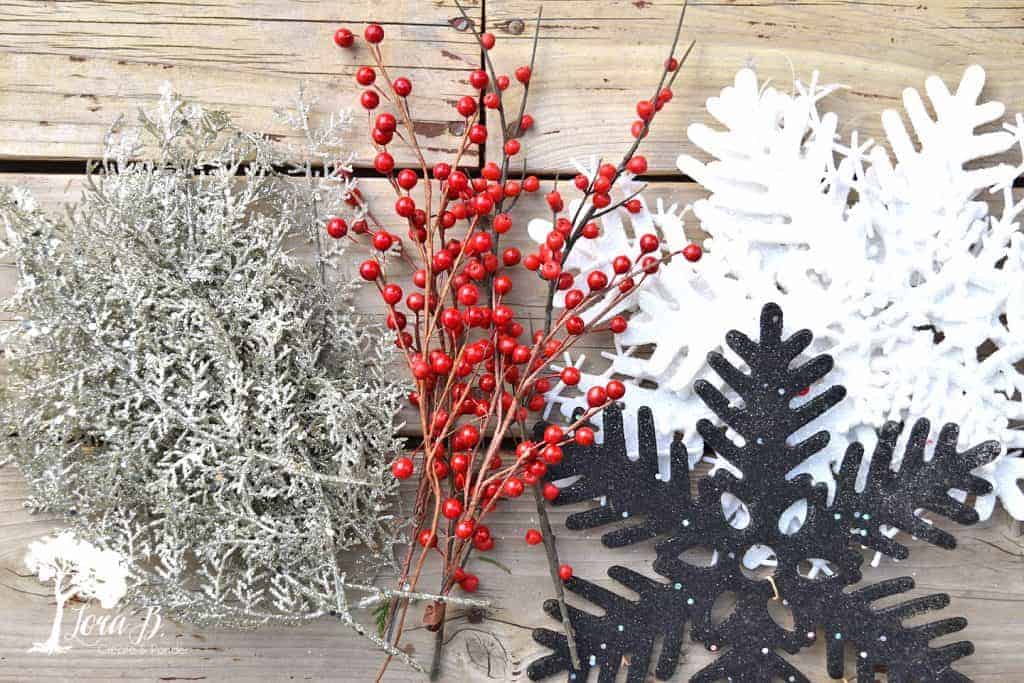
Of course there’s always cute things you can buy to tuck into outdoor winter pots, too. Most of my containers get wet snow on them, so I like to buy plastic items that won’t fall apart in the harsh weather. Berries, snowflakes and glittery foliage all look pretty tucked in with the other textures.
If you’re worried they are going to blow off in the wind or weather, have a roll of THIS at the handy. I use it all the time to attach any type of floral or foliage; it’s lightweight, yet strong. (find all my favorite floral attaching supplies HERE).

(Amazon referral links)
red and gray wired edge ribbon
large plastic snowflakes (black version here)

I hope you don’t ever have to wonder what to put in your winter pots again! Won’t it be fun when your friends and family say, “Oh, I love your pots; where did you get them?” You, too, can have gorgeous outdoor winter containers to enjoy through the season! Place one outside your window, so you can enjoy it from the inside, too!
Hope you enjoyed all the tips in this 5 Ways to Make Your Outdoor Winter Containers Beautiful! Be sure to sign up to Become an Insider, so I can send the ideas right to you! (sign up HERE)
Find many more creative holiday DIY craft and decor ideas HERE.
Follow Me: LTK | Amazon | Pinterest | Instagram | Facebook
Pin and Share!


Lora, your winter containers are gorgeous! Thanks for sharing at Vintage Charm–pinned!
Thanks, Cecilia! I’d really like a little sprinkling of snow on them, though; cherry on top!
All beautiful ideas Lora! And I love your container! Thanks for the reminder that I need to do our front pots too! 🙂
Thanks, Barb! I sometimes forget to add the cuteness out front, too; we go in and out of the back:)
All I can say is – who knew?! I am tackling our ugly plain empty urns on the front porchette this weekend so my neighbors will quit giving me the stink eye and I’m super happy to have read this! Thanks for posting it and guess what… yep, you are being featured again. I know, I know, you love us. LOL! Hope your Thanksgiving was fantabulous!
I’m so glad you got some new ideas, Cindy! I’m sure your pots will be amazing:) Thanks for the feature!
I really love this. I can’t wait to do something similar on my greenhouse porch.
I would love for you to share at Charming Homes and Gardens Link Party. https://shiplapandshells.com/charming-homes-gardens-link-party-34/
So glad you enjoyed it, Kim! I remembered to pop over; thanks for the invite:)
The outside should be almost as pretty as the inside, at least yours is. I love your ideas, thanks so much and have a Happy Thanksgiving with your family.
Omg, I love your container!!! It’s so beautiful!!
Thank you, Jennifer! I love decorating the outside winter pots!
These are gorgeous, and truly impressive, Lora. I love how you’ve used the spray color on the Hydrangeas!
Thanks, Debra! It makes such a difference, and I love using what I already have in my yard:)