
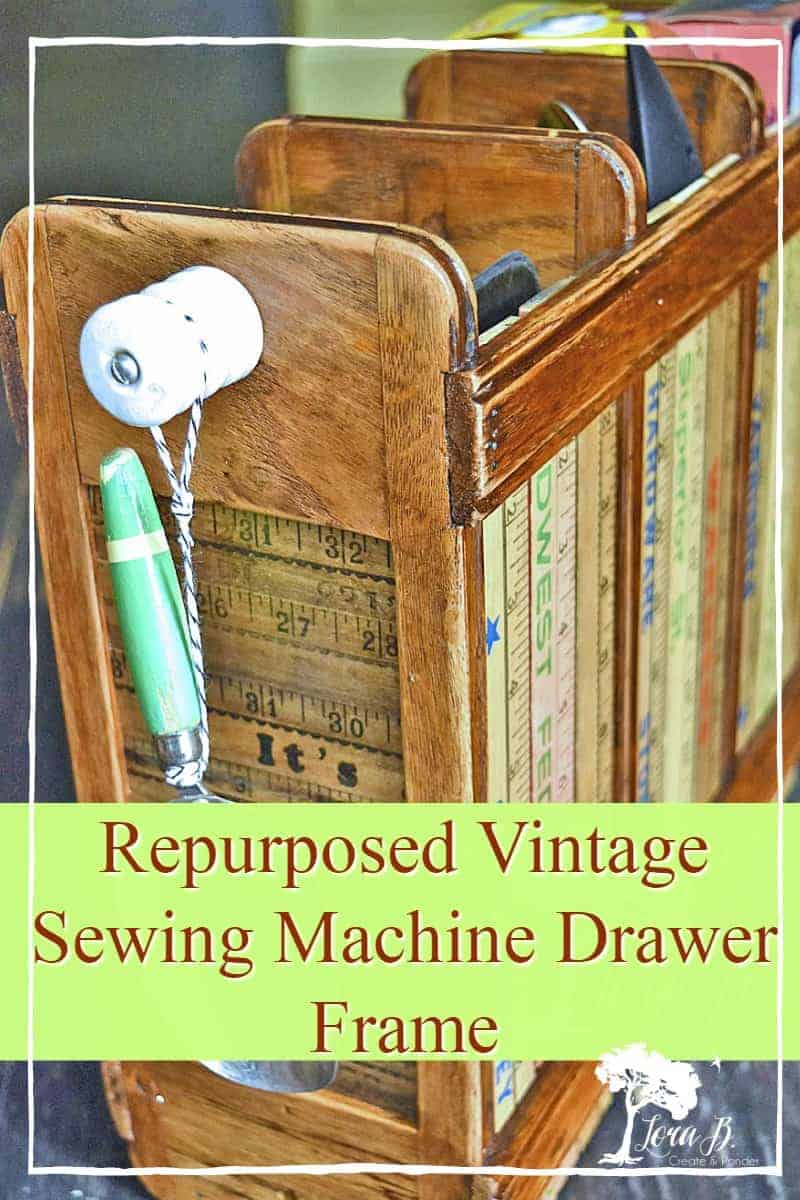
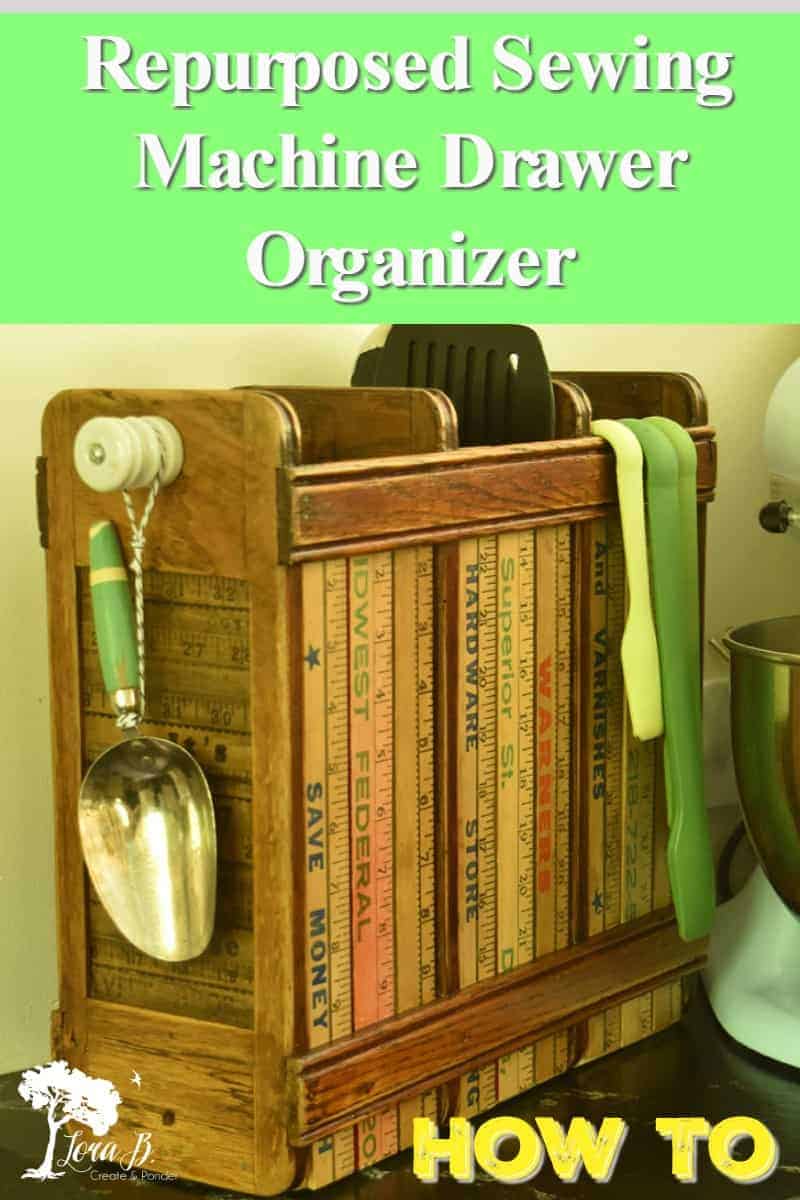
Repurposed Vintage Sewing Machine Drawer Organizer
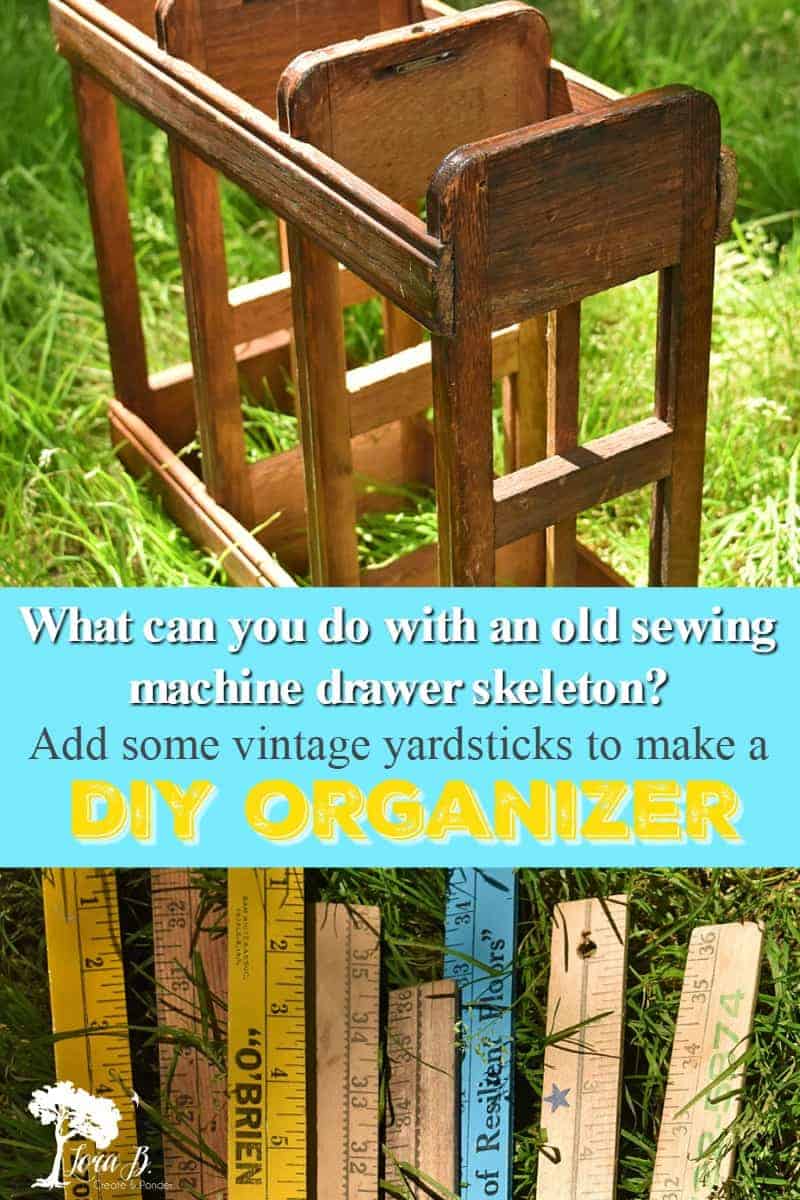
Vintage sewing machines were workhorses for an earlier generation. But most have done their duty and have been replaced with newer, computerized versions. The old machines and the tables that were built around them are beautifully made; it’s sad to see them disposed of. When I spied just the frame of a vintage sewing machine drawer on a curbside pile, I knew it’s pretty wood needed a new purpose. Here’s how to create a Repurposed Vintage Sewing Machine Drawer Organizer you can use for function or beauty!
Today’s project is part of our monthly Thrift Chicks Challenge, where a group of creative bloggers all create around a theme. (You can check out all our themed projects HERE). This time around we are creating with a “kitchen” theme. Can’t wait to see what my friends came up with! I’ll have all the links to their projects at the end.

Repurposed Vintage Sewing Machine Drawer Organizer
For your convenience, this post contains affiliate links. If you make a purchase, I may receive a commission. There is no additional cost to you. My full privacy policy is here.
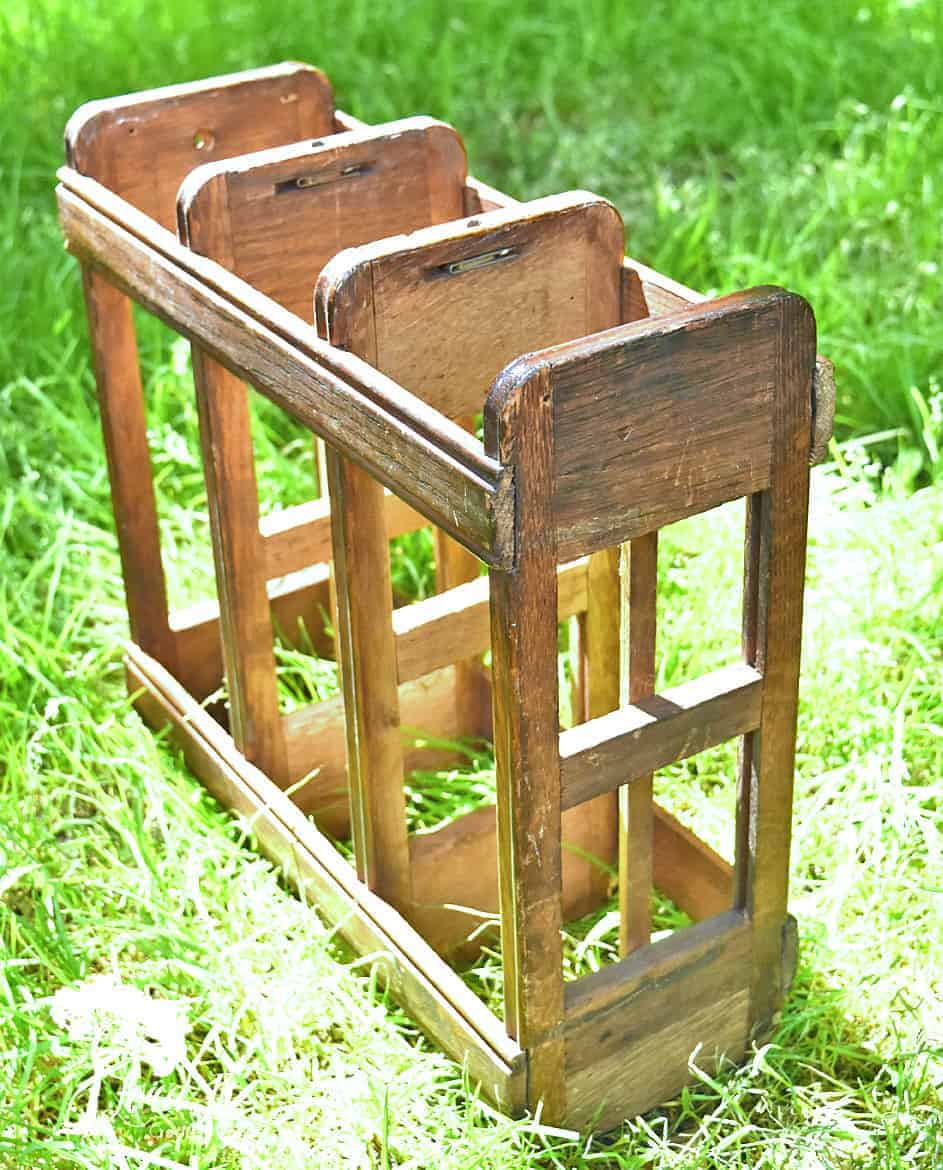
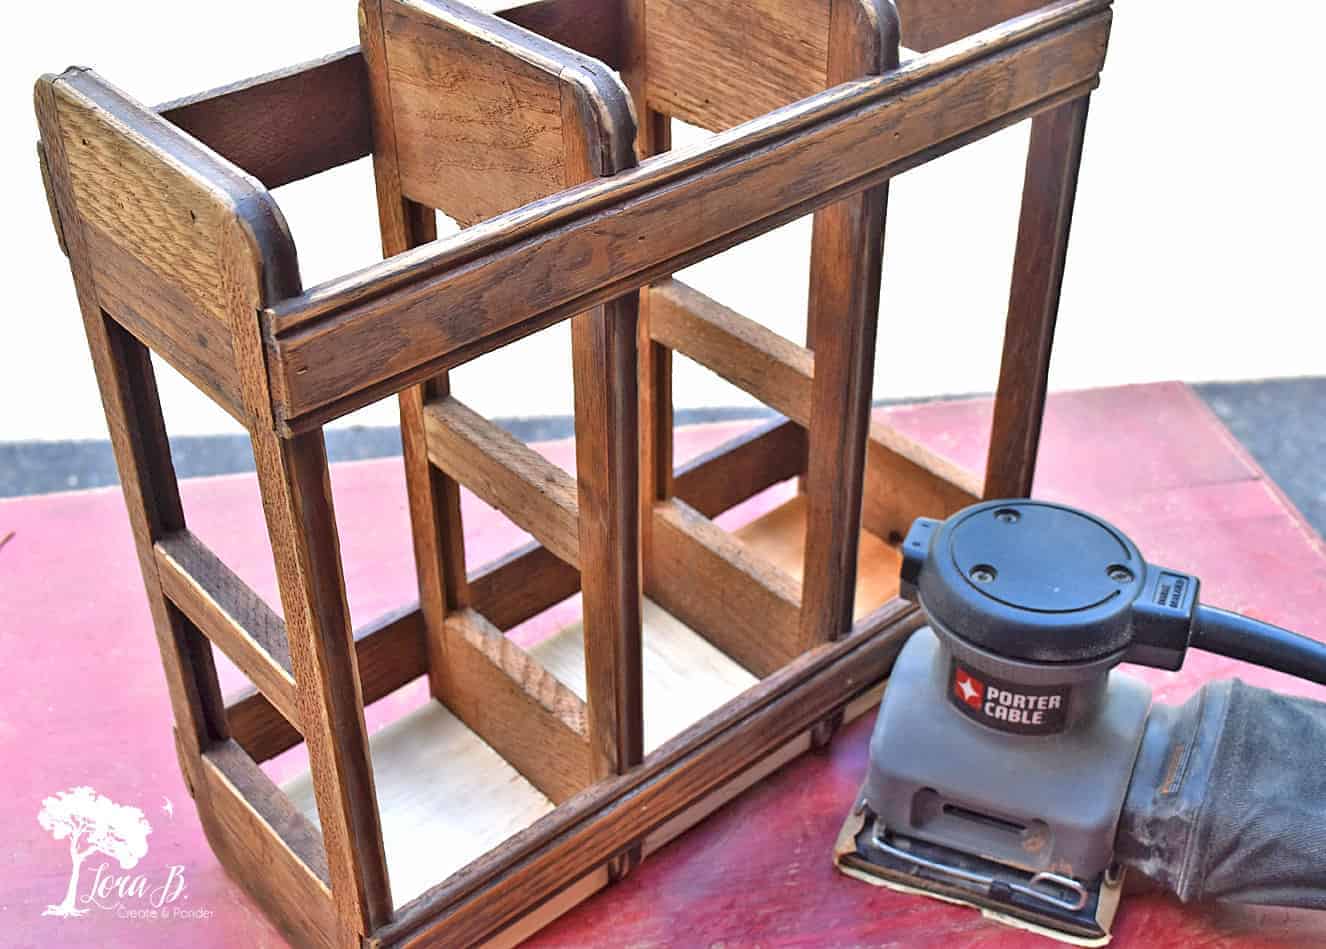
Start with a Vintage Sewing Machine Drawer Skeleton
Instead of creating something from kitchen items, I decided I needed to refresh a roadside find I’d found this spring (“Curbside Junking Adventures and Tips”) for the kitchen. I created a kitchen organizer from the skeleton of a vintage sewing machine drawer.
There are plenty of creative uses for the drawers of vintage sewing machines (just check Pinterest), but I hadn’t seen anyone figure out what to do with these drawer skeletons. I don’t like any vintage pieces to go to waste, especially if they’re made with great old wood!
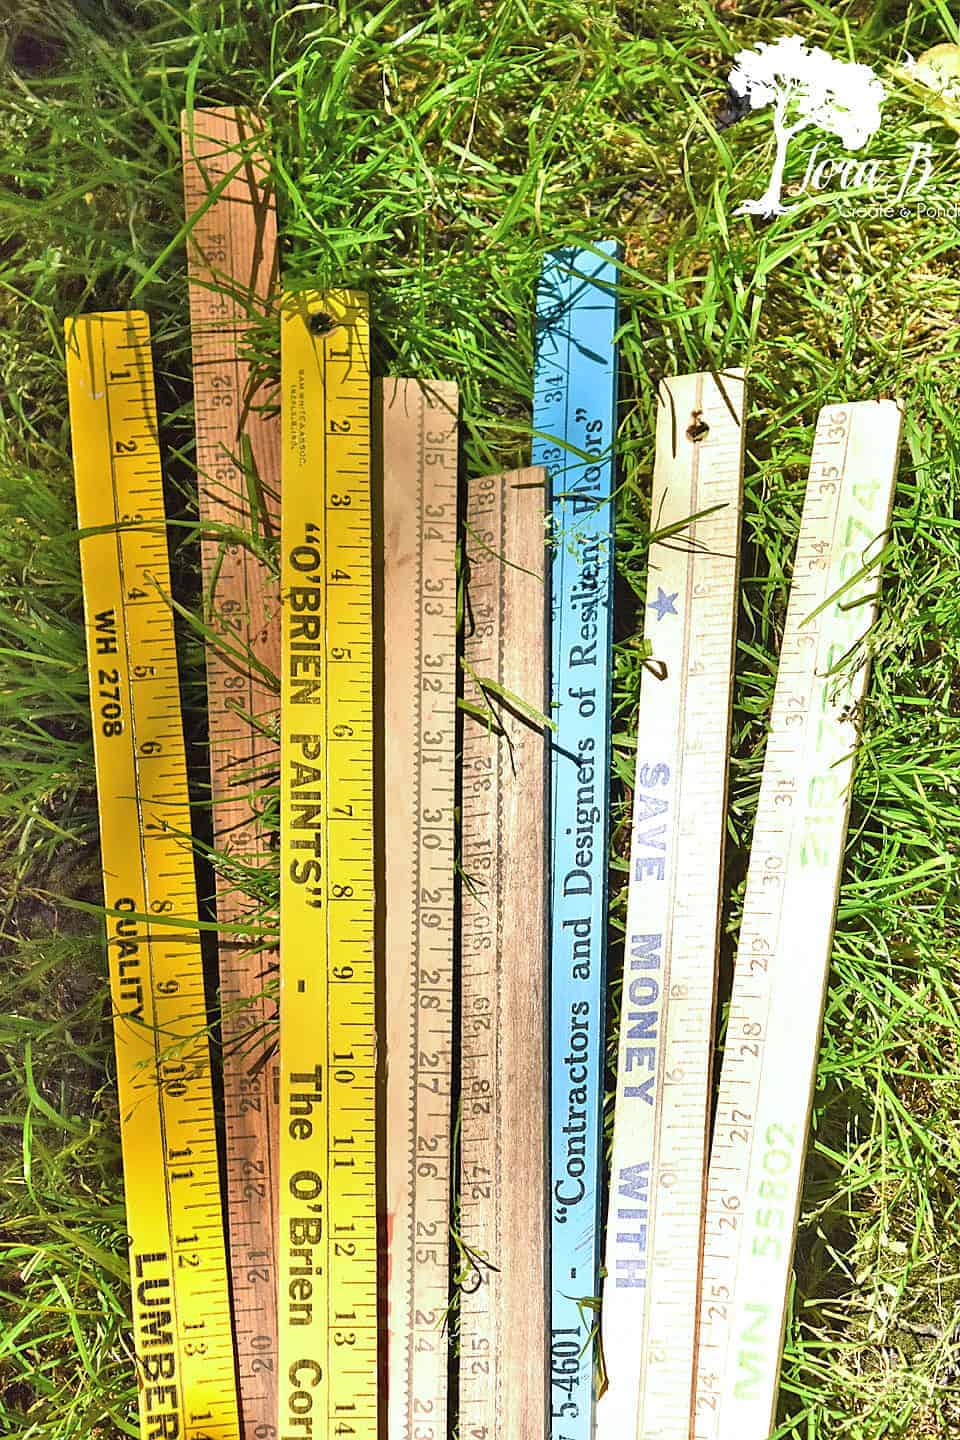
You’ll also need some vintage yardsticks and some scrap pieces of wood for this repurpose.
Create the Bottom of your Sewing Machine Drawer Organizer First
First, pop the drawer glides off. You won’t need these…at least for this project;)
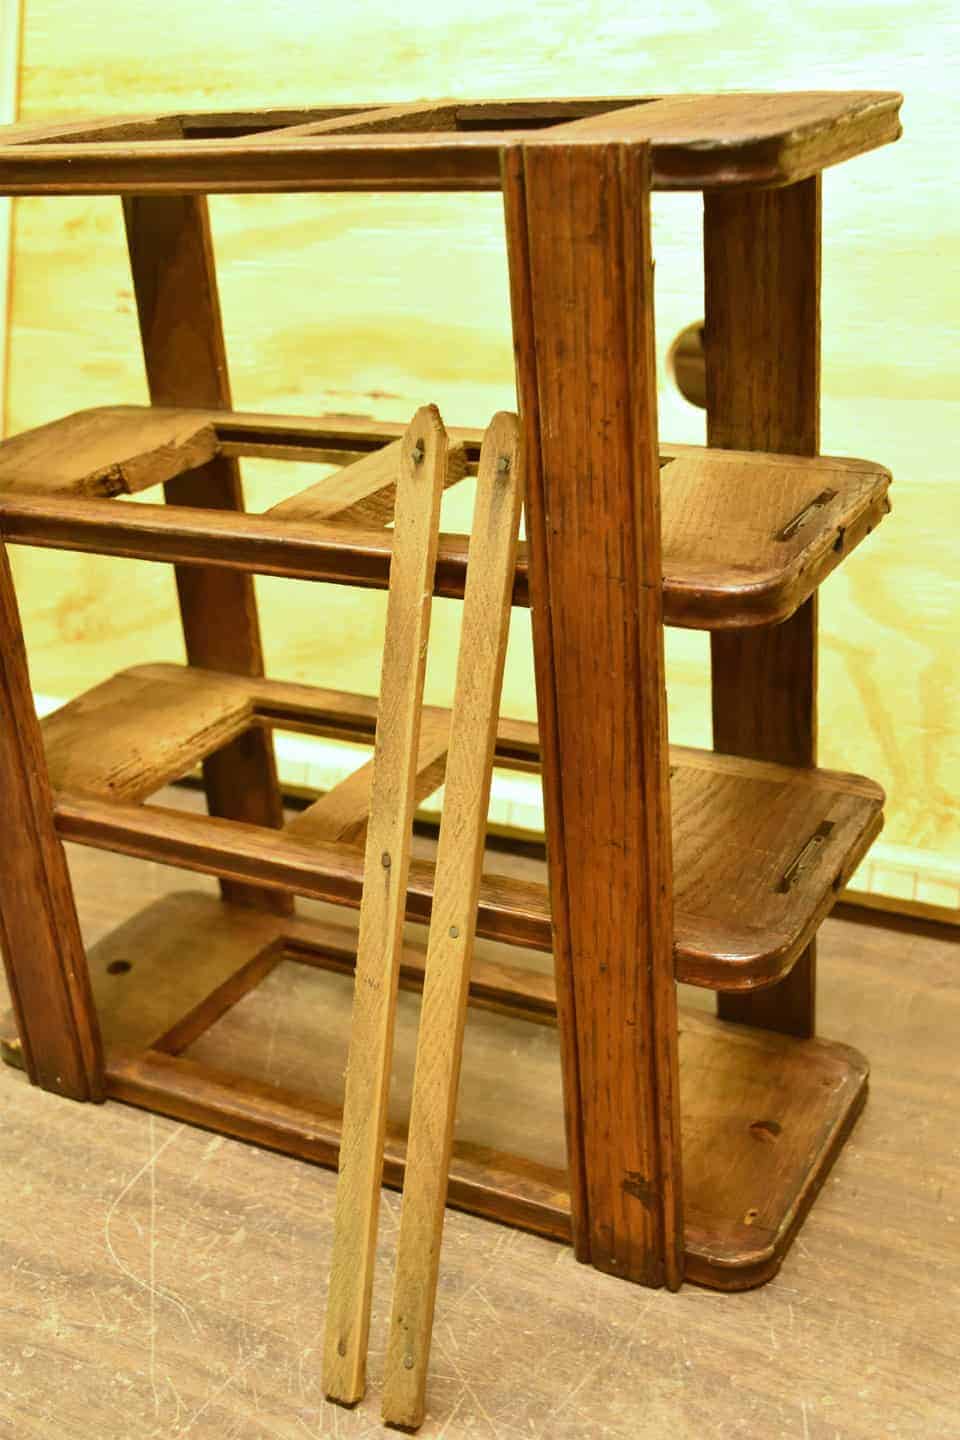
To create the bottom of the organizer, cut squares of scrap wood to fit between each section, leaving room for the width of the rulers to wedge in on either side…you’ll see that soon.
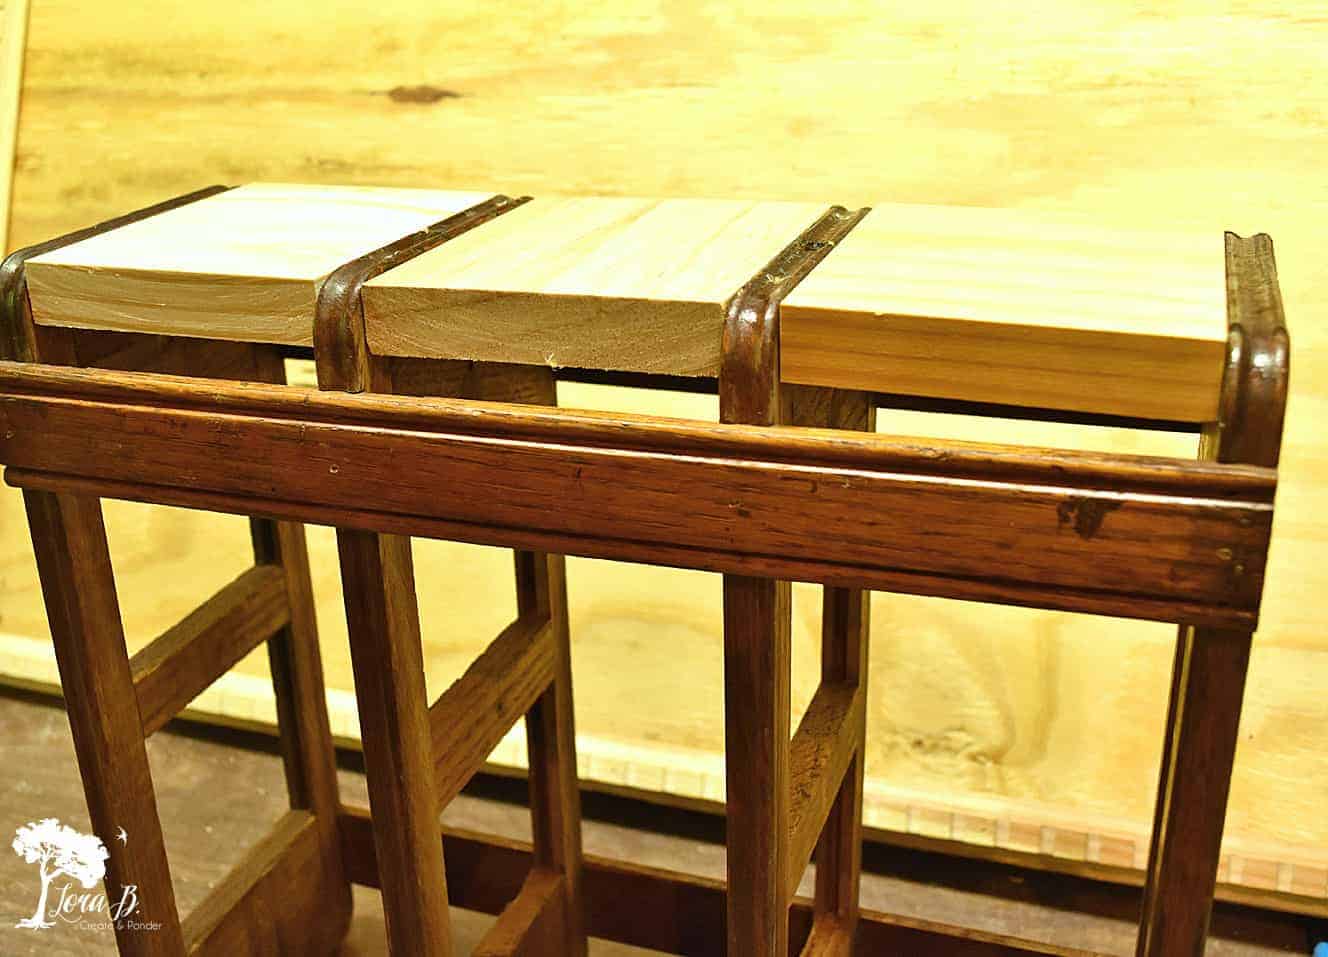
Then sand it all smooth to bring out the character of the old wood. (HERE‘s the palm sander I like for smaller hands)
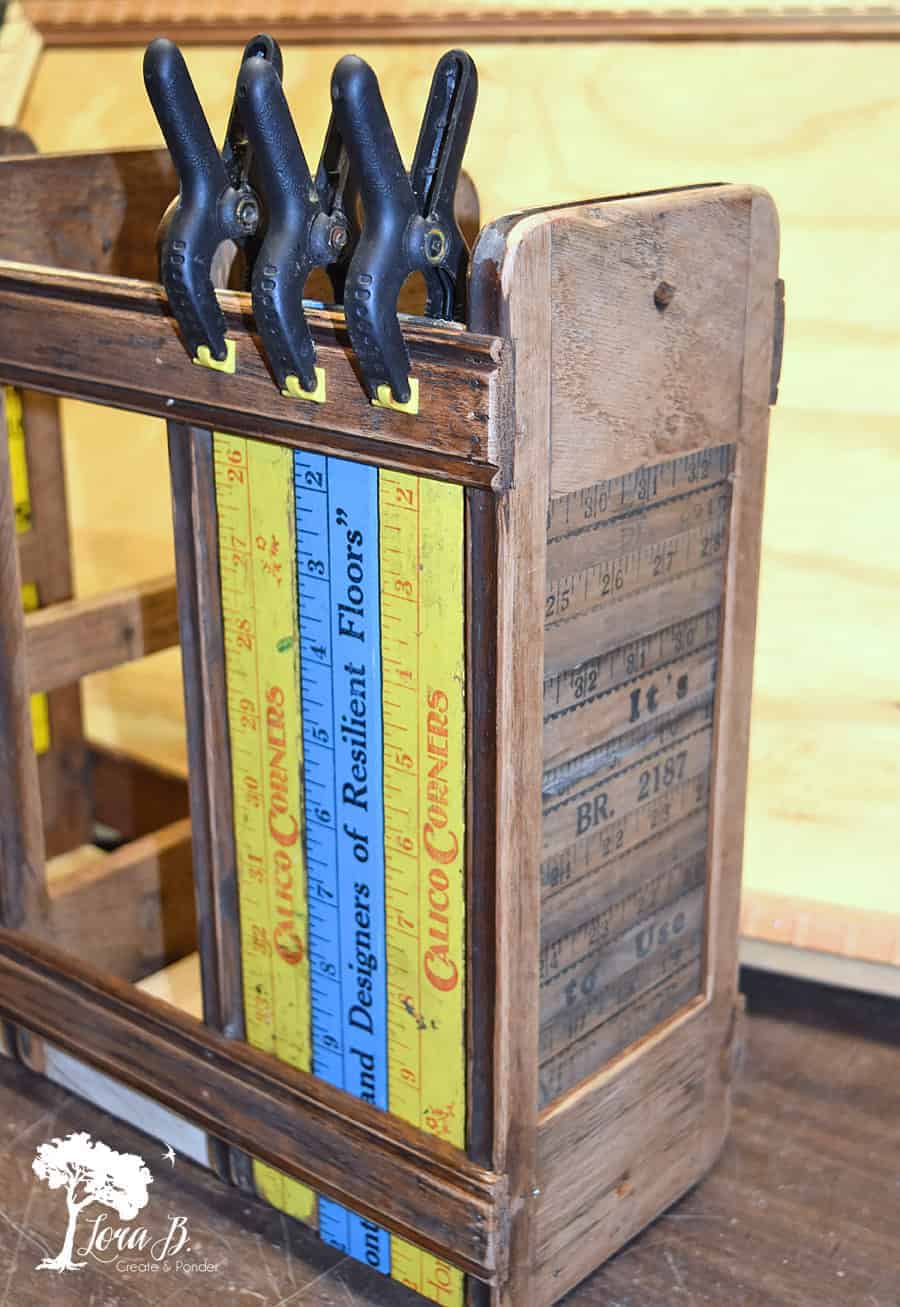
Next, Cut the Yardsticks and Fit into the Ends of the Organizer
Cut pieces of yardsticks slightly larger that the square openings on the ends. We put a little notch in the corners, but they weren’t needed. Just angle the pieces as you place them in the groove. The last piece will need to be slightly less deep to fit.
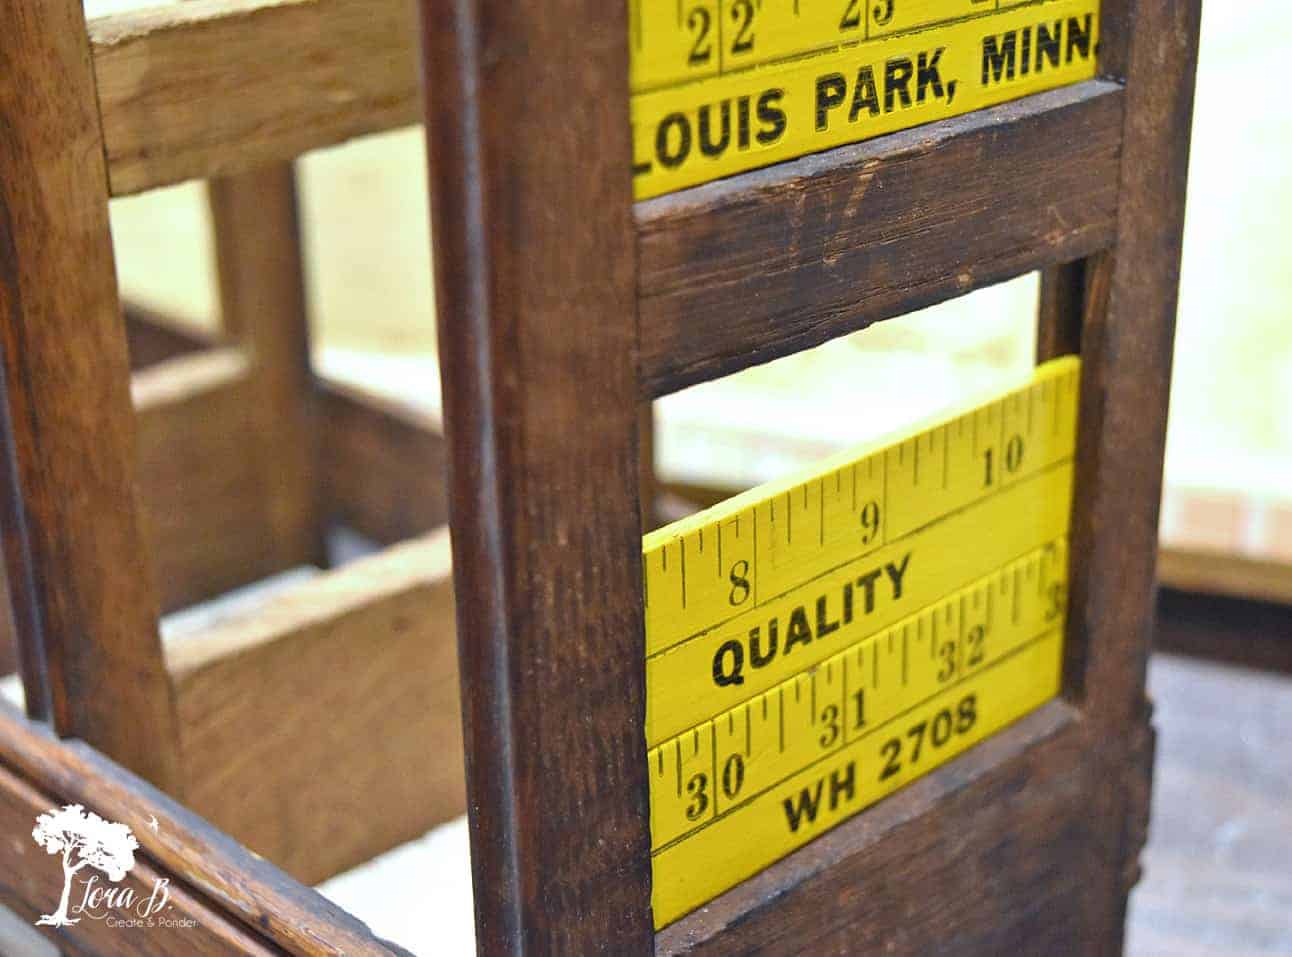
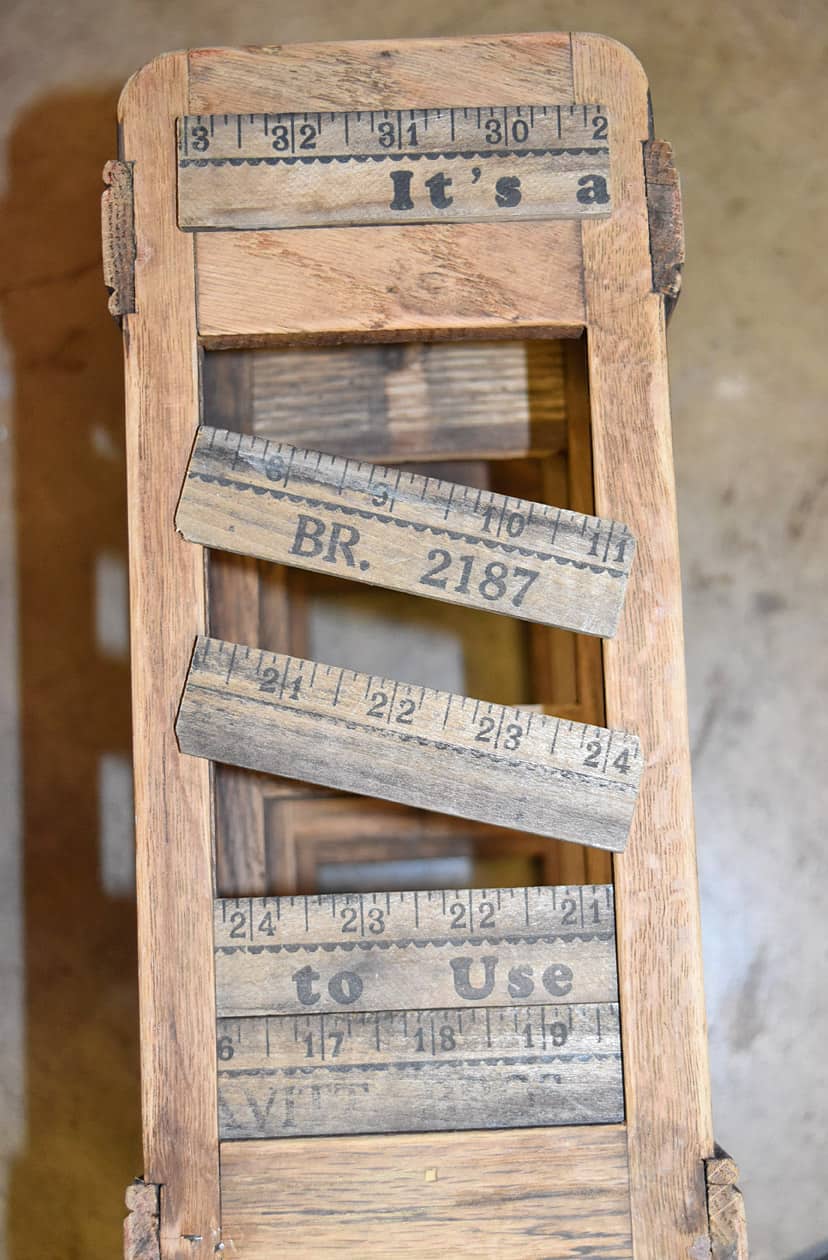
Finish off both ends of the sewing machine drawer frame with the short sections of yardsticks. Use either wood glue or small nails to keep them in place.
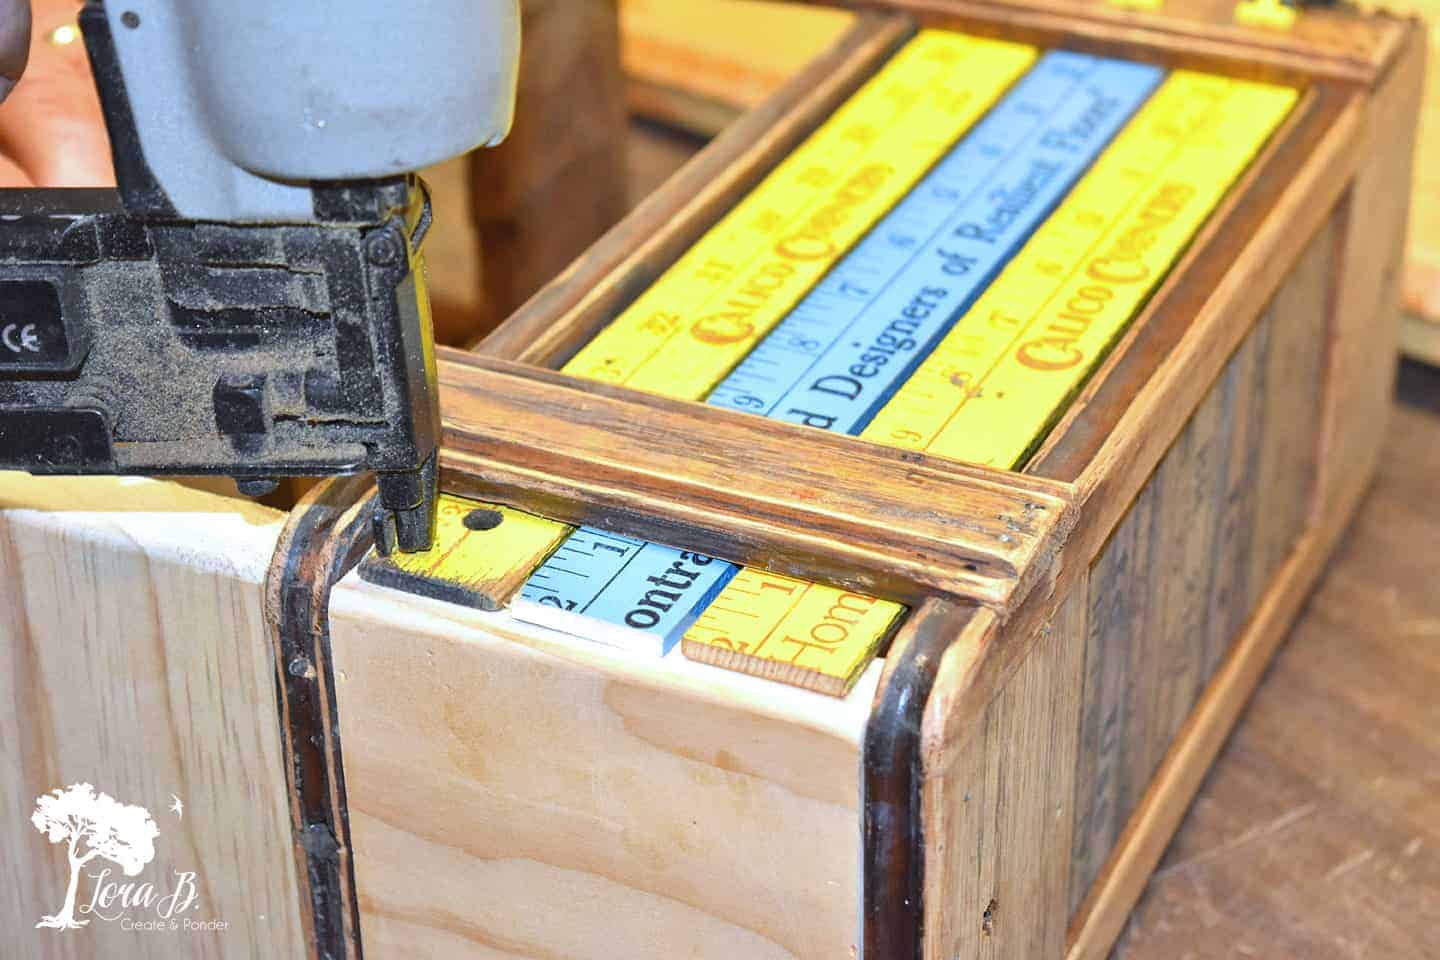
Cut Yard Stick Sections for the Sides of the Sewing Machine Organizer & Nail In
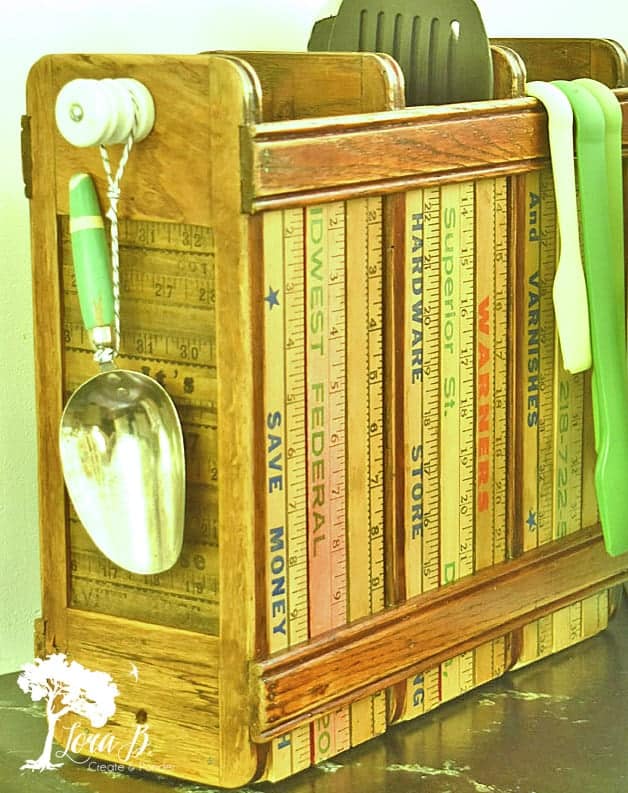
For the sides, cut yardsticks in 12″ sections. I wanted one side to be colorful and the other to be subdued. We spaced the yardstick sections evenly, with small spaces between each to span the space. While you’re spacing them, clamp so they won’t move while nailing in. It goes quickly with a pneumatic nailer.
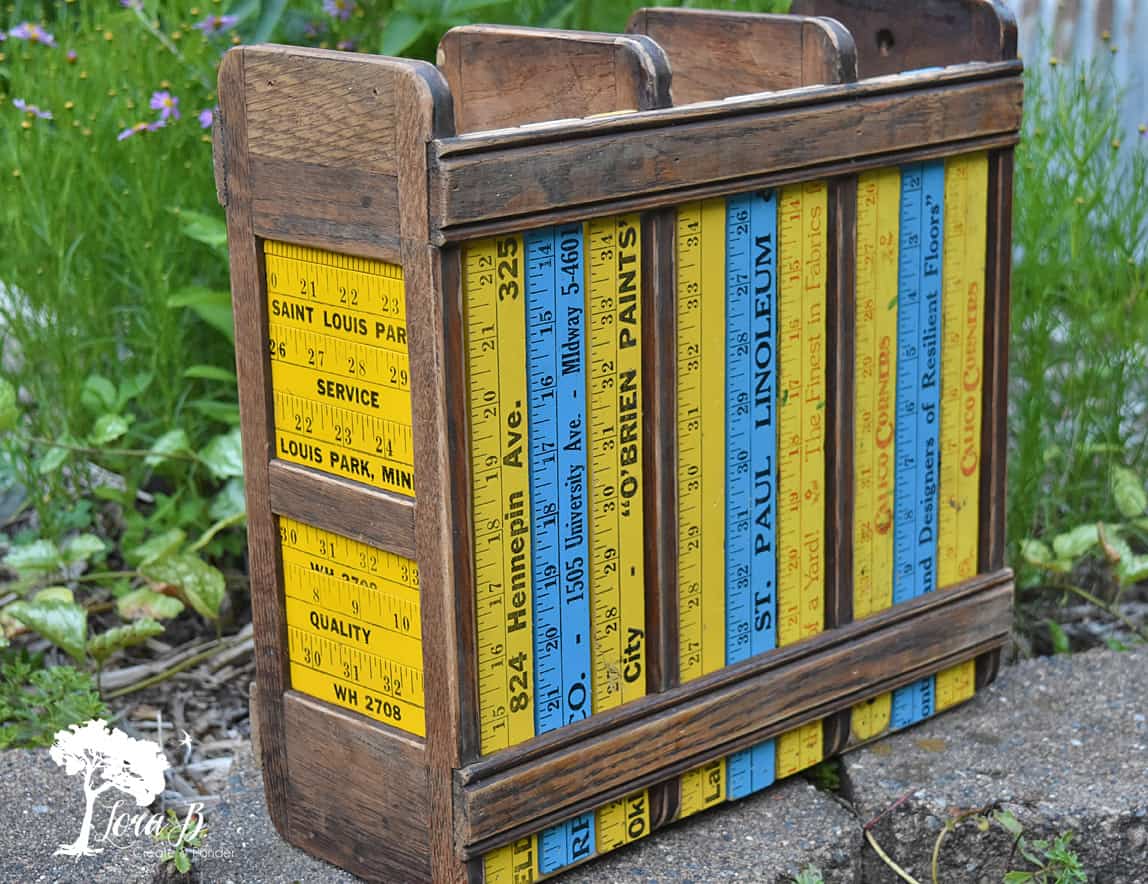
Here are the 2 looks on either side:
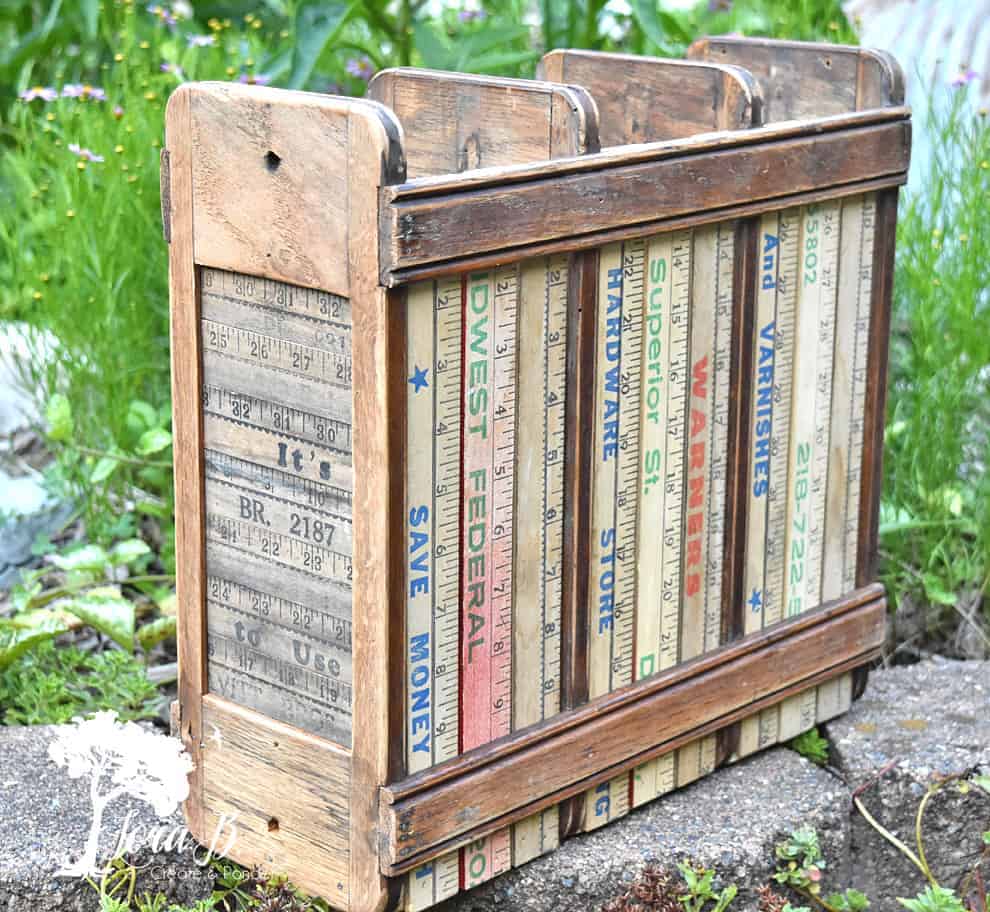
Seal with a Coat of Poly
To bring out the beauty and character of the yardsticks and the old wood sewing machine frame, brush on a coat or 2 of waterbased poly (my favorite is HERE).
Almost done, but this project needed a little something at each end to increase it’s use, plus give it a little junky bling.
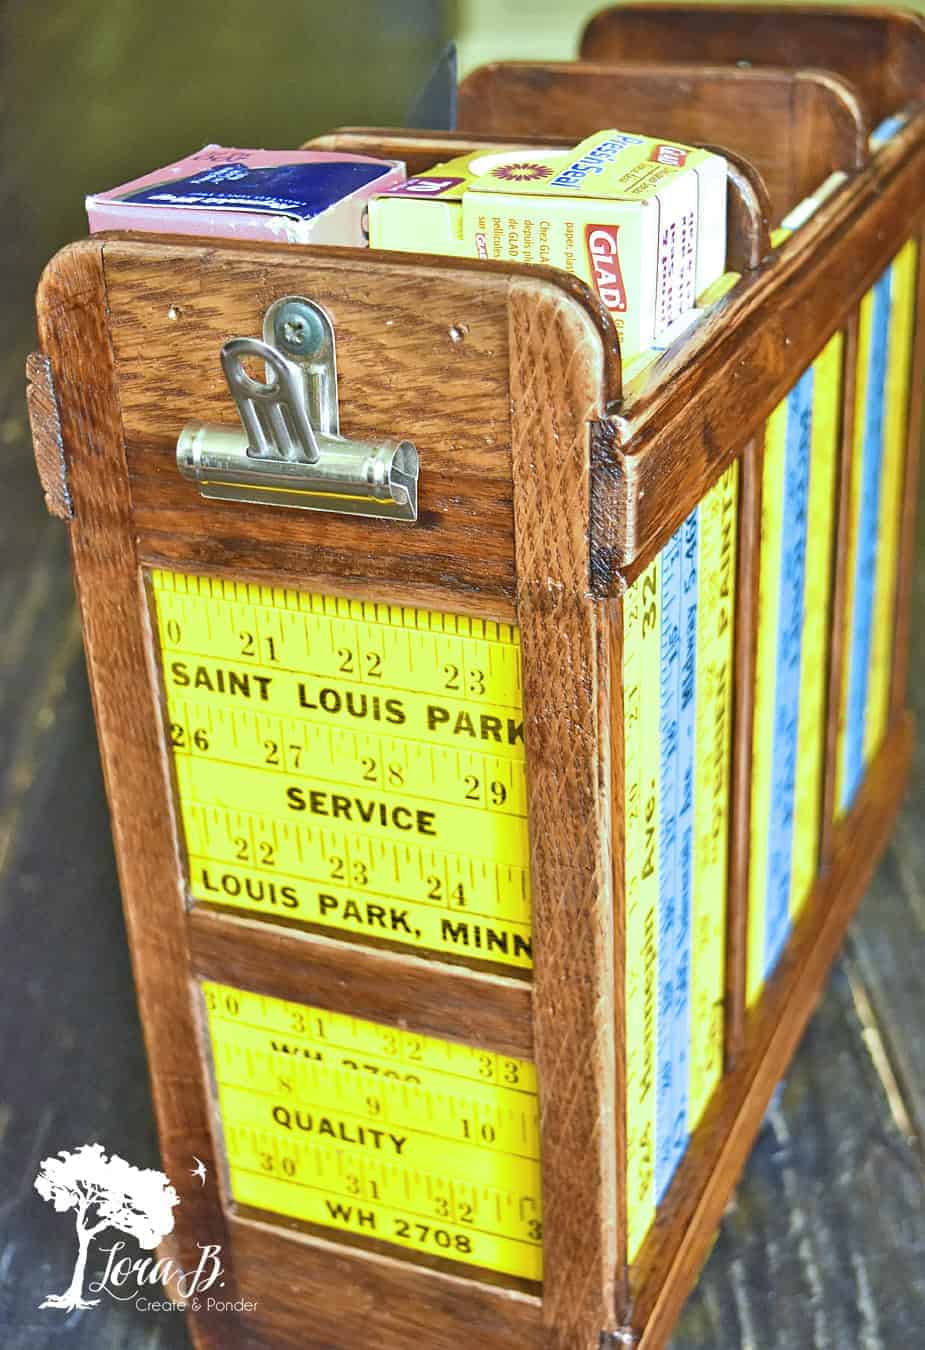
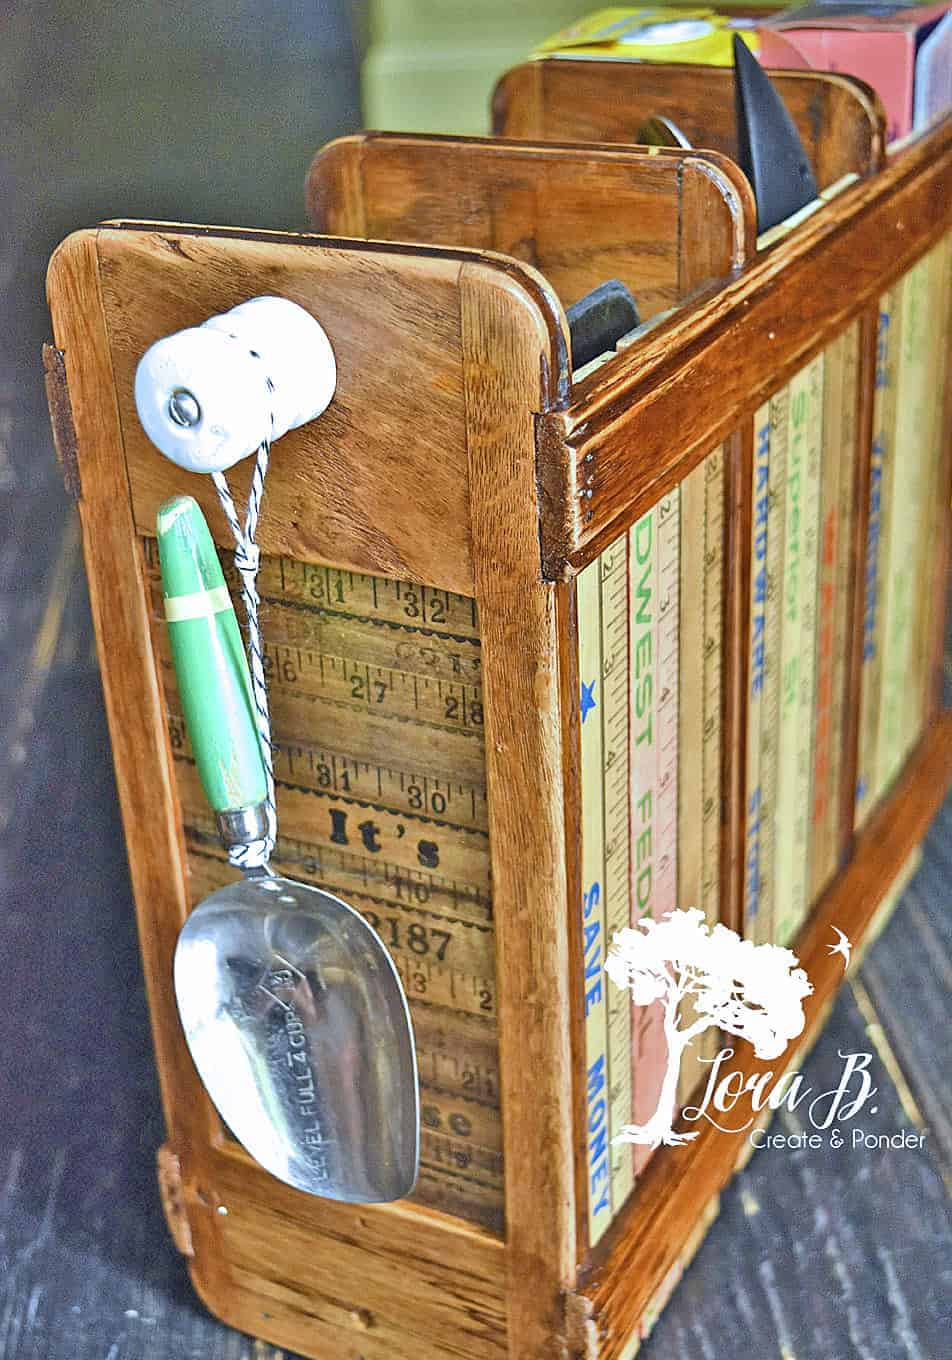
Attach a Hanger or Clip to Each End of the Organizer
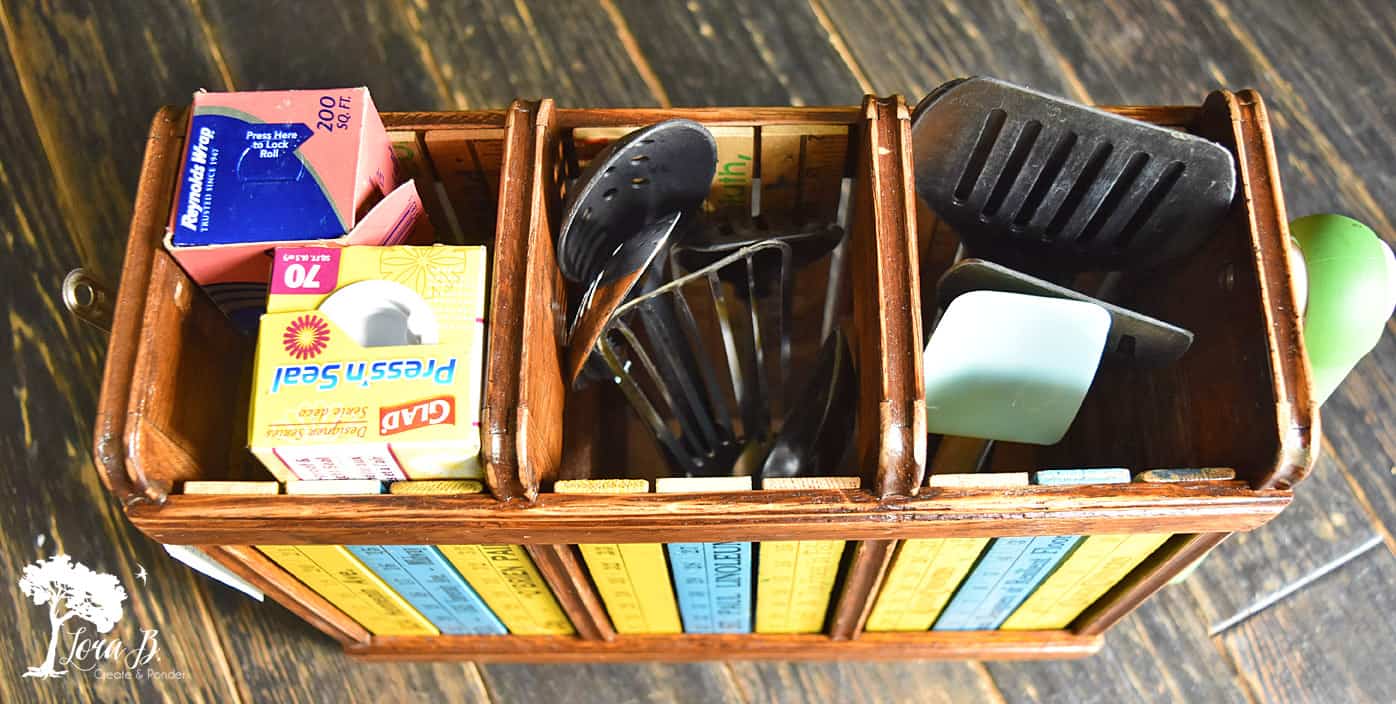
An old insulator and a vintage clip were screwed to each end. They can be used to hang a utensil or clip a recipe card. The tall sections can hold whatever you want. To go along with our “kitchen” theme, I placed rolls of tinfoil, cling wrap and long cooking utensils in the different sections. It’s a one-stop-shop kitchen organizer for the cabin, RV, or even out by the grill!
Next time you spy an old sewing machine drawer skeleton, where someone has already grabbed the drawers, remember this fun project! And make sure you check out all the other Thrifty Chicks’ kitchen projects below. Think this Repurposed Vintage Sewing Machine Drawer Organizer will enjoy a long life on my kitchen counter!


Thrifty Chicks Junkovers Challenge: Kitchen Ideas
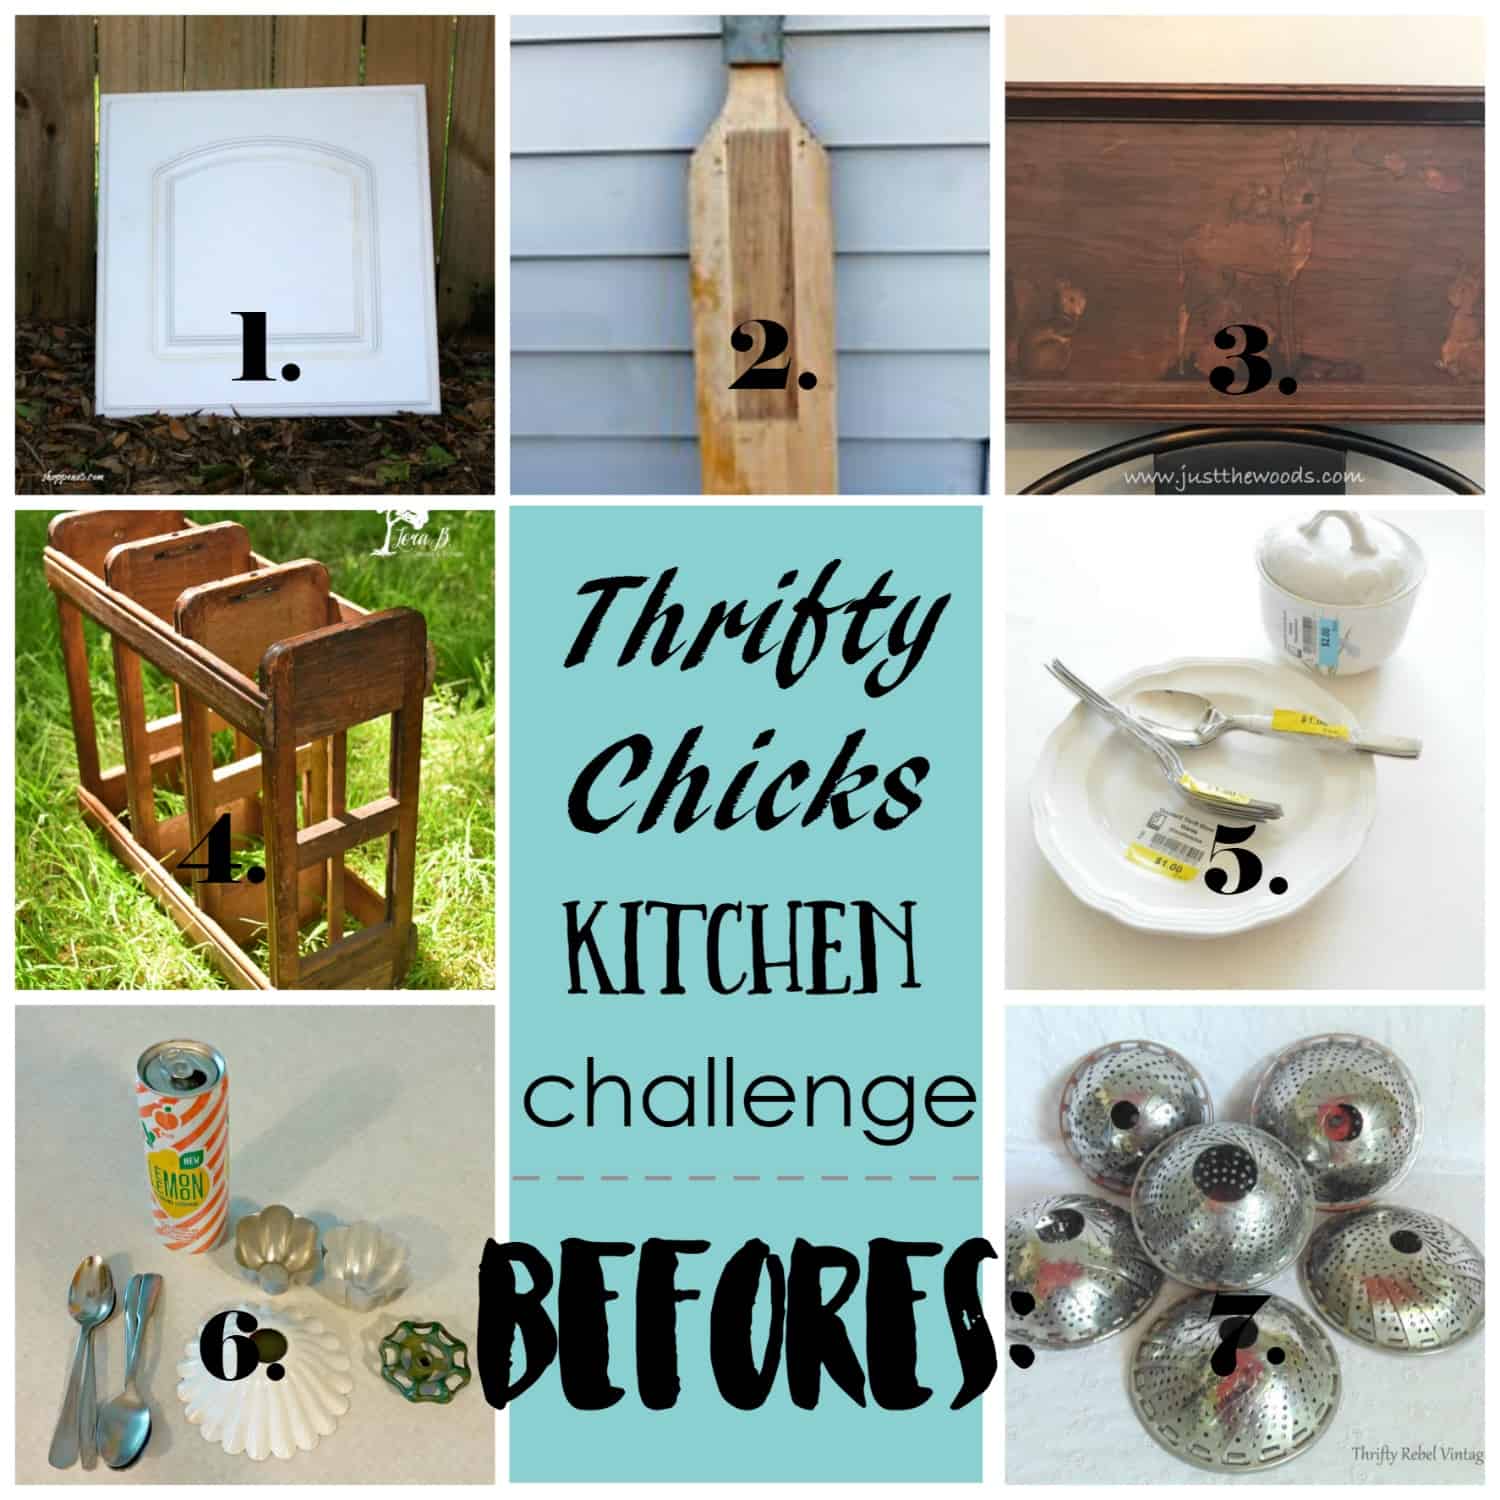
- Debra from Shoppe No. 5, “A Kitchen Cabinet Door into a Towel Holder”
- Diana from Adirondack Girl @ Heart, “Christmas In July DIY Project”
- Kandice from Just the Woods, “How to Make a Coffee Bar Sign”
- Me;)
- Marie from The Interior Frugalista, “DIY Silverware Windchime”
- Tania from Little Vintage Cottage, “What To Do With A Collection of Random Kitchen Do-Dads”
- Tuula from Thrifty Rebel Vintage, “How to Make Repurposed Folding Strainer Flowers”

Sharing at these lovely parties:
This is without a doubt, the most creative use I’ve ever seen for this part of the sewing machine! It is simply gorgeous!! Would you be interested in selling that or making another? If not I’ll have to be on the hunt!! Lol
Shirley🙃
Loved seeing your diy projects. I will check out the magazine article. You have great ideas ! Have to mention this : one of my Christmas presents was the book you showed, 57 Buttermilk Acres. I haven’t even begun to dive into it yet…..am saving it for a great! Thank you !
Lucky you, Sarah! You’re going to love that book; definitely one of my favorites! Thanks!
If you were to stop by for a tour, I tell you how happy I am that we are friends and I would get you some sweet tea (or water if you preferred) and I would take you through the rooms and give you the yard sale tour. You know, the one where I tell you where everything came from and how I made it or got it at a yard sale and what I would buy at a yard sale season if I only had $5.00 and that yard sale season is starting again and we should go some Saturday.
That sounds like a wonderful tour! And I’m jealous…sale season is many months away for us here in the north!
Wow! What a wonderful transformation. The rulers are just the perfect addition and very creative with so many potential uses for it. Pinned 🙂
Thanks so much, Angie!
This is brilliant! I have that same scoop on the end only red handled. I use it in my laundry detergent bin. Perfect scoop of soap. Thanks for sharing with SYC.
hugs,
Jann
I’m so glad you liked it, Jann! This green-handled scoop is special to me, because it was my Grandma’s. We use it for our homemade granola!
Lora, this is fantastic – perhaps the most clever thing I’ve seen all month! I’m looking forward to checking out more of your projects. Of course, it did bring up an old sore point with me – how I wish I had thought to lay claim to my grandmother’s sewing machine when she died. NO one kept it! And no one thought to ask young me who was learning to sew.
Thanks for your sweet compliments, Jean! And I’m so sorry for your family’s oversight. Years ago, my Grandpa took their wedding Noritake china to a resale shop. My grandma had packed & repacked that China in at least 20 house moves! I luckily heard about the clearing out in time, and my grandpa lovingly retrieved them for his vintage-loving 1st grandchild!I treasure that set:)
It’s wonderful Lora! So cute, I had to pin both sides 😉 Thanks for sharing @Vintage Charm!
Thanks, Cecilia! So far, I’ve got the neutral side facing out, but if it goes outside by the grill, the colorful side would be fun! I always gotta have decorating flexibility…;)
What a great way to use this piece! I love the end result!
Thanks, Paula! I’m glad I thought of something, otherwise it would still be in a pile on my basement;)
Thanks, Paula! Think I’ve used pretty much all the parts of old sewing machines now, except for the machines themselves…have quite a few waiting for reincarnation in the garage…
Fantastic project, Lora–absolutely one-of-a-kind and with a great country/farmhouse look. You knocked it out of the ball park 🙂
You’re so sweet, Diana! Thanks!
How creative! You did a fantastic job. I’m realling liking the new thrifty chick challenges.
Thanks, JoElle! And thanks for the feedback! We’re all having quite a fun time with it too & it’s so nice to be able to collaborate with other creative bloggers!
Wow. So creative. You and your husband did an amazing job. Kathy
You came up with a winner. I love the use of the rulers. This will be a handy piece to have around.
Thanks, Debra! I have been enjoying looking at it, I have to admit?.
Absolutely love it Lora! The use of the rulers is so fun. I can see this used in so many ways.
Thanks, Tuula! I will probably be switching up the contents often!
This is one very clever and creative idea and I just love the rustic charm! It could be used for so many purposes. Love love love this Lora!
Thanks so much, Marie!