
Divided Drawer: From Workbench to Centerpiece

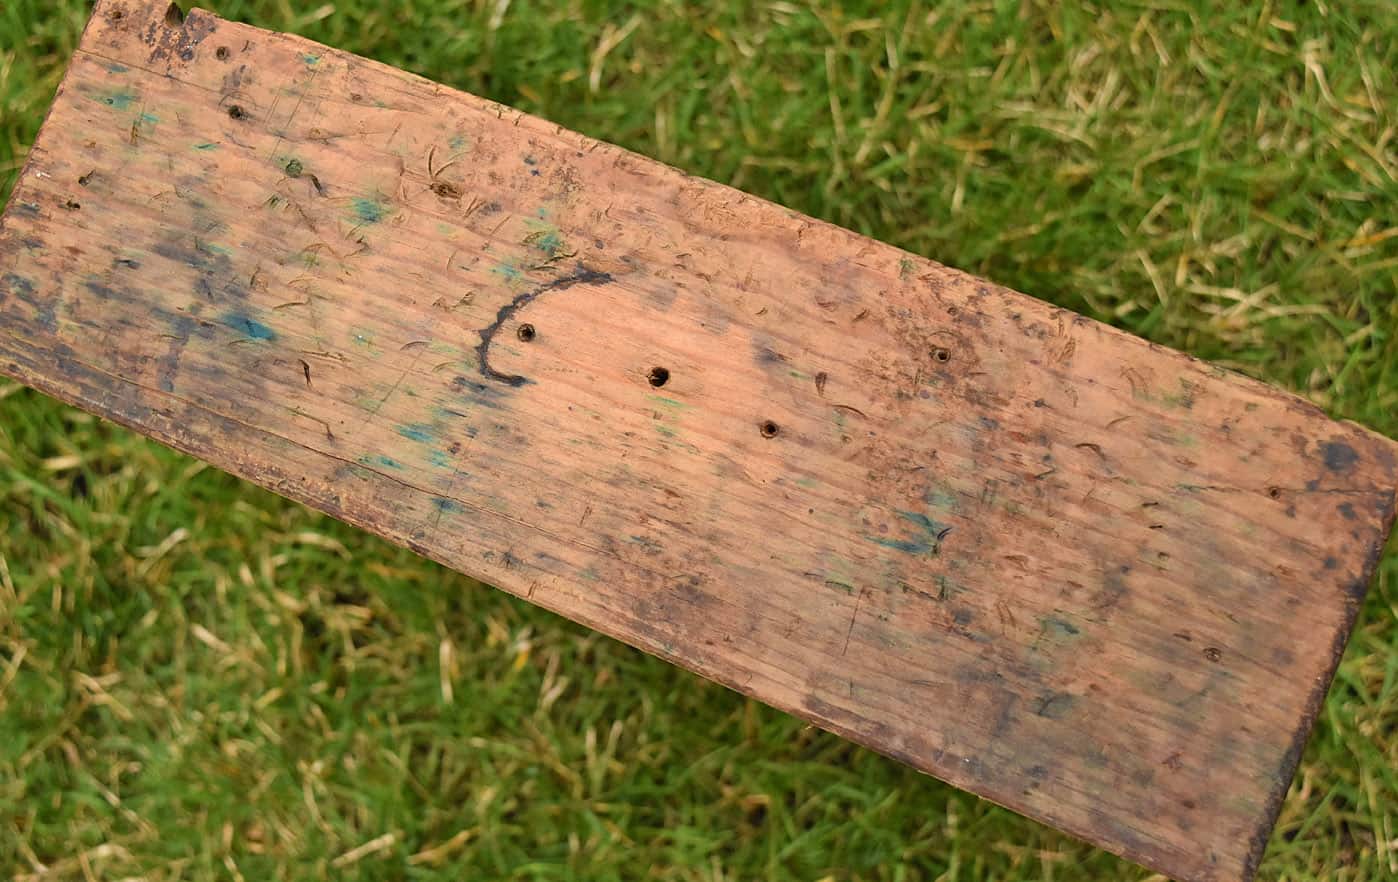
Years ago, Mr. Fix-it picked up several drawers from an old carpenter’s workbench. He was interested in the contents and told me I could have the drawers! This divided one was my favorite and after several years of hibernation in the garage, I decided the old boy needed a makeover and should be my Easter table centerpiece. Who loves a good trash to treasure story? (Raising hand, yelling “me, me!”) Here are the steps I took to take this Divided Drawer: From Workbench to Centerpiece.
I just love the character and beauty of old wood! All the dings and strange colorations it’s earned over time are so pleasing! But in order to elevate it’s purpose to indoor use (and centerpiece status) a little TLC is involved:
Clean and Degrease
First I degreased the drawer with an automotive degreaser that I sprayed on. I rinsed it well and let the drawer dry in the sun a couple of days. Then I gave it a good sanding with some 100 grit sandpaper to smooth all the edges and get rid of the splinters.
Sand and Seal
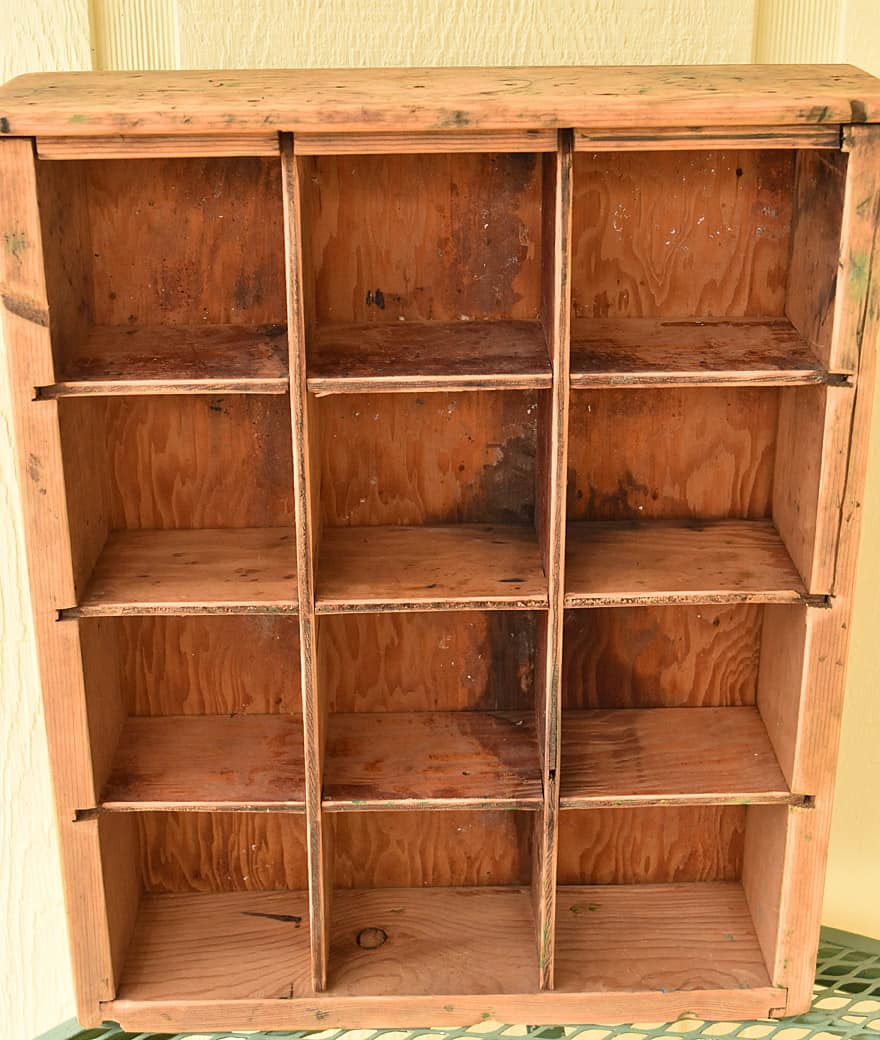
The character is still there, but it’s a little more friendly now;) Then to bring out all that beautiful patina, I brushed it with 2 coats of Minwax water based Polyurethane, my favorite!
Add Junky Bling
I dug through my stash of knobs and found a cute aqua floral one, but wanted to set it off with something special. I remembered this old bike pedal I had kept for a special occasion, and decided it would be the perfect compliment!
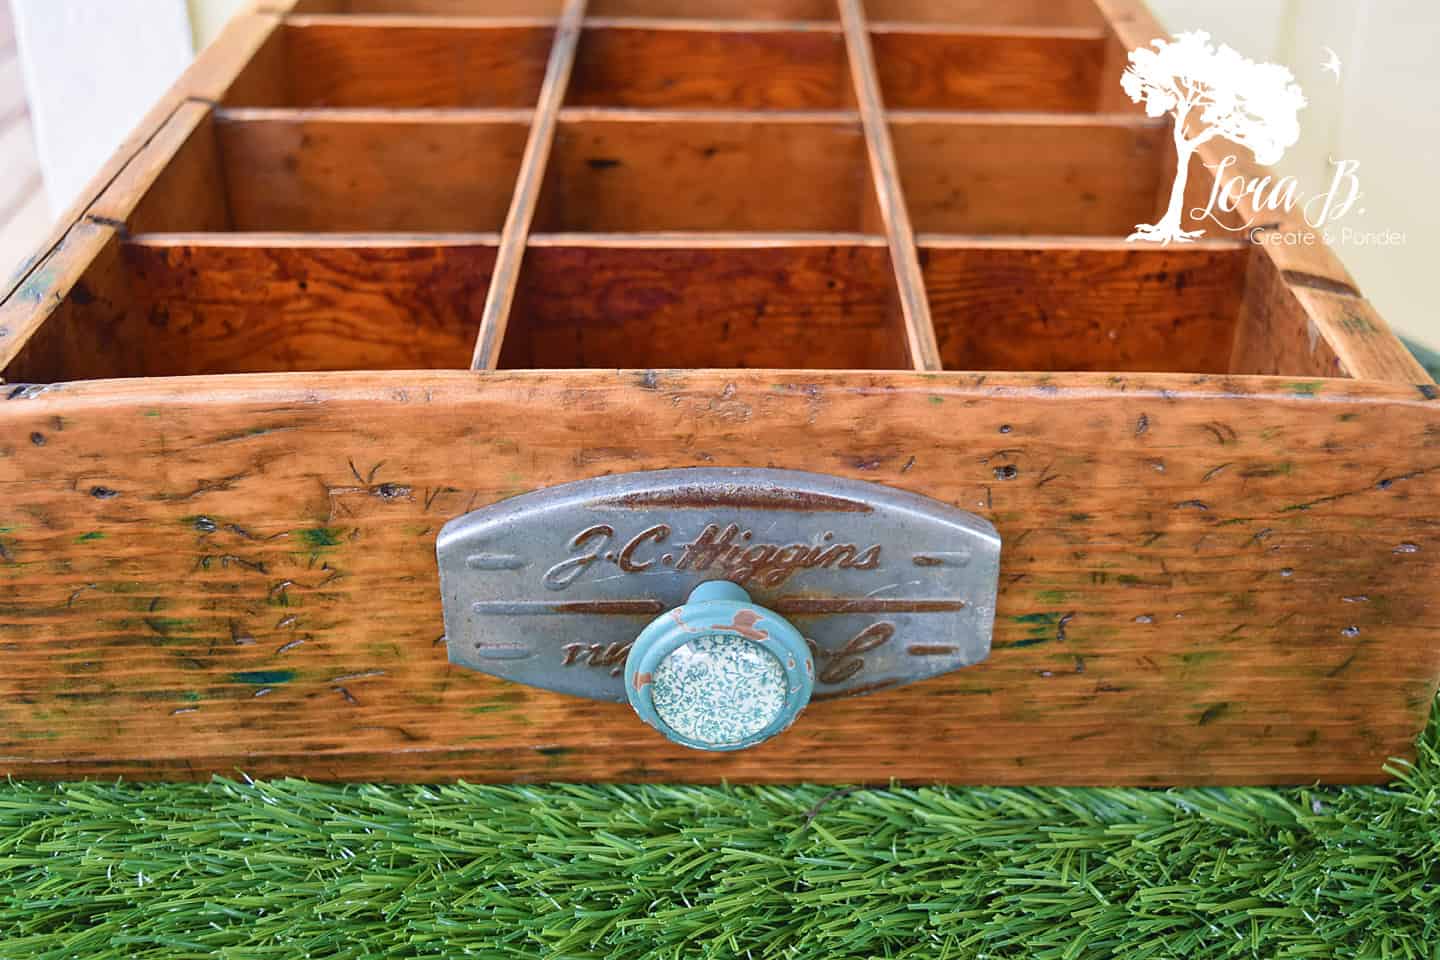

Do you see how the poly really brings out the beauty of the old, character-rich wood?
Fill the Divided Drawer with Vintage
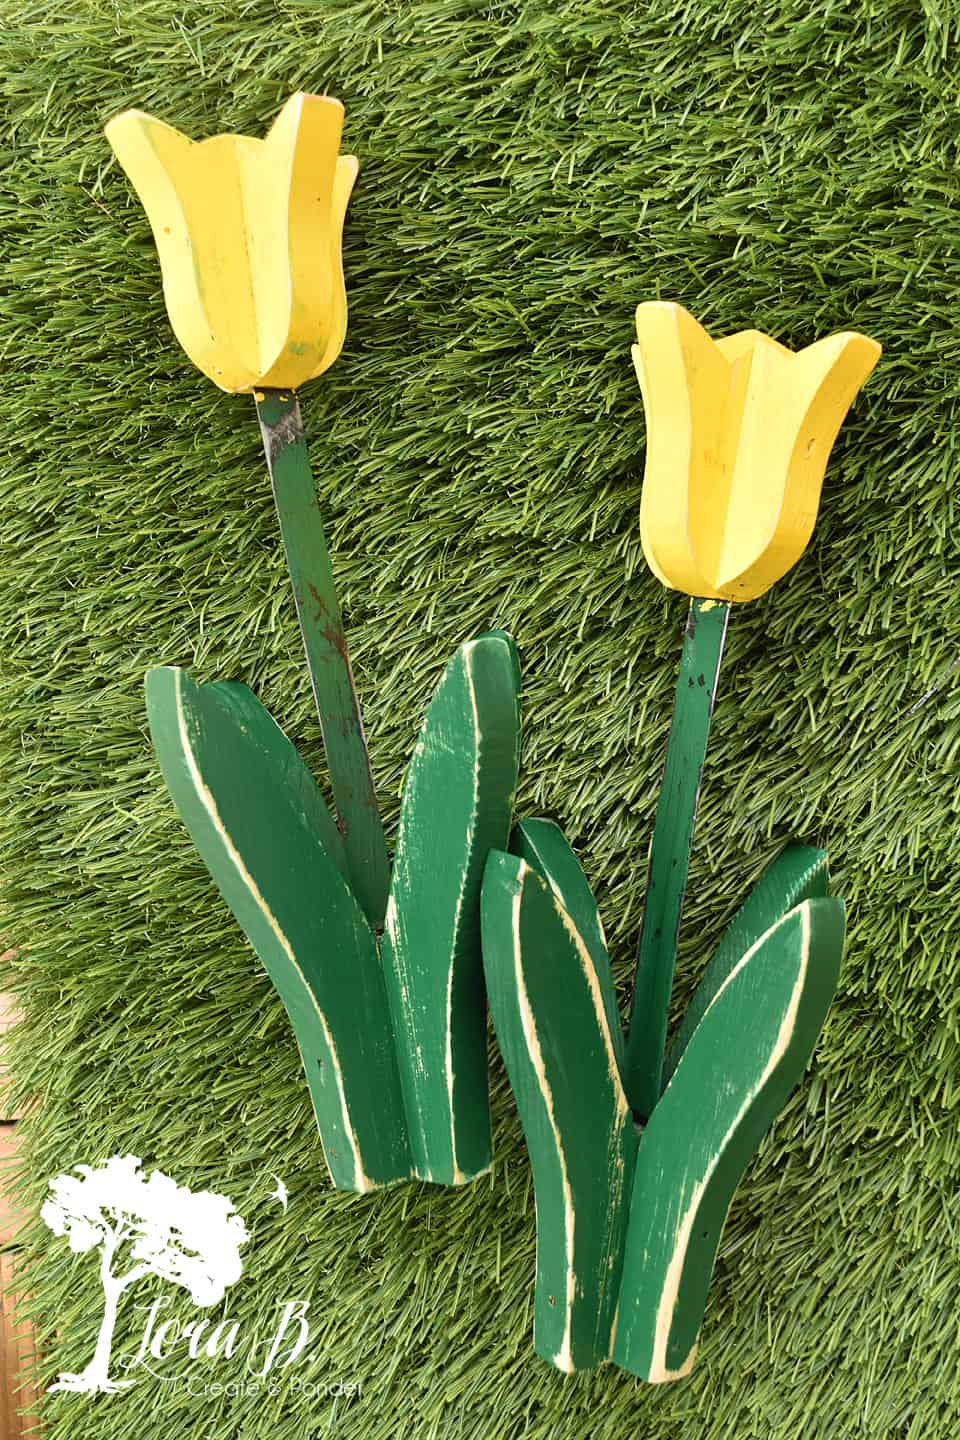
I decided some wood garden tulips I’d picked up at a garage sale would give this drawer a little potting bench charm for my Easter centerpiece. They were probably spray painted originally and needed a little sanding and polying themselves to please my tastes.
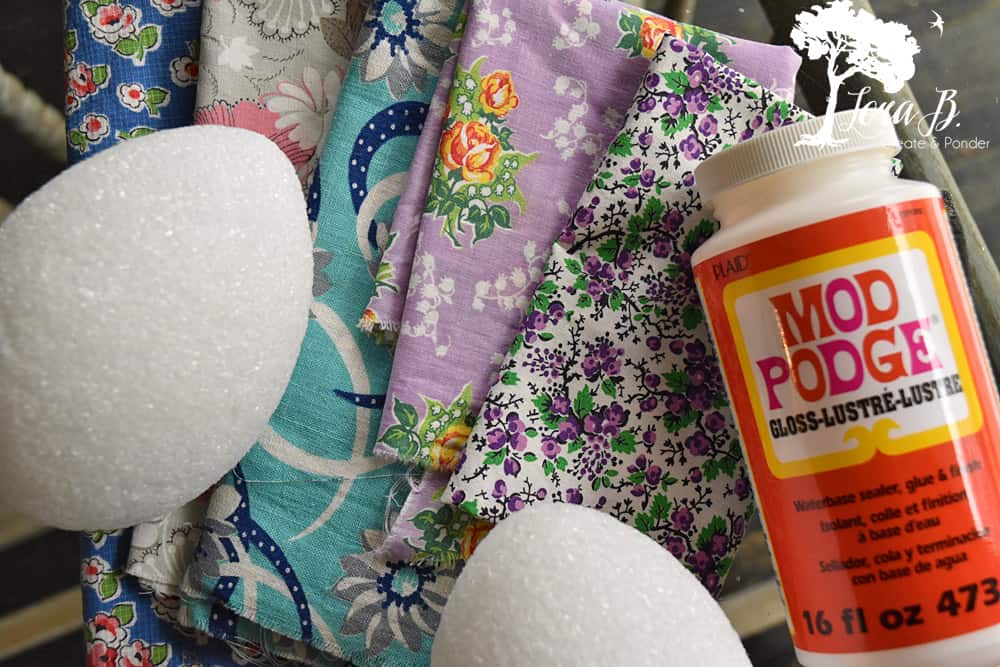
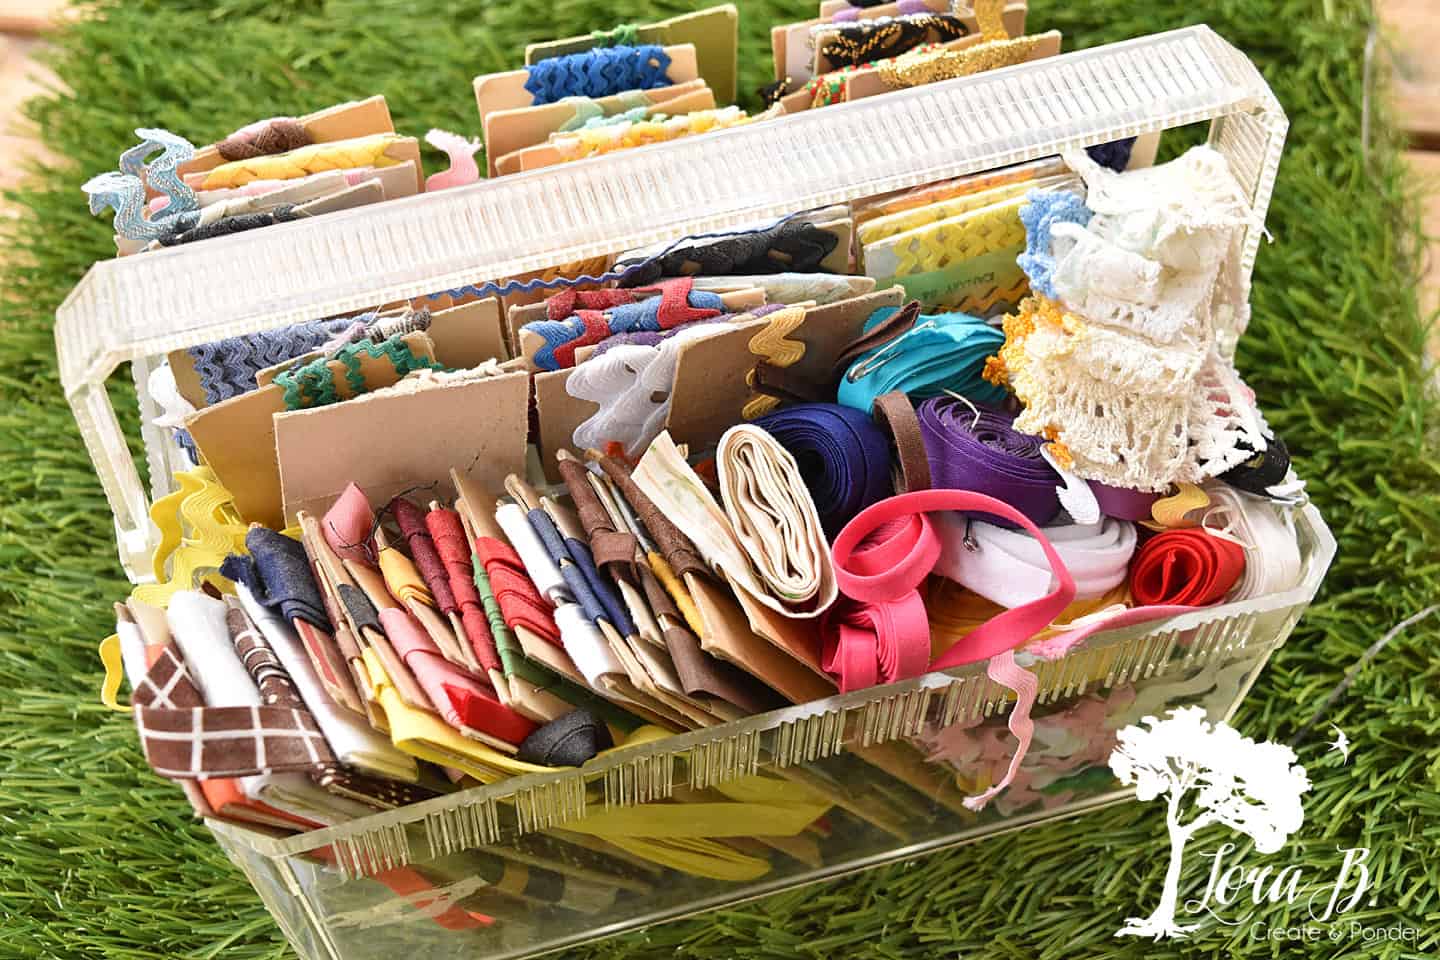
And to add some vintage Easter charm, I enlisted the pretty vintage fabric stash and trims I used for the “Vintage Fabric Wreath” I made a couple weeks ago. I had so much more fun decorating these eggs than the normal Rit dye ones! I used fabric tacky glue to adhere the trims.

Then I arranged all the elements I’d been working on all week! I added a little raffia grass under the eggs and added 2 of the pansy pots I told you about the other day {“Add Some Pretty to Your Pansy Pots”} at either end of the drawer for some live texture.
Become a Lora B Insider!
If you’d like to receive my FREE “5 Steps to a Perfect Vignette”, where I walk you through my simple steps of creating a centerpiece or vignette, simply become an Insider! You’ll get unlimited access to all my helpful and decorative resources in my Resource Library. You’ll also keep up with my creative adventures in my weekly email. I’ll send you the password today!
If you’re already an Insider, look for the “5 Steps to the Perfect Vignette” in the Styling Tips area. If you forgot the password, check your weekly email from me (or check your spam/junk folder in case it got sent there).
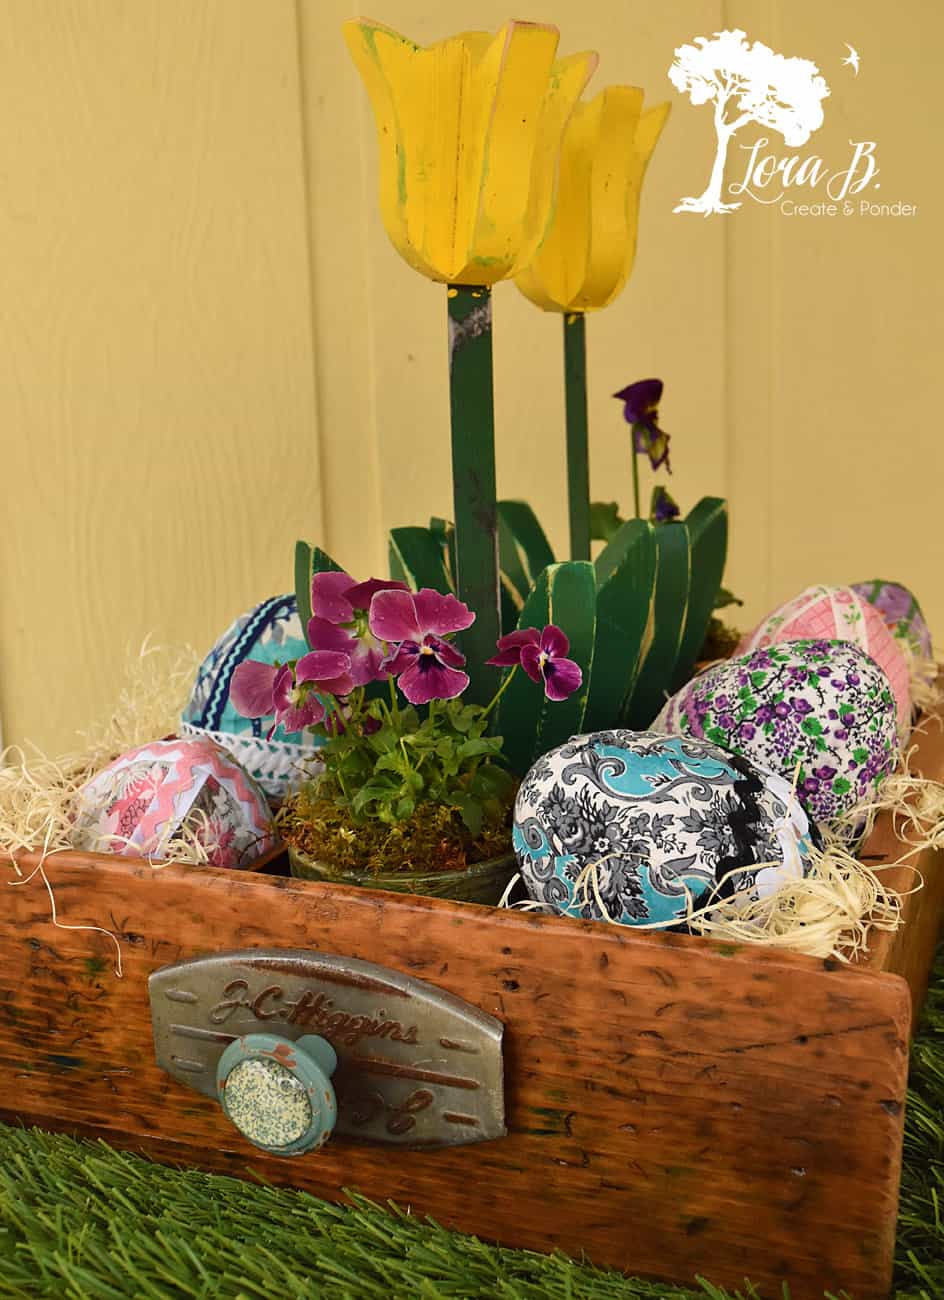
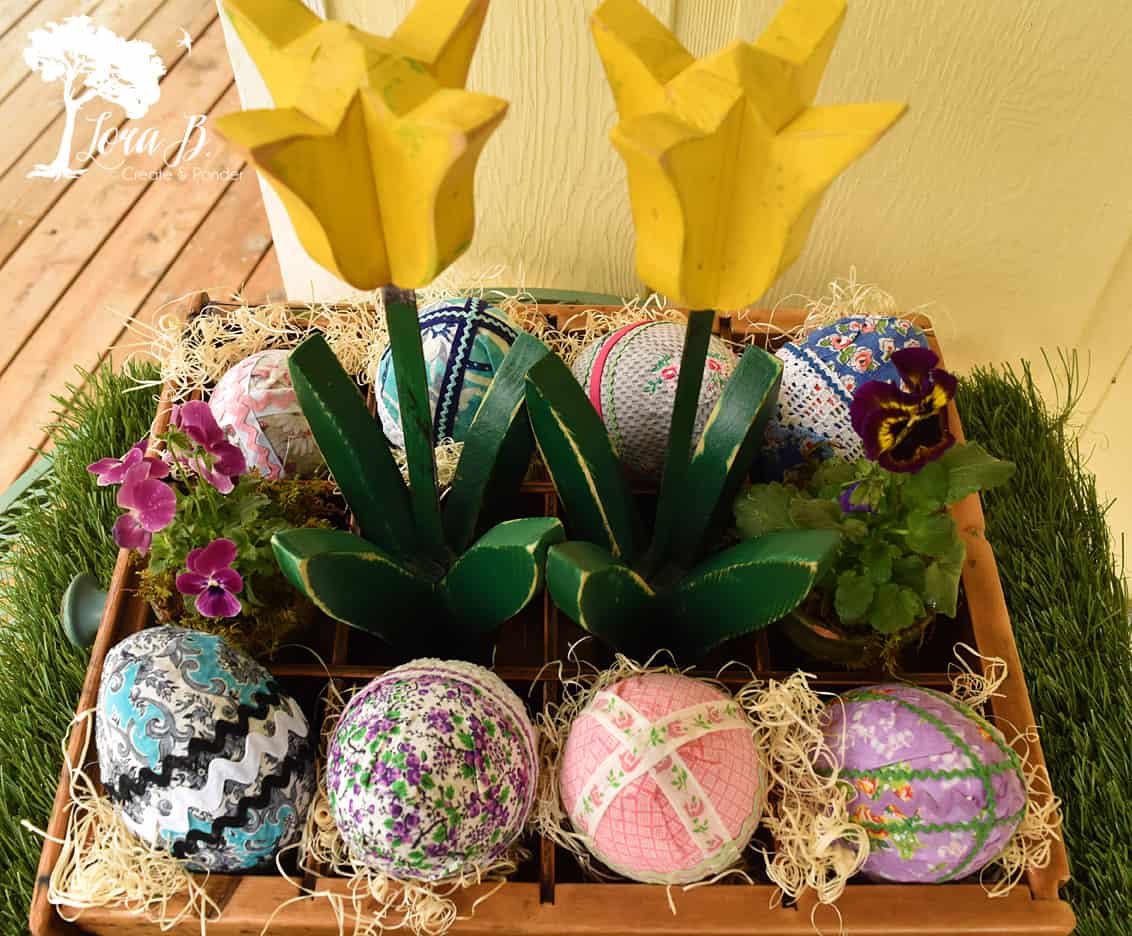
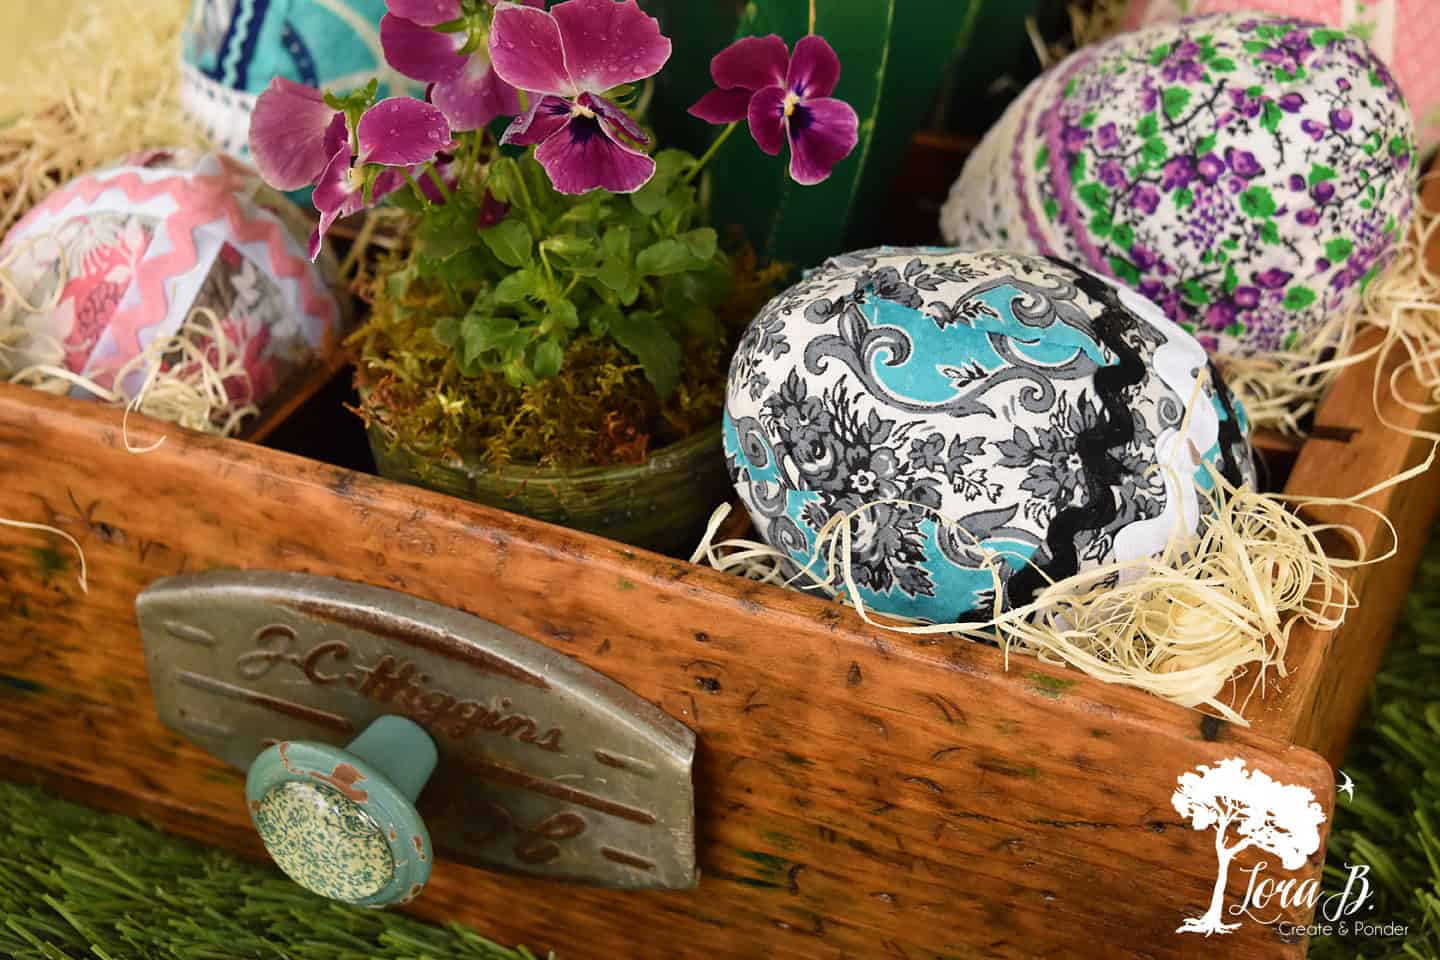
I just love all those pretty vintage fabric eggs set against the rough character of the old wood. T patinaed metal and pretty knob is the cherry on top! Old wood and metal are always a beautiful combination.
I’m placing this pretty scene on my Easter table along with the “Huck Towel Utensil Pocket” and whipping up some nest treats to put in my “Tart Mold Pedestals” for each guest, also.
See how the whole table turned out in “Spring Table Decorating Ideas“.
Hope you enjoyed this true “trash to treasure” makeover! If you happen to come across an old handyman’s workbench, or even one of these divided drawers, your can re-purpose all that time-worn character into something beautiful! Simply follow these steps to transform a Divided Drawer: From Workbench to Centerpiece.


Linking up with these lovely parties:

Now I need to find a small drawer, maybe have hubs make one for me. Just remembered he said he won’t make me a coffee table I saw in a magazine, I asked him to make me a new coffee table, will be perfect, couple of painted crates and 2 nice sanded long thick boards top and bottom along with some casters for moving it.
Love your wonderful Easter table centerpiece, it’s so pretty. Great idea using a small drawer. Will be really cute with summer garden tools and pumpkins for Fall .Be sure to take photo so we can see it both times.
Have great weekend. Enjoy your blog a lot.
Glad you’re enjoying it here, Jane! Your coffee table ideas sounds great; hope you can find a small drawer! And yes, I can’t wait till spring when I can fill it with old garden tools, clay pots and moss:)
So cute. I like the idea of covering the eggs with cloth and trim! Your house must look so nice for the Easter holdiay!
Thanks, Kathy! After seeing white outside for so many months, I do go a little crazy with the spring decor!I’ve been in color deprivation for so long…!
What a beautiful centerpiece! My 92-yr old Dad just made me some red wooden tulips – you’ve given me an idea for a great way to display them!
Denise, What a treasure! I’m so glad you got an idea of how to use them! Happy styling!
I love it when something that’s been sitting around for a while finally gets its makeover 🙂 Nice job with these cubbies, Lora, and thanks for linking up your posts with us at Vintage Charm–
I know, right, Diana? I still have plenty of projects awaiting their transformation!
This center piece looks fabulous. Your update with the tulips and eggs are so pretty. This box will be the workhorse for centerpieces.
Thanks, Debra! You’re so right…I can put garden tools in it this summer and mini pumpkins in it for fall; I knew it was too valuable to sell;)